
To install a toilet handle, simply follow these steps in order: remove the old handle, attach the new handle, tighten the nut securely, and test the handle’s functionality. Having a properly functioning toilet handle is essential for everyday convenience.
If your handle is broken or worn-out, it’s important to replace it promptly. Installing a new toilet handle is a straightforward task that can be done without professional assistance. In just a few simple steps, you can have a functional handle that ensures smooth flushing.
This article will guide you through the installation process, providing clear instructions and handy tips along the way. By following these steps, you’ll regain control over your toilet’s functionality and avoid any unnecessary inconvenience.
Tools Needed For Installing And Replacing A Toilet Handle
When it comes to installing or replacing a toilet handle, having the right tools is essential for a smooth and successful experience. A few basic tools can make all the difference in completing the task quickly and efficiently. In this guide, we will discuss the tools you will need to install or replace a toilet handle.
Adjustable Wrench
An adjustable wrench is an indispensable tool when it comes to installing or replacing a toilet handle. It allows you to tighten or loosen nuts and bolts of various sizes, making it easy to adjust the handle to the desired position. Make sure to choose a wrench that can accommodate the size of the nuts and bolts on your toilet handle.
Screwdriver
A screwdriver is another essential tool for installing or replacing a toilet handle. You will need a screwdriver to remove or install the screws that hold the handle in place. Depending on the type of handle you have, you may need either a flathead or a Phillips head screwdriver. It is important to choose the right type and size of screwdriver to ensure a secure installation.
Replacement Toilet Handle
A replacement toilet handle is obviously necessary if you are replacing an old or malfunctioning handle. When buying a replacement handle, it is important to choose one that is compatible with your toilet model. Look for handles that come with the necessary hardware and instructions for installation. Having a replacement handle ready beforehand will save you time and effort when it comes to the actual installation process.
Bucket
Having a bucket on hand can be a practical tool when installing or replacing a toilet handle. It helps catch any water that may spill out during the process, preventing a mess on your bathroom floor. Place the bucket strategically under the toilet tank before removing the old handle to ensure a clean and hassle-free installation.
Towel
In addition to a bucket, it is a good idea to have a towel nearby when installing or replacing a toilet handle. The towel can be used to wipe up any water or spills, keeping your workspace clean and dry. It also helps protect your bathroom floor from water damage or stains. Keep a towel within reach to ensure a safe and clean installation process.
Removing The Old Toilet Handle
Before you can install a new toilet handle, you need to remove the old one. This process involves several steps, each of which must be carried out carefully to avoid damaging the toilet or its components. In this section, we will guide you through the process of removing the old toilet handle.
Shut off water supply
The first step in removing the old toilet handle is to shut off the water supply to the toilet. This is important to prevent any water leakage or accidents during the process. To do this, locate the water shut-off valve behind the toilet near the floor. Turn it clockwise until it is fully closed. This will stop the flow of water to the toilet.
Remove the tank lid
With the water supply turned off, you can now remove the tank lid. Gently lift the lid straight up and set it aside in a safe place. Avoid placing it on the floor or any other hard surface that could cause it to break. If the lid is heavy or difficult to lift, you may need some assistance. Take care not to drop or damage the lid during this step.
Disconnect the chain or lift arm
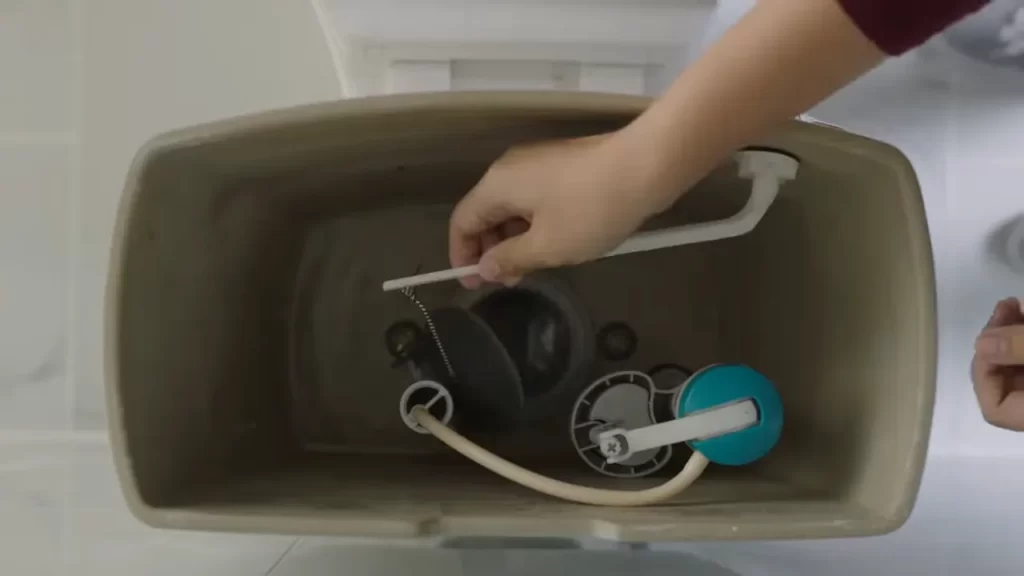
Now that the tank lid is removed, you will be able to access the inside of the toilet tank. Locate the chain or lift arm that is connected to the old toilet handle. This is what controls the flushing mechanism. You may need to reach into the tank to find it. Once located, disconnect the chain or lift arm from the old handle. This will free the handle, allowing you to remove it.
Remove the mounting nut
With the chain or lift arm disconnected, you can now remove the mounting nut that secures the old toilet handle in place. This nut is typically located on the inside of the tank, just behind where the handle attaches. Using a wrench, turn the mounting nut counterclockwise until it is loose enough to remove. Be careful not to overtighten or strip the threads.
Take out the old toilet handle
Finally, once the mounting nut is removed, you can take out the old toilet handle from the outside of the tank. Gently pull the handle straight out, being mindful of any remaining loose parts that may come out with it. Inspect the handle for any signs of damage or wear and discard it if necessary.
Now that you have successfully removed the old toilet handle, you are ready to move on to the next step: installing the new handle. Stay tuned for our next blog post, where we will guide you through the process of installing a new toilet handle.
Choosing The Right Replacement Toilet Handle
Consider the toilet tank design and size
When choosing a replacement toilet handle, it is essential to consider the design and size of your toilet tank. Different toilets have varying tank designs, and not all handles are compatible with every tank. Take note of the shape, configuration, and mounting system of your toilet tank.
One way to determine the compatibility of a replacement toilet handle is to measure the distance between the handle mounting holes. Measure the center-to-center distance of these holes to ensure that the replacement handle will fit perfectly.
In addition to the design, the size of the toilet tank should also be taken into account. Some tanks may be larger or smaller than average, which means that a universal replacement handle might not work properly. Make sure to choose a handle that is specifically designed for your tank size to ensure a snug and secure fit.
Determine the type of flush mechanism
Each toilet has a specific flush mechanism, and it is crucial to know which type your toilet has before selecting a replacement handle. The flush mechanism determines how the handle operates and how it engages with the internal components of the toilet tank.
You can determine the type of flush mechanism by either referring to the toilet’s documentation or inspecting the inside of the tank. Common types of flush mechanisms include flapper valves, flush valves, and dual-flush mechanisms. Understanding the flush mechanism will help you select a replacement handle that is compatible and ensures proper flushing action.
Select a compatible replacement toilet handle
Once you have considered the toilet tank design and size, as well as determined the flush mechanism, it is time to select a compatible replacement toilet handle. Look for handles that are specifically labeled as compatible with your toilet model or similar models with the same tank design and flush mechanism.
There is a wide range of replacement handles available, including various finishes and styles. Whether you prefer a chrome, brushed nickel, or brass finish, make sure the handle you choose matches your bathroom decor. Additionally, consider the ease of installation and ensure that all necessary hardware is included.
Check the handle’s durability and quality
Finally, it is essential to check the durability and quality of the replacement toilet handle before making a purchase. A sturdy and durable handle will withstand frequent usage and last for an extended period. Look for handles made from high-quality materials such as metal or reinforced plastic.
Check customer reviews and ratings to gauge the handle’s performance and longevity. A handle with positive reviews and high ratings is likely to be more durable and reliable. A quality replacement handle will not only function well but also enhance the overall appearance of your toilet.
Installing The New Toilet Handle
Installing the New Toilet Handle
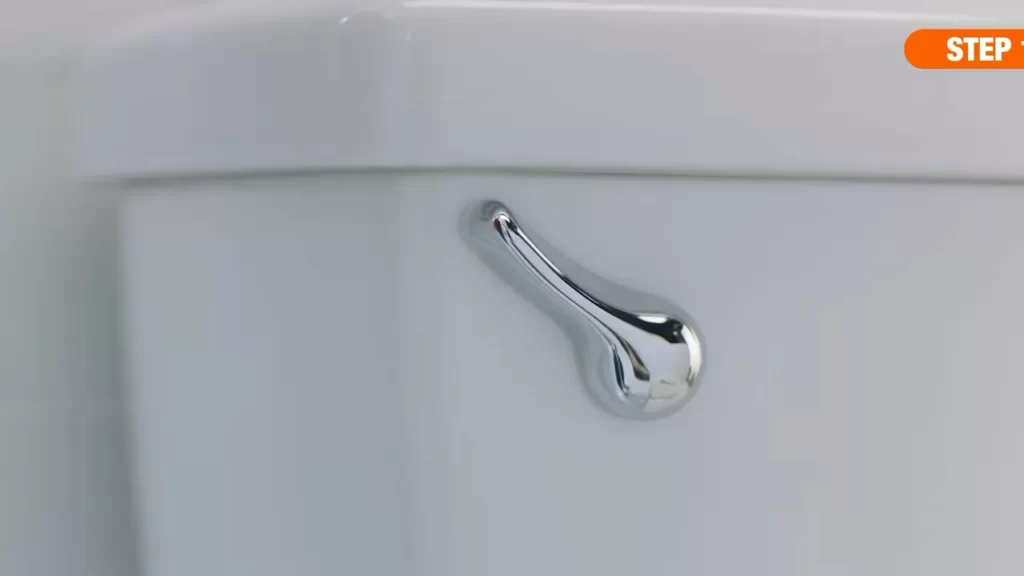
When it comes to bathroom maintenance, replacing a broken or outdated toilet handle is a simple yet essential task. The toilet handle, also known as the flush handle or flush lever, is responsible for operating the flushing mechanism. If your toilet handle is loose, stiff, or not working correctly, it’s time to install a new one. In this step-by-step guide, we’ll walk you through the process of installing a new toilet handle with ease.
Align the mounting hole with the handle’s hole
Before you begin the installation process, ensure that you have the correct replacement toilet handle that matches the model and design of your toilet. Start by removing the old handle. You’ll notice that the handle is attached to the toilet tank via a mounting hole.
Action: Align the mounting hole on the toilet tank with the hole on the new handle.
Insert the handle through the mounting hole
With the mounting hole aligned, it’s time to insert the new handle through the opening. The handle should slide smoothly into the mounting hole without any resistance.
Action: Insert the handle through the mounting hole until it is snugly positioned.
Tighten the mounting nut
Once the handle is in place, secure it by tightening the mounting nut located on the inside of the tank. Use a wrench or pliers to tighten the nut in a clockwise direction, taking care not to overtighten and potentially damage the handle or the tank.
Action: Use a wrench or pliers to tighten the mounting nut securely.
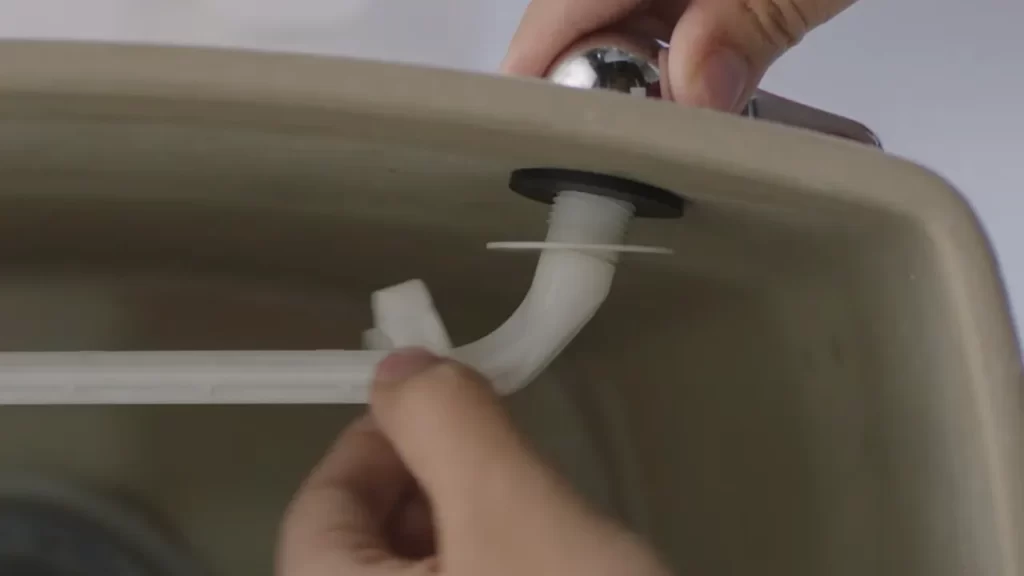
Reconnect the chain or lift arm
After securing the handle, it’s time to reconnect the chain or lift arm that connects the handle to the flapper or flush valve. Check the chain or lift arm to ensure there is no damage or excessive slack.
Action: Reattach the chain or lift arm to the designated connection point on the flush valve or flapper.
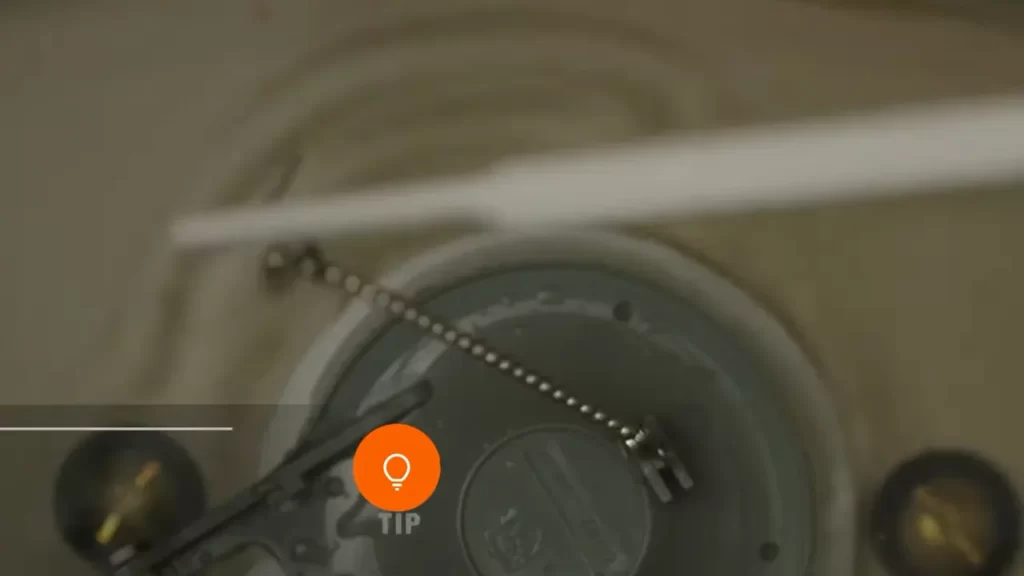
Adjust the chain or lift arm length
To ensure proper flushing, it’s crucial to adjust the length of the chain or lift arm. A chain that is too tight may prevent the flapper from fully closing, leading to a continuous water leak. On the other hand, a chain that is too loose may not provide enough tension to activate the flushing mechanism effectively.
Action: Adjust the length of the chain or lift arm by either shortening or lengthening it until it provides the necessary tension for smooth flushing.
Turn on the water supply
Once everything is securely in place and adjusted, it’s time to turn on the water supply to the toilet. Slowly open the shut-off valve or stop tap and allow the tank to fill with water.
Action: Turn on the water supply fully, making sure there are no leaks around the new handle or any other connections.
In conclusion, installing a new toilet handle is a straightforward process that can be completed with minimal effort. By following these steps and taking care to align, insert, tighten, reconnect, adjust, and turn on the water supply, you can ensure a properly functioning toilet handle and a smooth flushing experience.
Troubleshooting Common Issues
When it comes to installing a toilet handle, you may encounter a few common issues that can hinder the proper functioning of your toilet. In this section, we will address these issues and provide you with some troubleshooting tips to help you resolve them.
Handle is loose
If your toilet handle feels loose or wobbly when you push or pull it, it can be quite frustrating. A loose handle can affect the flushing mechanism, making it difficult to flush the toilet effectively. To fix this issue:
- Start by removing the tank lid and locating the nut securing the handle on the inside of the tank.
- Tighten the nut using a wrench, making sure not to overtighten it as it can crack the porcelain.
- Once the nut is securely tightened, test the handle to ensure it no longer feels loose.
Handle doesn’t return to the correct position
If your toilet handle doesn’t return to the correct position after flushing, it can create inconvenience and require manual adjustments. To address this issue:
- Remove the tank lid and check if the chain connected to the handle is the correct length.
- Ensure that the chain is not tangled or twisted, restricting the movement of the handle.
- Adjust the chain’s length if necessary, ensuring there is just a small amount of slack when the handle is at its resting position.
- Test the handle to verify that it returns to the correct position without any hindrance.
Handle is difficult to push or pull
If your toilet handle requires excessive force to push or pull, it can be tiresome and inconvenient. To make it easier to operate the handle:
- Check if there is any debris or mineral buildup around the handle or inside the tank that may obstruct its movement.
- Using a mild cleaner and a soft brush, clean the handle, shaft, and the surrounding area to remove any dirt or buildup.
- Apply a lubricant, such as silicone grease, to the handle’s moving parts to improve its overall functionality.
Handle doesn’t flush the toilet properly
If your toilet handle fails to properly flush the toilet, it can lead to incomplete flushing or frequent clogs. To ensure a proper flush, try the following:
- Remove the tank lid and check the chain’s position that connects the handle to the flapper valve.
- Ensure that the chain has the right amount of slack, allowing the flapper valve to lift fully when the handle is pushed.
- If adjustments are needed, modify the chain length accordingly, making sure it doesn’t tangle or interfere with the flapper valve’s movement.
- Perform a few test flushes to confirm that the handle properly flushes the toilet with each operation.
By troubleshooting these common issues, you can ensure that your toilet handle operates smoothly, making your bathroom visits convenient and hassle-free.
Maintenance Tips For A Toilet Handle
Proper maintenance of your toilet handle is crucial to ensure its smooth operation and prevent any inconvenience. In this section, we will discuss some essential maintenance tips to keep your toilet handle in excellent condition.
Regularly clean the handle and surrounding area
Cleaning the toilet handle and the area around it is essential to maintain proper hygiene and prevent the buildup of dirt and germs. Use a mild cleaning agent and a soft cloth to wipe the handle thoroughly. Pay attention to any crevices or corners where dust and grime may accumulate. Regular cleaning will not only keep the handle looking pristine but also improve its functionality.
Check for any loose screws or nuts
A loose or wobbly toilet handle can be irritating and affect its performance. Regularly inspect the handle to ensure that all screws and nuts are securely tightened. Use a screwdriver or wrench to tighten them if necessary. This simple step can prevent potential damage and prolong the lifespan of your toilet handle.
Inspect the chain or lift arm for any damage
The chain or lift arm connected to the toilet handle plays a crucial role in the flushing mechanism. Over time, these components may experience wear and tear or get damaged. Regularly inspect the chain or lift arm for any signs of fraying, rust, or other damage. If you notice any issues, promptly replace the damaged parts to maintain the smooth functioning of your toilet handle.
Replace any worn-out or damaged parts
If you have been using your toilet handle for an extended period, certain parts may become worn-out or damaged. It is essential to address these issues proactively to prevent any sudden malfunctions. Whether it’s a cracked handle, a malfunctioning lever, or a worn-out chain, promptly replace any damaged parts. This will not only ensure the proper functioning of your toilet handle but also help you avoid costly repairs in the future.
By following these maintenance tips, you can keep your toilet handle in optimal condition and avoid any unexpected inconveniences. Regular cleaning, checking for loose screws or nuts, inspecting the chain or lift arm, and replacing worn-out or damaged parts are simple steps that can contribute to the longevity and efficient operation of your toilet handle.
Frequently Asked Questions
Are Toilet Handles Easy To Install?
Toilet handles are easy to install. Simply follow the instructions provided and use basic tools. They require minimal effort and can be done in a few minutes.
How Do You Reattach A Toilet Flush Handle?
To reattach a toilet flush handle, follow these steps: 1. Remove the tank lid. 2. Check for a loose or broken chain that connects the handle to the flapper valve. 3. If the chain is loose, adjust its length and reattach it.
4. If the handle is broken, replace it with a new one by unscrewing the old handle and attaching the new one. 5. Test the flush to ensure it is working properly.
How Do You Replace A Toilet Side Handle?
To replace a toilet side handle, follow these steps: 1. Shut off the water supply valve. 2. Unscrew the nut holding the handle to the toilet tank. 3. Remove the old handle and replace it with the new one. 4.
Tighten the nut to secure the handle in place. 5. Turn on the water supply valve and check for any leaks.
How Do You Attach A Handle To A Toilet Chain?
To attach a handle to a toilet chain, follow these steps: 1. Locate the toilet’s flush handle and chain. 2. Remove the old handle if necessary. 3. Slide the new handle through the hole in the toilet tank. 4. Fasten the handle with a nut or locknut provided.
5. Connect the handle to the chain using the attachment provided.
Conclusion
To conclude, installing a toilet handle is a simple process that can be done by following a few easy steps. By ensuring that you have the necessary tools and taking your time to carefully complete each step, you can successfully replace or install a new toilet handle.
Remember to check for any leaks or loose connections before completing the installation. With a little patience and attention to detail, you can have your toilet handle functioning properly in no time.