To install a tile shower pan, begin by ensuring the shower area is properly prepped and the drain is in place. Then, apply a waterproof membrane, set the pan in mortar, and lay the tile using thin-set adhesive.
Intro: Installing a tile shower pan can be a daunting task, but with the right approach and preparation, it can be achieved successfully. This article will provide step-by-step instructions on how to install a tile shower pan, ensuring a watertight and visually appealing result.
Whether you’re a seasoned DIYer or tackling this project for the first time, this guide will equip you with the knowledge and techniques necessary to complete the installation with confidence. So, let’s dive in and learn the exact process of installing a tile shower pan for a stunning bathroom renovation.
Assessing The Requirements And Gathering Materials
Before embarking on the installation of a tile shower pan, it is essential to assess the requirements and gather all the necessary materials. This preparation phase plays a crucial role in ensuring a smooth and successful installation process. In this section, we will discuss the steps involved in measuring the shower area for the tile pan, determining the type of tile pan required, and gathering the necessary tools and materials.
Measuring the shower area for the tile pan
The first step in installing a tile shower pan is accurately measuring the shower area to determine the dimensions of the tile pan needed. This measurement is essential to ensure a proper fit and prevent any water leakage issues in the future. To measure the shower area, follow these simple steps:
- Clean the shower area thoroughly to remove any debris or dirt that may affect the measurements.
- Start by measuring the length and width of the shower area using a tape measure.
- Take measurements of the depth as well to determine the required height of the tile pan.
- Note down the measurements carefully, ensuring accuracy for a precise and secure fit.
Determining the type of tile pan required
Once you have the measurements in hand, the next step is to determine the type of tile pan required for your shower installation. Tile pans come in various types, such as pre-formed, custom-built, or ready-to-tile, with each offering unique features and benefits. Consider the following factors when determining the appropriate tile pan:
- The size and shape of your shower area, ensuring a suitable tile pan is available to fit it correctly.
- The material of the tile pan, such as acrylic, fiberglass, or mortar, based on your preferences and budget.
- The functionality and design aspects, such as drain location and curbless options, depending on your specific needs and preferences.
Gathering the necessary tools and materials
Once you have measured the shower area and determined the type of tile pan required, it’s time to gather all the necessary tools and materials for the installation process. Ensuring you have everything you need beforehand will save time and prevent unnecessary delays. Here is a list of the essential tools and materials you may need:
| Tools | Materials |
|---|---|
| – Tape measure | – Tile pan |
| – Level | – Thinset mortar |
| – Screwdriver | – Waterproof membrane |
| – Notched trowel | – Screws |
| – Rubber mallet | – Grout |
| – Hacksaw | – Silicone caulk |
Make sure to gather all the necessary tools and materials before commencing the installation process. This way, you can work efficiently and complete the task without any interruptions.
In conclusion, assessing the requirements and gathering materials are vital steps in the installation of a tile shower pan. By accurately measuring the shower area, determining the type of tile pan needed, and gathering the necessary tools and materials beforehand, you can ensure a seamless and successful installation process.

Preparing The Shower Area
Before installing a tile shower pan, it is crucial to properly prepare the shower area. This involves removing the existing shower floor, ensuring the subfloor is even and stable, and waterproofing the shower area. Follow these steps to complete this important preparation process.
Removing the existing shower floor
The first step in preparing the shower area is to remove the existing shower floor. This may involve removing tiles, a shower base, or other materials that are currently in place. Use a chisel and hammer to carefully remove the flooring material, making sure to wear safety goggles and gloves for protection. Clean the area thoroughly once the old floor is removed.
Ensuring the subfloor is even and stable
An even and stable subfloor is essential for a successful tile shower pan installation. Inspect the subfloor to ensure there are no weak spots, dips, or uneven areas. If any issues are found, they should be addressed and repaired before proceeding. This can involve adding additional support, leveling the floor, or replacing damaged sections. A stable and even subfloor will provide a solid foundation for the shower pan.
Waterproofing the shower area
To prevent water damage and leaks, it is crucial to properly waterproof the shower area. Begin by applying a layer of waterproofing membrane over the entire shower floor and walls. This can be done using a roll-on or brush-on product, following the manufacturer’s instructions. Make sure to cover every corner and seam to create a watertight barrier.
After applying the waterproofing membrane, install a drain clamping collar to further secure the waterproofing layer around the drain area. This will ensure that water is directed towards the drain and does not seep into the subfloor.
Once the waterproofing layer is in place, allow it to dry completely before proceeding with the tile shower pan installation. This will help guarantee a watertight shower area and protect against future water damage.
By following these guidelines and properly preparing the shower area, you will set the stage for a successful tile shower pan installation. Take the time to remove the existing shower floor, ensure the subfloor is even and stable, and thoroughly waterproof the area. This preparation will contribute to a long-lasting and leak-free tile shower pan.
Creating The Shower Pan Base
Creating the Shower Pan Base is the crucial first step to installing a tile shower pan. This is where you lay down the foundation for the entire shower floor, ensuring it is solid, level, and properly sloped to allow water to drain effectively. In this section, we will guide you through the process of mixing the mortar for the pan base, applying it evenly in the shower area, and smoothing it out to create a sloped surface.
Mixing the mortar for the pan base
To start, gather all the necessary materials for mixing the mortar. You will need a large bucket, a measuring cup, and a mixing tool such as a trowel or a paddle mixer.
| Materials: |
|
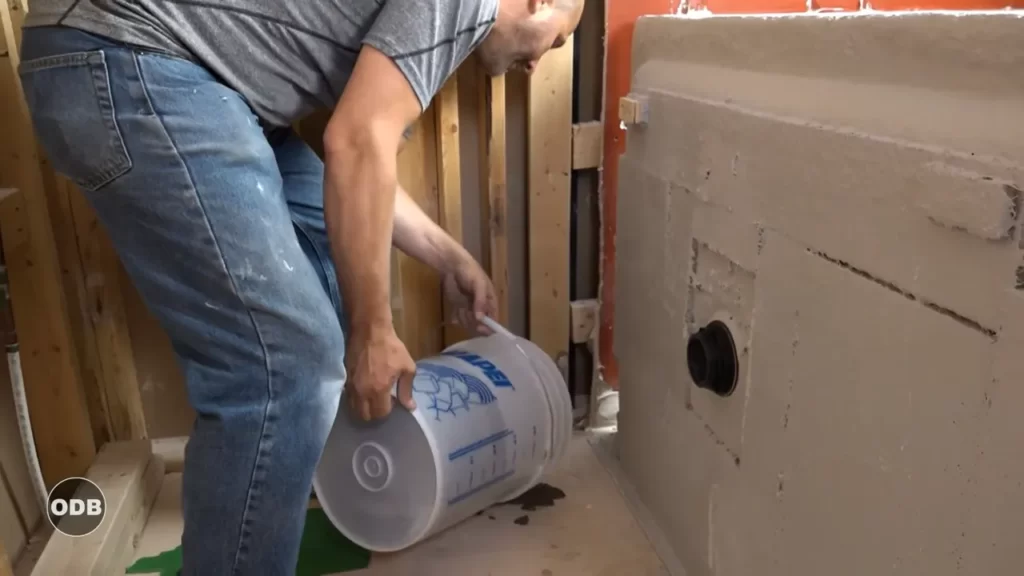
Now, measure out the appropriate amount of Portland cement and sand, following the manufacturer’s instructions. The ratio typically used is 1 part Portland cement to 4 parts sand. Combine these dry ingredients in the bucket and mix them together thoroughly.
Next, slowly add water to the mixture, stirring continuously. The consistency should be similar to that of peanut butter, easily moldable but not too runny. Be careful not to add too much water, as this can weaken the mortar.
Applying the mortar evenly in the shower area
Now that your mortar is ready, it’s time to apply it evenly in the shower area. Start by dividing the shower floor into smaller sections using a pencil or chalk. This will help you work in manageable areas and ensure the mortar is evenly spread.
Using a trowel or a flat-edged tool, scoop up a small amount of mortar and spread it onto the shower floor. Use the trowel to smooth it out in a thin, even layer, ensuring it covers the entire section. Repeat this process for each section until the entire shower floor is covered with mortar.
Smoothing the mortar and creating a sloped surface
Once the mortar is applied, you need to smooth it out and create a sloped surface to allow water to drain properly. Using a straightedge or a level, check the slope of the floor. It should slope gently towards the drain at a ratio of 1/4 inch per foot. Adjust the mortar as needed to achieve the proper slope.
To smooth out the mortar and create a sloped surface, use a screed board or a long, flat board. Place it on top of the mortar and gently move it back and forth in a sawing motion. This will help you level the surface and create a smooth slope from the walls to the drain.
Continue this process until the entire shower floor is smoothed and sloped properly. Take your time and make sure the surface is even and free from any lumps or inconsistencies.
By following these steps, you can create a solid and properly sloped shower pan base, laying the foundation for a successful tile shower installation. Stay tuned for the next section, where we will guide you through the process of installing the tile on the shower pan base.
Installing The Shower Pan Liner
When it comes to installing a tile shower pan, one crucial step is placing the waterproof shower pan liner. This liner acts as a barrier, preventing any water from leaking through the shower floor. In this guide, we will walk you through the process of installing the shower pan liner, from placing it correctly to securing it firmly and creating a watertight seal.
Placing the waterproof shower pan liner
The first step in installing the shower pan liner is to properly position it in the shower pan area. Here are the steps to follow:
- Clean the shower base thoroughly, ensuring it is free from any debris or dirt.
- Measure the dimensions of the shower pan and cut the liner accordingly, leaving a few inches of excess on each side.
- Place the liner in the shower pan, ensuring it covers the entire floor and extends up the walls to the desired height. Make sure to overlap the liner at the corners for a seamless installation.
- Smooth out any wrinkles or folds in the liner, ensuring it lays flat against the shower base.
Securing the liner and forming corners
Once the liner is in place, the next step is to secure it firmly and form corners to ensure a tight and waterproof fit. Follow these steps:
- Using galvanized nails or staples, secure the liner to the shower walls at regular intervals, approximately every 6 inches. Be careful not to puncture the liner.
- For the corners, gather the excess liner and fold it neatly, creating a triangular shape. Secure the folded corner with a nail or staple, making sure it is tight and secure.
- Repeat the process for all corners, ensuring each one is properly formed and secured.
Trimming excess liner and creating a watertight seal
After securing the liner and forming corners, the final step is to trim any excess liner and create a watertight seal. Follow these steps:
- Trim the excess liner along the top edge of the shower walls using a utility knife, leaving a clean and even edge.
- To create a watertight seal, apply a layer of waterproof sealant along the edges of the shower pan where the liner meets the walls. This helps to prevent any water from seeping through.
- Smooth out the sealant with a caulk gun or squeegee, ensuring it forms a tight and continuous seal.
With the shower pan liner properly installed, you can now proceed with the remaining steps of your tile shower installation. By taking the time to install the liner correctly, you can ensure a watertight and durable shower pan that will withstand the test of time.
Creating The Tile Pan Surface
Introduction
Creating the tile pan surface is an essential step in installing a tile shower pan. This crucial phase ensures a sturdy and watertight foundation for your shower. In this section, we will guide you through the process of applying a layer of mortar on the liner, placing and leveling the shower pan tiles, and cutting tiles to fit around the drain and edges. By following these steps, you’ll be well on your way to a beautifully tiled shower pan that not only enhances the visual appeal of your bathroom but also protects against leaks and water damage.
Applying a Layer of Mortar on the Liner
To create a solid base for your shower pan tiles, you’ll need to apply a layer of mortar on the liner. This mortar layer serves as both a bonding agent and a leveling medium. Here’s how to do it:
- Clean the liner surface: Before applying the mortar, ensure that the liner is clean and free of any debris or dust. This will help the mortar adhere properly to the surface.
- Mix the mortar: Prepare the mortar mix according to the manufacturer’s instructions. For best results, use a latex-modified thinset mortar to enhance the adhesive properties.
- Spread the mortar: Using a notched trowel, spread a thin, even layer of mortar on the liner surface. While doing this, ensure that the grooves created by the trowel allow for proper adhesion of the tiles.
Remember to work in small sections, as mortar can dry quickly. Spread only as much as you can tile within the next 10-15 minutes.
Placing and Leveling the Shower Pan Tiles
Once the mortar layer is applied, it’s time to start placing and leveling the shower pan tiles. This process requires precision and attention to detail to achieve a level and visually pleasing tile pan surface. Follow these steps:
- Start from the center: Begin placing tiles from the center of the shower pan, working your way out toward the edges. This ensures symmetry and balanced tile layout.
- Apply tile adhesive: Spread a layer of tile adhesive on the back of each tile using a notched trowel. This helps create a secure bond with the mortar layer.
- Place the tiles: Press each tile firmly into the mortar, making sure they are level and evenly spaced. Use spacers to maintain consistent grout lines.
- Check for levelness: Use a level tool to ensure that the tiles are level both horizontally and vertically. Adjust the tiles as needed to achieve a flat and even surface.
Continue this process until all tiles are placed, working in small sections at a time to prevent the mortar from drying too quickly.
Cutting Tiles to Fit Around Drain and Edges
The final step to complete the tile pan surface is cutting the tiles to fit around the drain and edges. This ensures a seamless and professional finish. Here’s how:
- Measure and mark: Take precise measurements of the areas where tiles need to be cut to fit. Use a pencil or marker to mark these measurements on the tiles you need to cut.
- Select the cutting method: Depending on the type of tile and the complexity of the cuts needed, choose the appropriate cutting method, such as a wet saw or tile cutter.
- Cut the tiles: Follow the manufacturer’s instructions for cutting the tiles, ensuring accuracy and safety. Take your time to make precise cuts, especially when working around the drain and edges.
- Test the fit: After cutting, test the fit of the tiles around the drain and edges. Make any necessary adjustments by trimming or reshaping the tiles as needed.
Once all the tiles are cut and fit correctly, the tile pan surface is ready for grouting.
Grouting And Sealing The Tile Pan
Once you have successfully installed the tile shower pan and allowed it to cure, the next step is to grout and seal the surface. Grouting not only enhances the appearance of the tiles, but it also helps to prevent water from seeping into the pan. Sealing the grout and tile further adds protection and prolongs the lifespan of your shower pan.
Mixing and applying grout to the tiled pan surface
Mixing and applying grout to the tiled pan surface is a crucial step in the installation process. Here’s how you do it:
- First, gather all the necessary tools and materials. These typically include grout, a grout float, a grout sponge, and a bucket of water.
- Next, mix the grout according to the manufacturer’s instructions. Make sure the consistency is smooth and free of lumps.
- Using the grout float, apply the grout onto the tiled pan surface. Hold the float at a 45-degree angle and work the grout into the joints, ensuring they are completely filled.
- Continue spreading and smoothing the grout until the entire pan surface is covered.
Cleaning excess grout and letting it cure
Once you have applied the grout, it’s important to clean off any excess before it dries. Follow these steps:
- Using a grout sponge, dampen it with clean water and gently wipe away the excess grout from the tiles. Rinse the sponge frequently to avoid spreading grout residue.
- After removing the excess grout, allow it to cure according to the manufacturer’s instructions. This usually takes about 24 to 48 hours.
Sealing the grout and tile for added protection
Sealing the grout and tile is the final step in ensuring the longevity of your tile shower pan. Follow these steps to seal the surface:
- Start by choosing a high-quality grout sealer that is suitable for your specific type of tiles.
- Using a small brush or applicator, carefully apply the sealer onto the grout lines, ensuring full coverage.
- Allow the sealer to penetrate the grout for the recommended time, usually around 10 to 15 minutes.
- Using a clean, lint-free cloth, wipe away any excess sealer from the tiles.
- Let the sealer dry completely before using the shower.
By following these steps to grout and seal your tile shower pan, you can enjoy a beautiful and durable shower space for years to come.
Testing The Waterproofing
Testing the waterproofing of your tile shower pan is a crucial step to ensure that your shower is properly sealed and protected against water damage. Conducting a water test can help you check for any potential leaks and address any necessary repairs or adjustments before proceeding with the installation.
Conducting a water test to check for leaks
To conduct a water test, follow these steps:
- Ensure that the shower pan is dry and free from any debris or loose materials.
- Plug the drain of the shower pan to prevent water from flowing out.
- Fill the shower pan with water, making sure it reaches just below the top edge.
- Let the water sit in the shower pan for a minimum of 24 hours. During this time, keep an eye out for any signs of leakage.
- If you notice any leaks, mark their locations using a waterproof marker or tape.
- Drain the water from the shower pan and allow it to dry completely before proceeding with any necessary repairs or adjustments.
Addressing any necessary repairs or adjustments
Once you have identified any leaks during the water test, it is important to address them promptly to ensure a watertight seal. Follow these steps to make the necessary repairs or adjustments:
- Locate the areas where leaks were detected during the water test.
- Inspect the sealant or waterproofing membrane in those areas. Look for any cracks, gaps, or signs of damage.
- Clean and dry the area thoroughly before applying new sealant or waterproofing material.
- Apply a generous amount of sealant or waterproofing material to the affected areas, ensuring full coverage.
- Smooth out the sealant or waterproofing material using a putty knife or a similar tool to ensure a tight seal.
- Allow the sealant or waterproofing material to dry completely before retesting the shower pan for leaks.
By conducting a water test and addressing any necessary repairs or adjustments, you can ensure that your tile shower pan is properly waterproofed and ready for tiling. Taking the time to test and fix any leaks beforehand can save you from potential water damage and costly repairs in the future.
Installing Shower Fixtures
Installing the Shower Drain
One of the crucial steps in installing a tile shower pan is installing the shower drain properly. The shower drain not only allows water to flow out of the shower but also prevents any potential leaks or water damage. Here’s how you can install the shower drain:
- Start by determining the location of the drain in your shower pan. Place the drain generally at the center and ensure it aligns with the slope of the pan for proper water drainage.
- Measure and cut the shower drain pipe to fit the height of your shower pan. Use a hacksaw or pipe cutter to achieve a clean and precise cut.
- Apply PVC primer to the end of the drain pipe and the inside of the shower drain assembly. Then, apply PVC cement to the same areas.
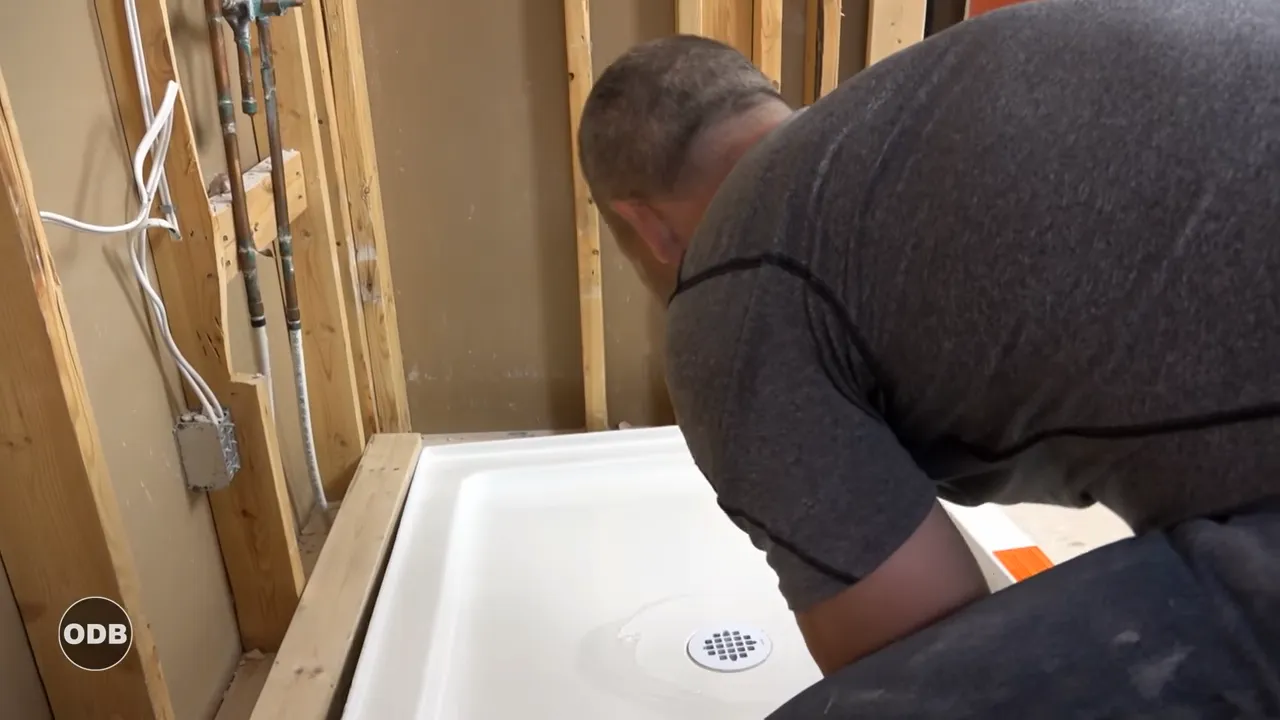
- Insert the shower drain assembly into the drain hole of the pan, making sure it sits securely and properly aligned with the slope.
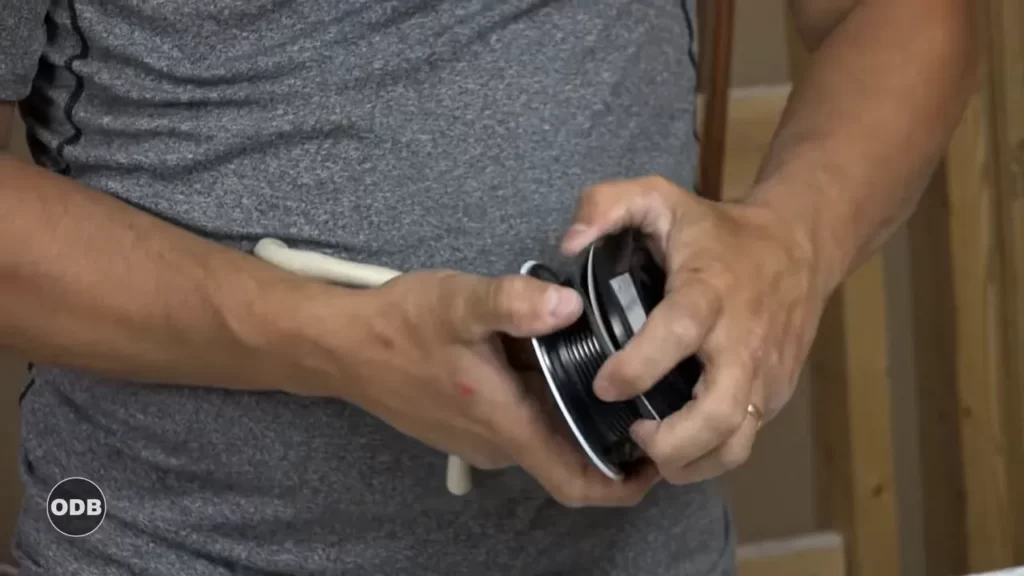
- Tighten the shower drain assembly using a wrench or pliers, ensuring it is firmly in place.
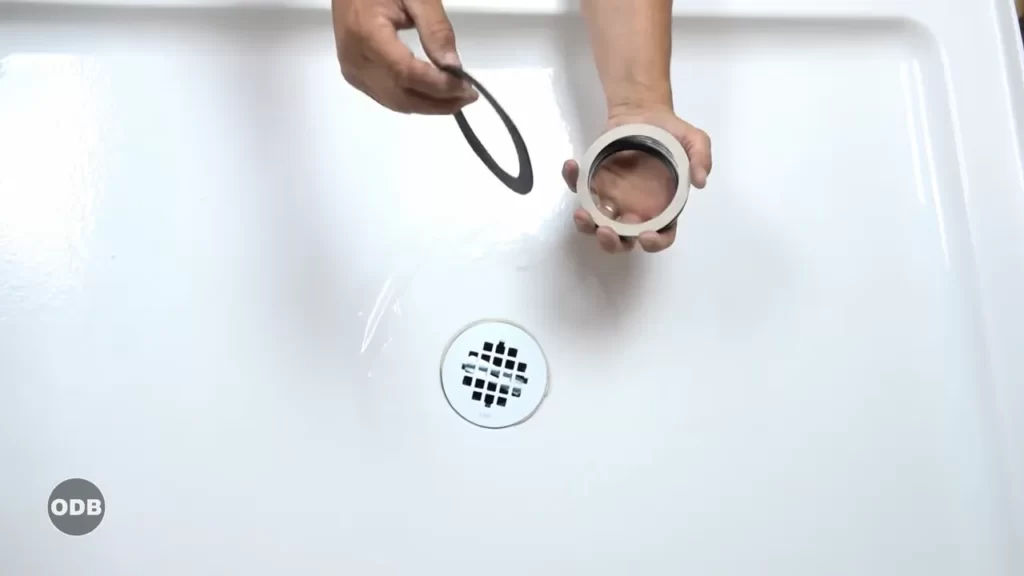
- Attach the rubber gasket and compression nut to the bottom of the drain pipe, securing it tightly.
- Finally, test the drain by pouring water into the pan and checking for any leaks. If necessary, make adjustments or apply additional sealant to eliminate any leaks.
Prepping for Fixtures
Once the shower drain is successfully installed, it’s time to prepare for installing the shower fixtures. Proper preparation ensures a smooth installation process and helps avoid any issues that may arise later. Follow these steps to prep for installing the shower head, handles, and other fixtures:
- Provide an adequate backing for the fixtures. This can be achieved by using a plywood or cement board, which provides stability and support when installing the fixtures.
- Measure and mark the desired position for each fixture on the shower walls. Use a level to ensure the fixtures will be aligned correctly.
- Prepare the shower valve by attaching any necessary fittings, such as copper pipes or elbows, according to the manufacturer’s instructions.
- Apply plumber’s tape to the threaded ends of the fixtures to ensure a watertight connection.
- Install the shower head, handles, and other fixtures according to the manufacturer’s instructions.
- Tighten each fixture securely, but be careful not to overtighten and risk damaging the plumbing or fixtures.
- Check for any leaks by running water through the shower system. If any leaks are detected, make the necessary adjustments or apply additional plumber’s tape to achieve a tight seal.
By following these steps, you can confidently install the shower drain and prep for the installation of shower fixtures in your tile shower pan. Taking the time to ensure proper installation will result in a durable and functional shower that enhances your bathroom and provides a relaxing experience.
Cleaning And Final Touches
After completing the installation of your tile shower pan, it is important to give attention to the cleaning and final touches. This not only ensures a pristine appearance but also enhances the overall durability of your new tile shower. By following the proper cleaning and sealing techniques, you can ensure that your tile shower pan remains both beautiful and functional for years to come.
Cleaning the Tile Pan Surface and Removing Any Residue
Once the tile shower pan is installed, it is crucial to thoroughly clean the surface and remove any residue. This will ensure that the tiles adhere properly and prevent any future issues such as mold growth or discoloration. To clean the tile pan surface, follow these steps:
- Start by removing any excess grout or mortar using a grout float or a putty knife. Be gentle to avoid scratching the tiles.
- Next, use a non-abrasive tile cleaner to remove any dirt or grime. Apply the cleaner to a soft cloth or sponge and gently scrub the tiles in a circular motion.
- Rinse the tiles thoroughly with clean water to remove any residual cleaner.
- Lastly, dry the surface with a clean, lint-free cloth to ensure a streak-free finish.
Applying a Final Sealant for Enhanced Durability and Appearance
Applying a final sealant is an important step in maintaining the durability and appearance of your tile shower pan. A sealant acts as a protective barrier, preventing stains, moisture, and damage. To apply a final sealant, follow these steps:
- Start by selecting a high-quality tile sealant that is suitable for your specific tile material. Read the manufacturer’s instructions for application guidelines and safety precautions.
- Using a paintbrush or a sponge, apply the sealant evenly on the tile surface. Make sure to cover each tile thoroughly, including the grout lines.
- Allow the sealant to dry according to the manufacturer’s instructions. This typically takes a few hours.
- Once the sealant is dry, inspect the tile pan for any missed spots or uneven coverage. If necessary, apply an additional coat.
- After the final coat of sealant is applied, allow it to cure completely before using the shower. This can take up to 24 hours, so make sure to plan accordingly.
By following these cleaning and sealing techniques, you can ensure that your tile shower pan remains in excellent condition and maintains its beauty for years to come. Regular maintenance and periodic resealing will further extend the lifespan of your tile shower, giving you a luxurious and functional space to enjoy.
Frequently Asked Questions
Does Tile Go Directly On Shower Pan?
Tile can be installed directly on a shower pan for a waterproof and durable finish.
Do You Have To Put Mortar Under A Shower Pan?
Yes, it is necessary to put mortar under a shower pan. Mortar provides a stable and solid base for the shower pan, preventing it from shifting or cracking over time. It also helps to seal any gaps and create a water-resistant barrier.
What Is The Proper Way To Install A Shower Pan?
To properly install a shower pan, follow these steps: 1. Start by preparing the subfloor with the necessary slope for drainage. 2. Apply a layer of waterproof membrane on the subfloor and walls. 3. Set the shower pan in place, making sure it’s level and secure.
4. Connect the drain to the plumbing system. 5. Finally, test the shower pan for leaks before tiling or finishing the floor.
Do You Need To Put Anything Under A Shower Pan?
Yes, it is necessary to put something under a shower pan. A shower pan is typically installed over a subfloor to prevent water leakage and provide stability. The material used can vary, such as cement backer board or a waterproofing membrane.
The shower pan should always be properly supported to ensure a durable and watertight installation.
Conclusion
To sum up, installing a tile shower pan is a manageable task that requires careful preparation and the right tools. By following the step-by-step guide provided in this blog post, you can confidently tackle this project and achieve professional-looking results.
Remember to prioritize safety, measure correctly, and take your time during the installation process. With proper planning and execution, your tile shower pan will not only enhance the aesthetic appeal of your bathroom but also provide long-lasting durability. Happy tiling!