To install stick on backsplash, clean the surface thoroughly, peel off the adhesive backing, and firmly press the backsplash onto the desired area. Installing stick on backsplash is a simple process that adds style and protection to your kitchen or bathroom walls.
Benefits Of Installing Stick On Backsplash
Installing a stick on backsplash is a quick and cost-effective way to update your kitchen. Whether you’re looking to rejuvenate your tired space or add a pop of personality to your kitchen, stick on backsplashes offer a variety of benefits. From easy installation to versatile design options, here are a few reasons why stick on backsplashes are a fantastic choice for your kitchen.
Easy and Affordable Way to Upgrade Your Kitchen
When it comes to kitchen upgrades, stick on backsplashes are a game-changer. Unlike traditional tile backsplashes that require professional installation and a considerable budget, stick on backsplashes can be easily installed by anyone, even if you have zero experience with DIY projects. Their peel-and-stick nature eliminates the need for special tools or messy adhesives, saving you time, money, and headaches.
The affordability of stick on backsplashes makes them an attractive option for budget-conscious homeowners. With prices often significantly less than traditional backsplash materials, like ceramic or glass tiles, you can achieve a high-end look for a fraction of the cost.
Versatile Design Options to Suit Any Style
Stick on backsplashes come in a wide array of design options, ensuring there’s something for everyone. Whether you prefer a classic look, a modern aesthetic, or something in between, you can find stick on backsplashes that perfectly match your style.
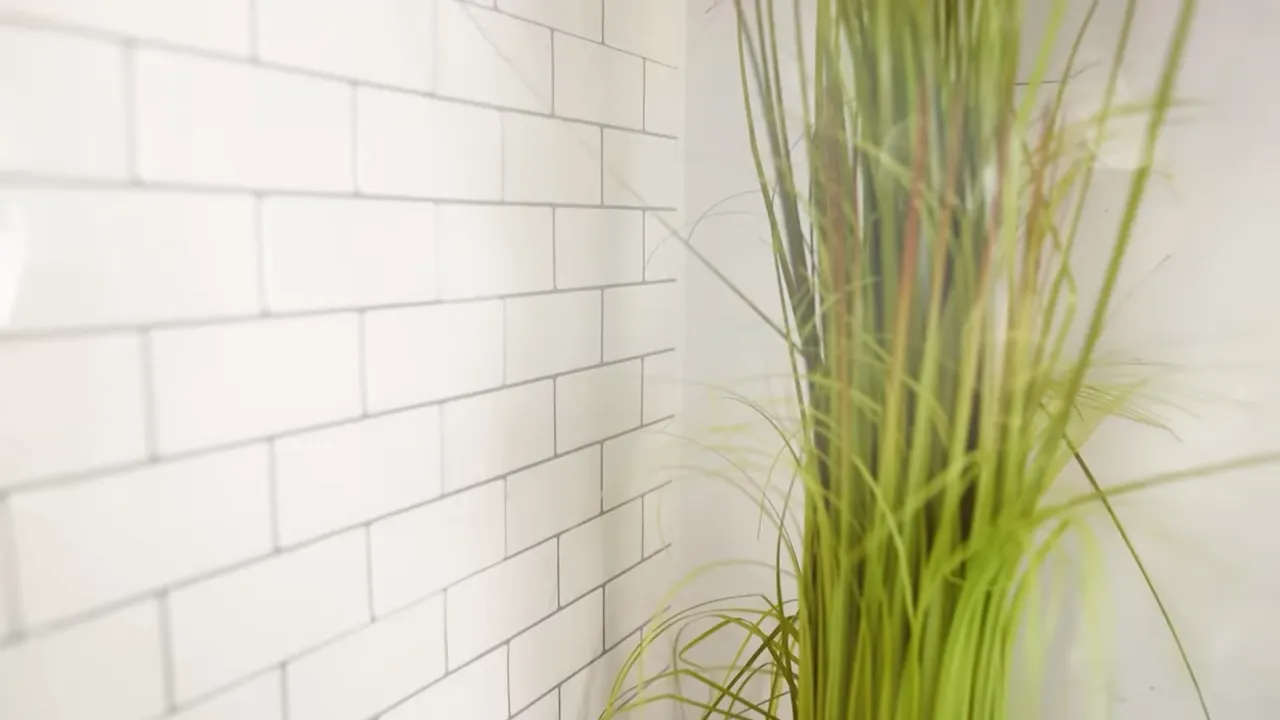
From sleek and minimalist designs to bold and colorful patterns, the versatility of stick on backsplashes allows you to transform your kitchen into a space that reflects your unique personality. With various materials, such as stainless steel, vinyl, or glass, you can easily achieve the look you desire.
Protects Your Walls from Stains and Splatters
One of the primary functions of a backsplash is to protect your walls from stains and splatters. Stick on backsplashes excel in this department, providing a barrier between your cooking area and your walls.
With their durable and easy-to-clean surfaces, stick on backsplashes prevent liquids, oils, and food stains from seeping into your walls. This not only keeps your kitchen looking clean and fresh but also reduces the risk of long-term damage to your walls.
Furthermore, stick on backsplashes are resistant to heat, making them a suitable choice for areas behind stovetops or ranges, where a traditional tile backsplash might not fare well.
Overall, the benefits of installing a stick on backsplash in your kitchen are significant. From the ease of installation to the versatility of design options and the protection it provides, a stick on backsplash is an excellent choice for any homeowner looking to enhance their kitchen’s functionality and aesthetic appeal.
Choosing The Right Stick On Backsplash For Your Kitchen
Installing a stick-on backsplash in your kitchen is a great way to give it a stylish and fresh look without the hassle of traditional tiles. But with so many options available, how do you choose the right stick on backsplash for your kitchen? In this post, we will guide you through the process of choosing the perfect stick on backsplash that complements your kitchen’s color scheme, decor, and style.
Consider Your Kitchen’s Color Scheme and Decor
A stick on backsplash can either blend seamlessly with your kitchen’s color scheme or serve as an accent piece that adds a pop of color and excitement. Before making a decision, take a moment to consider your kitchen’s existing decor and color scheme. Are you going for a sleek and modern look, or do you prefer a more traditional and rustic feel?
If your kitchen has neutral tones and a minimalist style, you might want to opt for stick on backsplash in shades of white, gray, or beige. This will create a seamless and harmonious look, enhancing the overall elegance of your kitchen. On the other hand, if you want to make a bold statement and add an eye-catching element to your kitchen, consider stick on backsplash in vibrant colors like red, blue, or green.
Remember, your stick on backsplash can either blend in or stand out, depending on your desired aesthetic. Consider the existing color scheme and decor of your kitchen to find the perfect stick on backsplash that fits seamlessly into your space.
Measure the Area You Want to Cover
Once you have an idea of the color scheme and decor you are aiming for, it’s time to measure the area you want to cover with a stick on backsplash. This will help you determine the quantity and size of stick on backsplash tiles you need to purchase.
Start by measuring the height and width of the area where you plan to install the stick on backsplash. Take into account any obstacles such as electrical outlets or windows. It’s a good idea to add a few extra inches to your measurements to ensure you have enough material to work with and to account for any mistakes or adjustments during the installation process.
Once you have gathered your measurements, use them to calculate the square footage of the area you want to cover. This will enable you to determine how much stick on backsplash material you need to purchase, ensuring you neither overbuy nor fall short.
Select a Stick on Backsplash that Matches Your Style
With your color scheme and measurements in mind, it’s time to browse through the various stick on backsplash options available and select one that matches your personal style. Whether you gravitate towards a sleek and modern design, a vintage pattern, or a nature-inspired theme, there’s a stick on backsplash out there that will fulfill your aesthetic preferences.
Consider the material, texture, and pattern of stick on backsplash tiles as well. Some stick on backsplashes are designed to mimic the appearance of traditional tiles, while others offer a more textured or three-dimensional look.
Remember, the stick on backsplash you choose should not only match your kitchen’s color scheme and decor but also reflect your personal style and taste. By selecting a stick on backsplash that complements your kitchen’s overall aesthetic, you will create a cohesive and visually appealing space.
Now that you know how to choose the right stick on backsplash for your kitchen, it’s time to get started on your installation project. Whether you opt for a neutral palette or a bold statement, measuring the area you want to cover and selecting a stick on backsplash that matches your style will help you achieve the kitchen of your dreams.
Preparing Your Kitchen For Stick On Backsplash Installation
Before you jump into installing a stick on backsplash in your kitchen, it’s important to take the time to properly prepare the wall surface. This will ensure that the backsplash adheres securely and looks flawless once it’s in place. There are a few key steps you need to follow to get your kitchen ready for the stick on backsplash installation:
Clean the Wall Surface Thoroughly
The first step in preparing your kitchen for stick on backsplash installation is to clean the wall surface thoroughly. This will remove any dirt, grease, or other debris that could prevent the adhesive from sticking properly. Use a mild detergent or kitchen cleaner and a sponge or cloth to wipe down the walls. Pay special attention to areas around the stove, sink, and countertops where grease and food splatters are most common.
Remove Any Existing Backsplash or Wallpaper
If you have an existing backsplash or wallpaper on the walls, it’s important to remove it before installing the stick on backsplash. You can use a putty knife or scraper to gently pry off the old backsplash or wallpaper. Be careful not to damage the wall surface underneath, as this can affect the adhesion of the stick on backsplash. Once the old material is removed, thoroughly clean the wall surface again.
Fill in Any Holes or Uneven Areas on the Wall
Next, inspect the wall surface for any holes, cracks, or uneven areas. It’s important to have a smooth and even surface for the stick on backsplash to adhere to. If you find any holes or uneven areas, use a spackling compound or wall filler to fill them in. Allow the compound to dry completely, and then sand it down to create a smooth finish. Wipe away any dust or debris before proceeding with the installation.
By following these steps, you’ll ensure that your kitchen is properly prepared for stick on backsplash installation. This will not only help the adhesive bond securely, but it will also result in a professional-looking end result. Now that you’ve prepared your kitchen, you’re ready to move on to the next step: installing the stick on backsplash!
Step-By-Step Guide To Installing Stick On Backsplash
Installing a stick on backsplash is a simple and quick way to update your kitchen or bathroom without the hassle and mess of traditional tile installation. With just a few tools and a little bit of time, you can transform your space into a stylish and functional area. In this step-by-step guide, we will walk you through the process of installing stick on backsplash tiles, ensuring a beautiful and durable result.
Measure and Mark the Starting Point on the Wall
Before you begin the installation process, it’s important to measure and mark the starting point on the wall. This will ensure that the tiles are aligned and centered properly. Use a measuring tape to determine the center of the wall and make a small mark at the desired height.
If you are working around outlets or switches, take these into consideration when marking your starting point. Measure the distance from the center mark to the first outlet or switch, and make a note of it for later reference.
Apply Adhesive or Peel off the Backing of the Stick on Backsplash
Once you have marked the starting point, it’s time to apply the adhesive or peel off the backing of the stick on backsplash tiles. Check the manufacturer’s instructions for the recommended adhesive or backing removal method.
If using adhesive, start by applying a small amount to the back of the first tile using a caulk gun or adhesive tube. Then, spread the adhesive evenly with a putty knife or trowel. If peeling off the backing, simply peel away the protective film to expose the adhesive side of the tile.
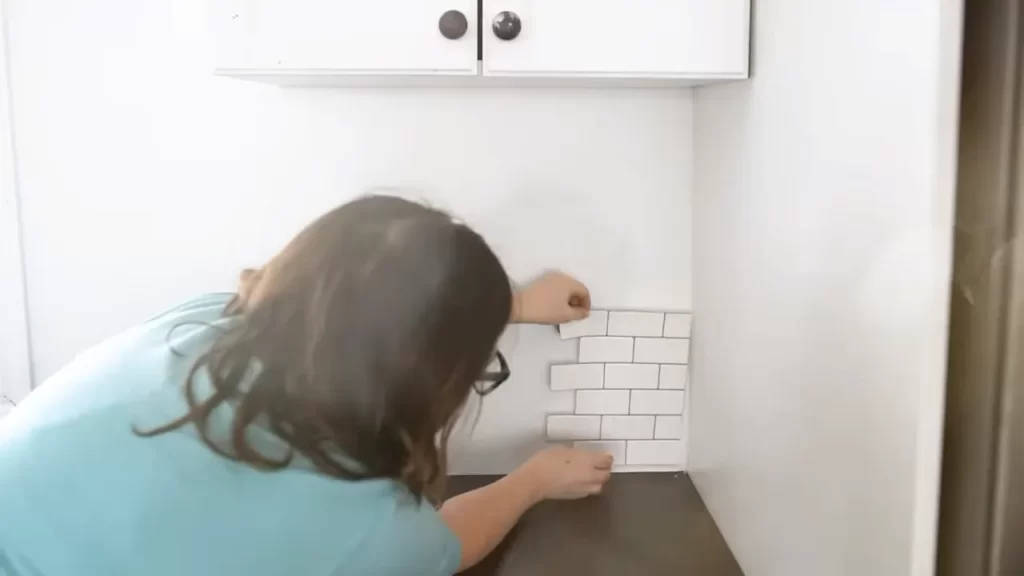
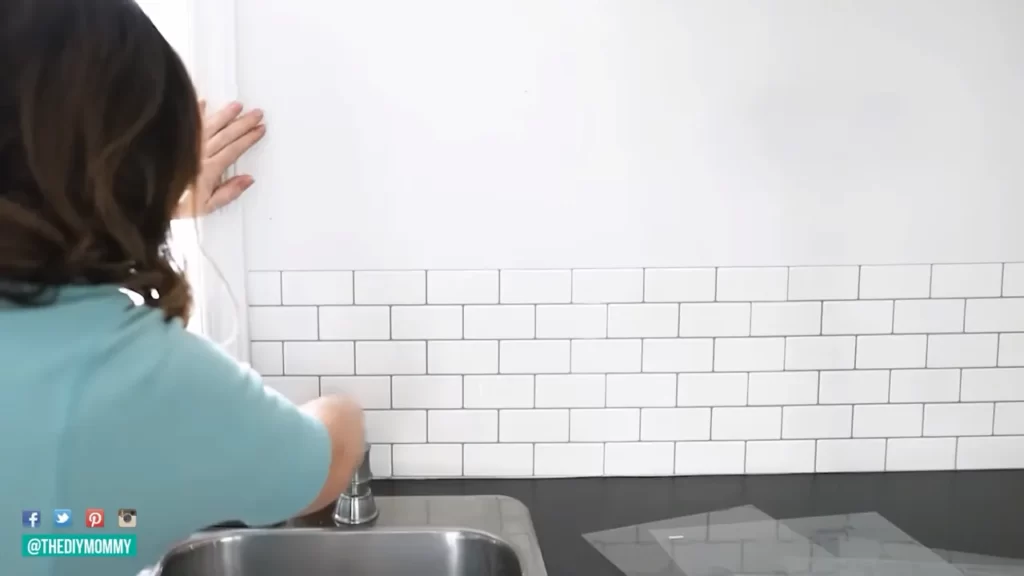
Align and Press the Stick on Backsplash onto the Wall
With the adhesive or backing ready, align the first tile with the starting point on the wall. Carefully press the tile onto the wall, ensuring it is level and even with the surrounding tiles. Use a level to double-check the alignment.
Apply firm pressure to secure the tile in place. You can use a roller or your hand to press down on the tile, ensuring proper adhesion. Repeat this process for each tile, working from the center outwards for a symmetrical and professional-looking installation.
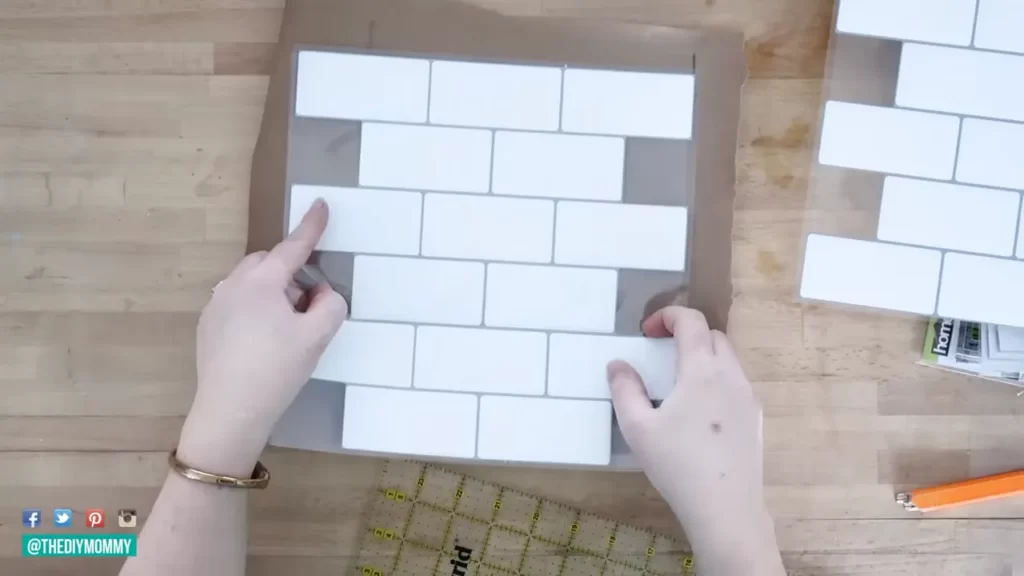
Repeat the Process for Each Tile, Ensuring Proper Alignment
Continue installing the stick on backsplash tiles one by one, repeating the adhesive application or backing removal process and ensuring proper alignment. As you work your way across the wall, use spacers or tape to maintain consistent spacing between the tiles.
Take note of any custom cuts or trim pieces that may be needed, such as those around outlets or corners. Measure and cut the tiles accordingly, ensuring they fit snugly against the wall or around any obstacles.
Once all the tiles are in place, step back and admire your newly installed stick on backsplash. With just a few simple steps, you have transformed your space and added a touch of style and functionality. Enjoy your beautiful and easy-to-clean backsplash!
Tips For A Successful Stick On Backsplash Installation
Installing a stick on backsplash is a quick and affordable way to update the look of your kitchen or bathroom. With their peel-and-stick design, these backsplash tiles are easy to install, even for those with limited DIY experience. However, to ensure a successful installation, there are a few key tips to keep in mind. From using a level to trimming tiles for a perfect fit, these tips will help you achieve a professional-looking backsplash in no time.
Use a Level to Ensure the Tiles Are Straight
One of the most important steps in installing a stick on backsplash is ensuring that the tiles are straight. A crooked backsplash can be an eyesore and detract from the overall aesthetic of your kitchen or bathroom. To avoid this, use a level during the installation process. Simply place the level on top of each tile as you stick it to the wall, ensuring that it is perfectly straight. Adjust the tile as needed before applying pressure to ensure a secure adhesion.
Trim or Cut Tiles as Needed for a Perfect Fit
Not all walls are created equal, and you may find that some of your stick on backsplash tiles need to be trimmed or cut in order to fit properly. This is especially common around electrical outlets or corners. To achieve a perfect fit, measure the area where the tile needs to be trimmed or cut and mark it with a pencil. Then, using a tile cutter or utility knife, carefully trim or cut the tile to size. Remember to measure twice and cut once to avoid any mistakes that could result in wasted tiles.
Apply Pressure to Ensure the Tiles Adhere Properly
Once you have placed a tile on the wall, it’s important to apply pressure to ensure proper adhesion. Press firmly on the tile with your hand or use a roller tool specifically designed for stick on backsplash tiles. Applying pressure helps the adhesive bond securely to the wall, preventing any corners or edges from peeling up over time. Take your time and ensure that each tile is firmly pressed against the wall before moving on to the next one.
By following these simple tips, you can ensure a successful stick on backsplash installation. Remember to use a level to ensure straight tiles, trim or cut tiles as needed for a perfect fit, and apply pressure to properly adhere the tiles to the wall. With these tips in mind, you’ll have a beautiful backsplash that will enhance the look of your kitchen or bathroom for years to come.
Maintaining And Cleaning Your Stick On Backsplash
Once you have successfully installed your stick on backsplash, it is important to properly maintain and clean it to ensure its longevity and keep it looking pristine. Follow these simple steps to keep your stick on backsplash looking as good as new.
Regularly Wipe Down the Tiles with a Mild Cleaner
To maintain the cleanliness of your stick on backsplash, it is recommended to regularly wipe down the tiles with a mild cleaner. This will help remove any grease, grime, or buildup that may accumulate over time. Simply dampen a soft cloth or sponge with the mild cleaner and gently wipe the tiles in a circular motion. Rinse the cloth or sponge with clean water and continue wiping until all residue is removed.
Avoid Harsh Abrasives or Scrubbing Brushes
While it may be tempting to use abrasive cleaners or scrubbing brushes to tackle stubborn stains or buildup, it is important to avoid these harsh methods when cleaning your stick on backsplash. Harsh abrasives or scrubbing brushes can cause damage to the adhesive and may result in peeling or discoloration of the tiles. Stick to using a soft cloth or sponge with a mild cleaner for the best results.
Repair or Replace Any Damaged or Peeling Tiles
If you notice any damaged or peeling tiles on your stick on backsplash, it is crucial to address the issue promptly. Leaving damaged or peeling tiles unattended can lead to further damage or even the entire backsplash coming off. Carefully remove the damaged tile and clean the area thoroughly. Apply a new tile following the same installation steps as before, ensuring proper adherence to the surface. This will help maintain the integrity of your stick on backsplash and keep it looking flawless.
Frequently Asked Questions
Installing a stick on backsplash can be a quick and easy way to update the look of your kitchen or bathroom. However, you may have some questions about the installation process. In this section, we will answer some frequently asked questions about installing a stick on backsplash.
Can Stick on Backsplash be Installed over Existing Tiles?
Yes, stick on backsplash can be installed over existing tiles. This is one of the biggest advantages of using a stick on backsplash, as it eliminates the need for removing the existing tiles before installation. The adhesive on the backsplash is designed to stick well to tiles, as long as the surface is clean and free of any dust or grease.
How Long Does Stick on Backsplash Last?
The lifespan of a stick on backsplash can vary depending on the quality of the product and how it is installed. Generally, a high-quality stick on backsplash can last for several years without peeling or discoloration. However, it is important to note that exposing the backsplash to excessive heat or moisture can shorten its lifespan. Taking proper care of your stick on backsplash, such as avoiding direct contact with hot pans or steam from the stove, can help extend its durability.
Can Stick on Backsplash be Easily Removed if I Change My Mind?
Yes, stick on backsplash is designed to be easily removable if you change your mind or want to update your backsplash in the future. To remove the stick on backsplash, simply peel it off the wall starting from one corner. The adhesive used for stick on backsplash is usually strong enough to keep the backsplash firmly in place but also allows for easy removal without damaging the wall surface. However, it is always a good idea to test a small area first to ensure that the adhesive does not leave any residue on your wall.
In conclusion, stick on backsplash can be installed over existing tiles, and it is a durable and easy-to-remove option for updating the look of your kitchen or bathroom. With proper care, a stick on backsplash can last for several years, providing a stylish and functional surface in your home.
Frequently Asked Questions
How Do You Prepare A Wall For A Peel And Stick Backsplash?
To prepare a wall for a peel and stick backsplash, follow these steps: 1. Clean the wall thoroughly with soap and water to remove any dirt or grease. 2. Fill in any cracks or holes in the wall with spackling compound and sand it smooth.
3. Use a primer to ensure better adhesion of the backsplash. 4. Measure and mark the area where the backsplash will be installed. 5. Peel off the backing of the backsplash and carefully stick it onto the prepared wall, smoothing out any air bubbles.
Is Peel And Stick Backsplash Easy To Install?
Yes, peel and stick backsplash is easy to install. It requires no special tools or skills and can be done quickly. Just peel off the backing and stick it to the surface, smoothing out any bubbles. It’s a hassle-free way to update your kitchen or bathroom.
How Do You Use Peel And Stick Backsplash?
To use peel and stick backsplash, follow these steps: 1. Clean the surface thoroughly where you want to apply the backsplash. 2. Measure and cut the backsplash to fit the area. 3. Peel off the backing from the adhesive side of the backsplash.
4. Stick the backsplash onto the surface, smoothing out any air bubbles. 5. Press firmly to ensure proper adhesion.
How Do I Make Sure My Peel And Stick Backsplash Stays?
To ensure your peel and stick backsplash stays in place, follow these tips: 1. Clean the surface thoroughly before applying. 2. Use a primer if recommended by the manufacturer. 3. Apply the adhesive evenly and firmly press the tiles to remove air bubbles.
4. Avoid excessive exposure to moisture or heat. 5. Keep the area around the backsplash clean to prevent dirt buildup.
Conclusion
Installing a stick-on backsplash is a simple and cost-effective way to transform your kitchen or bathroom. With just a few easy steps, you can achieve a fresh and modern look without the need for professional help. By thoroughly preparing the surface, carefully applying the adhesive tiles, and making sure everything is properly aligned, you can create a stunning backsplash that not only enhances the aesthetic appeal of your space but also protects your walls from splashes and stains.
So why wait? Start your DIY backsplash project today and enjoy the beautiful transformation it brings to your home.