To install a shower wall surround corner panel, follow these steps.
Choosing The Right Shower Wall Surround Corner Wall Panel
When it comes to installing a shower wall surround corner wall panel, one of the most crucial decisions you’ll make is choosing the right panel for your needs. The corner wall panel not only enhances the overall aesthetics of your bathroom but also plays a vital role in protecting your shower walls from moisture and water damage.
Considerations for selecting the perfect shower wall surround corner wall panel
Before making your purchase, it’s essential to consider a few factors that will help you make an informed decision and ensure that the selected corner wall panel meets your requirements. Here are some considerations to keep in mind:
1. Material
The material of the shower wall surround corner wall panel is paramount. It should be durable, waterproof, and able to withstand daily use and exposure to moisture. Some common materials include:
- Acrylic: Acrylic panels are lightweight, easy to clean, and resistant to mildew and stains.
- Fiberglass: Fiberglass panels are affordable and provide excellent water resistance.
- Tile: Tile panels offer a customizable and elegant look, but they require more maintenance to prevent grout from deteriorating.
2. Size and Fit
Ensure that the chosen corner wall panel is the right size and fit for your shower. Measure the dimensions accurately to avoid any gaps or overlapping. It’s recommended to consult the manufacturer’s guidelines or seek professional advice to ensure a precise fit.
3. Style and Design
The style and design of the corner wall panel play a significant role in enhancing the look of your bathroom. Consider the overall theme and aesthetics of your bathroom when selecting the style and design. Whether you prefer a seamless and minimalist look or a bold and textured appearance, choose a corner wall panel that complements your desired style.
4. Installation Process
The installation process should also be taken into account. Some corner wall panels might be straightforward to install, while others might require professional assistance. Ensure that you are comfortable with the installation process or consult a professional if necessary.
5. Maintenance and Cleaning
Finally, consider the maintenance and cleaning requirements of the corner wall panel. Choose a panel that is easy to clean and maintain to ensure its longevity. Avoid panels that may require excessive scrubbing or harsh chemicals to keep them looking pristine.
By considering these factors and conducting thorough research, you can choose the perfect shower wall surround corner wall panel that not only meets your needs but also adds style and functionality to your bathroom.

Preparing For Installation
Before installing a shower wall surround corner wall panel, it is essential to properly prepare the area. This involves gathering the necessary tools and materials as well as measuring the shower area accurately. By following these steps, you can ensure a smooth and efficient installation process.
Gather the necessary tools and materials
To begin the installation process, it is important to gather all the tools and materials you will need. This will help you avoid any unnecessary interruptions or delays. Here is a list of the essential items you should have on hand:
| Tools | Materials |
|---|---|
|
|
Having all these tools and materials readily available will help you to work efficiently and complete the installation process with ease.
Measuring the shower area accurately
Accurate measurements are crucial for a successful installation. Before you start, it is essential to measure the shower area properly. Here are the steps to follow:
- Start by measuring the height and width of each wall where the corner panels will be installed.
- Use a measuring tape to measure from the floor to the height where the panels will end.
- Measure the width of each wall by running the measuring tape from corner to corner.
- Double-check your measurements to ensure accuracy.
By taking precise measurements, you can ensure that the shower wall surround corner panels fit perfectly and provide a seamless finish.
Once you have gathered all the necessary tools and materials and accurately measured the shower area, you are ready to move forward with the installation. Following these steps will help you achieve a professional-looking result.

Step-By-Step Installation Guide
When it comes to giving your bathroom a fresh new look, installing a shower wall surround corner wall panel can make a big difference. Not only does it enhance the appearance of your shower, but it also provides a durable and easy-to-clean surface. To help you with the installation process, we have prepared a step-by-step guide below.
Removing any existing wall material or old surround
If you already have an existing wall material or an old surround in place, you’ll need to remove it before installing the new corner wall panels. Start by examining the current setup and identifying any screws, nails, or adhesive that need to be removed. Use a screwdriver, pry bar, or utility knife as necessary to loosen and detach the material. Once everything has been removed, clean the area thoroughly to ensure a clean and smooth surface for the new installation.
Preparing the wall surface for installation
Preparing the wall surface is crucial to ensure proper adhesion of the corner wall panels. Begin by checking for any imperfections or bumps on the wall. Use a putty knife or sandpaper to smooth out any rough areas. Next, inspect the surface for moisture or mold. If you notice any signs of these, address the issue before proceeding with the installation. Finally, clean the wall with a mild soap and water solution to remove any dirt or residue that might affect the panel’s bond.
Cutting and fitting the corner wall panels
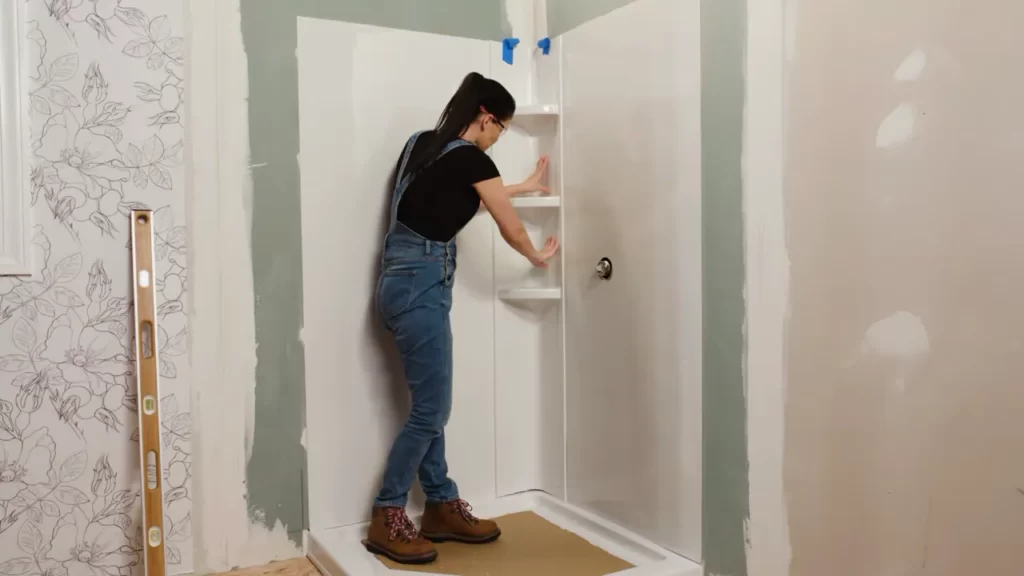
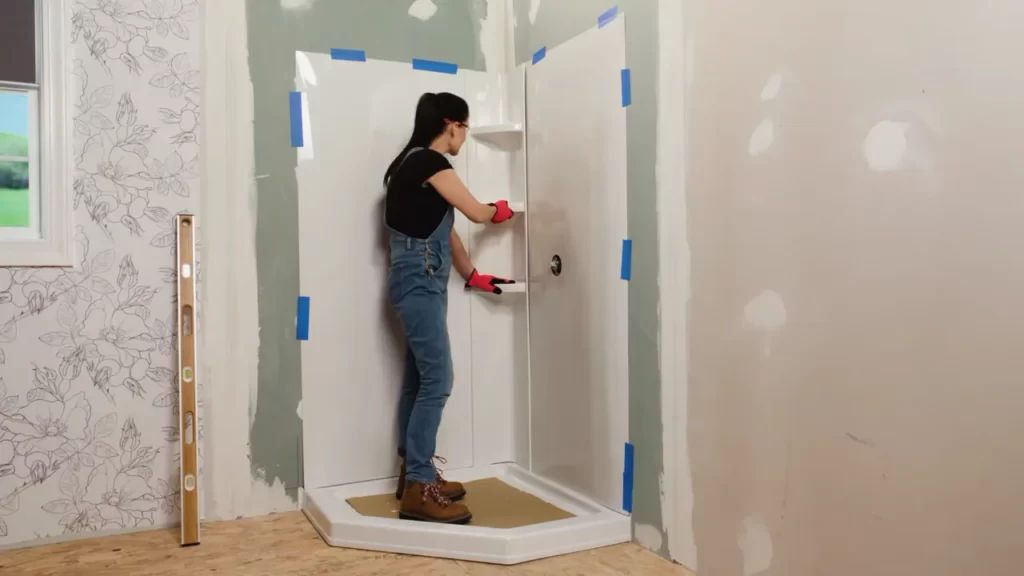
Before cutting the corner wall panels, measure the height and width of the shower area carefully. Take note of any corners or obstacles that may require special cuts. Using a circular saw or a jigsaw with a fine-tooth blade, make precise cuts on the panels according to your measurements. Remember to wear safety goggles and work in a well-ventilated area. Once the panels are cut, dry-fit them to ensure they fit correctly before moving on to the next step.
Securing the panels to the wall
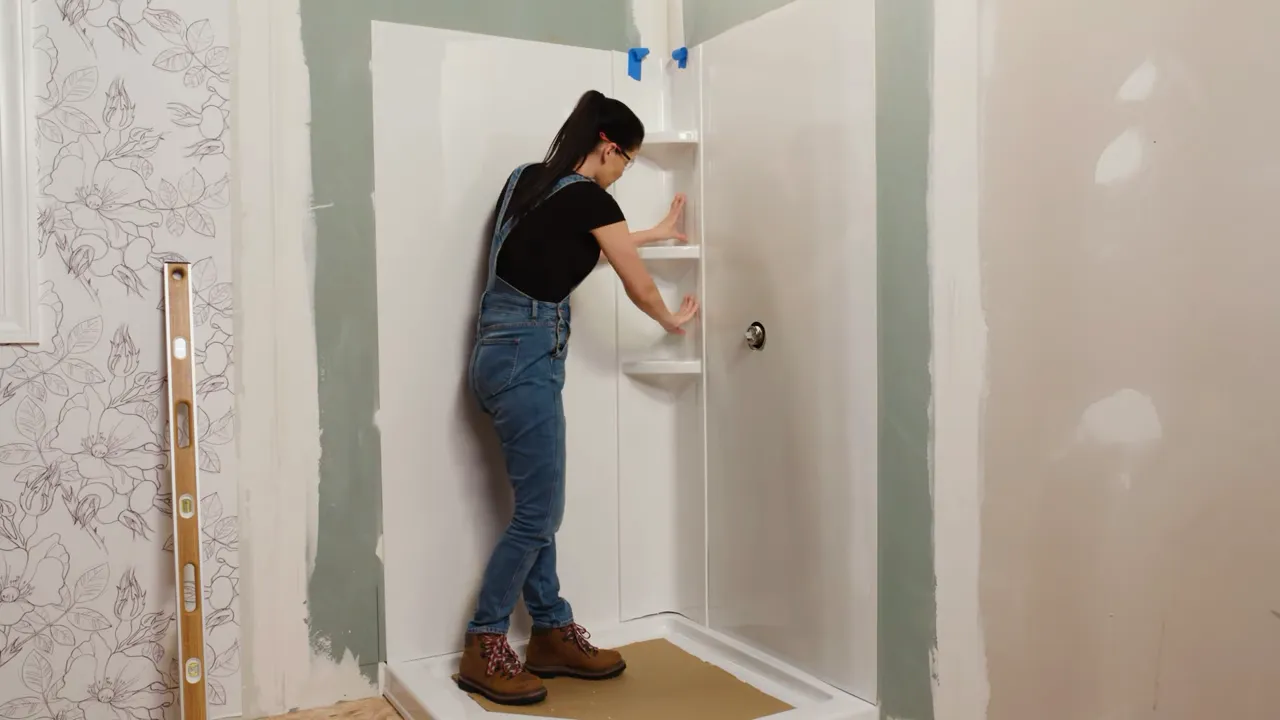
After confirming the fit, it’s time to secure the corner wall panels to the wall. Apply a generous amount of adhesive to the back of each panel, ensuring even coverage. Press the panels firmly against the prepared wall surface, starting from one corner and working your way across. Use a level to ensure the panels are aligned vertically and horizontally as you go. If necessary, use brad nails or adhesive-recommended fasteners for additional support.
Sealing and caulking the edges
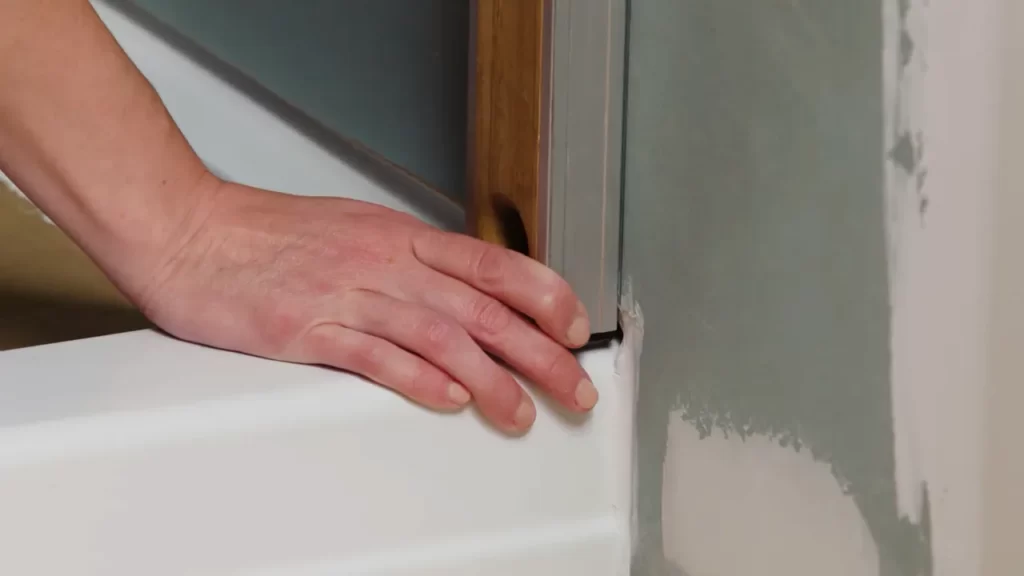
Once the corner wall panels are securely in place, it’s time to seal and caulk the edges for a finished look. Using a silicone-based caulk in a color that matches your panels, carefully apply a bead of caulk along the edges where the panels meet the wall and each other. Smooth the caulk using a caulk finishing tool or your finger, ensuring a tight seal and an even finish. Allow the caulk to dry completely before using the shower.
By following this step-by-step installation guide, you’ll be able to install your shower wall surround corner wall panels efficiently and create a stunning update for your bathroom. Take your time, pay attention to detail, and enjoy the transformation.

Tips For A Successful Installation
Proper installation is key to achieving a beautiful and functional shower wall surround. Whether you are a seasoned DIY enthusiast or new to home improvement projects, these tips will help ensure a successful installation of your shower wall panel corner surround.
Ensuring a proper fit and alignment of the panels
Before you begin the installation process, it is essential to ensure that the shower wall panels fit perfectly and are aligned properly. This will not only enhance the aesthetics but also prevent any future leaks or damages. Follow these steps to ensure a proper fit and alignment:
- Measure and mark: Measure the dimensions of your shower area accurately. Use a level and a measuring tape to mark the height and width where the panels will be installed. This will serve as a guide during the installation process.
- Cut the panels: If necessary, cut the panels to fit the marked dimensions. Ensure that the cuts are clean and straight to achieve a seamless look.
- Dry fit the panels: Before applying any adhesive or sealant, dry fit the panels in their designated positions to check for any adjustments needed. This step will save you time and effort in the long run.
- Adjust if needed: If the panels do not fit properly or are misaligned, make the necessary adjustments. This may involve trimming the panels further or sanding down any uneven edges.
Properly sealing and waterproofing the wall panels
Sealing and waterproofing the shower wall panels are crucial to prevent water damage and mold growth. Follow these steps to ensure proper sealing and waterproofing:
- Preparation: Clean the surface of the walls and remove any debris or existing sealant. This will ensure better adhesion and prevent any imperfections.
- Apply adhesive: Use an adhesive recommended by the manufacturer and apply it evenly on the back of the panels. Be generous with the adhesive to ensure a secure and long-lasting bond.
- Press and align: Carefully press the panels onto the wall, starting from the bottom and working your way up. Ensure proper alignment with the marked dimensions and use a rubber mallet or a roller to eliminate any air bubbles.
- Seal the joints: Apply a waterproof sealant to the joints between the panels to create a watertight barrier. This will prevent water from seeping through the gaps and causing damage.
Cleaning and maintaining the installed shower wall surround
Now that your shower wall surround is installed, it is important to keep it clean and well-maintained to prolong its lifespan. Follow these tips for easy cleaning and maintenance:
- Regular cleaning: Clean the surface of the panels regularly using a mild soap or a recommended shower cleaner. Avoid using abrasive cleaners or scrub brushes that can damage the finish.
- Preventative measures: To minimize the buildup of soap scum and mold, wipe down the panels with a squeegee after each use. This will prevent water and residue from accumulating.
- Avoid harsh chemicals: When cleaning the panels, avoid using harsh chemicals or solvents that can corrode or discolor the surface. Stick to gentle cleaning products that are safe for the material.
- Inspect for damages: Regularly inspect the panels for any signs of damage or wear. If you notice any cracks or loose parts, address them immediately to prevent further issues.
Frequently Asked Questions
How Do You Attach A Shower Panel To The Wall?
To attach a shower panel to the wall, follow these steps: First, locate and mark the desired height on the wall. Then, drill holes at the marked spots. After that, insert wall anchors into the holes. Finally, align the shower panel with the holes and screw it into place.
What Do You Put Behind Shower Wall Panels?
You can put waterproof material or backer board behind shower wall panels to ensure durability and prevent water damage. It is important to choose materials that are resistant to moisture and mold growth for long-lasting results.
How Do You Install A Shower Wall Surround?
To install a shower wall surround, first, measure the dimensions of the area. Next, cut the panels to fit using a saw or utility knife. Apply adhesive to the back of each panel and press firmly onto the wall. Use a level to ensure they are straight.
Finish by sealing the edges with caulk for a waterproof seal.
How Do You Install Tub Surround Panels?
To install tub surround panels, follow these steps: 1. Measure your tub area and buy the right size panels. 2. Prepare the wall surface by cleaning and removing any old caulk or adhesive. 3. Apply construction adhesive on the back of the panel and press it firmly against the wall.
4. Secure the panels with screws or nails along the edges and corners. 5. Seal the edges with caulk for a watertight finish.
Conclusion
To wrap up, installing a shower wall surround corner wall panel is a straightforward process that can effortlessly transform the look of your bathroom. By following the step-by-step instructions provided in this guide, you can ensure a seamless installation that will not only enhance the aesthetics of your space but also provide the practical benefits of a durable, waterproof wall surface.
So don’t hesitate – give your bathroom a refreshing upgrade today!
