To install a shower cartridge, first, turn off the water supply, remove the faucet handle, unscrew and remove the cartridge, and insert the new cartridge in its place, securing it with the provided screws or clips. Updating your shower cartridge can improve water flow and address leaks, ensuring a more efficient and enjoyable showering experience.
However, understanding the installation process is essential to achieve optimal results. In this guide, we will outline the step-by-step instructions for replacing a shower cartridge easily. By following these simple instructions, you’ll be able to upgrade your shower system quickly and efficiently.
So, let’s dive in and learn how to install a shower cartridge effortlessly.
Gathering The Necessary Tools And Materials
Before you start the installation process of a shower cartridge, it is important to gather all the necessary tools and materials. Having everything at hand will save you time and prevent any interruption during the installation. In this section, we will discuss the essential tools that you will need, as well as the required materials for a successful shower cartridge installation. Let’s get started!
Essential tools for the installation process
In order to complete the installation of a shower cartridge, you will need the following tools:
| Tool | Description |
|---|---|
| Screwdriver | A flathead or Phillips screwdriver will be required to remove any screws holding the cartridge in place. |
| Adjustable wrench | An adjustable wrench will be useful for loosening and tightening any fittings during the installation process. |
| Needle-nose pliers | These pliers will come in handy for removing any small screws or other components from the cartridge. |
| Plumber’s tape | Plumber’s tape is essential for creating a watertight seal around the fittings. |
Make sure you have all these tools readily available before you begin installing the shower cartridge. Having them within reach will make the process much smoother and more efficient.
Required materials to ensure a successful installation
- Shower cartridge: Choose a replacement cartridge that matches the make and model of your shower system.
- Replacement gaskets and O-rings: These small rubber components are necessary for creating a tight seal within the cartridge.
- Plumber’s grease: Applying plumber’s grease to the O-rings and other rubber components will help with lubrication and prevent leaks.
- Replacement screws: If the existing screws are worn or damaged, it’s advisable to have replacement screws on hand.
Having all the required materials ready will ensure a smooth and successful shower cartridge installation. By replacing any worn components and applying plumber’s grease, you will prolong the lifespan of your shower system and prevent future leaks or issues.
Now that you have gathered all the necessary tools and materials, you are one step closer to installing the shower cartridge. In the next section, we will cover the step-by-step process of removing the old cartridge and installing the new one. Stay tuned!

Preparing The Shower Area For Cartridge Installation
When it comes to installing a shower cartridge, proper preparation is key to ensure a smooth and successful installation process. Preparing the shower area beforehand can save you time and help you avoid any potential issues. In this section, we will guide you through the necessary steps to prepare the shower area for cartridge installation.
Turning off the water supply
Before you start working on your shower cartridge, it is essential to turn off the water supply. This step is crucial to prevent any water leakage or accidents during the installation process.
- Locate the water shut-off valves for the shower.
- Turn the valves clockwise until they are tightly closed.
- Once the valves are closed, turn on the shower faucets to drain any remaining water in the lines.
By turning off the water supply, you ensure a safe working environment and minimize the risk of water damage.
Removing the old shower cartridge
Now that you have turned off the water supply, you can proceed to remove the old shower cartridge. This step is crucial before you can install a new one.
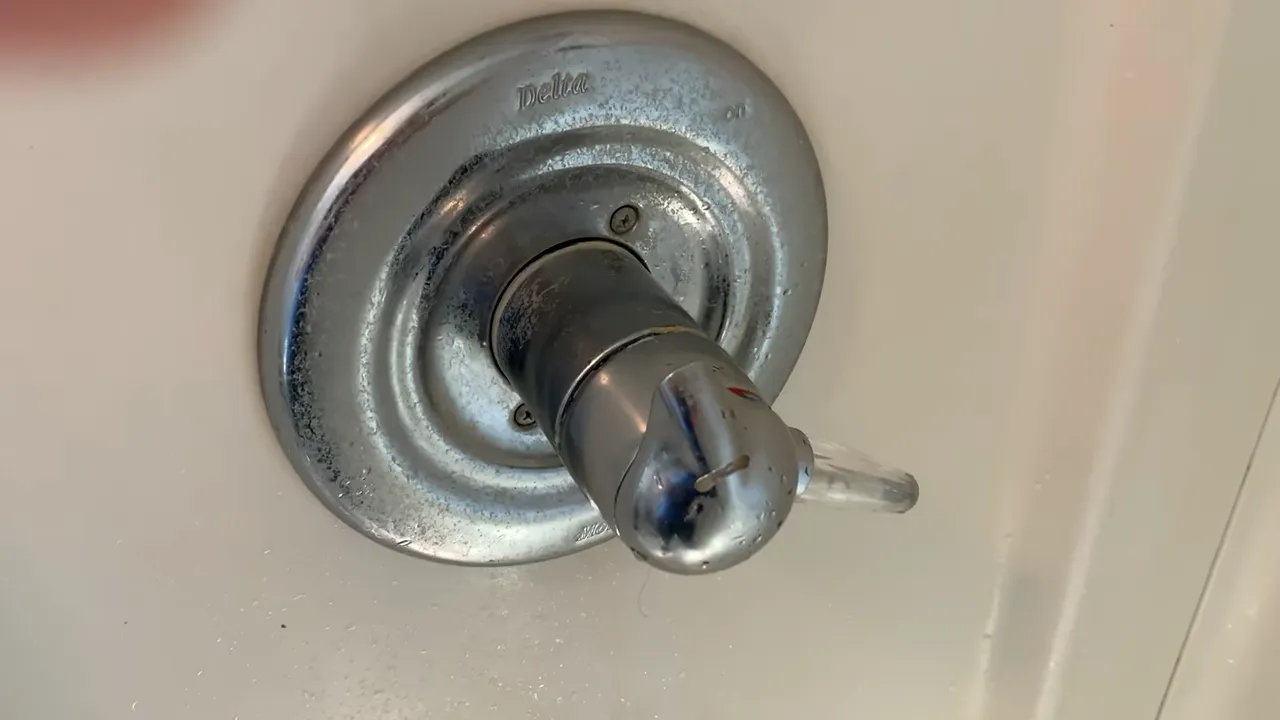
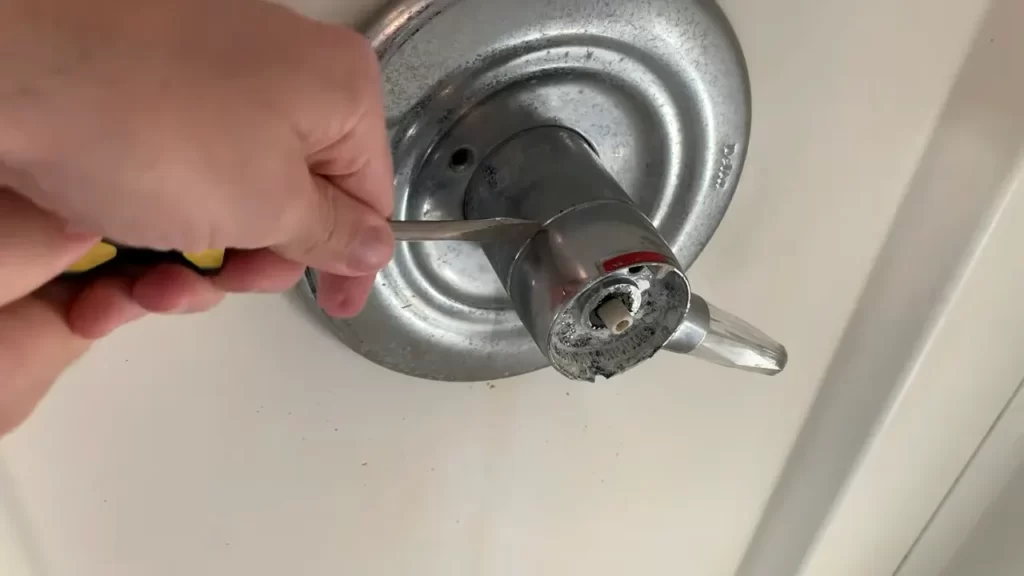
- Remove the shower handle by loosening the screws or detaching any decorative covers.
- Use a plumbing wrench or a shower cartridge removal tool to loosen and remove the old cartridge.
- Inspect the cartridge for any damage or signs of wear and tear. If necessary, clean the cartridge housing to ensure smooth functionality.
Proper removal of the old shower cartridge sets the stage for a successful installation of a new one and allows for better water flow and temperature control.

Choosing The Right Replacement Cartridge
When it comes to replacing a shower cartridge, one of the most critical steps is choosing the right replacement cartridge. With so many options available on the market, it can be overwhelming to determine which one is the best fit for your shower. In this section, we will guide you through the process of identifying the specific model and type of your shower cartridge, and then selecting a compatible replacement cartridge.
Identifying the specific model and type of your shower cartridge
Before you can choose a replacement cartridge, it is essential to identify the specific model and type of your existing cartridge. This information ensures that you select a compatible replacement and avoid any installation issues. Here are a few steps to help you identify the cartridge:
- Turn off the water supply to your shower.
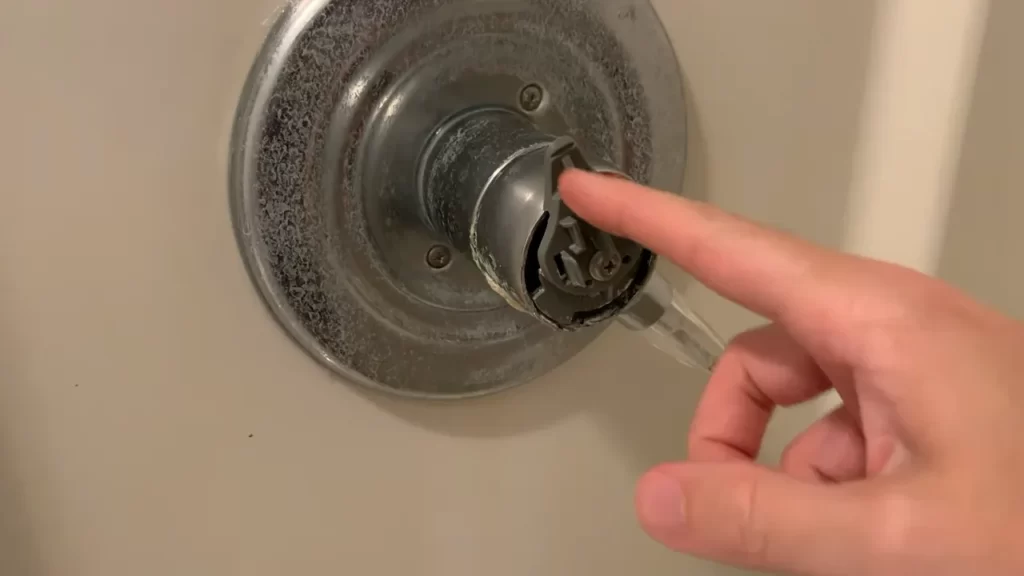
- Remove the shower handle or trim plate to expose the cartridge.
- Inspect the cartridge for any visible markings or labels.
- Note down any identifying information, such as the manufacturer’s name, model number, or part number.
- If you can’t find any markings, take a photo of the cartridge and consult with a local plumbing supplier or the manufacturer’s website.
Selecting a compatible replacement cartridge
Once you have identified the specific model and type of your shower cartridge, it is time to select a compatible replacement. Here are some factors to consider:
- Brand compatibility: Ensure that the replacement cartridge is made by the same manufacturer as the original cartridge. Mixing brands may lead to compatibility issues.
- Type of cartridge: Identify the type of cartridge you need, such as a single-handle or two-handle cartridge. This information is crucial for a successful replacement.
- Size and dimensions: Check the size and dimensions of your existing cartridge to ensure that the replacement will fit perfectly.
- Features and specifications: Consider any specific features or specifications you require, such as pressure-balancing or thermostatic capabilities. Consult the manufacturer’s documentation or website for more information.
By following these steps and considering the necessary factors, you can confidently select a compatible replacement cartridge for your shower. Remember to double-check the information before making a purchase to ensure a seamless installation process.
Installing The New Shower Cartridge
Once you have successfully removed the old shower cartridge, it’s time to install the new one. This step is crucial for ensuring that your shower functions properly and delivers the desired water temperature and pressure. Follow these steps to properly install the new shower cartridge:
Properly aligning the replacement cartridge in the valve body
Aligning the replacement cartridge correctly is essential for a leak-free shower. To do this:
- Carefully examine the replacement cartridge and identify the hot and cold sides. Usually, the manufacturer will label these sides to avoid confusion.
- Take note of any arrows or markings on the cartridge body that indicate the correct orientation.
- Insert the cartridge into the valve body, making sure the hot side aligns with the hot water pipe and the cold side aligns with the cold water pipe.
- Ensure that the cartridge is inserted fully and sits flush against the valve body. Any gaps or misalignment can lead to leaks.
Securing the cartridge with appropriate fasteners
Once the replacement cartridge is properly aligned, it’s crucial to secure it in place using the appropriate fasteners. Here’s how:
- Refer to the manufacturer’s instructions to identify the recommended fasteners for your specific shower cartridge.
- Using the appropriate wrench or screwdriver, tighten the fasteners until they are snug. Be careful not to overtighten, as this can damage the cartridge or the valve body.
- Test the cartridge’s stability by gently pushing and pulling it. If it moves excessively, re-tighten the fasteners until it feels secure.
By following these steps, you can ensure that the new shower cartridge is correctly aligned and securely fastened in the valve body. This will help prevent leaks and maintain optimal performance in your shower.
Reassembling The Shower Components
Once you have successfully replaced the shower cartridge, it’s time to reassemble the various components of your shower. This crucial step will ensure that your shower functions properly and that it looks visually appealing. In this section, we will guide you through the process of reattaching the handle and decorative trim, as well as testing the functionality of the newly installed cartridge.
Reattaching the handle and decorative trim
Begin by locating the handle and decorative trim pieces that you removed earlier. Take a moment to make sure they are clean and free from any debris or residue. This will ensure a smooth and secure reattachment.
- Insert the handle onto the valve stem, aligning it with the appropriate grooves or screw holes. Make sure it slides on smoothly and fits snugly.
- If your handle requires screws to secure it in place, tighten them gently using a screwdriver. Be careful not to overtighten, as this can cause damage to the handle or the valve stem.
- Next, take the decorative trim and position it over the handle, aligning it with any screw holes or tabs. Press it firmly into place, making sure it is flush against the wall.
- If there are any screws or tabs on the trim, use a screwdriver or your fingers to secure them tightly. Again, be cautious not to overtighten.
Testing the functionality of the newly installed cartridge
Now that you have reattached the handle and decorative trim, it’s time to test the functionality of your shower. Follow these steps to ensure everything is working as it should:
- Turn on the water supply by adjusting the hot and cold water valves. Pay attention to any unusual sounds or leaks.
- Operate the handle to select different water temperature and pressure settings. Ensure that the handle moves smoothly and that it accurately controls the flow and temperature of the water.
- While the water is running, check for any leaks around the handle or decorative trim. If you notice any, turn off the water supply immediately and reinspect the cartridge installation for any issues.
- Test the diverter, if your shower has one, by switching the flow of water between different showerheads or features. Verify that it functions correctly and smoothly.
Congratulations! You have successfully reassembled your shower components and tested the functionality of the newly installed cartridge. By following these steps, you should now have a fully functional and leak-free shower that can provide you with a refreshing and enjoyable bathing experience.
Troubleshooting Tips For Common Installation Issues
Even with the best intentions and careful installation, issues may arise when installing a shower cartridge. It’s important to be prepared for these common installation problems and know how to troubleshoot them effectively. In this section, we’ll discuss two common issues that may occur during shower cartridge installation: leaking or dripping after installation and difficulties in removal or installation.
Leaking or Dripping After Installation: Possible Causes and Solutions
If you notice that your shower cartridge is leaking or dripping after the installation, don’t panic. There are a few common causes for this issue, and luckily, most of them have simple solutions. Here are a few possible causes and the steps you can take to resolve them:
- Loose connections: Ensure that all connections are properly tightened. Examine the cartridge and adjacent pipes to make sure there’s no looseness. If you find any loose connections, tighten them with the appropriate tools.
- Damaged O-rings: O-rings can deteriorate over time or get damaged during installation. Check the O-rings on the cartridge for any signs of wear or damage. If needed, replace the O-rings with new ones compatible with your shower cartridge model.
- Improper alignment: Sometimes, improper alignment of the cartridge can lead to leaking or dripping. Take a close look at the cartridge and ensure it is properly aligned within the housing. If not, adjust it as needed.
- Defective cartridge: In rare cases, a defective cartridge may be the cause of the leak. If you’ve tried all the above steps and the problem persists, consider replacing the cartridge with a new one from the manufacturer.
Difficulties in Removal or Installation: Helpful Techniques and Hacks
Removing or installing a shower cartridge can be challenging, especially if you encounter resistance or have limited space to work with. Here are some helpful techniques and hacks to ease the process:
- Applying heat: If the cartridge seems stuck or difficult to remove, applying heat can help loosen it. Use a hairdryer or heat gun to warm the housing around the cartridge. As the metal expands, it may become easier to remove.
- Using a cartridge puller: A cartridge puller is a specialized tool designed to remove stubborn cartridges. It provides a strong grip and leverage, making the removal process easier. Consider using a cartridge puller if you’re facing difficulties.
- Applying lubrication: Lubricating the cartridge can help with both removal and installation. Apply a small amount of plumber’s grease or silicone lubricant to the cartridge’s outer surface to reduce friction and ease the process.
- Using a wrench: In some cases, a wrench may be necessary to provide the extra torque required for removal. Be cautious not to damage the cartridge or surrounding components when using a wrench.
Remember, if you’re not confident in your abilities or encounter persistent issues, it’s always a good idea to consult a professional plumber. They have the expertise and experience to tackle even the most challenging shower cartridge installation problems.
Frequently Asked Questions
Can I Replace A Shower Cartridge Myself?
Yes, you can replace a shower cartridge yourself. Just follow these steps: turn off the water supply, remove the handle and trim, take out the old cartridge, insert the new one, and reassemble the handle and trim. Make sure to check the specific instructions for your shower model.
Does Water Need To Be Turned Off To Replace Shower Cartridge?
Yes, to replace a shower cartridge, you need to turn off the water. This is necessary to prevent any leaks or water damage during the replacement process. Remember to turn off the water supply before starting the replacement.
What Happens If You Dont Replace A Shower Cartridge?
If you don’t replace a shower cartridge, it can lead to leaks, reduced water pressure, and poor water quality. It’s important to replace the cartridge to ensure proper functioning of the shower and prevent further damage.
What Is The Difference Between A Shower Valve And A Shower Cartridge?
A shower valve controls the flow and temperature of water, while a shower cartridge regulates water pressure and temperature. The main difference lies in their functionality: a valve manages water flow, while a cartridge focuses on temperature and pressure regulation.
Conclusion
Installing a shower cartridge may seem like a daunting task, but with the right steps and tools, it can be done efficiently. By following the instructions outlined in this blog post, you can successfully replace your shower cartridge and restore the proper functioning of your shower.
Remember to turn off the water supply before starting the process and take your time to ensure precise installation. Happy showering!