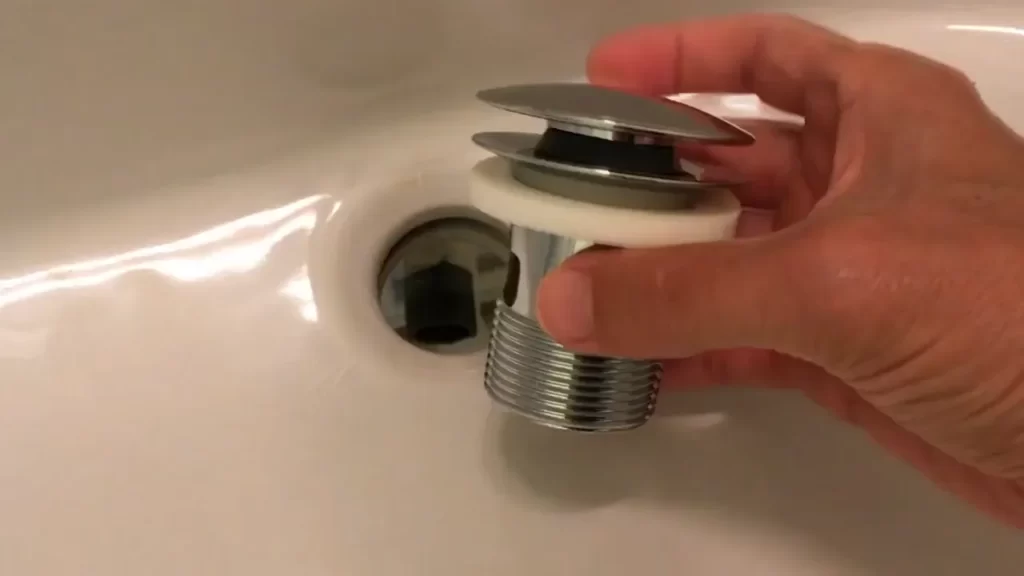
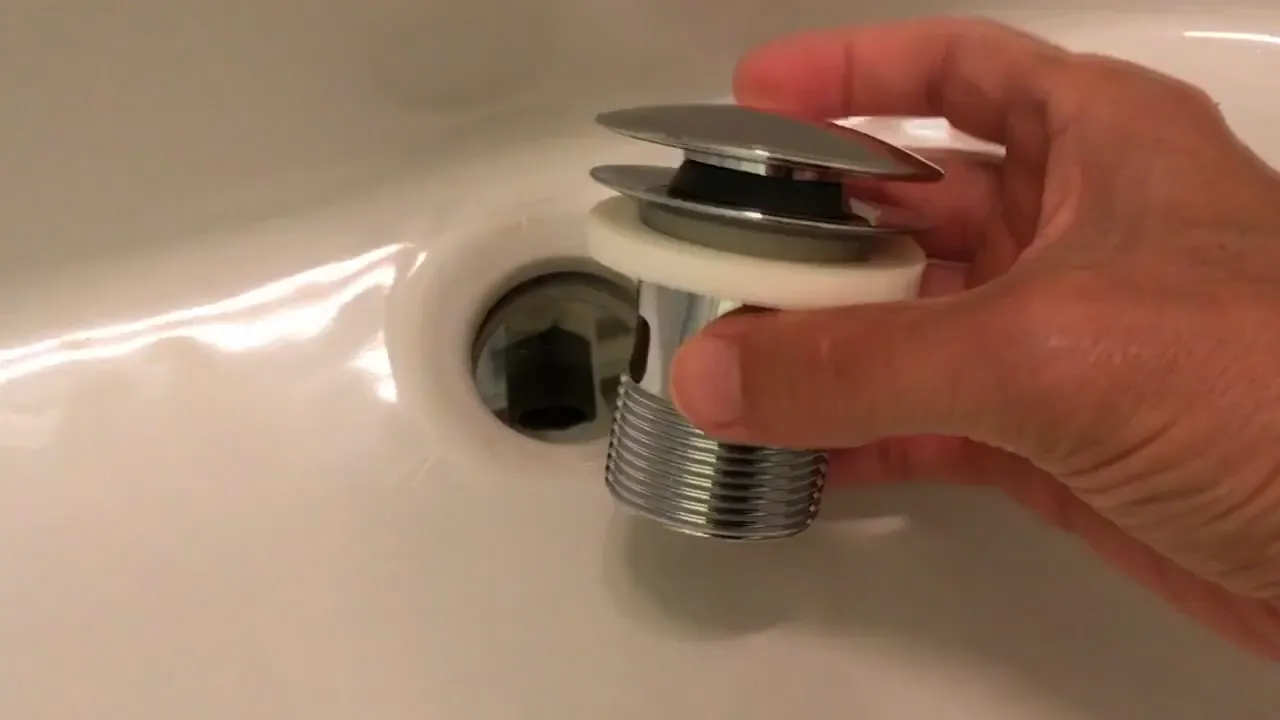
To install a pop-up drain with overflow, first, remove the old drain and clean the area. Then, apply plumber’s putty to the underside of the new drain flange and insert it into the drain hole.
Tighten the retaining nut from underneath, and connect the overflow pipe to the drain body. Finally, attach the tailpiece to the drain body and secure it with a slip nut and compression nut. If you have an outdated or dysfunctional bathroom sink drain, replacing it with a new pop-up drain with an overflow can enhance the functionality and aesthetic appeal of your sink.
In this guide, we will walk you through the step-by-step process of installing a pop-up drain with an overflow. By following these instructions, you can easily complete the installation and enjoy a fully functional bathroom sink.
Understanding The Pop Up Drain With Overflow Mechanism
When it comes to bathroom fixtures, the pop up drain with overflow mechanism is a necessary component for many modern sinks. This mechanism allows water to flow smoothly down the drain while also providing an additional layer of protection in case of overflow. In this section, we will explore the purpose and functioning of a pop up drain with overflow and highlight its benefits over a standard drain system.
Explore the Purpose and Functioning of a Pop Up Drain With Overflow
The primary purpose of a pop up drain with overflow is to prevent water from overflowing onto the sink counter. This is particularly useful when you have a basin that is prone to filling up quickly or if you tend to leave the water running while performing other tasks. The overflow component helps redirect excess water to a secondary drain, ensuring that your sink doesn’t overflow and cause water damage to your bathroom.
The functioning of a pop up drain with overflow is quite simple. When the water level reaches a certain height, the overflow drain kicks in and begins redirecting the excess water. This is achieved through a series of interconnected channels and valves within the drain itself. Once the water level goes back down, the drain returns to its normal functioning state, allowing water to flow down the primary drain.
Highlight the Benefits of Installing a Pop Up Drain With Overflow
There are several benefits to installing a pop up drain with overflow in your bathroom. These include:
- Preventing sink overflow: The overflow mechanism ensures that water doesn’t overflow onto your sink counter, preventing potential water damage and messy clean-ups.
- Improved functionality: With a pop up drain with overflow, you can confidently leave the water running without worrying about your sink overflowing.
- Easier maintenance: Cleaning and maintaining a pop up drain with overflow is simple and hassle-free.
Explain How It Differs from a Standard Drain System
A pop up drain with overflow differs from a standard drain system in that it provides an additional layer of protection against overflow. A standard drain typically lacks the overflow component, making it more susceptible to overflowing and causing water damage. By installing a pop up drain with overflow, you can ensure that your sink remains free from overflow-related issues, providing peace of mind and convenience.

Tools And Materials Required For Installation
Installing a pop up drain with overflow can be a simple and straightforward task, especially if you have the right tools and materials on hand. Whether you’re a seasoned DIY enthusiast or a novice looking to tackle this project, ensuring you have the essential items is key to a successful installation.
List the essential tools needed for installing a pop up drain with overflow
Before you begin the installation, make sure you have the following tools at your disposal:
- Adjustable wrench
- Plumbers putty or silicone sealant
- Hacksaw or reciprocating saw (if needed to cut pipes)
- Plunger or drain snake (in case of blockages)
- Bucket or container to catch any water that may leak during the process
Mention the materials required for a successful installation
In addition to the tools, you’ll need the following materials to ensure a successful installation:
- Pop up drain with overflow
- Teflon tape
- Plumber’s putty or silicone sealant (for sealing connections)
- New rubber gasket (if not included with the drain)
- Plastic or metal drain pipe (if replacing an old drain)
- Plastic or metal PVC pipe fittings (if needed)
Provide tips on where to purchase the necessary tools and materials
When it comes to purchasing the necessary tools and materials for installing a pop up drain with overflow, there are several options available. These include:
- Your local home improvement store, such as Home Depot or Lowe’s, which offer a wide range of plumbing supplies and tools.
- Online retailers like Amazon, where you can find a variety of options and read customer reviews before making a purchase.
- Plumbing supply stores in your area, which specialize in providing plumbing products and may offer expert advice on installation.
Remember to compare prices, read reviews, and choose the option that best fits your needs and budget. With the right tools and materials, you’ll be well-equipped to install your pop up drain with overflow and enjoy a well-functioning bathroom sink for years to come!

Step 1: Removing The Old Drain
Discuss the importance of removing the existing drain properly
Before you can install a new pop-up drain with overflow, it is crucial to remove the old drain properly. Failing to do so can lead to leaks, functionality issues, and even damage to your plumbing system. By following the correct removal steps, you can ensure a smooth installation process and avoid any potential problems that may arise.
Detail the steps to uninstall the old drain system
Uninstalling the old drain system involves a few simple steps that can be easily done. Here’s a step-by-step guide on how to remove the old drain:
- First, identify the type of drain you have. Some drains may have a visible stopper, while others may require you to remove the overflow plate to access the drain.
- Use a screwdriver to loosen and remove any screws or retaining clips that are holding the stopper or overflow plate in place.
- Once the screws or retaining clips have been removed, carefully lift the stopper or overflow plate off the drain.
- Next, locate the drain flange, which is the round metal or plastic piece that surrounds the drain opening. Using a drain wrench or pliers, loosen and remove the drain flange by turning it counterclockwise.
- Disconnect the drain pipe connections. Depending on your plumbing setup, you may have a threaded pipe or a slip joint connection. Loosen the appropriate fittings and carefully detach the drain pipe from the old drain.
Loosening and removing the drain flange
Loosening and removing the drain flange is a crucial step in uninstalling the old drain system. Here’s how to do it:
- Locate the drain flange, which is positioned just below the sink or basin.
- Using a drain wrench or pliers, grip the drain flange firmly and turn it counterclockwise to loosen it.
- Continue turning the drain flange until it is completely unscrewed from the drain opening.
- Once the drain flange is loosened, lift it up and away from the sink or basin to remove it completely.
- Inspect the drain opening to ensure it is clean and free of any debris or old sealing materials. Clean as necessary before proceeding with the installation of the new pop-up drain.
Detaching the drain pipe connections
When uninstalling the old drain system, it is essential to detach the drain pipe connections properly. Here’s how to do it:
- If your drain pipe has a threaded connection, use a wrench to loosen the threaded fittings. Turn them counterclockwise until they are completely detached.
- If your drain pipe has a slip joint connection, locate the slip nuts and loosen them by turning them counterclockwise. Once loosened, carefully pull the drain pipe away from the slip joint fittings.
- Inspect the drain pipe and fittings for any signs of damage or wear. Replace any necessary components before installing the new pop-up drain.
By following these steps to properly remove the old drain, you are setting yourself up for a successful installation of the new pop-up drain with overflow. Take your time and ensure that all connections are securely detached before moving on to the next step. Stay tuned for Step 2: Installing the New Pop-Up Drain!

Step 2: Preparing The Sink And Drain Hole
Before you can proceed with installing a pop-up drain with overflow, it is crucial to prepare the sink and drain hole properly. Proper preparation ensures a secure and leak-free installation, giving you peace of mind and ensuring the longevity of your new drain. In this step, we will discuss the importance of clean preparation and provide guidance on how to clean the sink and drain hole, remove debris and residue, and ensure a smooth and even surface for installation.
Description of Clean Preparation
Clean preparation is essential for a successful installation. It involves thoroughly cleaning the sink and drain hole, removing any dirt, grime, or residue that may interfere with the installation process. By starting with a clean surface, you can ensure a tight and secure fit for your new pop-up drain with overflow.
Cleaning the Sink and Drain Hole
To clean the sink and drain hole, follow these simple steps:
- Start by removing any items from the sink, such as dishes or cleaning products.
- Use a mild detergent or dish soap and a non-abrasive sponge or cloth to clean the surface of the sink. Pay special attention to the area around the drain hole.
- Rinse the sink thoroughly with warm water to remove any soap residue.
- Next, focus on cleaning the drain hole. Use a small brush, such as a toothbrush, to scrub the inside of the hole and remove any debris or buildup.
- Rinse the drain hole with warm water to ensure it is free from any remaining residue.
Removing Debris and Residue
During the cleaning process, it is important to check for any debris or residue that may have accumulated in the sink or drain hole. This can include hair, soap scum, or any other particles that can clog the drain or hinder the installation.
Using a pair of tweezers or pliers, carefully remove any visible debris from the drain hole. It is crucial to clear any obstructions to ensure a smooth flow of water and prevent future clogs.
Ensuring a Smooth and Even Surface for Installation
Once the sink and drain hole are clean and free from debris, it is important to ensure a smooth and even surface to achieve a secure installation. A wobbly or uneven drain can cause leaks and compromise the functionality of the pop-up drain with overflow.
Inspect the rim of the drain hole to ensure it is level with the surface of the sink. If there are any irregularities or bumps, they can be smoothed out using sandpaper or a file. By creating a level surface, you can guarantee a tight and secure fit for your new pop-up drain with overflow.
Take your time in this step to ensure the sink and drain hole are fully prepared. A clean, debris-free, and even surface will provide a solid foundation for the installation process, ensuring a hassle-free experience and long-lasting results.

Step 3: Attaching The Pop Up Drain And Overflow Assembly
Demonstrate how to assemble the drain and overflow components
To successfully install a pop-up drain with overflow, it is crucial to assemble the drain and overflow components correctly. Here’s a step-by-step guide to help you through the process:
1. Carefully unpack the drain and overflow assembly, ensuring that you have all the necessary components.
2. Take the overflow pipe and attach it to the overflow hole in the sink. Make sure it is aligned properly and securely fastened.
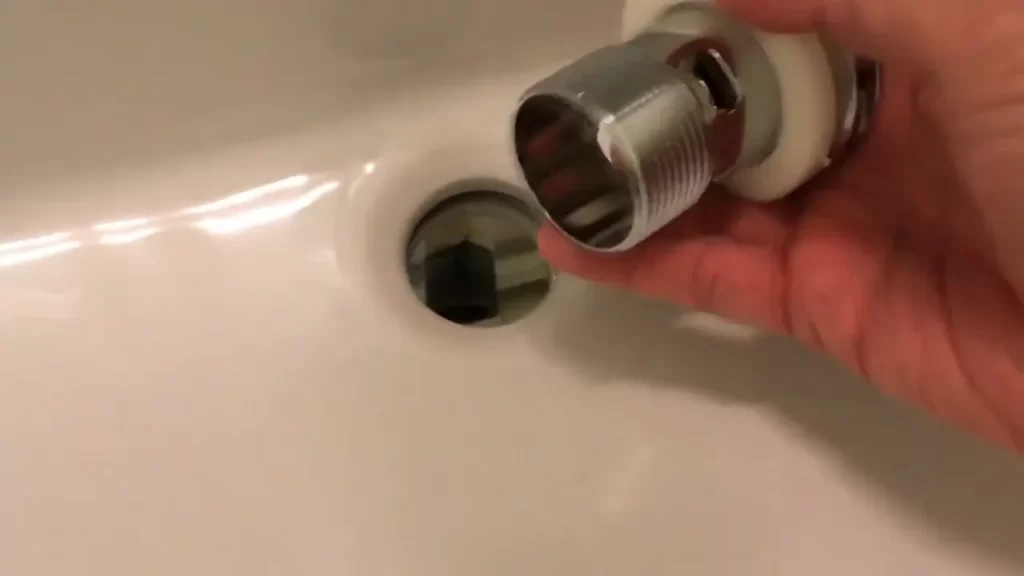
3. Next, take the drain body and insert it into the drain hole from the top side of the sink.
4. Attach the rubber washer and then the gasket to the bottom of the drain body, ensuring they are properly aligned.
Guide readers on properly aligning and attaching the drain
Proper alignment and attachment of the drain are essential to ensure a leak-free installation. Follow these steps to align and attach the drain correctly:
1. Place the drain flange over the drain body from underneath the sink. Ensure that the threads on the drain body are aligned with the holes on the flange.
2. Insert the drain rod through the holes on the flange and drain body. Secure it with the nut provided and tighten it with pliers.
3. Make sure the drain rod is properly aligned with the lift rod on the faucet. This will allow the drain to open and close smoothly when operating the stopper.
Connect the drain flange to the sink
Attaching the drain flange to the sink is a crucial step to create a watertight seal. Follow these instructions to connect the drain flange properly:
1. Apply a thin layer of plumber’s putty to the bottom side of the drain flange.
2. Insert the drain flange into the drain hole from above the sink, ensuring that the threads on the drain body pass through the flange holes.
3. Press the drain flange firmly against the sink surface to create a seal.
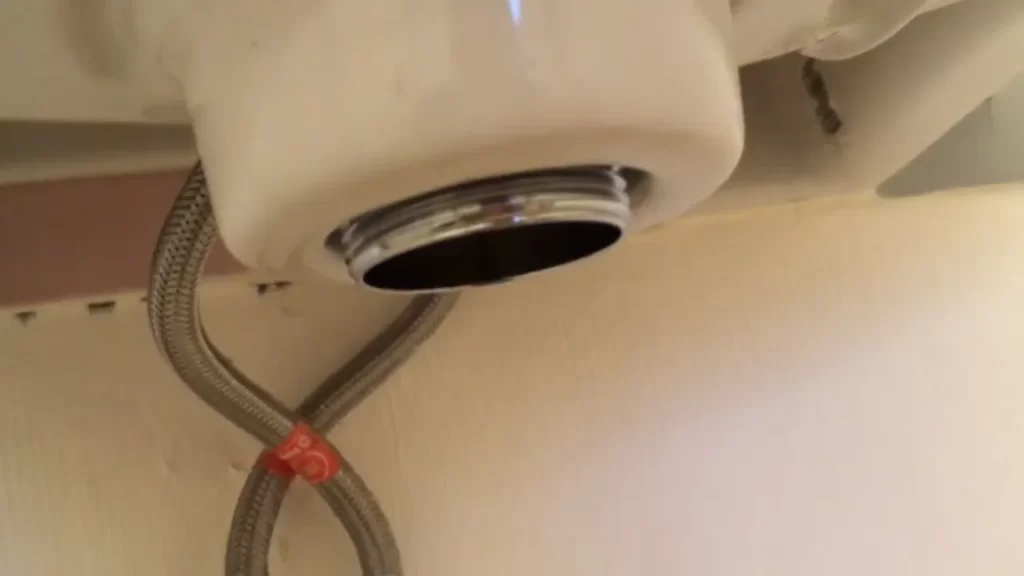
4. From underneath the sink, secure the drain flange using the provided locking nut. Tighten it with pliers while holding the drain flange in place.
Secure the drain pipe connections
To prevent any leaks, it is crucial to secure the drain pipe connections properly. Follow these steps to ensure a secure and tight fit:
1. Connect the drain pipe to the drain body using a suitable connector or slip joint connection. Ensure that it fits tightly and securely.
2. Tighten the slip nut or compression nut connecting the drain pipe to the drain body. Use pliers to achieve a snug fit, but be careful not to overtighten and potentially damage the threads.
3. Check for any leaks by running water through the drain. If there are any leaks, adjust the connections as necessary until a proper seal is achieved.
By following these steps, you can successfully attach the pop-up drain and overflow assembly to your sink. It’s essential to pay attention to proper alignment, attachment, and secure connection of the drain components to ensure a durable and leak-free installation.
Step 4: Adjusting And Testing The Drain
Proper adjustment is essential for effective drainage when installing a pop-up drain with overflow. This step ensures that the mechanism functions smoothly and allows water to flow and drain efficiently. By properly adjusting the pop-up rod and stopper height and conducting a thorough test, you can ensure the functionality of your newly installed drain.
Explain the importance of proper adjustment for effective drainage
Proper adjustment of the pop-up drain mechanism is crucial for ensuring effective drainage in your bathroom sink. If the mechanism is not correctly adjusted, it can result in water pooling or slow drainage, causing inconvenience and potential damage to your sink over time. Additionally, a poorly adjusted pop-up drain can lead to leaks or water wastage, leading to higher water bills. Therefore, taking the time to make proper adjustments is essential for optimal functionality and long-term use of your pop-up drain.
Detail the steps to adjust the pop-up drain mechanism
Adjusting the pop-up rod and stopper height is a straightforward process that can significantly improve the performance of your drain. Follow these steps to ensure proper adjustment:
- Start by loosening the nut at the end of the pop-up rod, located beneath the sink. You can use pliers or a wrench to loosen the nut.
- Once the nut is loosened, adjust the length of the pop-up rod by turning it clockwise or counterclockwise. This adjustment determines how high or low the stopper sits in the drain, affecting the drainage speed.
- Gradually tighten the nut as you adjust the rod until you achieve the desired height of the stopper.
- Check that the stopper sits flush with the sink surface when closed. This ensures a watertight seal and prevents any water from leaking.
Testing the drain for proper functionality
After adjusting the pop-up rod and stopper height, it is crucial to test the drain for proper functionality. Follow these steps to ensure your drain is working effectively:
- Close the drain stopper and fill the sink with water.
- Let the water drain completely and observe the drainage speed. If the water drains rapidly without any pooling or slow draining, your adjustment is successful.
- If you notice any issues such as slow draining or water pooling, adjust the pop-up rod and stopper height further until the drainage improves.
- Repeat the testing process until you achieve the desired functionality.
By following these adjustment and testing steps, you can ensure that your pop-up drain with overflow functions properly and provides efficient drainage in your bathroom sink. Take the time to make these adjustments during installation, and you’ll enjoy a hassle-free sink for years to come.
Step 5: Finishing Touches And Maintenance Tips
Provide Guidance on Applying Silicone Caulk for a Secure Seal
Applying silicone caulk is an essential step in ensuring a secure seal for your pop up drain with overflow. This step helps prevent any leaks and ensures that the drain functions efficiently for years to come. To apply silicone caulk properly, follow these simple steps:
- Clean the area: Before applying the caulk, make sure the surface is clean and free of any debris, dirt, or old caulk. Use a mild cleaner and a cloth to wipe away any residue.
- Cut the caulk tube: Using a utility knife, cut the tip of the caulk tube at a 45-degree angle. The size of the opening will depend on the width of the joint you need to fill.
- Apply the caulk: Squeeze the caulk gun trigger steadily to apply a thin, even bead of caulk along the joint line. Make sure to apply adequate caulk around the flange of the drain and overflow openings.
- Smooth the caulk: Use a caulk smoothing tool or your finger to smooth the caulk and create a neat finish. Wipe away any excess caulk with a damp cloth for a clean look.
- Let it cure: Leave the caulk to cure for the recommended time indicated on the caulk package. This will ensure that it fully sets and provides a watertight seal.
By following these steps, you can apply silicone caulk correctly and provide a secure seal for your pop up drain.
Offer Maintenance Tips to Ensure the Longevity of the Pop Up Drain
To ensure that your pop up drain with overflow functions properly and lasts for a long time, regular maintenance is essential. Here are some maintenance tips to keep in mind:
- Regular cleaning: Clean the drain regularly to remove any debris that may accumulate over time. This will prevent clogs and ensure smooth drainage.
- Check for leaks: Periodically inspect the drain and overflow for any signs of leaks. Pay attention to any water stains or moisture around the area. If you notice a leak, address it promptly to avoid further damage.
- Avoid using harsh chemicals: Harsh chemicals can damage the finish of your drain and cause it to deteriorate. Use mild cleaning solutions to maintain the appearance and functionality of the drain.
- Replace worn-out parts: If you notice any cracks or damage to the drain or its components, it’s important to replace them promptly. This will prevent any further issues and ensure the proper functioning of the drain system.
- Avoid excessive force: When operating the pop up drain, avoid using excessive force or causing unnecessary strain. Gently push or lift the drain to avoid any damage.
By following these maintenance tips, you can prolong the lifespan of your pop up drain and avoid potential issues.
Mention Potential Issues and Troubleshooting Techniques
Despite proper installation and maintenance, there may be a few potential issues that can arise with a pop up drain with overflow. Here are some common problems and troubleshooting techniques:
| Potential Issue | Troubleshooting Technique |
|---|---|
| Leaking drain | Check the silicone caulk seal and ensure it is applied correctly. If needed, reapply caulk to create a watertight seal. |
| Slow drainage | Clean out any debris or clogs from the drain using a plunger or a drain snake. Regularly cleaning and maintaining the drain can prevent this issue. |
| Jammed pop up mechanism | Remove the drain stopper and clean any accumulated debris. Lubricate the moving parts with a silicone-based lubricant to ensure smooth operation. |
| Overflow issues | Inspect the overflow opening for any blockages or obstructions. Clear them using a pipe brush or a plumber’s snake to restore proper functioning. |
In case you encounter any of these issues, these troubleshooting techniques can help you resolve them effectively.
By following these steps, conducting proper maintenance, and troubleshooting any issues, you can successfully install and maintain a pop up drain with overflow. Remember to adhere to these steps and guidelines to ensure the longevity and optimum performance of the drain system.
Frequently Asked Questions
Can You Use A Pop Up Drain With Overflow?
Yes, you can use a pop-up drain with overflow. The pop-up drain is designed to control the water flow and prevent overflow. It is a convenient and efficient option for your sink or bathtub.
How Do You Install A Push Pop Up Drain With Overflow?
To install a push pop up drain with overflow, first, remove the old drain by unscrewing it counter-clockwise. Apply plumber’s putty around the new drain and insert it into the drain opening. Tighten the drain by screwing it clockwise. Connect the overflow pipe to the drain and secure it.
Test for any leaks.
How Does Pop Up Drain With Overflow Work?
The pop-up drain with overflow works by allowing water to flow into the sink through a drain opening. When the sink is full, the overflow feature prevents water from overflowing by redirecting it to a secondary drain hole. This helps maintain the water level and prevent any potential damage from overflowing.
How Do You Install A Pop Up Drain Stopper?
To install a pop-up drain stopper, follow these steps: 1. Remove the old stopper by unscrewing it. 2. Clean the drain opening thoroughly. 3. Apply plumber’s putty around the new stopper’s base. 4. Insert the stopper into the drain opening and press down firmly.
5. Screw the top part of the stopper until it’s secure. Remember to check for any leaks after installation.
Conclusion
To sum up, installing a pop-up drain with overflow may seem daunting at first, but with the right tools and step-by-step instructions, it can be a manageable DIY project. Remember to gather all necessary materials, follow the manufacturer’s guidelines, and take your time to ensure a proper installation.
By doing so, you can enjoy a functional and efficient drain system that adds convenience to your bathroom. Get started today and transform your sink into a seamless plumbing fixture.
