
To install plumbing in a new house, hire a licensed plumber to plan and execute the layout and installation of water supply and drainage systems. This expert will ensure proper connection of pipes, fixtures, and appliances, as well as compliance with local building codes.
The plumber will assess the house’s specific needs, determine the best pipe materials, and create a detailed blueprint for the installation process. With their expertise, they will install the plumbing system efficiently and effectively, ensuring smooth water flow and waste removal throughout the new house.
Factors To Consider When Selecting A Plumbing System
When installing plumbing in a new house, it is crucial to carefully consider the factors involved in selecting the right plumbing system. The plumbing system not only ensures the proper functioning of water supply and drainage but also affects the overall durability and lifespan of your house. Therefore, taking the time to evaluate these factors will help you make an informed decision and avoid any unnecessary complications in the future.
Plumbing System Types
One of the first considerations when selecting a plumbing system for your new house is the type of system that will best suit your needs. There are various plumbing system types available, each with its own advantages and limitations. Here are a few common types:
| Type | Description |
|---|---|
| Copper | Copper pipes are known for their durability and resistance to corrosion. They are a popular choice for both water supply and drainage systems. |
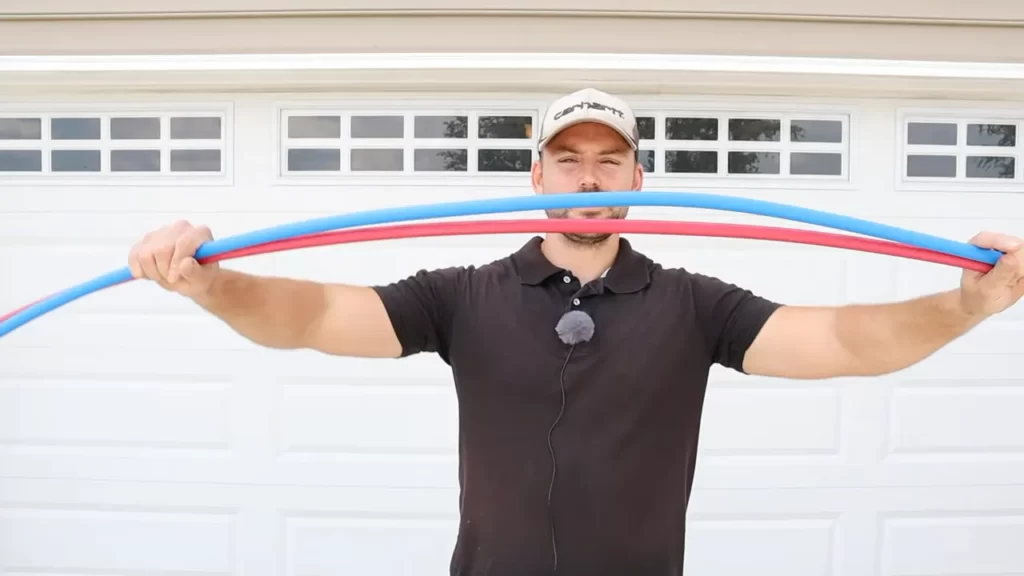
| PEX | PEX pipes are flexible, making them easy to install and less prone to freezing. They are commonly used for water supply lines. |
| PVC | PVC pipes are lightweight, cost-effective, and resistant to chemicals. They are typically used for drainage systems. |
| Galvanized Steel | Galvanized steel pipes are strong and durable. However, they are prone to rust and corrosion over time. |
Considerations for the Plumbing System Placement
Another crucial factor to consider is the placement of the plumbing system within your new house. Proper placement ensures efficient water distribution and drainage while minimizing the risk of leaks or damage. Here are a few key considerations:
- Ensure that the plumbing system is centrally located to provide easy access for repairs and maintenance.
- Consider the layout of your house and plan the placement of plumbing fixtures accordingly to optimize functionality and convenience.
- Take into account any local building codes or regulations that may dictate the placement of certain plumbing components.
Evaluating Durability and Lifespan
When selecting a plumbing system, it is essential to evaluate its durability and lifespan. A plumbing system with a longer lifespan will save you money and hassle in the long run. Here are a few factors to consider:
- Look for materials that are resistant to corrosion, leaks, and damage from chemicals.
- Consider the manufacturer’s reputation and product warranties to ensure quality and reliability.
- Consult with plumbing professionals or conduct research to determine the average lifespan of the chosen plumbing system.
By considering these factors, you can make an informed decision when selecting a plumbing system for your new house. Taking the time to evaluate the various types of plumbing systems available, considering the placement, and assessing durability and lifespan will help ensure a reliable and efficient plumbing system that will last for years to come.
Steps To Designing An Efficient Plumbing Layout
Designing an efficient plumbing layout is crucial when installing plumbing in a new house. Proper planning and consideration of various factors can ensure that your plumbing system operates smoothly and meets the needs of your household. In this article, we will discuss the essential steps to follow when designing an efficient plumbing layout.
Identifying Water Supply Points
One of the fundamental steps in designing your plumbing layout is identifying the water supply points. These points will determine the location of fixtures such as sinks, toilets, showers, and washing machines. It’s important to consider both the functionality and convenience when determining the placement of these fixtures.
A water supply point typically consists of a shut-off valve and a water supply line. The shut-off valve allows you to control the water flow to specific fixtures or areas of the house. By strategically placing these shut-off valves, you can minimize water damage in case of leaks or repairs.
Planning Drainage System
Planning the drainage system is another crucial step in designing an efficient plumbing layout. The drainage system ensures that wastewater is safely disposed of and prevents unpleasant odors and clogs. When planning your drainage system, consider the location of the main sewer line and the slope of the pipes to ensure proper drainage.
It’s essential to connect all fixtures with the main sewer line using appropriate drainpipes and ensure that each fixture has a properly installed trap. Traps prevent sewer gases from entering your home and maintain proper water flow in the drainage system. To prevent clogs, avoid sharp turns in the drainpipes and use proper pipe sizes for each fixture.
Determining Gas Line Placement
For houses that use natural gas for cooking, heating, or other appliances, determining the gas line placement is an essential step in the plumbing layout design. It’s crucial to locate the main gas line and plan the routing of gas pipes to each gas-powered fixture.
When installing gas pipes, follow local building codes and regulations to ensure safety. Gas pipes should be properly sized and equipped with shut-off valves for each appliance. It’s important to avoid sharp bends in the gas pipes and maintain proper clearance from combustible materials to prevent potential hazards.
By considering the location and accessibility of gas-powered fixtures, you can design an efficient plumbing layout that maximizes the functionality and safety of your new house.

Materials And Tools Required For Water Supply Installation
Installing plumbing in a new house can seem like a daunting task, but with the right materials and tools, it can be a smooth and efficient process. In this section, we will dive into the essential materials and tools you will need for water supply installation. From selecting the right pipes and fittings to ensuring proper connection and testing for leaks, we’ve got you covered.
Selecting the Right Pipes and Fittings
When it comes to choosing the right pipes and fittings for your water supply installation, it is essential to consider durability, compatibility, and ease of installation. Here are some popular options:
| Pipe Material | Advantages | Disadvantages |
|---|---|---|
| Copper | Durable, corrosion-resistant, long lifespan | Expensive, requires soldering |
| PEX | Flexible, easier to install, cheaper than copper | Not suitable for outdoor use, limited availability in some areas |
| CPVC | Cost-effective, easy installation, resistant to corrosion | Not suitable for hot water above 180°F (82°C) |
Additionally, ensure that you choose fittings that are compatible with your selected pipe material. This will ensure a secure and leak-free connection for your water supply system.
Essential Tools for the Installation Process
Having the right tools at hand is crucial for a successful water supply installation. Here are some essential tools you will need:
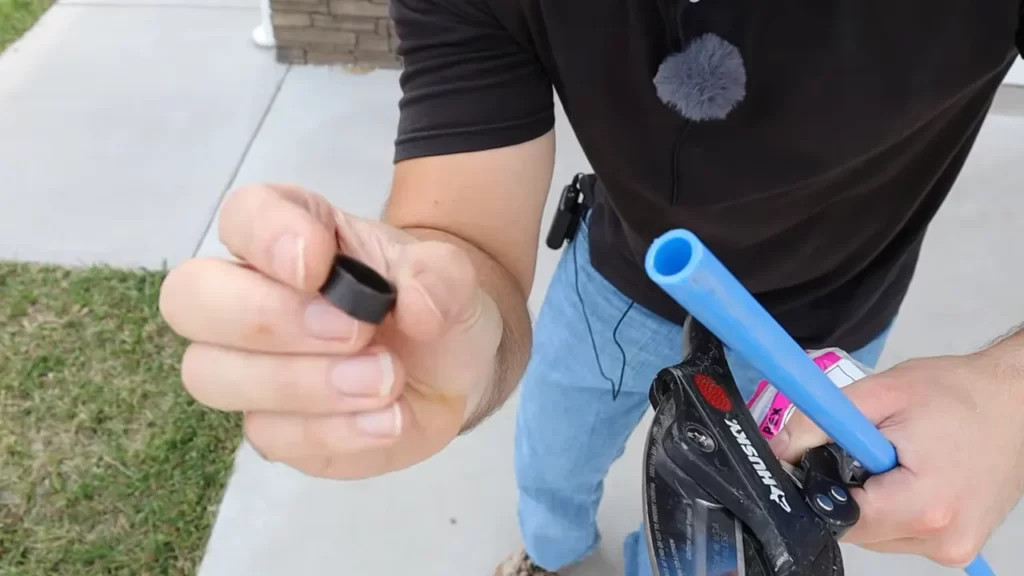
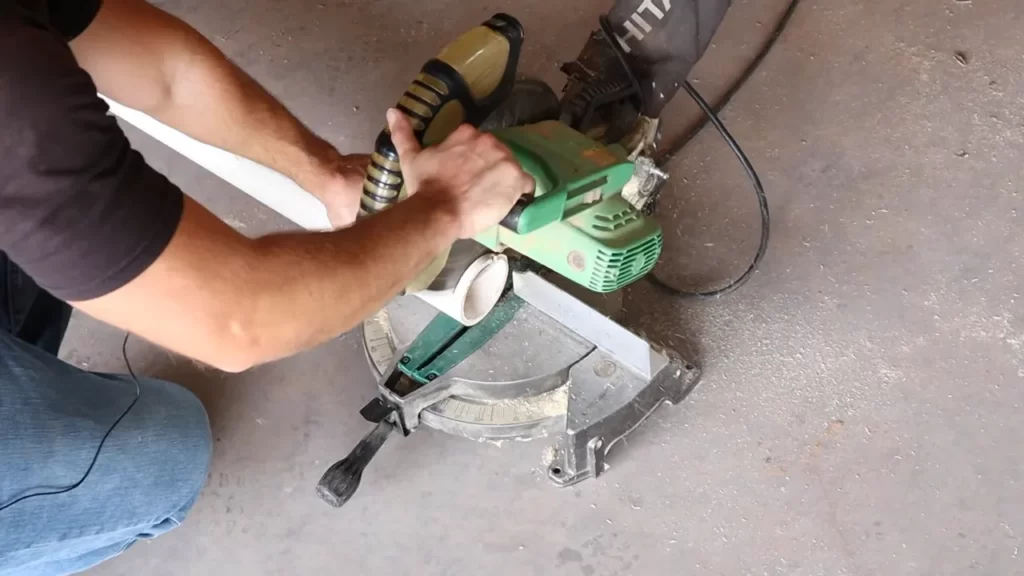
- Pipe cutter – for cutting pipes to the desired length.
- Tubing cutter – for cutting PEX and CPVC pipes.
- Pipe wrench – for tightening and loosening pipe fittings.
- Adjustable wrench – for various tasks, such as tightening nuts and bolts.
- Plumbing tape – for sealing pipe threads.
- Plumber’s putty – for sealing drains and faucets.
- Plumbing solder – for joining copper pipes using soldering techniques.
- Flux – for preparing copper pipes for soldering.
- Torch – for soldering copper pipes.
- Plumbing adhesive – for bonding CPVC pipes and fittings.
Remember to wear appropriate safety gear, such as gloves and safety glasses, during the installation process.
Ensuring Proper Connection and Testing for Leaks
Good plumbing installation involves ensuring a proper connection between pipes and fittings and testing for leaks to prevent future issues. Follow these steps:
- Ensure all pipe ends are clean and free from debris.
- Apply plumbing tape to the threaded ends of pipe fittings to create a tight seal.
- For copper pipes, apply flux to the ends before soldering, ensuring a secure connection.
- Use a pipe wrench or adjustable wrench to tighten pipe fittings securely.
- Once the installation is complete, conduct a thorough leak test. One way to do this is by pressurizing the system with air to identify any leaks. Soap bubbles can indicate a leak, and you can use a pressure gauge to monitor the pressure level.
By closely following these steps, you can ensure a properly installed water supply system with minimum risks of leaks.
Now that you are familiar with the materials and tools required for water supply installation, you are ready to begin the process. Stay tuned for our next section, where we will explore the step-by-step process of installing plumbing in a new house.
Components And Considerations For Installing Drainage System
When it comes to installing plumbing in a new house, one of the most important aspects to consider is the drainage system. A properly installed drainage system is essential for effective wastewater management and overall functionality of the plumbing system.
Installing Drain Pipes and Vents
The first step in installing a drainage system is to lay down the drain pipes and vents. Drain pipes are responsible for carrying wastewater from various fixtures in the house to the main sewer line or septic tank. Vents, on the other hand, allow air to enter the plumbing system, preventing the formation of vacuum and ensuring smooth flow of water.
When installing drain pipes, it is important to consider the type of pipe material to use. Common options include PVC (polyvinyl chloride) and ABS (acrylonitrile butadiene styrene) pipes. Each material has its own advantages and disadvantages, so it’s important to choose the one that suits your needs and budget.
In addition to choosing the right pipe material, proper sizing and positioning of drain pipes and vents is crucial. It’s important to ensure that the pipes have the right diameter to handle the expected wastewater flow, and they are installed at the correct angle to facilitate gravity-driven drainage.
Connecting Fixtures to the Drainage System
Once the drain pipes and vents are in place, the next step is to connect the fixtures to the drainage system. Fixtures include sinks, toilets, showers, bathtubs, and any other appliances that produce wastewater.
When connecting fixtures, it’s important to use the right fittings and seals to ensure leak-free connections. Compression fittings and adhesive fittings are commonly used for connecting pipes and fixtures. Additionally, proper alignment and support of the pipes and fixtures are crucial to prevent any stress or strain on the connections.
It’s also worth mentioning that installing a P-trap beneath each fixture is necessary to prevent sewer gases from entering the house. The P-trap acts as a barrier, holding a small amount of water that seals off the pipe and creates a barrier against odors.
Ensuring Proper Slope for Effective Drainage
To ensure effective drainage, it’s important to ensure that the drain pipes have the proper slope. The slope allows gravity to pull the wastewater down the pipes and into the main sewer line or septic tank.
The general rule of thumb is to maintain a slope of at least 1/4 inch per foot for horizontal drain pipes. This slope ensures sufficient velocity to carry the wastewater without any blockages or backups. However, specific slope requirements may vary depending on local plumbing codes, pipe diameter, and the type of fixture being drained.
It’s important to use a level or a transit to accurately measure and maintain the proper slope during the installation process. Additionally, proper support and anchoring of the pipes are essential to prevent sagging or misalignment that can compromise the drainage efficiency.
Overall, a well-designed and properly installed drainage system is essential for a functional plumbing system in a new house. By considering the components and following the necessary steps during the installation process, you can ensure efficient wastewater management and avoid potential plumbing issues down the line.
Safety Precautions For Gas Line Installation
Installing gas lines in a new house is a task that requires careful attention to safety precautions. Gas is a highly flammable substance, and any mistakes during the installation process can lead to serious accidents or even disasters. Therefore, it is essential to follow the right safety procedures to ensure the protection of both yourself and your home. In this section, we will focus on three crucial aspects of gas line installation, namely, choosing the right type of gas piping, connecting gas lines to appliances safely, and testing for gas leaks. Let’s dive in and explore these safety measures in detail.
Choosing the Right Type of Gas Piping
When it comes to gas line installation, selecting the right type of gas piping is vital. Different types of gas piping are available, such as copper, steel, and corrugated stainless steel tubing (CSST). Each of these pipe materials has its own advantages and considerations. Here’s a breakdown of the three types:
1. Copper piping:
– Durable and resistant to corrosion
– Easy to install
– Suitable for indoor and outdoor applications
– May require additional protective coating to prevent damage from the soil
– Should be installed aboveground
2. Steel piping:
– Strong and resistant to damage
– Ideal for underground applications and areas with corrosive soil
– Requires professional installation due to welding and threading processes
– Must be adequately protected against rust and corrosion
3. CSST:
– Flexible and easy to install, reducing labor costs
– Resistant to corrosion and lightning damage
– Ideal for retrofit installations
– Requires specialized tools for cutting and fitting
Overall, consider factors such as the property’s location, soil conditions, and local building codes before deciding on the type of gas piping to use.
Connecting Gas Lines to Appliances Safely
Connecting gas lines to appliances correctly is essential to prevent leaks and ensure the safe operation of your gas-powered equipment. Here are some crucial steps to follow:
- Shut off the gas supply:
- Prepare the connections:
- Apply the right sealant:
- Tighten the connections:
- Confirm proper fit:
- Test for leaks:
Before connecting any gas lines, make sure the main gas supply is shut off. This will prevent any potential gas leaks during the installation process.
Use a pipe cutter to create clean, burr-free cuts on the gas pipe. Then, deburr the pipe edges and ensure they are free from any debris or contaminants that could interfere with the connection.
Use Teflon tape or pipe joint compound specifically designed for gas lines to seal the threaded connections. Apply these sealants in a clockwise direction to ensure a secure and leak-free seal.
Use two adjustable wrenches to tighten the connections. One wrench should hold the fitting steady, while the other wrench provides the torque necessary to secure the connection without overtightening.
Double-check that all connections are tight and secure.
Once the connections are in place, it’s crucial to test for gas leaks before turning on the gas supply.
Testing for Gas Leaks
Testing for gas leaks is a critical step in ensuring the safety of your gas line installation. Follow these steps to carry out a reliable leak test:
- Turn off all gas appliances:
- Locate the gas meter:
- Apply a gas leak detector solution:
- Observe for gas bubbles or hissing sounds:
- Rectify any leaks:
- Conduct a final leak test:
- Turn on the gas supply:
Make sure all gas appliances, including stoves, water heaters, and dryers, are turned off.
Take note of the gas meter’s current reading, as this will be useful during the leak test.
Using a brush or spray bottle, apply a soapy water solution to all gas fittings and connections.
If there is a leak, the soapy water solution will create bubbles or you may hear a distinct hissing sound. These are clear indicators of a leak.
If you detect any leaks, immediately tighten or repair the affected fittings or connections.
Once you have addressed any leaks, reapply the gas leak detector solution and observe for any further signs of gas leakage.
After confirming that the installation is leak-free, you may safely turn on the gas supply and begin using your gas-powered appliances.
Remember, if you are unsure about any aspect of gas line installation or notice persistent gas leaks even after rectification attempts, always seek professional help to ensure your safety and the proper functioning of your gas system.
By adhering to these safety precautions for gas line installation, you can enjoy peace of mind knowing that your new house’s plumbing system is secure, efficient, and safe.
Common Plumbing System Inspections And Tests
Pressure Testing for Water Supply Pipelines
One crucial inspection when installing plumbing in a new house is pressure testing for water supply pipelines. This test ensures that the water distribution system is properly sealed and able to withstand the pressure of water flow without any leaks. To perform this test, a gauge is connected to the system’s main water supply, and the water pressure is increased to a specific level.
The pressure is then maintained for a certain period of time, usually around 15 minutes, to check for any drop in pressure. If there is a drop in pressure, it indicates the presence of a leak which needs to be addressed before moving forward with the installation. Pressure testing not only helps in detecting leaks but also identifies weak points in the plumbing system that can potentially cause problems in the future.
Checking Drainage System for Clogs or Blockages
Another important inspection to carry out during plumbing installation is checking the drainage system for clogs or blockages. To ensure proper drainage, it is essential to examine each drain pipe, vent stack, and drain trap. The inspection involves checking for any accumulated debris, such as hair, food particles, or sediment, that could potentially lead to clogs.
A hand-held plumbing snake or hydro-jetting can be used to clear any existing blockages. Additionally, ensuring there are no low spots in the drainage system that could impede the flow of wastewater is crucial. It is also worth noting that proper slope and venting play a significant role in the efficient functioning of the drainage system. By conducting this inspection, you can prevent future plumbing issues like clogs and backups and ensure the smooth operation of the drainage system.
Verifying Gas Line Functionality
Installing plumbing in a new house not only involves water supply and drainage, but also gas lines if the house uses natural gas for heating or cooking. Verifying the functionality of the gas line is a critical step to ensure safety and prevent potential hazards. Inspecting gas lines involves checking for leaks or any loose connections that may result in gas leaks.
A gas leak detector can be used to identify any escaping gas, and soapy water can be applied to fittings to look for bubbles, indicating a leak. It is essential to make sure that all the gas appliances in the house, such as stoves, water heaters, and furnaces, are properly connected and functioning. Proper installation and inspection of gas lines are crucial to mitigate any risks associated with gas leaks and ensure the safety of the new house and its occupants.
Frequently Asked Questions
What Are The Steps In Installing A Plumbing?
Installing a plumbing involves several steps. First, gather the necessary tools and materials. Then, plan and design the layout. Next, cut and fit the pipes and connectors. After that, secure and tighten the fittings. Finally, test for leaks and ensure everything is functional.
Can You Rough In Plumbing Yourself?
Yes, you can rough in plumbing yourself, but it requires careful attention and knowledge. You should understand the local building codes and have basic plumbing skills. It is advised to consult a professional if you are unsure or for more complex plumbing installations.
What Should Be Installed First When Plumbing A Building?
Install the main water line and sewer lines first when plumbing a building.
How Do You Do Rough In Plumbing?
To rough in plumbing, follow these steps: 1. Plan the layout using blueprints or a diagram. 2. Install the main drain and vent lines first. 3. Then, place supply lines for fixtures such as toilets and sinks. 4. Connect the lines to the main water supply.
5. Test the system for leaks and make any necessary adjustments.
Conclusion
Installing plumbing in a new house requires careful planning, knowledge, and the right tools. By following the steps outlined in this guide, you can ensure that your plumbing system functions properly and efficiently. Remember to consult with professionals when necessary and prioritize safety throughout the process.
With proper installation, your new home’s plumbing will provide years of reliable service.