To install peel and stick tile over existing tile, clean the surface thoroughly, apply adhesive primer, and then carefully place the peel and stick tile in position. Now, let’s dive into the details of how to successfully complete this DIY project.
Peel and stick tile is a popular choice for homeowners who want to update their existing tile without the hassle and expense of replacing it. Whether you’re looking to refresh the look of your bathroom or give your kitchen a modern makeover, peel and stick tile offers a convenient and affordable solution.
In this guide, we will walk you through the step-by-step process of installing peel and stick tile over existing tile. By following these instructions, you can transform your space with minimal effort and achieve professional-looking results. So, let’s get started!
I. Is It Possible To Install Peel And Stick Tile Over Existing Tile?
Are you tired of the outdated tile in your kitchen or bathroom? Want to give your space a fresh new look without the hassle of removing the existing tile? Well, you’re in luck because peel and stick tile might just be the solution you’re looking for. But is it possible to install peel and stick tile over existing tile? Let’s find out!
Factors to consider before deciding to install peel and stick tile over existing tile
Before you embark on your peel and stick tile installation project, there are a few factors you should take into consideration. These factors will help you determine whether or not this method is suitable for your specific situation:
- Tile condition: Assess the current condition of your existing tile. If it is cracked, chipped, or uneven, it is not recommended to install peel and stick tile over it. The surface needs to be smooth and in good condition for the adhesive to properly adhere to the tile.
- Cleanliness: Ensure that the existing tile is thoroughly cleaned and free from any grease, dirt, or debris. Any residue left on the surface can prevent the adhesive from bonding effectively.
- Grout lines: Take a look at the grout lines between your existing tiles. Are they deep or uneven? This can create an uneven surface for the peel and stick tiles. In such cases, it is recommended to consider alternative options like leveling the grout lines or using a primer to create a smoother surface.
Benefits and drawbacks of installing peel and stick tile over existing tile
Now that we’ve discussed the factors to consider, let’s dive into the benefits and drawbacks of installing peel and stick tile over existing tile:
| Benefits | Drawbacks |
|---|---|
|
|
Considering these benefits and drawbacks, it is important to weigh them against your specific needs and preferences before deciding to install peel and stick tile over existing tile. Make sure to thoroughly evaluate the condition of your existing tile and take the necessary preparations for a successful installation!

Ii. Preparing The Existing Tile Surface For Peel And Stick Tile Installation
Before you begin installing peel and stick tile over your existing tile, it is important to properly prepare the surface. This will ensure that the new tiles adhere properly and provide you with a long-lasting and visually appealing result. In this section, we will walk you through the steps to inspect, clean, and repair the existing tile surface to create a solid foundation for your peel and stick tile installation.
Inspecting the condition of the existing tile
The first step in preparing the existing tile surface is to thoroughly inspect its condition. Carefully examine each tile for any cracks, chips, or loose pieces. Look for any signs of water damage, mold, or mildew. It is important to address any issues before proceeding with the installation to prevent future problems.
Cleaning the existing tile surface
Once you have inspected the existing tile and ensured that it is in good condition, it’s time to clean the surface. Cleaning the tile will remove any dirt, grease, or other contaminants that could hinder the adhesion of the peel and stick tiles. Here’s a step-by-step guide to cleaning the existing tile surface:
- Start by sweeping or vacuuming the tile to remove any loose dirt or debris.
- Prepare a solution of warm water and mild detergent.
- Using a mop or sponge, apply the soapy solution to the tile surface and scrub gently.
- Rinse the tile with clean water and mop up any excess moisture.
- Allow the tile to dry completely before proceeding with the next steps.
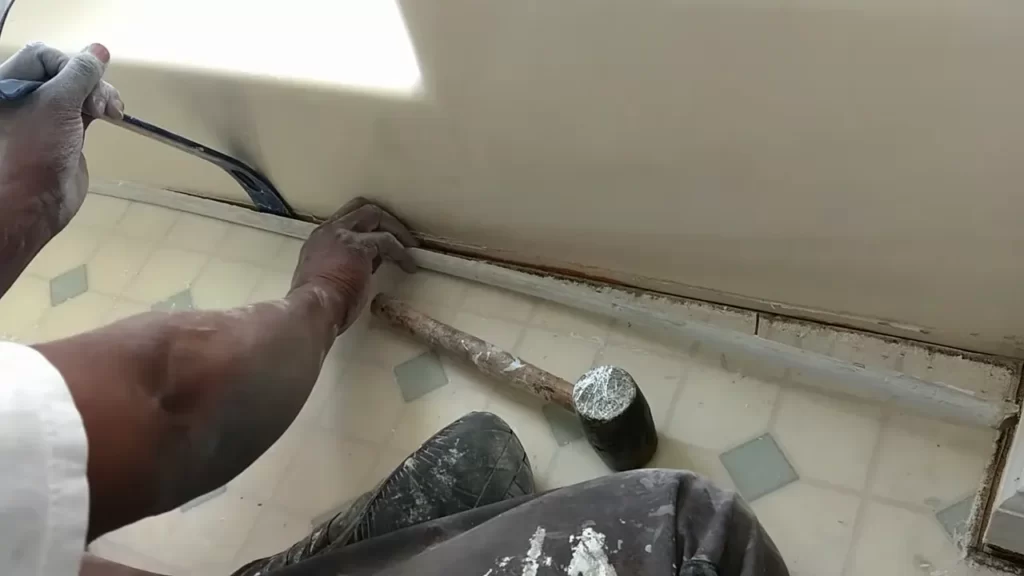
Repairing any damaged areas on the existing tile
If you noticed any cracks, chips, or other damage during the inspection, it is important to repair these areas before installing the peel and stick tiles. Here’s how to repair damaged areas on the existing tile:
- Clean the damaged area thoroughly to remove any loose debris or dirt.
- If the crack or chip is small, you can use a tile repair kit to fill the damaged area. Follow the instructions provided with the kit.
- For larger areas of damage, you may need to remove the damaged tile and replace it. Consult a professional if you are unsure how to proceed.
- Allow the repaired areas to dry completely before moving on to the installation process.
By thoroughly inspecting, cleaning, and repairing the existing tile surface, you are ensuring that it is ready for the installation of peel and stick tiles. Taking these steps will help to provide a smooth and durable base for your new flooring. In the next section, we will guide you through the process of measuring and cutting the peel and stick tiles to fit your space.
Iii. Steps To Install Peel And Stick Tile Over Existing Tile
Gathering the necessary tools and materials
Before you start installing peel and stick tiles over existing tile, it’s important to gather all the necessary tools and materials. Ensuring that you have everything you need in advance will help make the installation process smoother and more efficient.
Here are the tools and materials you’ll need:
– Tape measure or ruler: to measure the dimensions of the existing tile and plan the layout for the new peel and stick tiles.
– Utility knife or tile cutter: to cut the peel and stick tiles to fit around edges and corners.
– Adhesive or primer: to ensure proper adhesion of the peel and stick tiles to the existing tile surface.
– Roller: to firmly press and secure the tiles onto the existing tile surface.
– Cleaning supplies: such as a sponge, mild detergent, and a bucket of water to clean the existing tile before installation.
– Level: to ensure that the tiles are being placed and adhered in a straight and even manner.
Measuring and planning the layout for the new peel and stick tiles
Once you have gathered all the necessary tools and materials, the next step is to measure and plan the layout for the new peel and stick tiles. Accuracy in measurement and proper planning will ensure a clean and professional-looking installation.
Here’s how to measure and plan the layout:
1. Measure the dimensions of the existing tile using a tape measure or ruler. This will help you determine the quantity of peel and stick tiles needed for the installation.
2. Consider the placement of any fixtures or obstacles, such as sinks or cabinets, and plan the layout accordingly. Avoid placing small or narrow tiles along the edges or corners as they may be difficult to cut and fit properly.
3. Use a straight edge or chalk line to mark guidelines on the existing tile surface. This will help you maintain straight and even lines during the installation process.
4. Consider dry fitting the peel and stick tiles before applying adhesive to ensure that the layout and spacing are visually appealing.
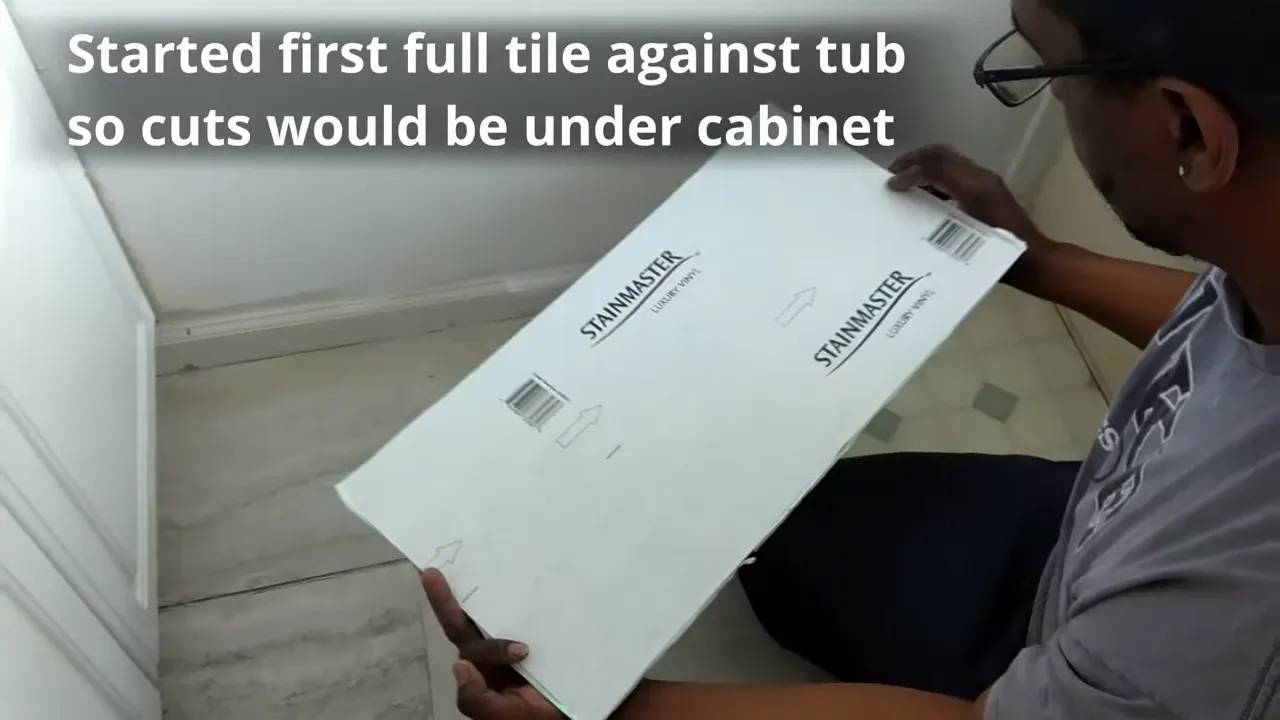
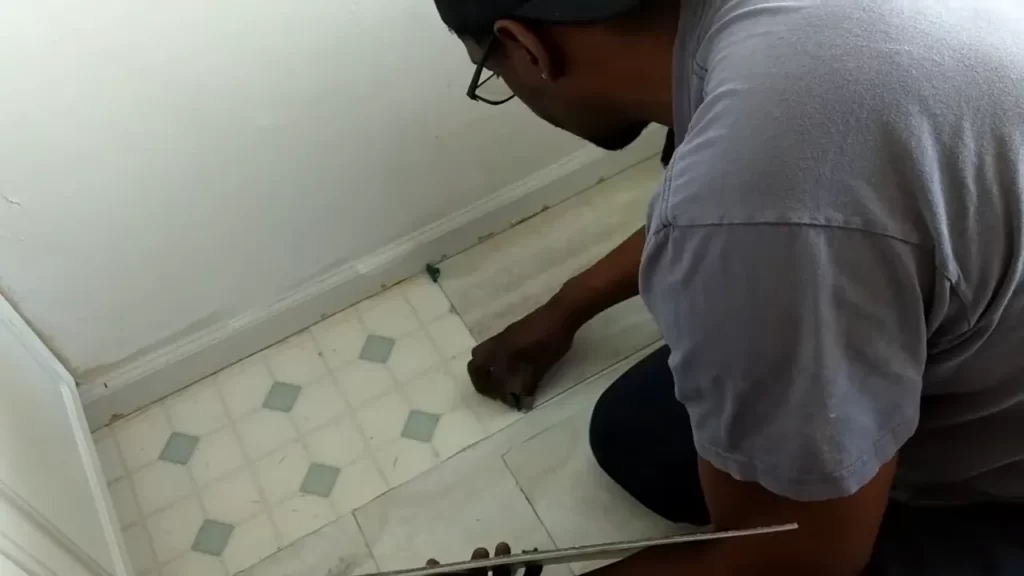
Preparing the peel and stick tiles for installation (cutting, if necessary)
With the layout planned, it’s time to prepare the peel and stick tiles for installation. This may involve cutting tiles to fit around edges and corners.
Here’s how to prepare the peel and stick tiles:
1. Lay the peel and stick tiles on a flat surface, adhesive side up.
2. Measure and mark the dimensions on the back of the tiles using a pencil or marker.
3. Use a utility knife or tile cutter to cut the tiles along the marked lines. Ensure that you are cutting on a protected surface to avoid damaging the underlying flooring.
4. Double-check the cut tiles against the existing tile surface to ensure they fit properly before moving on to the next step.
Applying adhesive or primer on the existing tile surface
Before placing the peel and stick tiles onto the existing tile, it’s important to properly prepare the surface for adhesion. This is crucial for ensuring that the new tiles stick securely and prevent any future issues.
Here’s how to apply adhesive or primer on the existing tile surface:
1. Clean the existing tile surface with a sponge, mild detergent, and a bucket of water. Remove any dirt, grease, or debris that may prevent proper adhesion.
2. Dry the surface thoroughly before applying any adhesive or primer.
3. Apply a thin layer of adhesive or primer onto the existing tile surface using a trowel or brush.
4. Follow the manufacturer’s instructions for the specific adhesive or primer you are using, including drying time and any specific application techniques.
Placing and adhering the peel and stick tiles onto the existing tile
Now that the surface is prepped and ready, it’s time to start placing and adhering the peel and stick tiles onto the existing tile. Taking your time and ensuring proper alignment is crucial for achieving a professional finish.
Here’s how to place and adhere the peel and stick tiles:
1. Start at one corner of the room or the desired starting point.
2. Peel off the backing from the first tile and carefully place it onto the adhesive or primer.
3. Press down firmly on the tile, starting from the center and working your way outward, to ensure proper adhesion.
4. Continue laying the tiles, aligning them with the guidelines or chalk lines you marked earlier.
5. Trim or cut any tiles as needed to fit around edges or obstacles using a utility knife or tile cutter.
6. Press each tile down firmly to ensure even adhesion and a smooth surface.
Ensuring proper alignment and spacing between tiles
To achieve a professional-looking result, it’s important to ensure proper alignment and spacing between the peel and stick tiles. This will help create a visually pleasing pattern and prevent any gaps or overlap.
Here’s how to ensure proper alignment and spacing:
1. Align each tile with the previously laid tiles, using the guidelines or chalk lines as your reference.
2. Check the alignment of each tile using a level. This will help ensure that the tiles are being placed evenly.
3. Maintain consistent spacing between the tiles to prevent any gaps or overlap. You can use tile spacers or create your own using small pieces of cardboard or plastic.
Using a roller to firmly press and secure the tiles to the existing tile surface
Once all the peel and stick tiles are in place, it’s essential to use a roller to firmly press and secure them to the existing tile surface. This step will enhance the adhesion and create a long-lasting bond.
Here’s how to use a roller to firmly press and secure the tiles:
1. Starting from one corner of the room, roll the roller over each tile, applying even pressure to ensure proper adhesion.
2. Work your way across the room, moving the roller in all directions to cover the entire surface.
3. Pay extra attention to the edges and corners to ensure they are securely adhered.
4. After using the roller, go over the entire surface again with your hands, pressing firmly to guarantee proper adhesion.
By following these steps, you can successfully install peel and stick tiles over existing tile surfaces. It’s a cost-effective and convenient way to revamp your space without the hassle of removing the old tiles. Happy tiling!
Iv. Tips And Tricks For Successful Peel And Stick Tile Installation
When it comes to installing peel and stick tile over existing tile, there are a few tips and tricks that can help ensure a successful and professional-looking result. By following these guidelines, you can enhance the durability and appearance of your newly installed peel and stick tile flooring. Let’s dive into the essential tips and tricks:
Allowing Sufficient Time for Adhesive to Set and Cure
One crucial aspect of peel and stick tile installation is to allow sufficient time for the adhesive to set and cure. This step is often overlooked but plays a significant role in the overall success of your project. Patience is key here. After installing the peel and stick tiles, make sure to avoid any foot traffic or heavy objects on the tiles for at least 24 to 48 hours. This will give the adhesive enough time to adhere properly to the existing tile and create a strong bond. By being patient and allowing the adhesive to set and cure, you can ensure long-lasting and reliable results.
Properly Sealing the Edges and Corners of the Peel and Stick Tiles
To ensure a seamless and professional finish, it’s crucial to properly seal the edges and corners of the peel and stick tiles. This step not only enhances the appearance of the installation but also prevents dirt, moisture, or debris from getting underneath the tiles. For this, you can use a high-quality clear silicone sealant that is formulated for use with peel and stick tiles. Apply a thin bead of sealant along the edges and corners, ensuring complete coverage. Smooth any excess sealant using a damp cloth or sponge. This step will create a robust barrier, preventing any potential damage or lifting of the tiles.
Applying Grout or Caulk for a Finished Look and Added Durability
In addition to properly sealing the edges and corners, applying grout or caulk between the peel and stick tiles can provide a finished look and enhanced durability. Grout or caulk helps fill the gaps between the tiles, creating a seamless appearance and preventing dirt from accumulating in between. For a more traditional tile look, consider using a colored grout that complements the color of your peel and stick tiles. Apply the grout or caulk using a grout float or a caulk gun, ensuring even distribution. Wipe off any excess using a damp sponge. This step will not only enhance the visual appeal but also add durability to your peel and stick tile installation.
Regular Maintenance and Cleaning of the Installed Peel and Stick Tile Flooring
To maintain the beauty and longevity of your newly installed peel and stick tile flooring, regular maintenance and cleaning are essential. Keeping the tiles clean will prevent dirt, stains, and grime from building up, ensuring a fresh and inviting appearance. For routine cleaning, use a mild detergent mixed with water and mop the floor gently. Avoid using abrasive cleaners or scrub brushes that can damage the surface of the tiles. Additionally, promptly attend to any spills or stains to prevent them from penetrating the tiles. By incorporating regular maintenance and cleaning into your routine, you can enjoy the benefits of your peel and stick tile flooring for years to come.
In conclusion, by following these tips and tricks for successful peel and stick tile installation, you can achieve outstanding results. Allowing sufficient time for adhesive to set and cure, properly sealing edges and corners, applying grout or caulk, and regular maintenance are all critical aspects to ensure the longevity and appearance of your peel and stick tile flooring. Take the time to implement these guidelines, and you’ll be rewarded with a beautiful and durable floor that transforms your space.
V. Faqs (Do Not Include This Heading Or Subheading In The Outline)
Installing peel and stick tile over existing tile can be a convenient and cost-effective way to update your space without the hassle of removing the old tile. However, it’s natural to have some questions and concerns before diving into the installation process. In this section, we’ll address some of the most common questions about installing peel and stick tile over existing tile and provide troubleshooting tips for potential issues that may arise. Let’s get started!
Common Questions About Installing Peel and Stick Tile Over Existing Tile
1. Can I install peel and stick tile over any type of existing tile?
Yes, peel and stick tiles are designed to adhere to a variety of surfaces, including existing tiles. However, it’s important to ensure that the existing surface is clean, dry, and free from any loose or damaged tiles. Proper surface preparation is essential for a successful installation.
2. Do I need to use an adhesive or grout when installing peel and stick tile over existing tile?
No, peel and stick tiles come with a self-adhesive backing, eliminating the need for additional adhesives or grout. Simply peel off the backing and press the tile firmly onto the existing surface. However, if you prefer the look of grout lines, you can use a grout pen to create the illusion of grout without the need for traditional grouting.
3. Can I install peel and stick tile over painted or textured tiles?
While peel and stick tiles can adhere to painted or textured tiles, it’s important to note that the surface texture may affect the overall adhesion. The smoother the surface, the better the tiles will adhere. It’s recommended to lightly sand textured tiles to create a smooth surface before installation.
4. What tools do I need for installing peel and stick tile over existing tile?
Installing peel and stick tile requires minimal tools. Here’s a list of what you’ll need:
– Tape measure
– Utility knife or scissors
– Cutting mat
– Straight edge/ruler
– Pencil or marker
– Grout pen (optional)
5. How do I cut peel and stick tiles to fit around obstacles and corners?
To cut peel and stick tiles, simply measure the area that needs to be cut and mark it on the tile’s surface. Then, using a straight edge as a guide, use a utility knife or scissors to carefully cut along the marked line. Ensure the blade is sharp for clean cuts. For fitting tiles around corners or curves, you may need to make multiple small cuts to achieve the desired fit.
Troubleshooting and Solutions for Potential Issues
During the installation process, you may encounter some challenges. Here are common issues and their solutions:
1. Tiles not sticking properly to the existing tile surface
If the peel and stick tiles are not adhering properly, it could be due to inadequate surface preparation. Make sure the existing tiles are clean, dry, and free from any loose or damaged tiles. Additionally, press firmly on each tile during installation to ensure optimal adhesion.
2. Bubbles or wrinkles under the peel and stick tiles
To avoid bubbles or wrinkles, it’s crucial to smooth out each tile as you install it. Start by placing the tile at one end and gradually press it onto the surface, smoothing it out with your hands or a roller. If bubbles or wrinkles appear, gently lift the tile and reapply, ensuring a smooth and even surface.
3. Edges of the peel and stick tiles lifting
If the edges of the tiles start to lift, it could be due to insufficient pressure or improper surface preparation. Push down firmly on the edges during installation to ensure they adhere well. In case of persistent lifting, you can apply a small amount of additional adhesive underneath the edges to secure them.
By addressing these common questions and providing troubleshooting tips, we hope to make your installation process as smooth as possible. Remember to follow the manufacturer’s instructions and take your time to ensure a successful and long-lasting peel and stick tile installation. Happy tiling!
Frequently Asked Questions
Can I Put Peel And Stick Tile Over Existing Tile?
Yes, it is possible to put peel and stick tile over existing tile.
Can You Put Peel And Stick Over Existing Tile Backsplash?
Yes, you can put peel and stick over an existing tile backsplash. It is an easy and cost-effective way to update your kitchen without removing the existing tiles. Just make sure the surface is clean and smooth before applying the peel and stick tiles.
Can You Stick Vinyl Tiles On Ceramic Tiles?
Yes, you can stick vinyl tiles directly onto ceramic tiles. It’s important to make sure the ceramic tiles are clean and free from any dirt or grease. Apply adhesive to the ceramic tiles and place the vinyl tiles on top, pressing down firmly for good adhesion.
Do I Need To Put Anything Under Peel And Stick Tile?
No, you don’t need to put anything under peel and stick tile. It can be directly applied to a clean, smooth and dry surface. However, it’s important to ensure the surface is free of any debris or unevenness for better adhesion and longevity of the tiles.
Conclusion
To sum up, installing peel and stick tile over existing tile can be a cost-efficient and hassle-free way to update your space. By following the step-by-step instructions provided, you can achieve professional-looking results without the need for professional help. Remember to prepare the surface properly, take accurate measurements, and carefully apply the tiles to ensure a long-lasting and beautiful finish.
So go ahead and transform your room with peel and stick tile today!