
To install a niche in the shower, begin by marking the desired location on the wall. Then, use a utility knife to cut out the opening, making sure to follow the marked lines.
Choosing The Right Niche
When it comes to installing a niche in your shower, choosing the right one is crucial. A shower niche not only adds functionality to your shower space but also serves as a statement piece in your bathroom. Whether you’re renovating your bathroom or starting from scratch, selecting the perfect niche requires careful consideration. In this section, we will discuss the factors to consider when selecting a shower niche and explore the different types of niches available, including their pros and cons.
Factors to Consider when Selecting a Shower Niche
When choosing a shower niche, several factors must be taken into account to ensure it meets your needs and preferences. These factors include:
- Size: Consider the size of your shower space and the amount of storage you require. Measure the available area where you plan to install the niche to ensure it fits seamlessly.
- Location: Determine the ideal location for your niche in the shower. Typically, it is recommended to install the niche at eye level for easy access.
- Waterproofing: Ensure that the niche is constructed with waterproof materials and installed properly to prevent water damage. Look for niches that come with built-in waterproofing features.
- Style and Design: Choose a niche that complements the overall aesthetic of your bathroom. Consider the materials, shapes, and finishes that will best match your existing or planned bathroom decor.
- Functionality: Think about how you intend to use the niche. Determine whether you need multiple shelves for various toiletries or a single larger space for storing bigger items like shampoo bottles.
By considering these essential factors, you can make an informed decision and select a shower niche that perfectly suits your needs and enhances the overall aesthetic of your bathroom.
Different Types of Shower Niches and their Pros and Cons
Shower niches come in various types, each with its own advantages and disadvantages. Here are some common types:
| Type of Niche | Pros | Cons |
|---|---|---|
| Tile-in Niche | – Seamless and blends well with tiled walls. – Customizable and can be designed to match your tile pattern. |
– Requires professional installation for a precise fit. – Difficult to modify or replace once installed. |
| Pre-formed Niche | – Easy to install, especially for DIY enthusiasts. – Available in various sizes and styles to suit different needs. |
– Limited customization options. – May not seamlessly match the surrounding tiles. |
| Inset Niche | – Provides a sleek and modern look. – Can be installed during the tile installation process. |
– Requires precise planning and measurements. – Difficult to modify once tiles are in place. |
Each type of niche offers its own set of benefits and drawbacks. Consider these factors in relation to your needs and preferences to choose the most suitable type for your shower.
In conclusion, selecting the right niche for your shower involves careful consideration of various factors, such as size, location, waterproofing, style, and functionality. Additionally, understanding the different types of niches available, along with their pros and cons, can help you make an informed decision. By taking the time to evaluate these aspects, you can install a shower niche that not only enhances your shower experience but also adds style and functionality to your bathroom.

Preparing Your Shower For Niche Installation
Before installing a niche in your shower, it is important to properly prepare the area where it will be placed. This involves determining the ideal location, measuring and marking the area, and creating space by removing tiles or the shower surround if necessary. By following these steps, you can ensure a smooth and successful niche installation that enhances both the functionality and aesthetics of your shower.
Determining the Ideal Location for the Shower Niche
Choosing the right location for your shower niche is essential for easy access and convenience. Here are a few factors to consider when determining the ideal location:
- Shower usage: Think about how you normally use your shower. Do you prefer to have your toiletries within easy reach while standing directly under the showerhead? Consider placing the niche at a height that allows easy access in this position.
- Shower dimensions: Assess the available space in your shower and measure the width and height of the walls. This will help you determine the appropriate size and placement of the niche.
- Structural obstacles: Look for any pipes, studs, or other structural elements within the walls that may affect the placement of the niche. Avoiding these obstacles will ensure a secure installation.
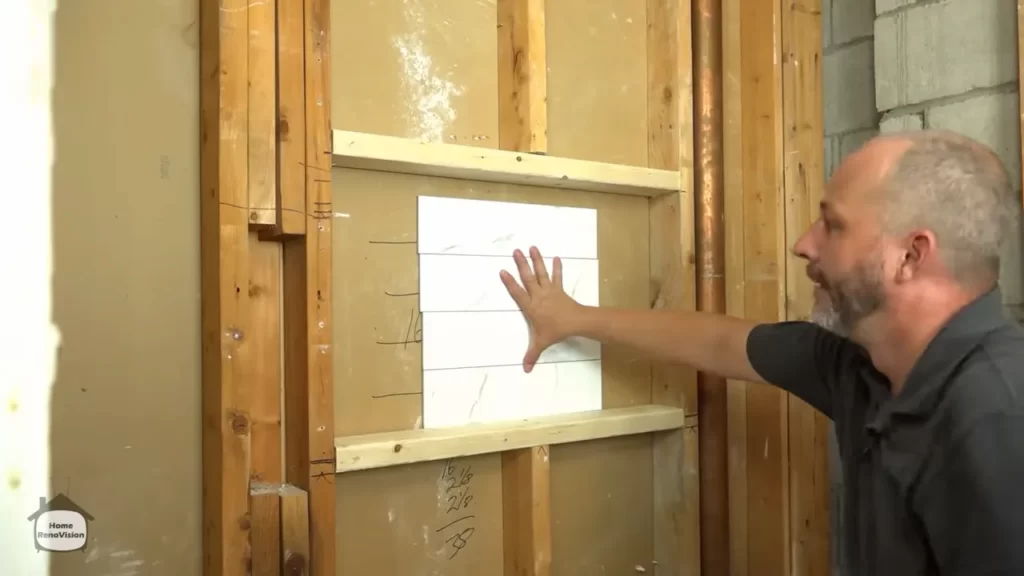
Measuring and Marking the Area for Niche Installation
Once you have determined the ideal location for your shower niche, it’s time to measure and mark the area where it will be installed. Follow these steps:
- Measure the height: Using a measuring tape, determine the desired height of the niche and mark it on the wall. Ensure that the height is suitable for your needs and allows for easy access.
- Measure the width: Measure the width of the space available for the niche and mark the side boundaries on the wall. Make sure to leave enough room for the niche to fit comfortably within the marked area.
- Mark the depth: Consider the depth of your niche, which should be large enough to accommodate your toiletries without being too obtrusive. Mark the depth by measuring from the front of the shower wall.
Removing Tiles or Shower Surround to Create Space for the Niche
Before installing the niche, you may need to create space in the shower wall by removing tiles or the shower surround. Follow these steps for a successful removal:
- Protect the surrounding area: Cover the shower floor and surrounding surfaces with drop cloths or plastic sheets to protect them from debris and damage.
- Remove the grout: Use a grout saw or an oscillating tool to carefully remove the grout between the tiles surrounding the marked area.
- Remove the tiles or shower surround: Use a pry bar or a utility knife to remove the tiles or shower surround. Take care not to damage the wall substrate in the process.
- Clean and prepare the area: Once the tiles or shower surround have been removed, clean the area thoroughly and make any necessary repairs to ensure a smooth surface for the niche installation.
By following these steps to prepare your shower for niche installation, you are one step closer to transforming your shower into a functional and stylish space that meets all your storage needs.

Installing The Shower Niche
Installing the Shower Niche
One important element to consider when renovating or building a new shower is the installation of a shower niche. A shower niche is a recessed area in the shower wall that provides a convenient storage space for toiletries and bath essentials. Not only does it help keep your shower area organized, but it also adds a touch of elegance to your bathroom design.
Preparing the Shower Niche for Installation
Before you can install the shower niche, it is crucial to properly prepare the area. Start by determining the ideal location for your niche. Consider the height and accessibility as well as the overall aesthetics of your shower. Once you’ve chosen the spot, measure the dimensions of the niche and mark the area on the wall using a pencil or painter’s tape.
Step-by-Step Guide to Installing the Shower Niche
Now that you have prepared the area, it’s time to move on to the actual installation process. Follow this step-by-step guide to ensure a successful installation:
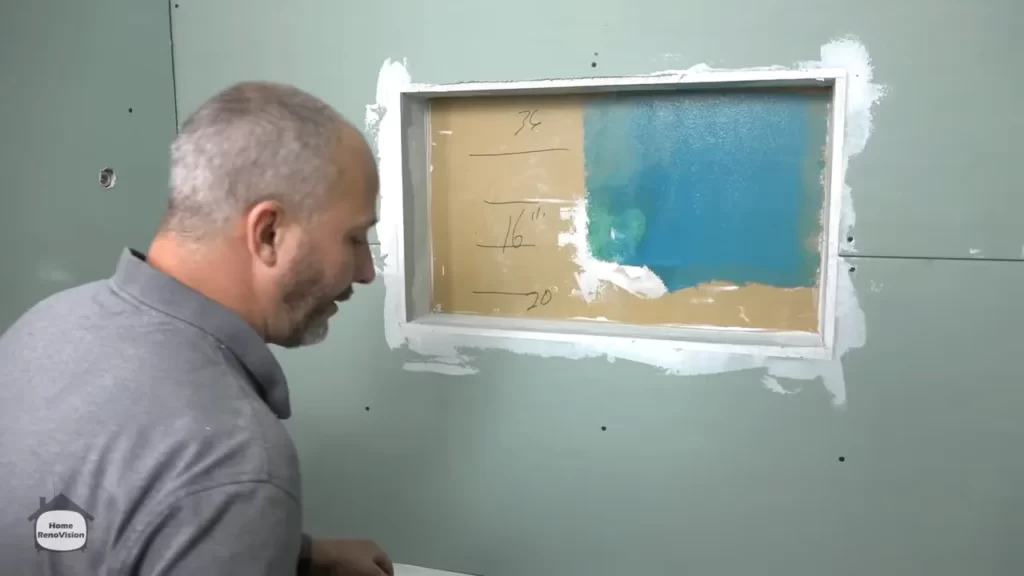
1. Cutting an Opening for the Niche:
Carefully cut an opening in the shower wall according to the dimensions marked earlier. Use a utility knife or a reciprocating saw for this task. Be cautious and go slowly to avoid any damage to the surrounding tiles or walls.
2. Inserting and Securing the Niche:
Gently place the shower niche into the opening, making sure it fits snugly. Secure it in place using screws or adhesive, depending on the manufacturer’s instructions. Take extra care to align the niche properly and check for any gaps or unevenness.
Proper Waterproofing and Sealing of the Niche
To prevent water damage and leakage, it is crucial to ensure that the shower niche is properly waterproofed and sealed. Apply a waterproofing membrane or a liquid waterproofing material around the edges of the niche and seal any gaps or joints with silicone caulk. This will create a barrier, protecting the surrounding area from moisture and ensuring the longevity of your niche.
Tips and Tricks for a Smooth Installation Process
Here are some tips and tricks that can help make the installation process go smoothly:
– Measure twice, cut once: Double-check your measurements before cutting the opening for the niche to avoid any irreversible mistakes.
– Use a level: Ensure that the niche is perfectly level and plumb during installation for a professional-looking finish.
– Use the right tools: Invest in high-quality tools that are specifically designed for this type of installation to achieve accurate and clean results.
– Take your time: Rushing through the installation can lead to errors. Take your time, follow the instructions carefully, and pay attention to detail for a successful outcome.
By following these guidelines and paying attention to detail, you can install a shower niche seamlessly, adding functionality and style to your shower space. Don’t be afraid to tackle this project on your own, as it is a manageable DIY task that can make a significant difference in your bathroom’s overall aesthetics and organization.
Finishing And Styling The Shower Niche
When it comes to designing a beautiful and functional shower niche, the finishing and styling options play a crucial role in achieving the desired look for your bathroom. From choosing the right tile or finish to considering accent tiles and lighting options, each element contributes to the overall aesthetic appeal of the niche. In this section, we will explore some essential steps to take when finishing and styling your shower niche.
Choosing the Right Tile or Finish for the Niche
One of the first decisions you’ll need to make when finishing your shower niche is selecting the right tile or finish. The choice will depend on your personal style preferences, the overall theme of your bathroom, and the level of maintenance you’re willing to undertake. Here are a few popular options to consider:
| Tile Type | Pros | Cons |
|---|---|---|
| Ceramic or Porcelain | • Wide variety of styles and colors • Durable and easy to clean |
• Requires regular sealing • Grout lines may require maintenance |
| Glass | • Reflects light and adds a touch of elegance • Resistant to stains and mold |
• Can be more expensive than other options • May require more frequent cleaning |
| Natural Stone | • Offers a unique and organic look • Adds an earthy vibe to your bathroom |
• Requires sealing and maintenance • Prone to staining and scratching |
Installing and Grouting the Tiles or Finish on the Niche
Once you’ve chosen the perfect tile or finish for your niche, it’s time to install and grout them. For a seamless and professional-looking installation, follow these steps:
- Prepare the niche by ensuring it is clean, dry, and free of any debris.
- Apply a thin layer of adhesive to the back of each tile or finish piece using a notched trowel, making sure to cover the entire surface evenly.
- Press the tiles or finish into place, aligning them carefully and ensuring a tight fit.
- Allow the adhesive to dry according to the manufacturer’s instructions.
- Once the adhesive is dry, apply grout using a rubber grout float, ensuring all gaps between the tiles or finish are completely filled.
- Wipe off any excess grout with a damp sponge, being careful not to disturb the freshly grouted joints.
- Allow the grout to cure for the recommended time before applying a grout sealer to protect against staining and moisture penetration.
Enhancing the Look of the Niche with Accent Tiles or Trim
To add some visual interest and enhance the look of your shower niche, consider incorporating accent tiles or trim. These decorative elements can create a focal point within your shower and complement the overall design of your bathroom. Some popular ideas for accent tiles or trim include:
- Using mosaic tiles in a contrasting color or pattern to create a striking visual effect.
- Opting for a metal trim or edging that adds a touch of sophistication and creates a seamless transition between the niche and the surrounding tiles.
- Choosing decorative glass tiles that catch the light and create a sense of depth within the niche.
Considering Lighting Options for the Niche
Lighting can play a key role in highlighting your shower niche and creating a welcoming atmosphere in your bathroom. Here are some lighting options to consider:
- Installing recessed lights directly above or on the sides of the niche to illuminate the contents and draw attention to its stylish design.
- Using LED strip lights placed inside the niche to create a soft and warm glow.
- Installing a waterproof light fixture inside the niche itself, which can serve as a statement piece and provide functional lighting.
By carefully selecting the right tile or finish, expertly installing and grouting them, adding accent tiles or trim, and considering lighting options, you can transform your shower niche into a stunning focal point that enhances the overall look and feel of your bathroom.
Maintaining And Cleaning Your Shower Niche
Maintaining and cleaning your shower niche is essential to keep it looking pristine and functioning properly. Regular maintenance practices, recommended cleaning products and techniques, as well as dealing with common issues and fixes can ensure the longevity and aesthetics of your shower niche.
Regular Maintenance Practices to Keep the Niche in Good Condition
Following a few regular maintenance practices can help keep your shower niche in excellent condition:
- Inspect the niche regularly for any signs of damage, such as cracks or chips, and repair them promptly to prevent further issues.
- Keep the niche dry and free of any standing water to prevent mold and mildew growth. Wipe it down after each use and ensure proper ventilation in your bathroom.
- Avoid using abrasive cleaners or scrubbing tools that can scratch the niche surface. Instead, opt for gentle cleaners that are safe for your niche material.
- Check the grout lines regularly and regrout if necessary to maintain a watertight seal and prevent water damage.
Recommended Cleaning Products and Techniques for the Niche
When it comes to cleaning your shower niche, it’s important to use the right products and techniques to avoid damaging the material. Here are some recommendations:
- Use a mild, non-abrasive cleaner specifically formulated for your shower niche material. Check the manufacturer’s recommendations for approved cleaning products.
- Gently scrub the niche using a soft cloth or sponge, focusing on any soap scum or residue. Rinse thoroughly with water afterward.
- For stubborn stains or buildup, you can create a homemade cleaning solution using equal parts white vinegar and water. Apply it to the affected areas, let it sit for a few minutes, then scrub and rinse.
- Regularly apply a protective sealer to the niche surface to prevent stains and maintain its overall appearance. Follow the manufacturer’s instructions for application.
Dealing with Common Issues and Fixes for the Shower Niche
Despite regular maintenance, common issues can still occur with your shower niche. Here are some common problems you may encounter and their potential fixes:
| Issue | Fix |
|---|---|
| Leaking niche | Inspect the grout lines and seal any gaps with a waterproof sealant. If the leaking persists, contact a professional for assistance. |
| Mold and mildew growth | Thoroughly clean the affected areas using a mold and mildew remover. Improve ventilation in your bathroom to prevent future growth. Consider applying a mold-resistant coating to the niche surface. |
| Loose or detached tiles | If a tile is loose, carefully remove it, clean the backside, and reattach using a waterproof tile adhesive. Replace any damaged tiles if necessary. |
By following these maintenance practices, using the recommended cleaning products and techniques, and addressing common issues promptly, you can ensure that your shower niche remains in excellent condition for years to come.
Frequently Asked Questions
Can You Add A Niche To An Existing Shower?
Yes, it is possible to add a niche to an existing shower. Niche installation requires proper planning and professional expertise. By hiring experts, you can enhance the functionality and aesthetics of your shower space.
What Is The Easiest Shower Niche To Install?
The easiest shower niche to install is a pre-fabricated recessed niche. It is simple to assemble and can be quickly installed, requiring minimal effort and expertise.
How Far Apart Are Studs For Shower Niche?
Shower niche studs are typically spaced 16 inches apart on center.
At What Height Should A Shower Niche Be Installed?
The ideal height for installing a shower niche is typically between 48-60 inches from the shower floor. This placement allows for easy access to toiletries while showering.
Conclusion
Installing a niche in your shower can greatly enhance both the functionality and aesthetic appeal of your bathroom. By following these step-by-step instructions, you can easily add a niche to your shower and create a convenient storage space for all your shower essentials.
Remember to measure accurately, choose a suitable location, and use the right tools and materials for a successful installation. With a little patience and effort, your shower niche will be a stylish and practical addition to your bathroom. Upgrading your shower has never been easier!