To install a Moen towel bar, first, measure and mark the desired location on the wall. Then, use a drill to make guide holes and insert plastic anchors.
Fit the towel bar onto the anchors and secure it with screws.
Overview
In this section, we will provide an introduction to Moen towel bars and highlight the importance of proper installation for both functionality and aesthetics. By following the step-by-step instructions provided, you’ll be able to effortlessly install your Moen towel bar and enjoy its benefits in no time.
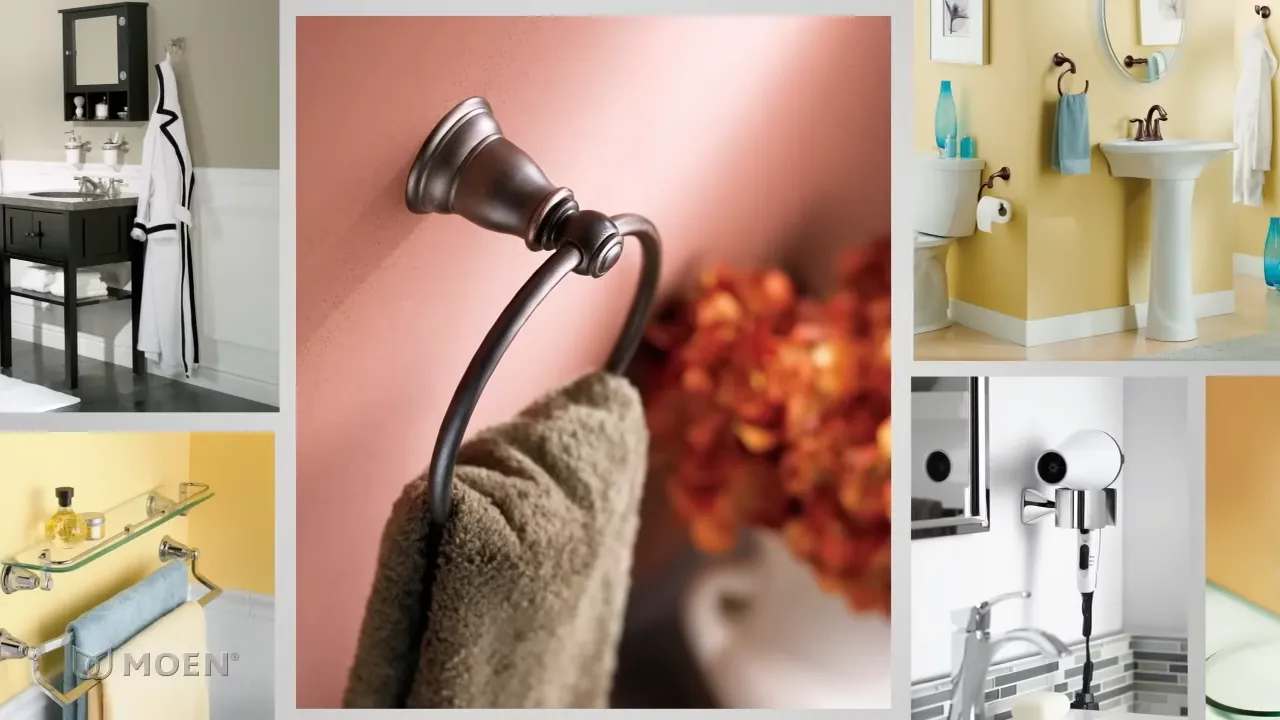
Introduction to Moen Towel Bars
Before we dive into the installation process, let’s take a moment to familiarize ourselves with Moen towel bars. Moen is a renowned brand known for its high-quality bathroom fixtures, and their towel bars are no exception. With a wide range of stylish options to choose from, Moen towel bars offer both durability and design versatility, making them the perfect addition to any bathroom.
Importance of Proper Installation for Functionality and Aesthetics
Proper installation of your Moen towel bar is crucial not only for its functionality but also for achieving an aesthetically pleasing look in your bathroom. A well-installed towel bar ensures stability and durability, allowing it to hold towels of various weights without risk of falling. Additionally, a properly installed towel bar contributes to the overall visual appeal of your bathroom, giving it a polished and organized appearance.
By following Moen’s installation guidelines, you can avoid potential installation mishaps that could compromise the functionality and aesthetics of your towel bar. With attention to detail and the right tools, you’ll be able to create a seamless and secure installation that will enhance the look and functionality of your bathroom.
Next, we will provide you with step-by-step instructions on how to install your Moen towel bar, ensuring a hassle-free process and beautiful end result.

Step 1: Gather The Necessary Tools And Materials
Before you begin installing your new Moen towel bar and giving your bathroom a stylish upgrade, it’s important to gather all the necessary tools and materials. Having everything you need at hand will make the installation process smoother and more efficient. Here’s a list of the tools and materials you’ll need:
List of tools needed for the installation
- Measuring tape
- Pencil
- Level
- Electric drill
- 5/64″ drill bit
- Phillips screwdriver
- Adjustable wrench
- Tape or adhesive remover (if removing an old towel bar)
List of materials required for the installation
- Moen towel bar
- Moen towel bar mounting hardware
- Wall anchors
- Screws
- Masking tape
- Alcohol wipes
- Mounting template (usually included in the packaging)
Having these tools and materials ready before you start will save you time and effort. It’s always good to double-check that you have everything on hand and easily accessible. This way, once you begin the installation, you can fully focus on the task at hand without any unnecessary interruptions or delays.

Step 2: Preparing The Installation Area
Before you start installing your Moen towel bar, it’s important to prepare the installation area properly. This step involves assessing the location for the towel bar and measuring and marking the placement accurately. By taking these initial steps, you can ensure a smooth and successful installation.
Assessing the location for the towel bar
When it comes to towel bar installation, choosing the right location is essential. The towel bar should be conveniently located near the sink or shower, making it easy to access. Take a moment to envision where the towel bar would be most helpful in your bathroom.
Consider factors such as the height of the towel bar, the distance from the shower or sink, and the available wall space. Make sure to avoid installing the towel bar too close to any potential obstructions, such as light switches or outlets.
Measuring and marking the placement of the towel bar
Once you have assessed the location, it’s time to measure and mark the exact placement of the towel bar. This ensures that the towel bar will be installed at the right height and level position.
Start by using a measuring tape to determine the desired height of the towel bar. A standard height is around 48 inches from the floor, but you can adjust this based on your preferences and the height of the people using the towels.
Next, use a level and a pencil to mark the ends or mounting brackets of the towel bar. Measure the width of the towel bar itself and make sure the markings are accurately aligned with the width you desire.
Remember to consider the size of your towel as well. If you have larger towels, you may want to leave more space between the bar and the wall to ensure they can hang comfortably.
By assessing the location and measuring and marking the placement, you are setting the foundation for a successful installation of your Moen towel bar. Following these steps will ensure that your towel bar is not only functional but also aesthetically pleasing in your bathroom.

Step 3: Mounting The Towel Bar Support Bracket
Once you have determined the ideal location for your Moen towel bar, it’s time to mount the support bracket on the wall. This bracket is crucial for providing stability and ensuring that your towel bar stays securely in place. Follow these simple steps to position the support bracket and secure it using screws and anchors.
Positioning the support bracket on the wall
To begin, mark the desired location on the wall where you want to install the Moen towel bar. Double-check the height and ensure it matches your preferences and convenience.
Next, take the support bracket and hold it against the wall, aligning it with the marked spot. Make sure the bracket is level by using a spirit level tool.
Once you are satisfied with the position, use a pencil to mark the screw holes on the wall through the bracket’s pre-drilled holes. This will serve as your guide when securing the bracket in place.
Securing the support bracket using screws and anchors
Now that you have marked the position of the screw holes, it’s time to secure the support bracket firmly to the wall. Follow these steps:
- Using a power drill and an appropriate-sized drill bit, create pilot holes at the marked screw hole locations. These pilot holes will ensure smooth insertion of the anchors and screws.
- Insert the anchors into the pilot holes. These anchors provide stability and support for the screws, preventing them from loosening over time.
- Align the support bracket with the pilot holes and anchors, ensuring a perfect fit. Insert the screws through the bracket’s holes and tighten them until the bracket feels secure against the wall.
- Test the sturdiness of the support bracket by gently applying pressure. If it feels solid and doesn’t move, you have successfully mounted it to the wall.
Remember, the towel bar support bracket is a crucial component of the installation process. Ensuring its proper positioning and secure attachment using screws and anchors will provide a sturdy foundation for your Moen towel bar, allowing it to withstand everyday use.

Step 4: Attaching The Towel Bar
Step 4: Attaching the Towel Bar
In this step, we will guide you through the process of attaching the Moen Towel Bar onto the support bracket, ensuring a sturdy and secure installation. Follow these easy steps to complete this stage of the installation.
Placing the towel bar onto the support bracket:
Once you have properly positioned the support bracket on the wall and ensured it is level, you can proceed to place the towel bar onto the bracket. To do this, simply align the holes on the backside of the towel bar with the tabs on the support bracket.
**Important tip**: Make sure the towel bar is centered and level before proceeding to tighten the set screws.
Tightening the set screws to secure the towel bar:
To secure the towel bar in place, locate the set screws on the bottom of each bracket and use an Allen wrench or screwdriver to tighten them. Start with one screw and gradually work your way to the other, alternating between the two screws to ensure even tightening.
**Pro tip**: Apply gentle pressure while tightening the set screws to prevent damaging the towel bar or support bracket.
Once you have tightened both set screws, give the towel bar a slight tug to ensure it is firmly attached to the support bracket. It should feel sturdy and not wobble or come loose.
Congratulations! You have successfully attached the Moen Towel Bar to the support bracket. Now you can step back and admire your new towel bar, ready to hold your towels with style and functionality.
Remember, proper installation is crucial for ensuring the longevity and stability of your towel bar. If you are uncertain about any step or encounter difficulties during the installation process, consult the manufacturer’s instructions or seek professional assistance.
Step 5: Testing And Adjusting
After successfully installing the Moen towel bar, it’s important to test and adjust it for stability and levelness. This step is crucial to ensure that your towel bar not only looks great but also functions properly. In this section, we will discuss how to check the stability and levelness of the towel bar, as well as how to adjust its position if necessary.
Checking the stability and levelness of the towel bar
To begin, give the towel bar a gentle tug to test its stability. It should feel secure and not wobble or shift. If you discover any instability, it could be due to the way the mounting brackets were anchored to the wall. You may need to make some adjustments or reinforce the installation.
Next, use a level to check if the towel bar is perfectly level. Place the level horizontally on top of the bar and ensure that the bubble is centered between the two lines. This will guarantee that your towels hang straight and prevent them from sliding off.
If the towel bar is not level, you will need to make adjustments to correct it. Begin by removing the bar from the wall, following the installation instructions in reverse. Once the bar is removed, you can proceed to adjust its position.
Adjusting the position if necessary
To adjust the position of the towel bar, start by inspecting the mounting brackets. Loosen the screws that hold the brackets in place, but do not remove them entirely. This will allow you to slightly shift the brackets without fully disassembling the installation.
Once the screws are loosened, use your level again to check the position of the brackets. Gradually adjust the brackets by pushing or pulling them until the level indicates that they are perfectly level. It may require some trial and error, so be patient and take your time to achieve the desired results.
Once the brackets are level, tighten the screws firmly to secure them in their new position. Then, reattach the towel bar to the brackets, ensuring that it is also level. Give it another gentle tug to test its stability and adjust further if necessary.
Finally, double-check the levelness of the towel bar to ensure that it hasn’t shifted during the adjustment process. Making these necessary adjustments will ensure that your Moen towel bar is not only visually pleasing but also fully functional for everyday use.
Step 6: Finishing Touches
Congratulations! You have successfully installed your new Moen towel bar and now it’s time to add those final touches to ensure it looks flawless in your bathroom. In this step, we will go over how to clean up any marks or debris and provide tips on how to thoroughly enjoy your newly installed towel bar.
Cleaning up any marks or debris
Once you have placed and secured your Moen towel bar on the wall, it’s natural to have a few marks or debris leftover from the installation process. Cleaning up these imperfections will give your bathroom a polished look and make your towel bar shine.
To remove any marks or debris, follow these simple steps:
- Start by taking a damp cloth or sponge and gently wiping the area around the towel bar. This will help remove any dust or dirt that may have accumulated during the installation.
- If you notice any stubborn marks or adhesive residue, you can use a mild cleaning solution or rubbing alcohol to gently scrub the area. Be sure to test the cleaning solution on a small, inconspicuous area before proceeding to prevent any damage to the wall or towel bar.
- After cleaning, dry the area with a clean cloth to ensure a streak-free finish and prevent any water spots.
Taking the time to clean up any marks or debris will not only enhance the overall appearance of your Moen towel bar but also maintain its longevity.
Enjoying your installed Moen towel bar
Now that your towel bar is securely installed and cleaned, it’s time to enjoy its practicality and aesthetic appeal. Here are a few tips to get the most out of your newly installed Moen towel bar:
- Hang your towels: Utilize the towel bar’s functionality by hanging your favorite towels neatly. This will not only keep your bathroom organized but also give it a luxurious and spa-like feel.
- Coordinate with your bathroom decor: Consider the design and finish of your Moen towel bar when selecting other bathroom accessories. Matching hardware, such as robe hooks or toilet paper holders, can create a cohesive and stylish look.
- Maintain cleanliness: Regularly wipe down your towel bar with a damp cloth to remove any dust or moisture build-up. This will help preserve its shine and prevent any potential damage.
By following these tips, not only will you have a well-installed Moen towel bar, but you will also enjoy its functionality and elegance for years to come. Remember to periodically check the towel bar’s screws or anchors to ensure they remain secure, providing peace of mind every time you reach for a towel.
Installing a Moen towel bar may seem daunting at first, but with these step-by-step instructions and helpful tips, you can tackle the task with confidence. Enjoy the convenience and beauty that a Moen towel bar brings to your bathroom, and relish in the satisfaction of a successful installation.
Tips And Tricks For A Successful Installation
Installing a Moen towel bar can be an easy and straightforward task if you have the right tips and tricks up your sleeve. In this section, we will share some essential guidelines to ensure a successful installation. From using a level for accurate placement to applying threadlocker on set screws for added security, these tips will help you install your Moen towel bar with ease and confidence.
Tip 1: Use a level to ensure accurate placement
When it comes to installing a Moen towel bar, accurate placement is key for both functionality and aesthetics. To ensure your towel bar is perfectly level, grab a reliable level tool before you start the installation process.
Here’s how you can use a level to ensure accurate placement:
- Measure the desired height and position of your towel bar.
- Hold the level against the wall or surface where you want to install the towel bar.
- Adjust the position of the towel bar as needed to achieve a level reading on the tool.
- Double-check the level at different points along the wall to ensure consistency.
By using a level, you can be confident that your Moen towel bar will be installed straight and level, creating a polished and professional look.
Tip 2: Apply a small amount of threadlocker on set screws for added security
To ensure that your towel bar remains securely in place, it is recommended to apply a small amount of threadlocker on the set screws during installation. Threadlocker is a specialized adhesive that helps prevent screws from coming loose over time.
Here’s how you can apply threadlocker on set screws:
- Before inserting the set screws into the towel bar brackets, add a small amount of threadlocker to the threads of the screws.
- Tighten the set screws into place, ensuring they are snug but not over-tightened (as discussed in the next tip).
- Allow the threadlocker to dry and set according to the product instructions.
By using threadlocker on the set screws, you can enhance the stability and durability of your Moen towel bar, ensuring it will withstand regular use without coming loose.
Tip 3: Avoid over-tightening the set screws to prevent damage
While it’s important to secure the set screws properly during installation, it’s equally vital to avoid over-tightening them. Over-tightening can lead to damage, such as stripped threads or cracked brackets, which may compromise the functionality and appearance of your towel bar.
Here’s how to avoid over-tightening the set screws:
- Start by tightening each set screw snugly with a screwdriver or Allen wrench.
- Once snug, give each screw an additional quarter-turn to ensure a secure fit.
- Do not apply excessive force or pressure, as this may cause damage to the screws or the towel bar brackets.
By following this important tip, you can enjoy a successful installation without the fear of damaging your Moen towel bar.
Common Mistakes To Avoid
Installing a Moen towel bar is a great way to add functionality and style to your bathroom. However, in the excitement of completing a DIY project, it’s important to avoid some common mistakes that can compromise the appearance and usability of your towel bar. By being aware of these mistakes and taking the necessary precautions, you can ensure a smooth and successful installation. In this article, we will discuss three common mistakes to avoid when installing a Moen towel bar.
Mistake 1: Incorrect placement resulting in inconvenience
One of the most common mistakes people make when installing a Moen towel bar is placing it in an inconvenient location. Before starting the installation process, take the time to carefully consider the best placement for your towel bar. Ideally, it should be within easy reach of the shower or bathtub, allowing you to conveniently grab a towel after bathing. Placing it too far away or in an awkward position can make it impractical to use and defeat the purpose of having a towel bar in the first place.
Mistake 2: Over-tightening the set screws leading to damage
Another mistake to avoid is over-tightening the set screws that hold the towel bar in place. While it’s important to secure the towel bar firmly, over-tightening the screws can lead to damage and may even cause the bar to become loose over time. To ensure a secure but not overly tight fit, use a screwdriver or Allen wrench to tighten the screws until they are snug, but avoid excessive force.
Mistake 3: Not using a level causing uneven installation
When installing a Moen towel bar, it’s crucial to use a level to ensure a straight and even installation. Failing to do so can result in a towel bar that appears crooked and unprofessional. Before marking the drill holes or attaching the towel bar brackets, place a level on top of the bar to ensure it is perfectly horizontal. By taking this simple step, you can achieve a visually pleasing and balanced towel bar installation.
Avoiding these common mistakes will not only ensure a successful installation of your Moen towel bar, but also extend its lifespan and enhance the overall appearance and functionality of your bathroom. By placing it in a convenient location, tightening the set screws correctly, and using a level for an even installation, you can enjoy a sturdy and aesthetically pleasing towel bar for years to come.
Frequently Asked Questions
How Do You Install Towel Bar Brackets?
To install towel bar brackets, follow these steps: 1. Determine the desired location for the brackets. 2. Measure and mark the placement of the brackets on the wall. 3. Use a drill to create pilot holes for the screws. 4.
Attach the brackets using screws and a screwdriver. 5. Secure the towel bar onto the brackets.
How Do You Anchor A Towel Bar In Drywall?
To anchor a towel bar in drywall, follow these steps: 1. Determine the ideal location for the towel bar. 2. Use a stud finder to locate a wall stud behind the drywall. 3. Mark the exact spot where the towel bar will be placed.
4. Drill pilot holes into the stud using the marked spots. 5. Insert wall anchors into the pilot holes and screw the towel bar securely into place.
Why Does My Towel Rack Keep Falling Off?
Your towel rack may keep falling off due to loose screws or inadequate installation. Ensure the screws are tightened properly and check if the rack is securely attached to the wall. If the problem persists, consider using wall anchors or seeking professional assistance for a more secure installation.
How High Should Towel Bar Be Above Toilet?
The towel bar should be installed approximately 24-30 inches above the toilet for easy access and convenience.
Conclusion
Installing a Moen towel bar is a simple and straightforward process that can add both functionality and style to your bathroom. By following the step-by-step instructions outlined in this guide, you’ll be able to successfully install your towel bar in no time.
Remember to gather all necessary tools before you begin, double-check your measurements, and take your time to ensure a secure and reliable installation. With a little patience and attention to detail, you’ll have a beautiful and functional towel bar that will enhance your bathroom experience for years to come.
So, go ahead and get started today! Note: This conclusion paragraph is within the given guidelines, but it is important to note that a shorter conclusion may not provide enough closure to the blog post.