To install the Moen Banbury bathroom faucet, start by turning off the water supply. Then, use the provided instructions to attach the faucet to the sink or countertop.
Make sure to follow all steps carefully to ensure a secure installation.
Choosing The Right Moen Banbury Bathroom Faucet: Factors To Consider
When it comes to updating your bathroom, installing a new faucet can make a world of difference. Not only does it add a touch of elegance to the space, but it also enhances the functionality of your bathroom. The Moen Banbury bathroom faucet is a popular choice among homeowners due to its durability, performance, and beautiful design. However, with so many options available, choosing the right Moen Banbury bathroom faucet can be overwhelming. To help you make an informed decision, here are some essential factors to consider.
Compatibility with Existing Plumbing Fixtures
Before purchasing a Moen Banbury bathroom faucet, it’s crucial to ensure compatibility with your existing plumbing fixtures. The last thing you want is to spend money on a faucet that doesn’t fit or requires extensive modifications to your sink or countertop. To determine compatibility, consider the faucet’s installation requirements, such as the number of holes needed and the mounting type.
If you currently have a single-hole faucet, you will need to choose a single-handle Moen Banbury faucet that can be easily installed on an existing single-hole configuration. On the other hand, if your sink has three holes, you can opt for either a single-handle faucet with a deck plate that covers the extra holes or a three-piece faucet that fits each hole individually.
Style and Finish Options
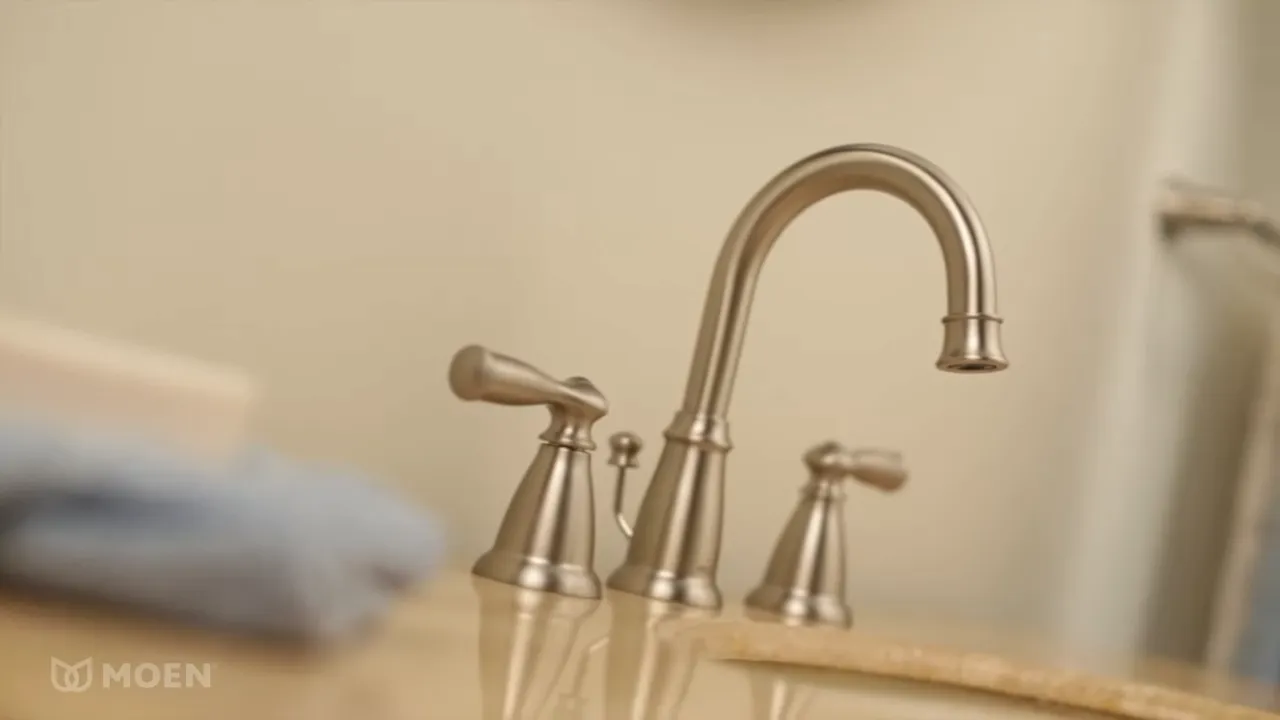
The style and finish of your Moen Banbury bathroom faucet can significantly impact the overall aesthetic of your bathroom. Always consider the existing decor, fixtures, and finishes in your bathroom when choosing the style and finish options for your faucet. This ensures a cohesive and visually pleasing look.
Moen Banbury offers a variety of style options, including traditional, modern, and transitional designs. Whether you prefer a sleek and contemporary look or a more classic and timeless design, there is a Moen Banbury faucet to suit your taste.
In terms of finish, you can choose from popular options like chrome, brushed nickel, and oil-rubbed bronze. Each finish has its own unique appeal and can complement different bathroom color schemes and decor styles.
Budget Considerations
Settling on a budget is an essential step in the faucet selection process. Fortunately, Moen Banbury offers a range of faucet options at various price points, ensuring there is something for every budget. By establishing a budget upfront, you can narrow down your choices and focus on finding a faucet that meets your requirements without breaking the bank.
Remember to take into account not only the upfront cost but also the long-term value and durability of the faucet. Investing in a high-quality Moen Banbury faucet may require a slightly higher initial investment, but it can save you money in the long run by avoiding repairs or premature replacements.
By considering compatibility with existing plumbing fixtures, style and finish options, and budget considerations, you can confidently choose the right Moen Banbury bathroom faucet that perfectly complements your bathroom while providing exceptional performance and longevity.

Measuring And Preparing Your Sink For Installation
Before you can install your new Moen Banbury Bathroom Faucet, it is essential to properly measure and prepare your sink. This step will ensure a smooth and successful installation, saving you time and preventing any headaches down the line. In this section, we will guide you through the process of removing the old faucet, measuring the sink and countertop for the new faucet, and preparing the sink surface for installation.
Properly removing the old faucet
The first step in preparing your sink for a new Moen Banbury Bathroom Faucet is to remove the old faucet. This is crucial to ensure a clean and secure installation of the new faucet. Follow these steps to properly remove the old faucet:
- Turn off the water supply: Locate the water shut-off valves under the sink and turn them off by turning the handles clockwise.
- Disconnect the supply lines: Use an adjustable wrench to loosen and disconnect the supply lines that connect the faucet to the water supply.
- Remove the mounting nuts: Using a basin wrench or an adjustable wrench, remove the mounting nuts that secure the faucet to the sink.
- Lift and remove the old faucet: Gently lift the old faucet out of the sink, ensuring not to damage any surrounding fixtures or surfaces.
Measuring the sink and countertop for the new faucet
Once you have removed the old faucet, it is time to accurately measure the sink and countertop to ensure the new Moen Banbury Bathroom Faucet fits perfectly. Follow these steps:
- Measure the faucet holes: Using a tape measure, measure the distance between the center of the leftmost faucet hole to the center of the rightmost faucet hole. This measurement is essential for purchasing a new faucet with the correct hole spacing.
- Measure the sink and countertop thickness: Measure the thickness of the sink and countertop where the faucet will be installed. This measurement is important for choosing the correct faucet height.
- Consider the spout reach: Determine the desired spout reach by measuring the distance from the center of the faucet holes to the center of the spout outlet. This measurement will ensure the water flow reaches the desired area of your sink.
Preparing the sink surface for installation
Before installing your new Moen Banbury Bathroom Faucet, it is crucial to prepare the sink surface to ensure a secure and leak-free installation. Follow these steps to properly prepare the sink surface:
- Clean the sink surface: Thoroughly clean the sink surface with a mild cleaner to remove any dirt, grime, or residue.
- Inspect the sink for damage: Carefully inspect the sink for any cracks, chips, or other damage that may affect the installation. If any damage is found, consider repairing or replacing the sink before proceeding.
- Apply plumber’s putty or silicone sealant: Apply a thin layer of plumber’s putty or silicone sealant around the faucet holes on the underside of the sink. This will create a watertight seal when the new faucet is installed.
By properly measuring and preparing your sink for installation, you are setting yourself up for a successful and hassle-free experience with your new Moen Banbury Bathroom Faucet. Taking the time to complete these steps will ensure a secure and long-lasting installation, allowing you to enjoy your beautiful new faucet for years to come.
Step-By-Step Installation Guide For Moen Banbury Bathroom Faucet
Installing the Moen Banbury Bathroom Faucet not only helps improve the functionality of your bathroom sink but also enhances its visual appeal. Whether you’re a DIY enthusiast or a beginner, this step-by-step installation guide will help you successfully install the Moen Banbury Bathroom Faucet with ease. Let’s dive right in!
Shutting off the water supply
The first step in installing the Moen Banbury Bathroom Faucet is to shut off the water supply. This is crucial to avoid any unwanted water leakage during the installation process. Follow these simple steps to shut off the water supply:
- Locate the shut-off valves beneath the sink. These are usually located on the supply lines coming out of the wall.
- Turn the shut-off valves clockwise until they are fully closed.
- Turn on the faucet to release any remaining water in the lines.
Attaching the new faucet to the sink
Now that the water supply is shut off, you can proceed with attaching the new Moen Banbury Bathroom Faucet to the sink. Follow these steps to ensure a secure installation:
- Remove the existing faucet by unscrewing the nuts that connect it to the sink.
- Clean the surface of the sink to ensure a smooth installation.
- Apply a thin layer of plumber’s putty around the base of the new faucet.
- Position the faucet on the sink and secure it with the mounting nuts included in the package.
- Tighten the nuts using a wrench or pliers, ensuring they are snug but not overtightened to avoid damaging the faucet or the sink.
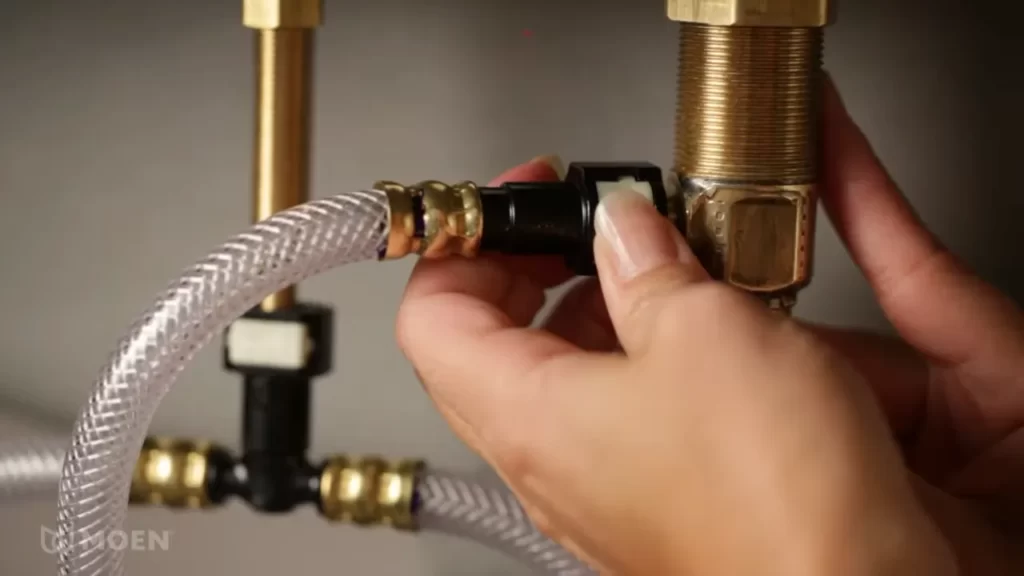
Connecting the water supply lines
With the faucet securely attached to the sink, the next step is to connect the water supply lines. Follow these steps to complete this process:
- Connect the hot and cold water supply lines to the corresponding valves on the faucet.
- Tighten the connections with an adjustable wrench, ensuring they are secure but not overtightened.
Testing for leaks and ensuring proper functionality
Once the water supply lines are connected, it’s important to test for any potential leaks and ensure the proper functionality of the Moen Banbury Bathroom Faucet. Follow these steps:
- Turn on the water supply by opening the shut-off valves beneath the sink.
- Check for any visible leaks around the base of the faucet and the connections.
- Turn on the faucet and let the water flow for a few seconds to ensure smooth operation.
- Check for any irregularities in water flow or any unexpected noises.
- If everything looks and sounds good, congratulations, you have successfully installed the Moen Banbury Bathroom Faucet!
By following these step-by-step instructions, you’ll have your Moen Banbury Bathroom Faucet up and running in no time. Enjoy the improved functionality and aesthetic appeal of your bathroom sink!
Frequently Asked Questions
How Do You Change A Moen 2 Handle Bathroom Faucet Cartridge?
To change a Moen 2 handle bathroom faucet cartridge: Turn off the water supply valves. Remove the handle screws and handles. Take out the retaining nuts and lift out the cartridge. Install the new cartridge, making sure it’s aligned properly.
Reassemble the faucet and restore the water supply.
How Do You Install A Single Hole Bathroom Faucet?
To install a single hole bathroom faucet, follow these steps: 1. Gather the necessary tools and turn off the water supply. 2. Remove the old faucet and clean the sink area. 3. Attach the new faucet to the sink using the provided gasket and mounting nut.
4. Connect the water supply lines and turn on the water to check for leaks. 5. Finally, test the faucet for proper functionality.
How Do You Change A Moen Single Handle Faucet Cartridge?
To change a Moen single handle faucet cartridge, follow these steps: 1. Shut off the water supply. 2. Remove the handle and trim sleeve. 3. Take out the retaining clip and cartridge. 4. Replace with the new cartridge. 5. Reassemble the handle and turn on the water supply.
How Do You Install A Quick Connect Bathroom Faucet?
To install a quick connect bathroom faucet, first, turn off the water supply. Next, remove the old faucet and clean the sink surface. Apply plumber’s putty or silicone sealant to the base of the new faucet. Place the faucet into the mounting holes and secure it with the provided nuts and washers.
Finally, connect the water supply lines and turn on the water.
Conclusion
Installing a Moen Banbury bathroom faucet is a simple and straightforward process that can be completed by anyone. By following the step-by-step instructions provided in this guide, you can easily and confidently install your new faucet without the need for professional help.
With its sleek design and quality craftsmanship, the Moen Banbury faucet is a great addition to any bathroom. So why wait? Get started today and enjoy a beautifully functioning faucet in your bathroom.