To install a Kerdi shower pan, first, prepare the subfloor by ensuring it is level and clean. Next, apply thin-set mortar over the subfloor, followed by installing the drain.
Finally, position the Kerdi shower pan over the drain and press firmly to set it in place. Now you are ready to proceed with tiling and waterproofing your shower area. Installing a Kerdi shower pan involves specific steps to ensure a secure and waterproof foundation for your shower.
Follow these steps carefully to ensure a successful installation and a long-lasting shower pan. We will guide you through the process of installing a Kerdi shower pan, from prepping the subfloor to setting the pan in place.
Preparing For Installation
Installing a Kerdi shower pan is a crucial step in creating a waterproof and durable shower base. However, before diving into the installation process, it’s essential to properly prepare the area. This involves gathering the necessary tools and materials, measuring and assessing the shower area, and preparing the subfloor for installation. By following these steps, you’ll ensure a solid foundation for your Kerdi shower pan.
Gathering the necessary tools and materials
Before you begin installing the Kerdi shower pan, it’s crucial to have all the required tools and materials on hand. This way, you won’t have to interrupt the installation process in search of something you need. Here’s a list of the essentials:
- Kerdi shower pan kit – includes the pan, drain, and waterproofing membrane
- Thin-set mortar
- Trowel for thin-set application
- Level
- Tape measure
- Pencil
- Utility knife
- Sponge
- Bucket
Measuring and assessing the shower area
Properly measuring and assessing the shower area is vital to ensure a precise fit for the Kerdi shower pan. Start by measuring the dimensions of the shower, including the length, width, and depth. This information will help you choose the correct size of the Kerdi shower pan.
Next, assess the subfloor to ensure it is structurally sound and level. If there are any significant defects or uneven spots, consider making the necessary repairs before proceeding with the installation. A level subfloor is crucial for the longevity of your shower pan.
Preparing the subfloor for installation
Preparing the subfloor is a crucial step in ensuring the stability and effectiveness of your Kerdi shower pan. Here’s a step-by-step guide:
- Clean the subfloor thoroughly, removing any dirt, debris, or adhesive residues.
- Inspect the subfloor for any protruding nails or screws. If you find any, use a hammer or pliers to remove them.
- Fill any holes or large cracks in the subfloor using a suitable floor patching compound. Follow the manufacturer’s instructions for proper application.
- Finally, ensure that the subfloor is completely level. Use a level and shims if necessary to achieve a smooth and even surface.
By carefully following these steps, you’ll create an ideal base for your Kerdi shower pan installation. Taking the time to gather the necessary tools and materials, measure and assess the shower area, and prepare the subfloor will contribute to a successful installation and a long-lasting and reliable shower base.

How To Choose The Right Kerdi Shower Pan
When it comes to installing a shower pan, one of the best options available in the market is the Kerdi shower pan. Kerdi shower pans are renowned for their durability, ease of installation, and waterproofing capabilities. However, choosing the right Kerdi shower pan for your project requires careful consideration of various factors. In this section, we will discuss how to choose the right Kerdi shower pan by understanding the different types and sizes available, considering the shower design and layout, and providing tips for selecting the appropriate Kerdi shower pan.
Understanding the different types and sizes available
When selecting a Kerdi shower pan, it is important to understand the different types and sizes available. Kerdi offers a range of shower pans to suit various needs and preferences. Here are some commonly available options:
- Kerdi shower tray: Designed for small to medium-sized showers, these pre-formed trays come in various dimensions and can be easily cut to fit the desired size.
- Kerdi linear drain shower pan: Ideal for larger showers with linear drains, these pans have a sloped design to ensure proper drainage and can be customized to fit the required length.
- Kerdi custom shower pan: For unique shower designs or non-standard dimensions, Kerdi offers custom shower pan options. These pans can be made to order to fit any size or shape.
Considering the shower design and layout
The shower design and layout play a crucial role in determining the right Kerdi shower pan for your project. Consider the following factors:
- Size: Measure the available space in your bathroom to determine the appropriate size of the shower pan. Ensure that the pan fits comfortably within the designated area.
- Drain placement: Consider the location of the drain in your shower design. If you have a linear drain, choose a matching Kerdi linear drain shower pan. For standard drains, any of the Kerdi shower pan options will work.
- Shower configuration: Determine whether you want a corner shower, alcove shower, or a walk-in shower. Different shower configurations may require specific types of shower pans.
Tips for selecting the appropriate Kerdi shower pan
To ensure you select the appropriate Kerdi shower pan, keep these tips in mind:
- Consider the thickness of the shower pan. A thicker pan will provide added strength and durability.
- Check the compatibility of the shower pan with other shower components such as Kerdi waterproofing membrane, drains, and accessories.
- Assess the installation requirements and choose a shower pan that suits your level of DIY expertise. Some pans may require professional installation.
- Look for any additional features or accessories offered with the shower pan, such as integrated benches or shelves, to enhance the functionality and aesthetic appeal of your shower.
- Read customer reviews and ratings to get valuable insights into the quality and performance of different Kerdi shower pan options.
By understanding the different types and sizes available, considering the shower design and layout, and following these tips, you can confidently select the right Kerdi shower pan for your bathroom project.
Installing The Kerdi Shower Pan
When it comes to waterproofing your shower, the Kerdi Shower Pan is a popular and effective choice. Installing a Kerdi shower pan requires careful attention to detail and a systematic approach. In this guide, we will take you through the step-by-step process of installing a Kerdi shower pan, ensuring a watertight and durable shower enclosure.
Step 1: Marking the drain location
Before you start installing the Kerdi shower pan, it’s essential to determine the correct location for the drain. Proper alignment and positioning are crucial to ensure efficient water drainage. To mark the drain location accurately, follow these steps:
- Place the Kerdi shower pan in the desired position on the subfloor.
- Ensure that the drain hole aligns with the drain pipe.
- Using a pencil or marker, trace around the drain flange to mark the location.
Step 2: Applying the Kerdi membrane
The Kerdi membrane is a waterproofing material that provides a protective barrier for your shower. Before applying the Kerdi membrane, make sure to prepare it properly:
- Measure and cut the Kerdi membrane to fit the shower floor and walls.
- Ensure that the membrane overlaps the drain hole by a few inches.
Once you have prepared the membrane, follow these steps to apply it:
- Apply a layer of thinset mortar to the shower floor, using a trowel.
- Press the Kerdi membrane onto the shower floor, ensuring it adheres firmly.
- Smooth out any wrinkles or air bubbles using a flat trowel or a roller.
- Repeat the process for the shower walls, applying the membrane from the bottom up.
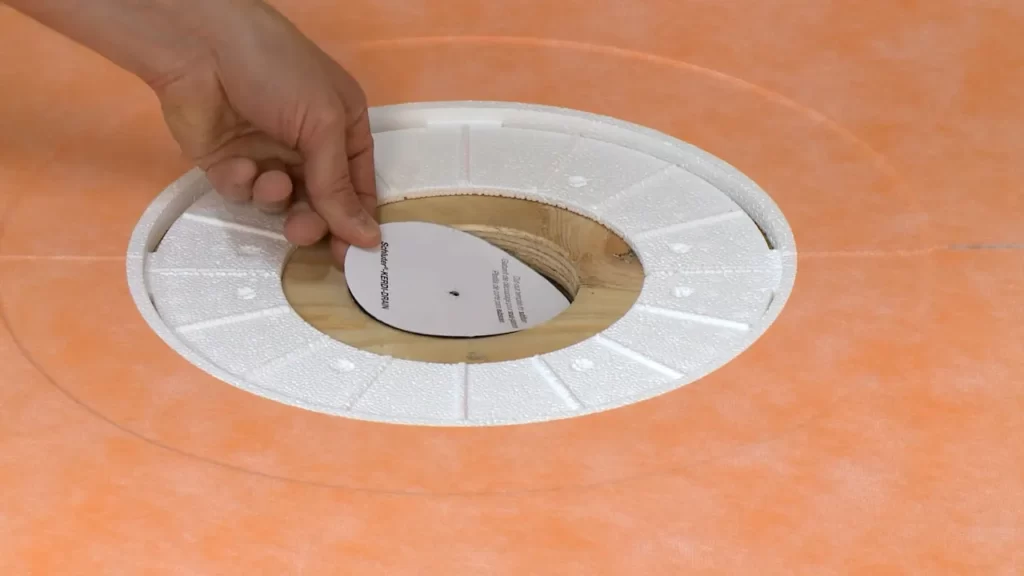
Step 3: Installing the Kerdi drain
The Kerdi drain is an essential component of the shower pan assembly. Proper installation of the drain ensures efficient water drainage and a leak-free shower. Follow these steps to install the Kerdi drain:
- Assemble the various components of the Kerdi drain according to the manufacturer’s instructions.
- Secure the drain to the subfloor, ensuring a tight fit.
- Connect the plumbing to the drain, ensuring proper alignment and waterproofing.
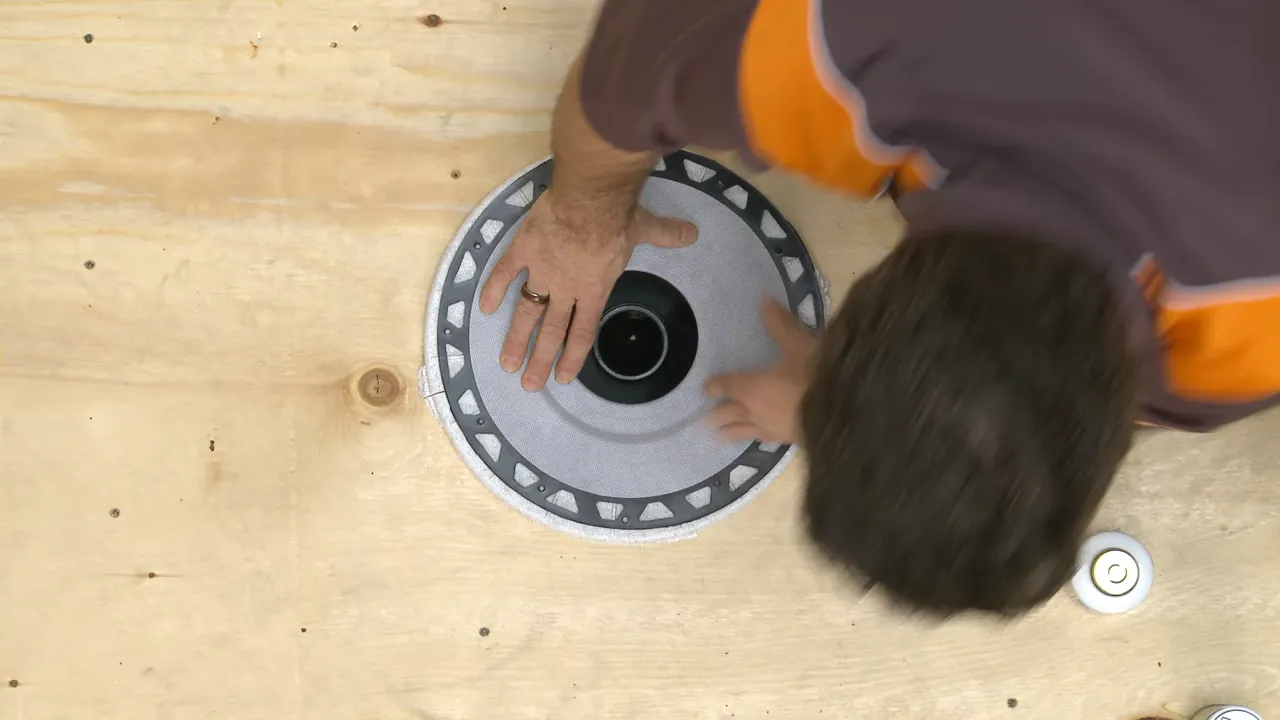
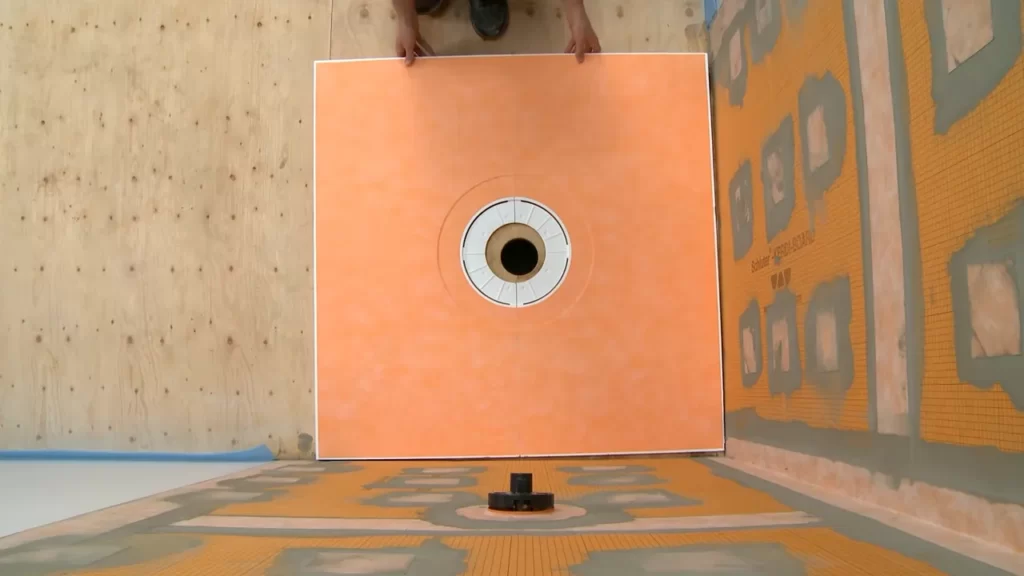
Step 4: Setting the Kerdi shower pan
Before setting the Kerdi shower pan in place, it’s crucial to prepare the subfloor properly:
- Clean the subfloor of any debris or dirt.
- Ensure the subfloor is level and free of any irregularities.
Once the subfloor is ready, follow these steps to set the Kerdi shower pan:
- Place the shower pan into position, aligning it with the drain.
- Use a level to check that the pan is level in all directions.
- Make any necessary adjustments to ensure a perfect fit.
Step 5: Waterproofing the shower seams
To ensure a watertight shower enclosure, it’s crucial to seal the joints and seams with Kerdi waterproofing materials. Follow these steps to waterproof the shower seams:
- Apply the Kerdi waterproofing membrane over the seams and joints, using a trowel.
- Smooth out any wrinkles or air bubbles with a flat trowel.
- Ensure that all seams and joints are adequately covered with the waterproofing material.
Step 6: Finishing the installation
Once the shower pan and waterproofing are in place, it’s time to complete the installation by adding the final touches. Follow these steps to finish the installation:
- Cut and fit the necessary tiles to cover the shower floor and walls.
- Apply tile adhesive to the back of each tile, ensuring even coverage.
- Place the tiles on the shower pan and walls, pressing them firmly into the adhesive.
- Once the adhesive has dried, apply grout to the tile joints, filling them completely.
By following this step-by-step guide, you can successfully install a Kerdi shower pan and enjoy a beautiful, waterproof shower that will stand the test of time.
Additional Tips And Maintenance
Proper installation and regular maintenance are key to ensuring the longevity and functionality of your Kerdi shower pan. In this section, we will discuss some additional tips to ensure proper drainage, the importance of regular maintenance and cleaning, as well as troubleshooting common installation issues.
How to Ensure Proper Drainage
Ensuring proper drainage is essential for a functional and long-lasting Kerdi shower pan. Here are some tips to help you achieve it:
- Make sure the floor underneath the shower pan is sloped correctly towards the drain to allow water to flow freely. This can be achieved by using a floor slope kit.
- Inspect the drain regularly and ensure it is free from any clogs or debris that may obstruct water flow.
- Consider using a drain grate with a higher flow rate to prevent any potential overflow issues.
- Apply a waterproofing sealant around the edges of the drain to prevent any water leakage.
Regular Maintenance and Cleaning of the Kerdi Shower Pan
Maintaining and cleaning your Kerdi shower pan regularly is crucial to preserve its appearance and functionality. Here are some tips for regular maintenance:
- Wipe down the shower pan with a mild detergent and water solution regularly to remove any soap scum or dirt.
- Avoid using abrasive cleaners or harsh chemicals as they may damage the waterproofing membrane.
- Inspect the caulking around the edges of the shower pan and reapply if any cracks or gaps are present.
- Ensure proper ventilation in the bathroom to prevent mold or mildew growth.
Troubleshooting Common Installation Issues
Even with proper installation, issues may arise. Here are some common installation issues and how to troubleshoot them:
| Issue | Troubleshooting |
|---|---|
| Uneven floor | Level the floor using a self-leveling underlayment before installing the shower pan. |
| Water leakage | Inspect the waterproofing membrane and ensure it is properly installed and sealed. Reapply the membrane if necessary. |
| Cracked tiles | Inspect the substrate for any cracks or movement and address the underlying issue before replacing the tiles. |
By following these additional tips and performing regular maintenance, your Kerdi shower pan will continue to provide a functional and beautiful showering experience for years to come.
Frequently Asked Questions
What Goes Under Kerdi Shower Pan?
The KERDI shower pan requires a layer of KERDI membrane, a waterproofing material designed for use in showers. The membrane is installed directly on top of the shower pan to ensure a water-tight seal and prevent any water damage.
Can You Use Cement Board With Kerdi Shower Pan?
Yes, you can use cement board with a KERDI shower pan. Cement board is a suitable substrate for the KERDI waterproofing membrane. It provides a strong and stable base for the shower installation. Ensure proper installation following manufacturer’s guidelines for a reliable waterproof barrier.
Do You Have To Put Mortar Under A Shower Pan?
Yes, mortar is necessary to support and stabilize the shower pan. It creates a solid base that prevents structural damage, leakage, and ensures long-term durability. The mortar acts as a foundation, providing proper support and preventing movement of the shower pan during use.
What Kind Of Mortar Do You Use For A Kerdi Shower Pan?
Use a polymer-modified thin-set mortar for a KERDI shower pan. It provides a strong bond and flexibility, ensuring a watertight installation.
Conclusion
Installing a Kerdi shower pan is a straightforward process that can be completed with a few simple steps. By following the instructions provided and using the right tools, you can ensure a waterproof and durable shower base. Remember to carefully measure and plan before beginning the installation, and don’t hesitate to seek professional assistance if needed.
Now you can enjoy a beautiful and functional shower with confidence.