To install an Ikea floating shelf, follow these steps. First, place the mounting bracket on the wall, ensuring it is level.
Then, attach the shelf to the bracket using the provided screws.
Planning And Preparation
Before you start installing your Ikea floating shelf, it’s important to spend some time on planning and preparation to ensure a successful and hassle-free installation process. This involves measuring the space and determining the shelf size, gathering the necessary tools and materials, and preparing the wall for installation.
Measuring the Space and Determining the Shelf Size
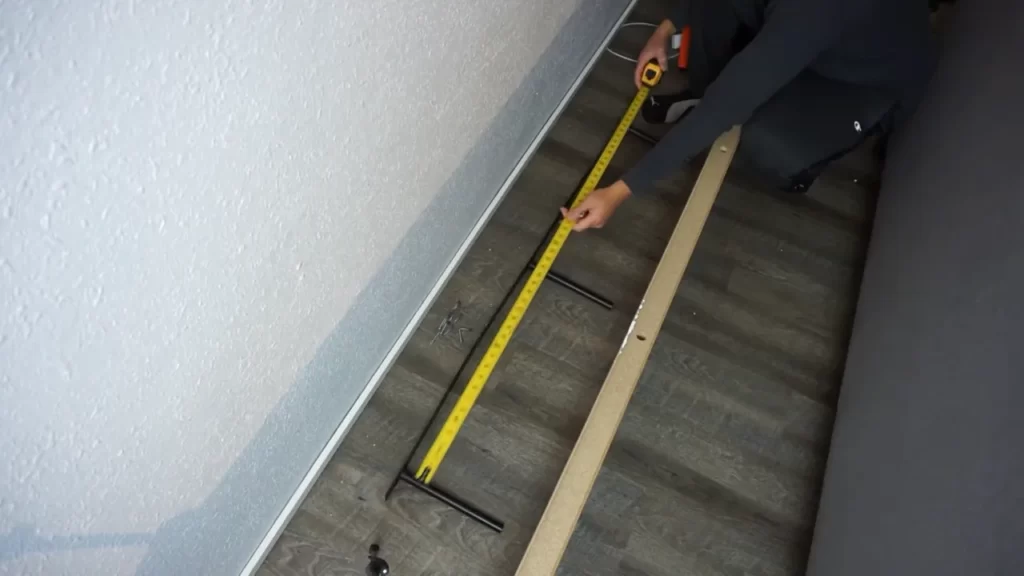
To begin, measure the space where you intend to install the floating shelf. Use a tape measure to calculate the width and depth of the area accurately. This step is crucial as it will help you determine the appropriate size of the Ikea floating shelf that will fit perfectly in your desired location.
Gathering the Necessary Tools and Materials
Once you have determined the size of the shelf, gather all the necessary tools and materials required for the installation. Here’s a checklist of what you’ll need:
| Tools | Materials |
|---|---|
|
|
Make sure you have all these tools and materials ready before you begin the installation process. This will save you time and prevent any interruptions along the way.
Preparing the Wall for Installation
Before installing the Ikea floating shelf, it’s important to prepare the wall properly to ensure a secure and stable mount. Follow these steps:
- Locate and mark the studs on the wall using a stud finder tool. This is crucial as it will provide the necessary support for the shelf.
- Based on the measurements you took earlier, mark the desired position of the floating shelf on the wall using a pencil. Ensure the position aligns with the studs for maximum stability.
- If the studs do not align with your desired shelf position, use wall anchors to provide additional support. These anchors can be found in most hardware stores and are designed to hold heavy items securely.
- Double-check the marks and measurements before proceeding to ensure accuracy.
By properly preparing the wall, you’ll create a solid foundation for the Ikea floating shelf, ensuring it can safely support your items and withstand the test of time.
Mounting The Shelf
Mounting your Ikea floating shelf is a simple and straightforward process that can be accomplished with a few basic tools and some careful preparation. By following these steps, you can ensure that your shelf is securely mounted to the wall, providing a stylish and functional storage solution for your home.
Locating and marking the studs on the wall
Before you begin attaching the mounting bracket to the wall, it is important to locate and mark the studs. Studs are typically found in regular intervals along the wall and provide the necessary support for your floating shelf. Here is how you can locate and mark the studs:
- Use a stud finder to locate the studs in the desired location for your shelf. Move the stud finder along the wall until it detects the presence of a stud.
- Once a stud has been detected, mark its location using a pencil. Repeat this process to locate and mark the position of each stud.
Attaching the mounting bracket to the wall
Once you have located and marked the studs on the wall, it is time to attach the mounting bracket. The mounting bracket is the key component that will securely hold your floating shelf in place. Follow these steps:
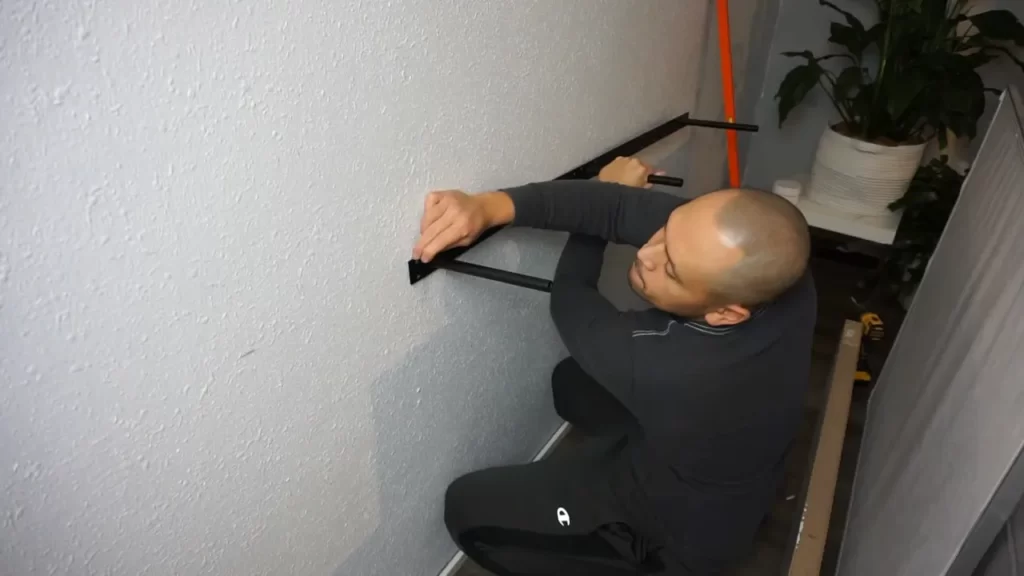
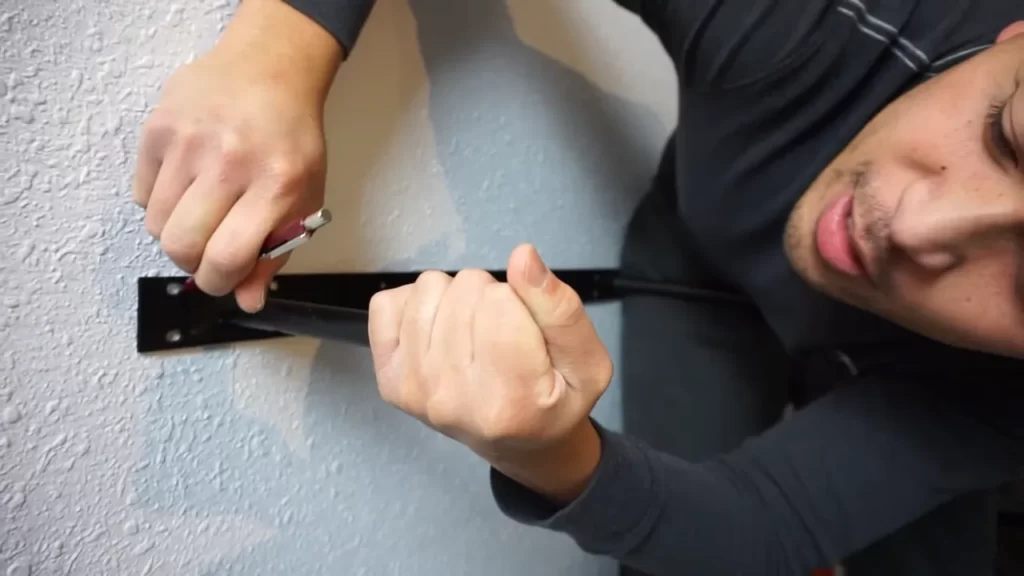
- Hold the mounting bracket against the wall, ensuring that it aligns with the marked stud locations.
- Using a drill or screwdriver, insert screws through the pre-drilled holes on the bracket and into the studs. Make sure the screws are tightened securely to provide a strong foundation for the shelf.
Securely mounting the shelf onto the bracket
With the mounting bracket securely attached to the wall, it is now time to mount the shelf onto the bracket. Follow these steps:
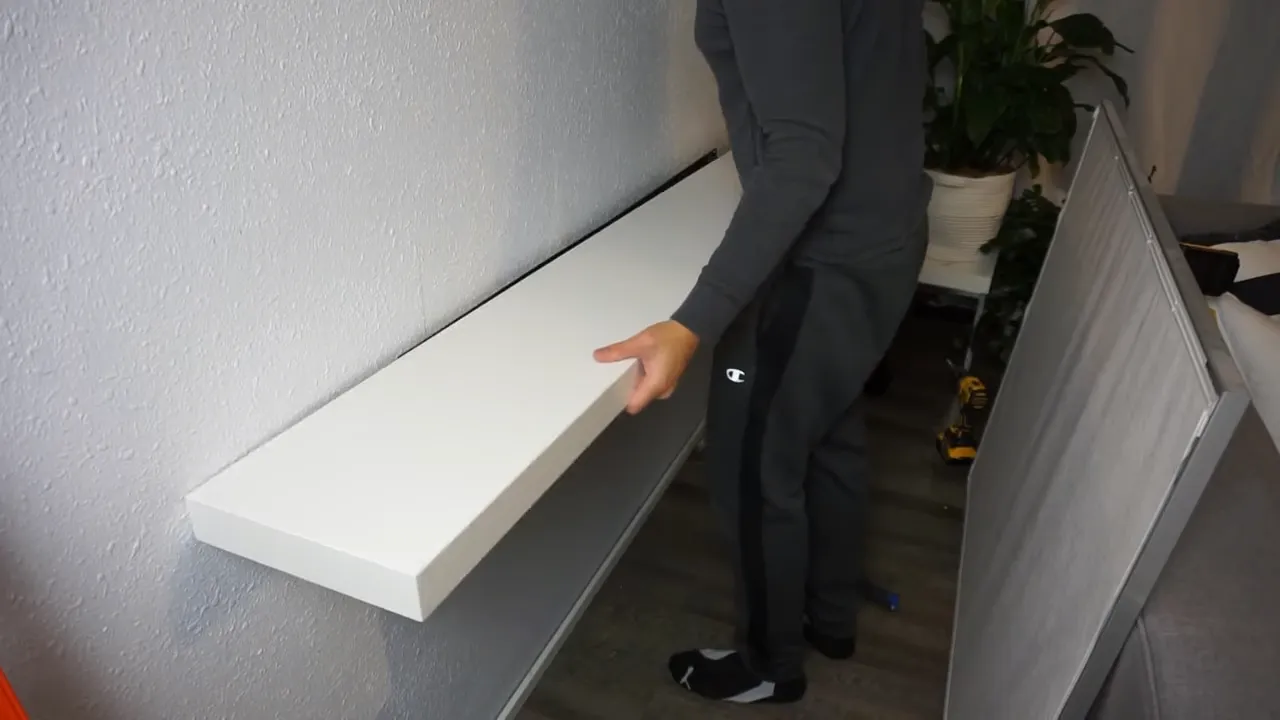
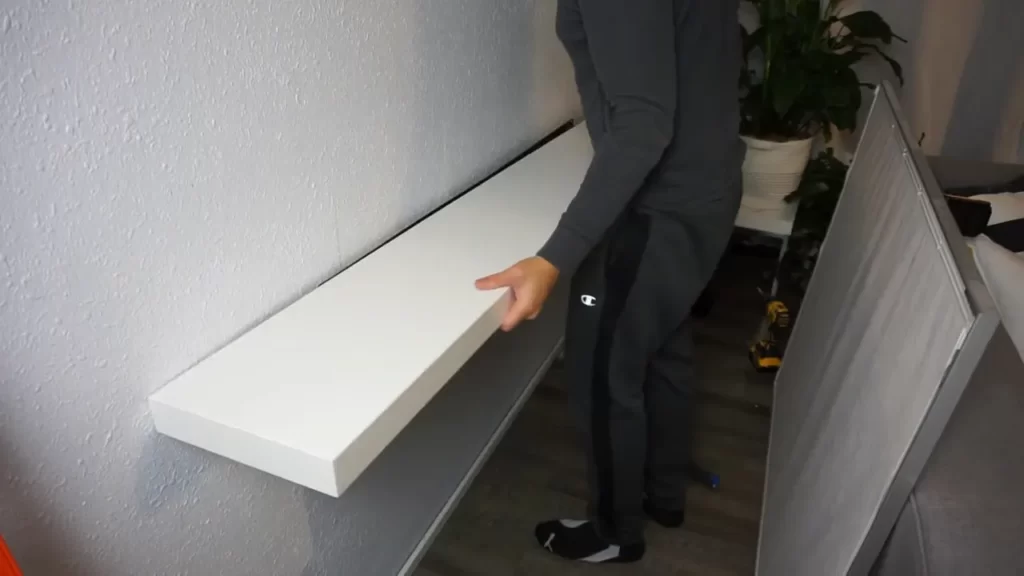
- Position the shelf onto the bracket, making sure it aligns properly.
- Secure the shelf onto the bracket by sliding it downwards until it clicks into place. You may need to apply some pressure to ensure a tight fit.
Once the shelf is mounted onto the bracket, give it a gentle tug to ensure that it is securely in place. Congratulations! You have successfully installed your Ikea floating shelf. Enjoy your newly added storage space and the aesthetically pleasing look it brings to your home!
Leveling And Adjusting
Ensuring your Ikea floating shelf is perfectly level and adjusting it as necessary is crucial for both aesthetic appeal and functional stability. Here’s a step-by-step guide on how to level and adjust your Ikea floating shelf.
Using a level to ensure the shelf is straight
Step 1: Begin by placing a level horizontally on top of the shelf. The bubble inside the level should be centered between the two lines, indicating that the shelf is perfectly straight.
Step 2: If the bubble is not centered, gently adjust the shelf until it is. Make minor movements and constantly recheck the level to ensure accuracy.
Making any necessary adjustments to the mounting bracket
Step 3: If the shelf is not level even after adjusting its position, you may need to make adjustments to the mounting bracket. Locate the mounting screws and use a screwdriver to loosen them slightly.
Step 4: Gently tilt the shelf in the direction necessary to level it. Tilt it just enough to bring it into alignment and then tighten the mounting screws again.
Double-checking the shelf’s stability
Step 5: Once you have leveled the shelf and made any necessary adjustments to the mounting bracket, it’s important to double-check the shelf’s stability. Give it a gentle shake and observe if there is any wobbling or movement.
Step 6: If the shelf feels unstable, repeat the leveling and adjusting process until it is secure and doesn’t wobble. This will ensure your Ikea floating shelf is sturdy and can safely support your belongings.
By following these simple steps for leveling and adjusting your Ikea floating shelf, you can achieve a well-balanced and visually appealing display. Take the time to ensure its stability, and you’ll be able to enjoy both the aesthetic and functional benefits of your new shelf.
Enhancing The Shelf’S Appearance (Optional)
Installing an IKEA floating shelf is a great way to add functionality and style to your space. Once you have successfully installed the shelf, it’s time to take it to the next level by enhancing its appearance. With a few simple touches, you can transform a basic shelf into a visually pleasing focal point in your room. In this section, we will explore some creative ideas to elevate the look of your IKEA floating shelf.
Adding decorative items or plants to the shelf
One of the simplest ways to enhance the appearance of your floating shelf is by adding decorative items or plants. This not only adds visual interest to the shelf but also allows you to showcase your personal style. Consider placing small decorative objects such as vases, sculptures, or figurines on the shelf. You can also create a mini indoor garden by placing potted plants or succulents on the shelf. Make sure to choose items that complement the overall theme of your space.
Incorporating lighting for a more appealing look
Lighting can make a significant difference in the overall appearance of your IKEA floating shelf. By incorporating lighting, you can highlight the items on the shelf and create a warm and inviting ambiance. There are several options you can choose from, such as string lights, LED strip lights, or small spotlights. Place the lights strategically to accentuate the objects on the shelf and create a visually appealing display. Experiment with different lighting angles and intensities to achieve the desired effect.
Styling the shelf to complement your overall decor
When enhancing the appearance of your IKEA floating shelf, it’s essential to ensure that it complements your overall decor. Consider the color scheme and style of your room and select items that harmonize with the existing elements. For example, if you have a minimalist decor, opt for sleek and simple decorative objects. If your room has a rustic theme, choose items made of wood or natural materials. Pay attention to the size and proportion of the objects you place on the shelf to create a well-balanced arrangement. Remember, the goal is to create a cohesive look that ties in with your overall decor.
By carefully selecting and arranging decorative items or plants, incorporating lighting, and styling the shelf to complement your overall decor, you can transform your basic IKEA floating shelf into an eye-catching centerpiece in your room. Don’t be afraid to get creative and experiment with different elements until you achieve the desired look. Enhancing the appearance of your shelf not only adds visual appeal but also reflects your personal style and taste.
Safety Tips And Troubleshooting
If you’re planning to install an Ikea floating shelf, it’s important to prioritize safety and ensure proper installation. This section will provide you with some valuable safety tips and troubleshooting advice to help you have a successful installation.
Avoiding overloading the shelf with too much weight
One crucial safety consideration when installing a floating shelf is to avoid overloading it with excessive weight. While Ikea floating shelves are designed to hold a certain amount of weight, it’s still necessary to follow the weight guidelines provided by IKEA. Overloading the shelf can lead to instability and potential damage to both the shelf and the wall it’s mounted on. To prevent overloading, make sure to evaluate the weight capacity of the shelf and distribute the weight evenly across its surface.
Ensuring proper balance and stability of the shelf
Another important safety tip is to ensure proper balance and stability of the floating shelf. Before installation, it’s crucial to check that the wall where you plan to mount the shelf is strong enough to support the weight. Avoid installing the shelf on weak or damaged walls, as this can compromise its stability. Additionally, it’s essential to use the correct mounting hardware provided by Ikea and follow the installation instructions carefully. Be mindful of any potential obstructions behind the wall that may affect the stability of the shelf. Regularly check the shelf for any signs of instability or loose fittings.
Troubleshooting common installation issues
Despite taking all the necessary precautions, installation issues can still arise. Being aware of common troubleshooting steps can help you address and resolve these issues effectively. Here are a few common installation problems and their possible solutions:
| Issue | Solution |
|---|---|
| The shelf is not level | Ensure that the anchor screws are properly aligned and securely fastened. Use a level to check the horizontal alignment of the shelf during installation. |
| Uneven spacing between shelves | Double-check if the mounting brackets are installed at the same height and follow the recommended spacing guidelines provided by Ikea. |
| Shelf feels unstable | Make sure that you’ve installed the shelf on a strong and solid wall. Check for any loose fittings or screws and tighten them as needed. |
By following these safety tips and troubleshooting suggestions, you can ensure a secure and hassle-free installation of your Ikea floating shelf. Remember, safety should always be your priority to protect both your belongings and the structural integrity of your home.
Maintenance And Care
Maintenance and care are essential to keep your Ikea floating shelf looking beautiful and functioning properly. By taking the time to clean and maintain the surface, check for loose screws or brackets periodically, and address any issues promptly, you can prevent further damage and ensure the longevity of your shelf.
Cleaning and maintaining the shelf’s surface
Regular cleaning of the shelf’s surface is important to remove dust, dirt, and any spills that may occur. Here are some steps to keep your floating shelf looking pristine:
- Use a mild cleaner: Mix a small amount of mild dish soap with warm water. Dampen a soft cloth or sponge with the solution, wring out any excess water, and gently wipe the surface of the shelf.
- Avoid abrasive materials: Do not use abrasive cleaners, scrub brushes, or scouring pads as they may scratch the surface of the shelf.
- Dry thoroughly: After cleaning, use a dry cloth or towel to remove any moisture from the surface of the shelf. This will help prevent water spots or potential warping.
- Protect the surface: Consider using coasters or mats to protect the surface of the shelf from hot items, liquids, or sharp objects that may cause damage.
Checking for loose screws or brackets periodically
Regularly checking for loose screws or brackets helps to maintain the stability and safety of your floating shelf. Follow these steps to ensure everything is secure:
- Inspect the screws: Using a screwdriver, gently tighten any loose screws that may have come undone over time. Ensure all screws are securely tightened.
- Check the brackets: Examine the brackets that attach the shelf to the wall. Look for any signs of wear or damage. If you notice any issues, consider replacing the brackets immediately.
Addressing any issues promptly to prevent further damage
If you encounter any issues or damage with your Ikea floating shelf, it is important to address them promptly to prevent further complications. Follow these guidelines:
- Act immediately: If you notice any structural issues, cracks, or any other damage, take action immediately. Ignoring the problem may lead to more significant damage over time.
- Contact Ikea: Reach out to Ikea’s customer support for guidance if you are unsure how to address the issue or if you need replacement parts.
- Follow manufacturer instructions: Refer to the assembly instructions or any care information provided by Ikea to ensure you are addressing the problem correctly.
By following these maintenance and care tips, your Ikea floating shelf will continue to provide years of functionality and add a stylish touch to your living space.
Frequently Asked Questions
Do Floating Shelves Have To Be Installed Into Studs?
Floating shelves can be installed into studs for added stability, but it’s not always necessary. Depending on the weight capacity and installation method, they can also be installed using anchors or brackets. Consider the weight of the items you plan to place on the shelves and consult the manufacturer’s instructions for proper installation guidance.
How Do You Attach Ikea Lack Shelves To The Wall?
To attach Ikea Lack shelves to the wall, you’ll need brackets that come with the shelves. First, locate the studs in the wall using a stud finder. Then, mark the desired height for your shelf. Align the brackets with the marks and screw them into the studs.
Finally, slide the shelf onto the brackets.
How Are Floating Shelves Attached To The Wall?
Floating shelves are attached to the wall using brackets or a hidden support system. The brackets are mounted securely onto the wall, with the shelf sliding onto them. The hidden support system involves drilling holes and inserting dowels or screws into the wall, supporting the shelf.
How Do You Install A Floating Shelf?
To install a floating shelf, follow these steps: 1. Locate stud positions on the wall. 2. Mark where you want the shelf to be. 3. Mount the bracket onto the wall using screws. 4. Slide the shelf onto the bracket and secure it.
5. Ensure the shelf is level and secure before placing items on it.
Conclusion
Installing Ikea floating shelves can be a simple yet effective way to enhance the look and functionality of your space. With this step-by-step guide, you now have the knowledge and confidence to tackle this project on your own. Remember to gather all the necessary tools, follow the instructions carefully, and take your time to ensure a secure and professional result.
So go ahead, get creative, and transform your space with these stylish and versatile shelves from Ikea.