To install a glass tile border in a shower, start by cleaning and preparing the surface, applying adhesive to the tile, and carefully placing each tile onto the wall in a pattern of your choice, then allowing it to dry and applying grout to fill in the gaps between the tiles. Creating a beautiful glass tile border in your shower can add a touch of elegance and style to your bathroom space.
Glass tiles are a great choice for border installations as they are durable, easy to clean, and can create a seamless and visually appealing look. Follow these steps to successfully install a glass tile border in your shower.
Why Glass Tile Borders Are Perfect For Your Shower
Enhancing the visual appeal of your shower
One of the main reasons why glass tile borders are perfect for your shower is that they significantly enhance the visual appeal of the space. The sleek and shiny surface of glass tiles adds a touch of elegance and sophistication to your bathroom, making it look more stylish and modern. Unlike traditional tiles, glass tiles reflect light, creating a vibrant and luminous atmosphere in your shower.
Creating a luxurious and modern look
Installing glass tile borders in your shower is an excellent way to create a luxurious and modern look. The crisp and clean lines of the glass tiles add a contemporary feel to your bathroom, making it feel like a spa retreat. The range of colors and patterns available in glass tiles allows you to personalize your shower space, creating a truly unique and stylish design that suits your taste and preferences.
Adding a touch of sophistication to your bathroom
In addition to enhancing the visual appeal and creating a luxurious look, glass tile borders add a touch of sophistication to your bathroom. The reflective properties of glass tiles give your shower a sense of depth and dimension, making it appear more spacious and inviting. Whether you choose a subtle and neutral color or opt for a bold and vibrant design, glass tile borders will elevate the overall aesthetic of your bathroom and make it feel more refined and sophisticated.

Preparing For The Installation Process
Before beginning the installation of a glass tile border in your shower, it is important to properly prepare by gathering the necessary tools and materials, measuring and planning the layout of the border, and selecting the right glass tile design and color. Taking the time to carefully prepare will ensure a smooth and successful installation process.
Gathering the necessary tools and materials
The first step in preparing for the installation process is to gather all the necessary tools and materials. To install a glass tile border in your shower, you will need:
- Glass tiles
- Tile adhesive
- Tile spacers
- Tile cutter or wet saw
- Notched trowel
- Grout
- Grout float
- Sponge
- Bucket
- Tile sealer
Measuring and planning the layout of the border
Once you have gathered all the necessary tools and materials, the next step is to measure and plan the layout of the glass tile border. Start by measuring the length and height of the area where you want to install the border. It is recommended to add a few extra tiles to account for any mistakes or breakages. Consider the size and placement of the tiles, and visualize how they will look in your shower.
It is important to create a layout plan and mark the area where the border will be installed. This will serve as a guide during the installation process and help ensure that the design is visually appealing and aligned properly. You can use a pencil or painter’s tape to mark the boundaries of the border.
Selecting the right glass tile design and color
One of the most exciting parts of the installation process is selecting the glass tile design and color. Consider the overall aesthetic of your shower and choose a design and color that complements the existing tiles and fixtures. Glass tiles come in a wide range of colors, patterns, and finishes, so take your time to find the perfect option.
Remember to consider the size of the tiles and how they will fit within the designated area. Larger tiles can create a bold and modern look, while smaller tiles can add intricate details and patterns. Take into account the lighting in your shower as glass tiles can reflect light and create a stunning visual effect.
Once you have gathered the necessary tools and materials, measured and planned the layout, and selected the right glass tile design and color, you are ready to move on to the installation process. With proper preparation, you can achieve a beautiful and professional-looking glass tile border in your shower.

Preparing The Surface For Installation
Before installing a glass tile border in your shower, it’s important to properly prepare the surface to ensure a smooth and successful installation. This step is crucial as it will help the tiles adhere properly and provide a strong and durable finish.
Cleaning and drying the shower walls
Routine cleaning of your shower walls is essential to remove any dirt, soap scum, or grime that may hinder the adhesion of the glass tiles. To clean the surface, you can use a mild detergent or a non-abrasive cleaner suited for your shower material.
Start by wiping down the walls using a sponge or a clean cloth soaked in the cleaning solution. Make sure to reach all the corners and crevices. Rinse the walls thoroughly with clean water to remove any residue left behind.
Once the walls are clean, it is crucial to let them dry completely before proceeding with the installation. Moisture can affect the integrity of the adhesive and compromise the longevity of the glass tiles. Use a dry towel or allow sufficient time for natural air-drying to ensure the walls are perfectly dry.
Removing any existing tiles or grout
If there are any existing tiles or grout on the shower walls, they need to be removed before installing the glass tile border. Use a grout removal tool or a chisel to gently pry off the tiles or grout. Take care not to damage the underlying surface during this process.
Working in small sections, focus on removing one tile or grout line at a time. Use light taps or controlled force to avoid unnecessary damage. Once all the tiles or grout have been removed, thoroughly clean the surface to remove any dust or debris.
Ensuring a smooth and even surface for the new tiles
Before installing the glass tile border, it is important to ensure that the surface is smooth and even. Any bumps, dents, or irregularities may affect the appearance and integrity of the finished installation.
Inspect the walls and repair any uneven spots or imperfections. If necessary, use a patching compound or filler to level any depressions or cracks. Allow the filler to dry completely and then sand it gently to create a smooth surface.
Once the repairs are complete, wipe away any dust or debris and ensure the surface is clean and dry. This will provide a solid foundation for the glass tile border and help achieve a stunning and professional finish.

Applying The Tile Adhesive
Applying the tile adhesive is a crucial step in installing a glass tile border in your shower. This is the stage where you prepare the wall surface and create a strong bond between the tiles and the wall. Here’s a step-by-step guide on how to apply the tile adhesive successfully:
Mixing the adhesive according to the manufacturer’s instructions
Before applying the adhesive, it is important to properly mix it according to the manufacturer’s instructions. Each adhesive may have different ratios and mixing requirements, so it’s essential to follow the provided guidelines. Prepare the adhesive in a clean bucket or container, ensuring that you use the correct amount of water and adhesive powder as mentioned.
Applying a thin and even layer of adhesive on the wall
Once the adhesive is properly mixed, it’s time to apply it on the wall. Start by ensuring that the wall surface is clean and free from any dust or debris. Use a trowel to spread a thin and even layer of adhesive on the area where you will be installing the glass tile border. Make sure to apply the adhesive in small sections, working your way from bottom to top.
Using a notched trowel to create ridges for better adhesion
To create a stronger bond between the tiles and the wall, it is recommended to use a notched trowel while applying the adhesive. The notches on the trowel create ridges that allow for better adhesion of the tiles. As you spread the adhesive, make sure to hold the trowel at a 45-degree angle and apply even pressure to create consistent ridges.
Ensure that each ridge is formed uniformly to ensure proper adhesion and support for the glass tiles. This will help reduce the risk of tiles loosening or falling off over time.
By following these steps and properly applying the tile adhesive, you can ensure a secure and long-lasting installation of a glass tile border in your shower. Take your time, follow the manufacturer’s instructions, and pay attention to detail for the best results.
Placing And Installing The Glass Tiles
When it comes to adding a touch of elegance and beauty to your shower, installing a glass tile border can make a significant difference. The process of placing and installing the glass tiles may seem daunting at first, but with the right approach and a few simple steps, you can achieve a stunning result. In this guide, we will walk you through the process of installing the glass tiles, ensuring a seamless and professional finish.
Starting at the bottom and working your way up
One of the crucial steps in installing glass tiles is to start at the bottom and work your way up. This will ensure that the tiles are evenly aligned and that any excess adhesive does not seep down onto the already installed tiles. Begin by measuring the height of the shower wall to determine the starting point for the glass tile border. Using a level, draw a horizontal line at this height. This will serve as a guide for placing the first row of tiles.
Pressing each tile firmly into the adhesive
After applying a layer of thin-set adhesive to the shower wall using a trowel, it’s time to start placing the glass tiles. Take each tile and press it firmly into the adhesive, making sure it is level and aligned with the guide line. This step is crucial for ensuring a strong bond between the tiles and the wall. Be sure to remove any excess adhesive that may squeeze out from between the tiles to maintain a clean and professional appearance.
Using tile spacers to maintain consistent spacing between tiles
To achieve a polished and uniform look, it’s essential to use tile spacers when installing glass tiles. Tile spacers are small plastic or rubber devices that help maintain consistent spacing between tiles. Place a spacer on each side of every tile as you go along, ensuring that the gaps are consistent. This will create a professional and visually appealing result. Once the adhesive has dried, carefully remove the spacers, revealing perfectly spaced glass tiles.
In conclusion, the process of placing and installing glass tiles in your shower can be accomplished with a methodical approach. By starting at the bottom and working your way up, pressing each tile firmly into the adhesive, and using tile spacers to maintain consistent spacing, you can achieve a stunning glass tile border that will enhance the overall aesthetic of your shower.
Grouting The Tile Border
Now that you have carefully installed the glass tile border in your shower, it’s time to move on to the next crucial step – grouting. The grout not only fills in the gaps between the tiles, but it also provides stability and prevents moisture from seeping through. To ensure a successful grouting process, there are a few key steps you need to follow.
Allowing the adhesive to dry completely before grouting
Before you can start grouting, it is imperative that you allow the adhesive holding the border tiles to dry completely. This is particularly important because grouting can put pressure on the tiles, and if the adhesive hasn’t cured properly, it may lead to tiles shifting or coming loose. Follow the manufacturer’s instructions on the adhesive packaging to determine the appropriate drying time. It’s better to wait a bit longer than rush into grouting and risk compromising the durability of your project.
Mixing the grout according to the manufacturer’s instructions
The next step is to mix the grout for your glass tile border according to the manufacturer’s instructions. It’s crucial to get the right consistency to ensure a smooth and even application. In a clean bucket, combine the grout powder with water, following the recommended water-to-grout ratio. Use a mixing paddle or a margin trowel to create a lump-free mixture. Keep in mind that different grout products may have varying instructions, so take the time to read and follow them precisely.
Applying the grout with a rubber float, pressing it into the gaps
Once your grout mixture is ready, it’s time to start applying it to the gaps between the glass tiles. Use a rubber float for this task, as it allows for better control and ensures the grout is pushed firmly into the gaps. Hold the float at a 45-degree angle and apply the grout diagonally to the tiles, pressing it into the gaps with a sweeping motion. Make sure to work in small sections, as the grout can dry quickly. Keep a damp sponge nearby to wipe off any excess grout from the tile surface before it dries.
In conclusion, grouting the glass tile border in your shower is a crucial step to ensure stability, durability, and a polished appearance. By allowing the adhesive to fully dry before grouting, mixing the grout correctly according to the manufacturer’s instructions, and applying it with a rubber float, your tile border will not only look stunning but will also stand the test of time.
Cleaning And Sealing The Glass Tile Border
Removing any grout residue or haze from the tiles
One important step in installing a glass tile border in your shower is to ensure that the tiles are clean and free from any grout residue or haze. After the grout has dried for about 24 hours, you may notice a cloudy film on the surface of the glass tiles. This film is caused by excess grout that was not completely removed during the installation process.
To effectively remove this residue, you can use a non-abrasive glass cleaner and a soft cloth. Simply spray the cleaner onto the glass tiles and then gently wipe the surface in a circular motion. Be sure to pay extra attention to any areas where the haze may be more noticeable. Once you have removed the grout residue, use a clean cloth to buff the tiles to a sparkling shine.
Applying a sealer to protect the glass tiles from stains and water damage
To keep your glass tile border looking its best and to protect it from stains and water damage, it is important to apply a sealer. A sealer acts as a barrier, preventing liquids and dirt from penetrating the surface of the glass tiles.
Before applying the sealer, make sure that the tiles are clean and completely dry. You can use a clean, dry cloth to wipe away any dust or debris that may be on the surface of the tiles. Once the tiles are clean, you can apply the sealer using a soft bristle brush or a clean cloth. Make sure to apply an even coat of sealer, covering the entire surface of the glass tiles. Allow the sealer to dry completely before using the shower.
Regularly cleaning and maintaining the border to keep it looking its best
To ensure that your glass tile border stays looking its best, it is important to clean and maintain it regularly. This will help to prevent the buildup of dirt, soap scum, and other substances that can dull the appearance of the tiles.
To clean the glass tile border, you can use a mild glass cleaner or a mixture of warm water and vinegar. Apply the cleaner to a soft cloth or sponge and gently scrub the tiles in a circular motion. Rinse the tiles thoroughly with warm water and dry them with a clean cloth to prevent water spots.
In addition to regular cleaning, it is also a good idea to periodically inspect the grout lines between the glass tiles. If you notice any cracks or signs of wear, you may need to re-grout those areas to maintain the integrity of the border.
By following these simple steps for cleaning and sealing your glass tile border, you can ensure that it looks its best for years to come. Regular maintenance and care will help to preserve the beauty of your shower and keep it looking clean and fresh.
Showcasing Your Stunning Glass Tile Border
You’ve gone through the process of installing a beautiful glass tile border in your shower, and now it’s time to showcase the stunning results. With some careful consideration and attention to detail, you can create a shower space that not only highlights your glass tile border but also enhances its overall beauty and elegance.
Choosing Complementary Shower Fixtures and Accessories
To truly showcase your glass tile border, it’s important to choose shower fixtures and accessories that complement its style and color. Consider the following tips:
- Stick with a cohesive design: Select fixtures and accessories that align with the overall design aesthetic of your glass tile border. Whether you have a modern, classic, or eclectic border, choose fixtures that enhance the overall look.
- Coordinate colors: Take into account the colors in your glass tile border and choose fixtures and accessories that either match or complement those hues. This will create a harmonious and polished look.
- Pay attention to finishes: Consider the finish of your fixtures and accessories. Opt for finishes that will enhance the shine and sparkle of your glass tile border, such as brushed nickel or chrome.
- Minimalist approach: Keep in mind that less is often more. Avoid overcrowding your shower space with too many fixtures and accessories. Instead, choose a few key pieces that will draw attention to your beautiful glass tile border.
Adding Accent Lighting to Highlight the Beauty of the Border
One of the most effective ways to showcase your glass tile border is by adding accent lighting. Here’s how you can do it:
- Choose appropriate lighting: Opt for LED lights that emit a warm, soft glow. Avoid harsh, fluorescent lighting that can diminish the beauty of your glass tile border.
- Strategic placement: Consider where you can place the lights to highlight the border. Install them above or below the border to create a dramatic effect and draw attention to its exquisite details.
- Dimmer switches: Install dimmer switches so you can adjust the lighting intensity according to your preference. This will allow you to create different moods and highlight different aspects of your glass tile border.
- Experiment with colors: If you’re feeling bold, consider using LED lights that can change colors. This can add a unique and dynamic element to your shower space, showcasing your glass tile border in a whole new light.
Enjoying Your Newly Transformed Shower Space
Congratulations on completing your glass tile border installation and creating a stunning shower space. Now, it’s time to enjoy the fruits of your labor. Here are a few tips for making the most of your transformed space:
- Regular maintenance: Keep your glass tile border clean and sparkly by regularly wiping it down with a non-abrasive cleaner. This will ensure it continues to shine and showcase its beauty.
- Accessorize thoughtfully: Add some personal touches to your shower space with carefully chosen accessories like a stylish shower caddy or a plush bath mat. Just remember not to clutter the space, so your glass tile border remains the main focus.
- Indulge in self-care: Take advantage of your newly transformed shower space to pamper yourself. Invest in luxurious shower products, create a relaxing ambiance with scented candles, and enjoy the tranquility of your beautiful glass tile border.
With these tips, you can now showcase your stunning glass tile border in your shower and create a space that exudes elegance, beauty, and relaxation. Enjoy your newfound sanctuary!
Frequently Asked Questions
Where Do You Put A Tile Border In A Shower?
Place the tile border in the shower around eye level, typically at the height of 4 to 6 feet. It helps to define the tile layout and adds an aesthetic touch to the shower design.
How Do You Finish Glass Tile Edges?
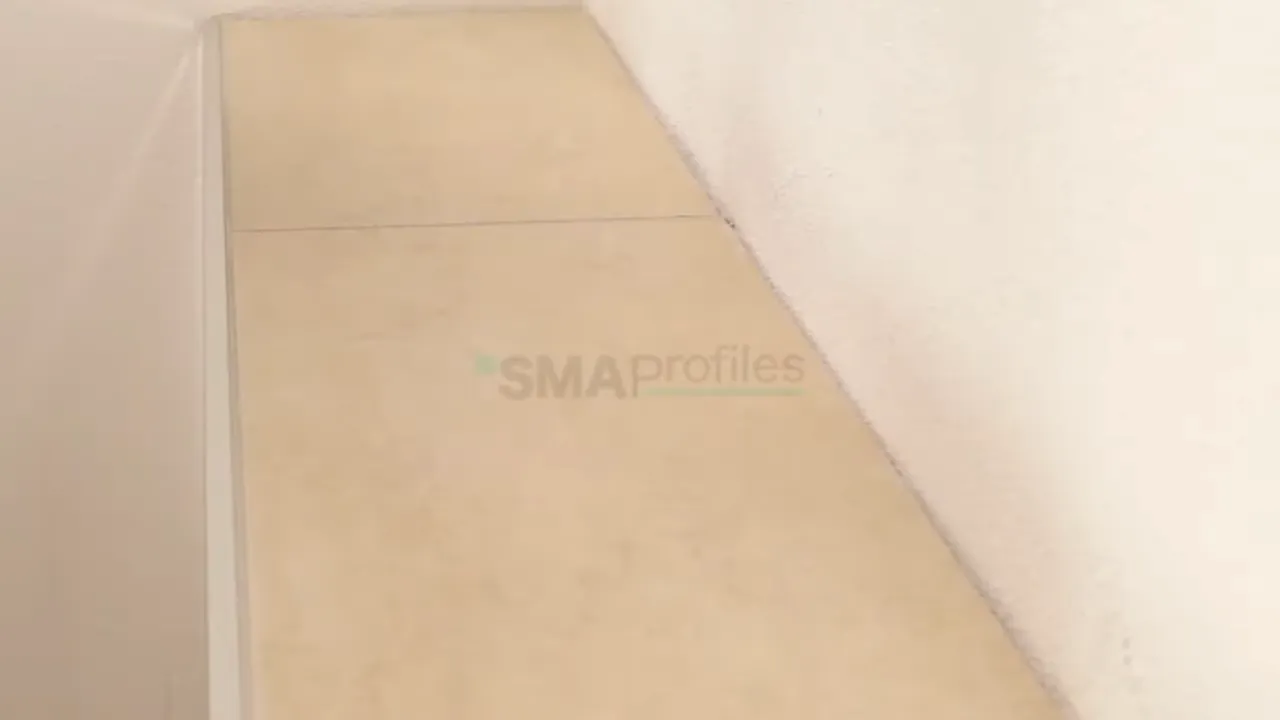
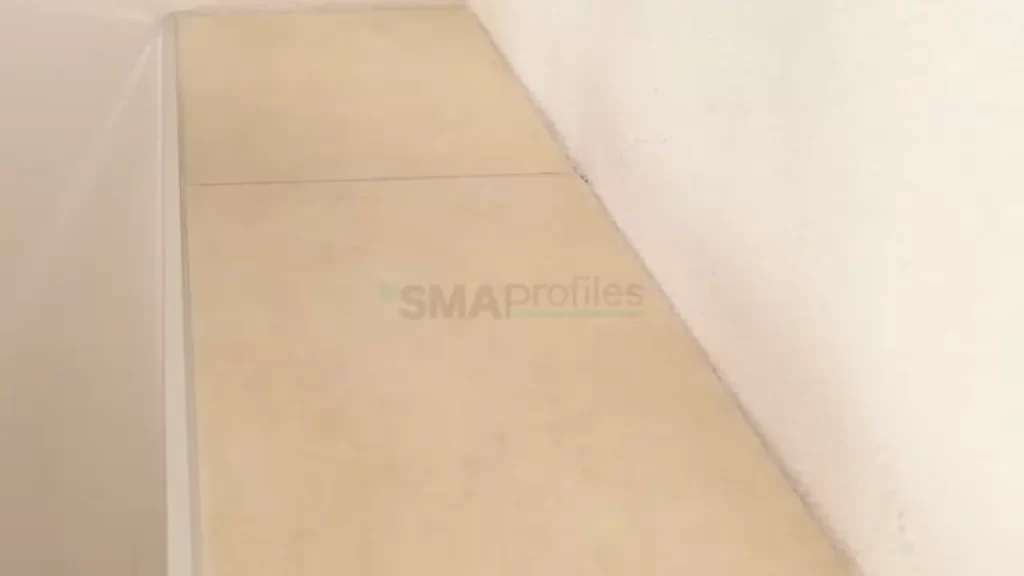
To finish glass tile edges, there are a few options. You can use a metal edge trim, bullnose tiles, or silicone caulk to create a clean and polished look. Another option is to use a glass tile edge strip or a tile edge molding.
Experiment with different methods to find the one that suits your style and tile type.
How Do You Stick Glass Tile To The Wall?
To stick glass tiles to the wall, follow these steps: 1. Prepare the wall by cleaning it thoroughly. 2. Apply a thin layer of adhesive to the wall using a notched trowel. 3. Press the glass tiles firmly onto the adhesive, starting from the corner and working your way out.
4. Use tile spacers to ensure even spacing between the tiles. 5. Allow the adhesive to dry completely before grouting the tiles for a secure bond.
What Adhesive Do I Use For Glass Tile Backsplash?
For glass tile backsplash, use a high-quality adhesive specifically designed for glass. It should provide strong adhesion and be waterproof. Choose a thin-set mortar or epoxy-based adhesive that is recommended for glass tile installation. Apply the adhesive evenly on the backsplash area before placing the glass tiles.
Conclusion
Installing a glass tile border in a shower can be a straightforward and rewarding project. By following the step-by-step instructions outlined in this guide, you can enhance the appearance and functionality of your shower. Remember to choose the appropriate tools and materials, plan your layout, and use proper techniques for cutting and adhering the tiles.
With a little patience and precision, you can achieve a beautiful and durable glass tile border that will transform your shower into a stunning focal point.