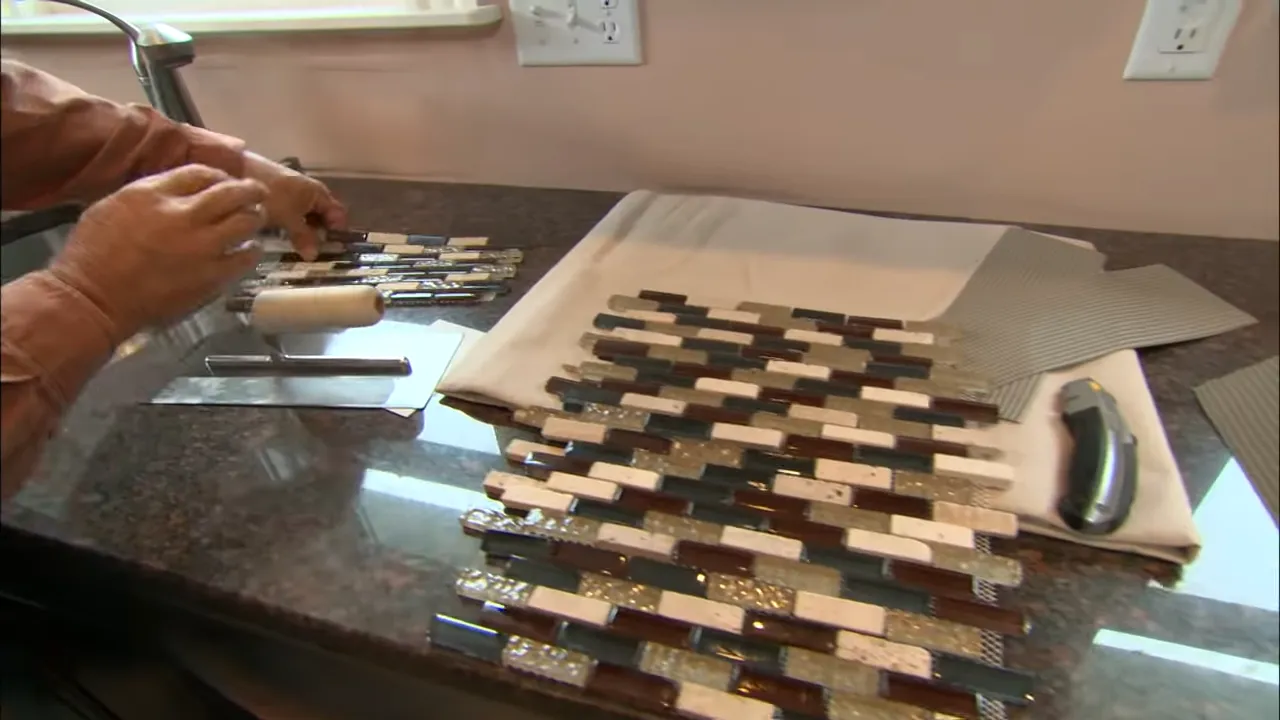
To install a glass tile backsplash, start by preparing the surface, then apply adhesive, place the tiles, and finally seal the grout. Looking to enhance the aesthetic appeal of your kitchen or bathroom?
Installing a glass tile backsplash can be a game-changer. With their sleek and modern look, glass tiles can add a touch of sophistication to any space. Whether you’re a seasoned DIYer or a first-timer, this step-by-step guide will help you install a glass tile backsplash like a pro.
From prepping the surface to sealing the grout, we’ll walk you through the entire process. So, roll up your sleeves, gather your materials, and let’s get started on transforming your kitchen or bathroom into a stunning and stylish oasis.
Assessing The Space And Gathering Materials
Before embarking on your glass tile backsplash installation project, it is crucial to assess the space and gather all the necessary materials. Proper planning and preparation can save you time, money, and headache in the long run. In this section, we will discuss how to measure the backsplash area accurately and choose the right glass tiles and adhesive for your project.
Measuring the Backsplash Area
Measuring the backsplash area accurately is the first step towards a successful installation. By determining the size of the space, you can calculate the amount of glass tiles needed and avoid any wastage or shortage. Here’s a simple and efficient method to measure the backsplash area:
- Clean the wall where the backsplash will be installed, ensuring it is free from any grease, dirt, or debris.
- Use a measuring tape to measure the width and height of the backsplash area. It is best to measure both dimensions in inches for consistency.
- Round up the measurements to the nearest inch for ease of calculation.
- Multiply the width and height measurements to find the total square inches of the backsplash area.
Now that you have the total square inches, you can consult the packaging of the glass tiles you have chosen to determine their coverage per square inch. This information will help you determine how many tiles you need to purchase.
Choosing the Right Glass Tiles and Adhesive
Choosing the right glass tiles and adhesive is essential to ensure a durable and visually appealing backsplash installation. Here are some factors to consider when making your selections:
| Glass Tiles | Adhesive |
|
|
By selecting high-quality glass tiles and adhesive, you can ensure a beautiful and long-lasting glass tile backsplash that will enhance the aesthetic appeal of your space. Now that you have assessed the space and gathered the materials, you are ready to move on to the next steps of the installation process.
Cleaning And Prepping The Wall
Removing Existing Backsplash or Wall Coverings
Before installing a glass tile backsplash, it is crucial to clean and prep the wall surface. The first step in this process is removing any existing backsplash or wall coverings. To do this, follow these steps:
- Carefully remove any fixtures or outlets that are attached to the wall. This will ensure that they don’t get damaged during the removal process.
- Using a putty knife or scraper, gently pry away any tiles, wallpaper, or other coverings from the wall. Start at a corner or an edge and work your way across the surface.
- Remove any leftover adhesive or grout by scraping it off with the putty knife. Make sure to smooth out the wall surface as much as possible.
- Dispose of the old backsplash or wall coverings appropriately, ensuring they don’t damage any surrounding surfaces.
Repairing and Smoothing the Wall Surface
Once the existing backsplash or wall coverings have been removed, it’s time to repair and smooth the wall surface. Follow these steps to ensure a clean and even surface for the glass tile backsplash:
- Inspect the wall for any cracks, holes, or other imperfections. Fill these areas with spackling compound or drywall mud and use a putty knife to smooth it out. Allow it to dry according to the manufacturer’s instructions.
- Sand down any rough patches or bumps on the wall using a fine-grit sandpaper. This will help create a smooth surface for the tile installation.
- Wipe down the entire wall surface with a damp cloth to remove any dust or debris. Allow the wall to dry completely before moving on to the next step.
Protecting Countertops and Cabinets
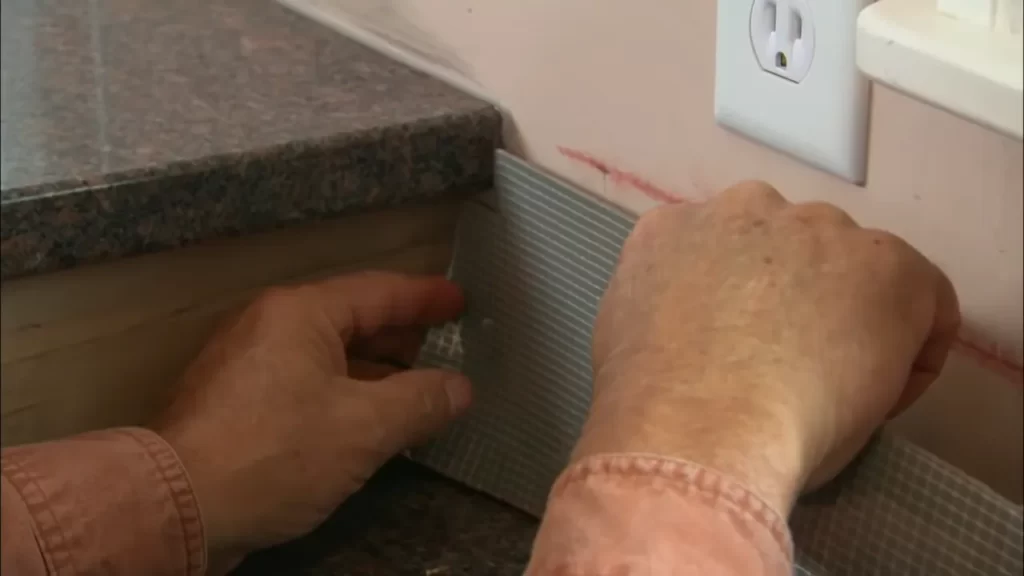
Before you begin installing the glass tile backsplash, it’s important to protect your countertops and cabinets from any potential damage. Here are some tips to ensure their safety:
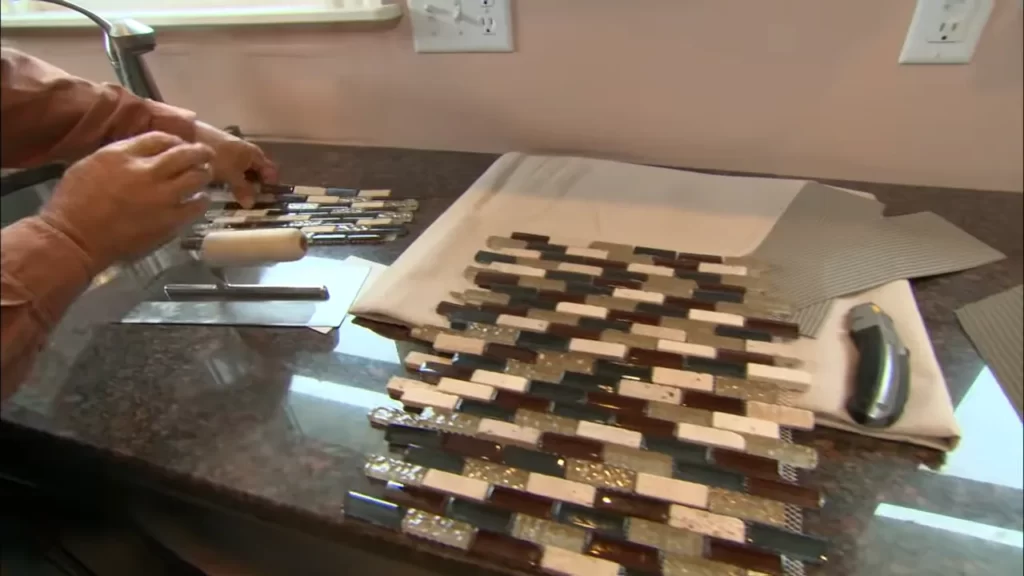
- Cover your countertops with a thick layer of cardboard or a drop cloth to prevent any accidental scratches or stains.
- Use painter’s tape to secure the protective covering to the edge of the countertop, ensuring it stays in place throughout the installation process.
- If you have cabinets above the backsplash area, cover them with a plastic sheet or old towels. This will help protect them from any adhesive or grout that may drip during the installation.
- Take extra care when working near the edges of the countertop or cabinets, ensuring that no damage occurs.
By following these steps and taking the necessary precautions, you can ensure that your wall is properly cleaned, prepped, and protected before installing a glass tile backsplash. This will result in a beautiful and long-lasting addition to your kitchen or bathroom.
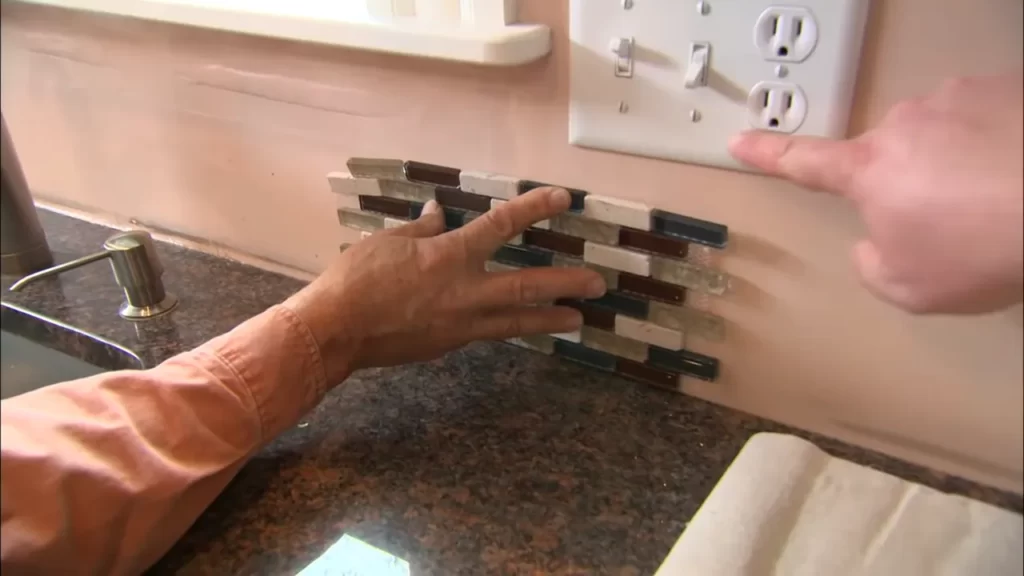
Spreading The Adhesive And Setting The Tiles
Installing a glass tile backsplash can instantly transform your kitchen or bathroom into a stylish and modern space. One crucial step in the installation process is spreading the adhesive and setting the tiles. In this section, we will guide you through the process of applying the thinset adhesive, setting the first row of tiles, and cutting and shaping tiles for corners and edges. Let’s dive in!
Applying the Thinset Adhesive
The first step in installing a glass tile backsplash is applying the thinset adhesive. This adhesive acts as the bonding agent between the tiles and the wall. Make sure you have the following tools and materials ready:
- Thinset adhesive
- Trowel with notched edge
- Bucket for mixing the adhesive
- Mixing paddle or drill attachment for mixing
Once you have gathered the necessary supplies, you can start applying the adhesive by following these steps:
- Begin by mixing the thinset adhesive according to the manufacturer’s instructions. The consistency should be similar to that of peanut butter.
- Using the notched edge of your trowel, scoop a generous amount of adhesive onto the trowel.
- Starting at the bottom of the designated area for the backsplash, hold the trowel at a 45-degree angle and firmly press the adhesive onto the wall.
- Using the straight edge of the trowel, flatten and spread the adhesive evenly, making sure to create grooves for better adhesion.
- Continue applying and spreading the adhesive in small sections, working your way up the wall.
Remember to work efficiently, as the adhesive dries quickly. Once the adhesive is applied, it’s time to move on to setting the tiles.
Setting the First Row of Tiles
Setting the first row of tiles is a crucial step in creating a straight and even backsplash. To ensure a successful installation, follow these steps:
- Start by selecting the tiles for the first row. Place them on a flat surface and arrange them in the desired pattern.
- Apply adhesive to the back of the first tile using a flat trowel or the notched edge of the trowel, depending on the tile size.
- Press the tile firmly onto the adhesive, making sure it aligns with the guidelines you’ve marked on the wall.
- Repeat the process for the remaining tiles in the first row, leaving a small gap between each tile for grout.
- Check the alignment of the tiles using a level, adjusting as necessary to ensure they are straight and even.
- Continue setting the first row of tiles until you reach the end of the designated area.
Proceed with caution, working diligently to maintain a consistent pattern and alignment. Now that the first row is set, you can move on to cutting and shaping tiles for corners and edges.
Cutting and Shaping Tiles for Corners and Edges
Trimming tiles to fit corners and edges is essential for a professional-looking glass tile backsplash. Here’s how you can achieve perfect cuts and shapes:
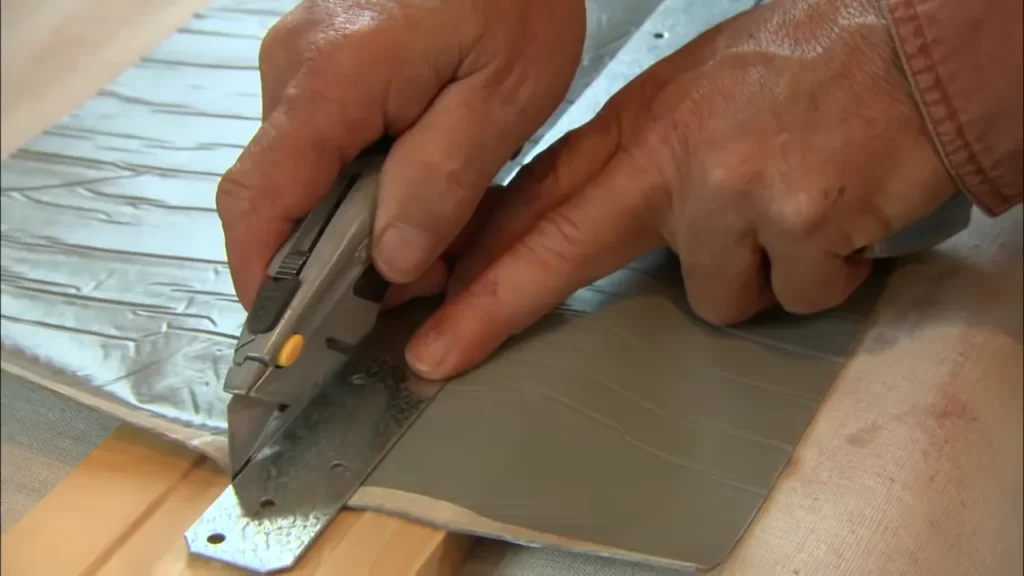
- Measure the space where a tile needs to be cut or shaped, taking into account any corners, electrical outlets, or unusual angles.
- Using a tile cutter or a wet saw, carefully cut the tile along the marked lines.
- If you need to shape the tile, utilize a tile nipper or tile file for precise adjustments.
- Ensure that the cut or shaped tile fits snugly into the designated space by dry-setting it before applying adhesive.
- Once you are satisfied with the fit, apply adhesive to the back of the tile and press it firmly into place.
- Continue cutting and shaping tiles as needed for corners and edges until the installation is complete.
Take your time during this process, as accuracy is crucial for achieving a polished finish. Once all the tiles are in place, allow the adhesive to cure according to the manufacturer’s instructions before grouting.
That completes the section on spreading the adhesive and setting the tiles. In the next section, we will cover the final steps of grouting and sealing the glass tile backsplash. Stay tuned!
Grouting And Finishing The Backsplash
Once you have successfully installed the glass tile backsplash, it’s time to move on to the next crucial steps – grouting and finishing. These final touches will not only enhance the overall aesthetic appeal of your backsplash but also ensure its durability in the long run.
Mixing and Applying the Grout
The first step in grouting your glass tile backsplash is to mix the grout according to the manufacturer’s instructions. Typically, this involves combining the grout powder with water in a clean bucket and stirring until you achieve a smooth, lump-free consistency.
Once the grout is properly mixed, use a rubber grout float to apply it to the tile surface. Hold the float at a 45-degree angle and spread the grout diagonally across the tiles, making sure to push it into the gaps between the tiles. Work in small sections, as the grout tends to dry quickly.
After applying the grout, use the float to remove any excess grout from the tile surface by holding it at a steeper angle and scraping diagonally across the tiles. This will help create a clean, even grout line.
Cleaning and Polishing the Tiles
Once you have finished applying the grout, it’s important to clean the tile surface to remove any grout residue. Wait for the grout to set for about 15-20 minutes, then use a damp sponge or a grout haze remover to gently wipe away any excess grout from the tiles.
Make sure to rinse the sponge frequently to prevent the grout from smearing across the tiles. Continue this process until the tiles are clean and the grout lines are smooth and even.
After cleaning, allow the grout to cure for the recommended time specified by the manufacturer. Once the grout is fully cured, you can polish the tiles using a soft, dry cloth to remove any remaining haze and give your backsplash a clean, glossy finish.
Sealing the Grout for Durability
To ensure the long-term durability of your glass tile backsplash, it’s highly recommended to seal the grout. Sealing helps protect the grout from moisture, stains, and discoloration, extending its lifespan and preserving the overall look of your backsplash.
Choose a high-quality grout sealer that is suitable for glass tiles. Apply the sealer carefully, following the manufacturer’s instructions. Typically, this involves using a small brush or a roller to evenly distribute the sealer over the grout lines.
Allow the sealer to penetrate the grout for the recommended time before removing any excess with a clean, dry cloth. It’s essential to wipe off any excess sealer from the tile surface immediately to prevent it from drying and leaving a residue.
Remember to reseal the grout periodically, as recommended by the sealer manufacturer, to maintain its protective properties and keep your glass tile backsplash looking fresh and vibrant for years to come.
Common Challenges During Installation
Installing a glass tile backsplash can be a great way to add a touch of elegance to any kitchen or bathroom. However, there are some common challenges that DIY enthusiasts often face during the installation process. Being aware of these challenges and knowing how to tackle them can help ensure a smooth and successful installation.
Dealing with Uneven Walls or Crooked Tiles
One of the challenges that homeowners may encounter when installing a glass tile backsplash is dealing with uneven walls or crooked tiles. This can make it difficult to achieve a seamless and professional look. However, there are a few strategies that can help address this issue.
The first step is to carefully measure and assess the condition of your walls before starting the installation process. Use a level and a straightedge to identify any areas that are uneven or out of alignment. This will give you an idea of the kind of adjustments that need to be made.
If you find that the walls are significantly uneven or the tiles are crooked, you may need to consider applying a leveling compound. This is a product that helps smooth out the surface and create a more even base for the tiles. Follow the instructions provided by the manufacturer to ensure proper application.
Another option is to use spacers or shims to align the tiles and maintain consistent spacing between them. These can be placed behind or in between the tiles to help correct any misalignment issues. Additionally, using a tile adhesive with a longer open time can give you more time to adjust the tiles and ensure they are straight before the adhesive sets.
Preventing Cracked or Chipped Tiles
Another common challenge during the installation of a glass tile backsplash is the risk of cracked or chipped tiles. Glass tiles are more delicate compared to other materials, and mishandling them can easily lead to damage. To prevent this, here are some tips:
- Handle the tiles with care, avoiding dropping or placing excessive pressure on them.
- Make sure to use the right tools for cutting the tiles, such as a wet saw with a diamond blade specifically designed for glass.
- Using a tile nipper or glass cutter may be necessary for smaller, more intricate cuts.
- Apply even pressure when installing the tiles to avoid cracking or chipping. A rubber mallet or a grout float can help in this process.
By following these precautions and best practices, you can reduce the risk of damaging the glass tiles and achieve a stunning backsplash installation.
Expert Tips For A Professional Result
Installing a glass tile backsplash can add a touch of elegance and beauty to any kitchen or bathroom. However, to achieve a truly professional result, it’s important to follow some expert tips and techniques. In this guide, we’ll walk you through the process of installing a glass tile backsplash, and provide you with expert advice to ensure a flawless finish.
Planning the Tile Layout Before Installation
One crucial step in the installation process is planning the tile layout beforehand. This allows you to envision how the tiles will look once they are installed and ensure a symmetrical and visually pleasing design. Here are some tips to help you with tile layout planning:
- Use a measuring tape to determine the dimensions of the area where you will be installing the backsplash
- Create a scale drawing of the area and mark the measurements, including any obstructions such as outlets or windows
- Consider the overall pattern and design of the tiles. Will you be using mosaic tiles or larger, rectangular tiles? How will the colors and patterns complement the existing décor?
- Experiment with different layout options by arranging the tiles on a flat surface. This will allow you to visualize the final result and make any necessary adjustments.
Using Tile Spacers and Leveling Tools
To achieve a professional finish, it’s important to use tile spacers and leveling tools during the installation process. Tile spacers are small plastic or rubber-like pieces that help maintain consistent spacing between tiles. This ensures that the grout lines are uniform and aesthetically pleasing. Here are some tips for using tile spacers:
- Start by applying a thin layer of tile adhesive to the wall, using a trowel
- Place the first tile in the adhesive and press it firmly, ensuring it is level and aligned with your planned layout
- Insert tile spacers on each side of the tile, and continue this process for the remaining tiles
- Periodically use a level to check that the tiles are straight and even. Adjust as necessary
In addition to using tile spacers, leveling tools such as a laser level or a bubble level can help ensure that the tiles are installed perfectly straight and level. This is especially important for glass tiles, as any unevenness will be more visible due to their reflective surface.
By following these expert tips for planning the tile layout and using tile spacers and leveling tools, you can achieve a professional and visually stunning glass tile backsplash in your kitchen or bathroom. Take the time to plan and prepare properly, and you’ll be rewarded with a beautiful result that will enhance the overall aesthetic of your space.
Frequently Asked Questions
Is Glass Backsplash Harder To Install?
Glass backsplashes can be more challenging to install due to their delicate nature. The process requires careful handling and precise measurements. However, with the right tools and expertise, professional installers can easily complete the job.
How Do You Prepare A Wall For A Glass Tile Backsplash?
To prepare a wall for a glass tile backsplash: 1. Clean the wall surface thoroughly. 2. Repair any cracks or holes with patching compound. 3. Sand the wall to create a smooth surface. 4. Apply a primer to help the adhesive bond with the wall.
5. Finally, measure and mark the area where the tiles will be installed.
Can I Put Glass Tile On Drywall?
Yes, you can put glass tile on drywall. However, it’s important to ensure the drywall is smooth and flat. It’s recommended to apply a suitable adhesive and grout specifically designed for glass tiling.
How Do You Finish The Edges Of A Glass Tile Backsplash?
To finish the edges of a glass tile backsplash, you can use metal edge trim or bullnose tiles. These options provide a polished and professional look, ensuring that the edges blend seamlessly with the rest of the backsplash. Metal edge trim adds a sleek, modern touch, while bullnose tiles offer a more traditional aesthetic.
Conclusion
Installing a glass tile backsplash can be a simple and rewarding DIY project. By following the step-by-step guide outlined in this blog post, you can transform your kitchen or bathroom into a stunning and modern space. Remember to carefully measure and plan the layout, use the right tools, and take your time during the installation process.
With a little patience and effort, you’ll have a beautiful glass tile backsplash that adds a touch of elegance to your home.
