To install a glass block shower wall, watch a concise video tutorial that provides accurate and step-by-step instructions. In this guide, we will explore the process of installing a glass block shower wall and highlight the important steps you need to follow.
Whether you are a DIY enthusiast or a homeowner looking to renovate your bathroom, this video will assist you in successfully installing a glass block shower wall. The video will provide a comprehensive overview of the materials needed, the preparation required, and the installation process, ensuring that you have all the information you need to complete the project with ease.
So, let’s get started with this informative video on installing a glass block shower wall.
Planning And Preparation
Planning and preparation are crucial steps when it comes to installing a glass block shower wall. By carefully assessing the space, taking accurate measurements, and creating a design plan, you can ensure a successful installation. In this section, we will guide you through each step, starting with assessing the space and gathering materials.
Assessing the Space and Gathering Materials
Before diving into the installation process, it’s important to assess the space where you plan to install the glass block shower wall. Take note of the size, layout, and any specific requirements or limitations. This will help you determine the quantity of materials needed, as well as any additional supplies or tools necessary.
Gathering all the necessary materials is the next step. Make sure you have everything on hand before starting the installation to avoid any unnecessary delays. Here’s a list of the main materials you’ll need:
| Materials | Quantity |
|---|---|
| Glass blocks | Depends on the size of the wall |
| Reinforcement bars | As required |
| Spacers | Enough to place between the glass blocks |
| Mortar mix | According to the size of the wall |
| Grout | Sufficient quantity for finishing |
| Caulk | For sealing the edges and joints |
| Waterproof membrane | As required for added protection |
Ensure that you purchase high-quality materials that are specifically designed for glass block installations. This will contribute to the durability and longevity of your shower wall.
Taking Accurate Measurements
Accurate measurements are essential to ensure a precise and professional-looking glass block shower wall installation. Here are the steps to follow:
- Use a measuring tape to determine the height and width of the installation area. Measure it in multiple places to account for any variations.
- Take note of any obstructions, such as pipes or fixtures, and consider them when planning the placement of the glass blocks.
- Decide on the orientation of the blocks, whether you want a horizontal or vertical layout, and factor this into your measurements.
- Add an extra half inch to each measurement for the mortar joints and spacers.
- Double-check your measurements before proceeding to ensure accuracy.
By following these steps, you’ll be well-prepared with the necessary measurements that will guide you throughout the installation process.
Creating a Design Plan
With the measurements and materials ready, it’s time to create a design plan for your glass block shower wall. Consider the overall aesthetic you want to achieve, as well as any specific patterns or designs you may want to incorporate. Sketch out a layout of the glass blocks, taking into account the size and orientation of each block.
Having a design plan in place will help you stay organized during the installation and ensure a visually appealing outcome. Remember to be flexible and open to adjustments as you progress with the installation.
Now that you understand the importance of planning and preparation, as well as the steps involved, you’re ready to move on to the next section: Preparing the Installation Area.

Preparing The Area
One of the key steps in installing a glass block shower wall is properly preparing the area. This ensures that you have a solid foundation to work with and helps to ensure a successful installation. In this section, we will cover the essential steps involved in preparing the area for your glass block shower wall installation.
Removing Existing Shower Components
Before you can begin installing your glass block shower wall, you need to remove any existing shower components in the area. This includes removing the old shower door, shower head, and shower trim. Start by turning off the water supply to the shower and then disassemble the shower components using the necessary tools. Be sure to follow the manufacturer’s instructions and take necessary safety precautions during this process.
Clearing and Leveling the Surface
Once you have removed the existing shower components, it’s time to clear and level the surface where the glass block shower wall will be installed. Start by removing any debris, old caulk, or grout from the area using a scraper or utility knife. Next, use a level to ensure that the surface is even and plumb. If necessary, make any adjustments or repairs to create a level and stable surface for your glass block shower wall.
Waterproofing the Surrounding Walls
A crucial step in preparing the area for your glass block shower wall installation is waterproofing the surrounding walls. This is essential to prevent water leakage and potential damage to the walls. Start by applying a layer of waterproofing membrane to the walls using a trowel or brush. Be sure to follow the manufacturer’s instructions and cover the entire surface that will be in contact with water. Allow the waterproofing membrane to dry thoroughly before proceeding with the installation of your glass block shower wall.

Installing The Glass Block Shower Wall
Installing the Glass Block Shower Wall is a crucial step in creating a stunning and functional shower space. The glass block walls not only add a touch of elegance to your bathroom but also provide privacy while allowing light to filter through. In this section, we will guide you through the step-by-step process of installing your glass block shower wall, ensuring a successful and visually appealing result.
h3>Preparing the Glass Blocks
Before you begin installing the glass block shower wall, it is important to properly prepare the glass blocks. Ensure that they are clean, free from any dirt or debris that could affect the adhesion of the mortar. Additionally, double-check that all the glass blocks are in good condition, without any cracks or imperfections that could compromise their integrity.
h3>Mixing Mortar and Applying It to the Wall
The next step in installing the glass block shower wall is mixing the mortar and applying it to the wall. Follow the instructions on the mortar packaging to achieve the right consistency. Using a trowel, spread the mortar evenly onto the wall, creating a thick layer that will secure the glass blocks in place.
h3>Setting the First Row of Glass Blocks
Once the mortar is applied, it’s time to set the first row of glass blocks. Carefully place each block onto the mortar, ensuring that they are level and evenly spaced. Use a level and a rubber mallet to ensure that each glass block is plumb and securely adhered to the wall.
h3>Building Up the Remaining Rows
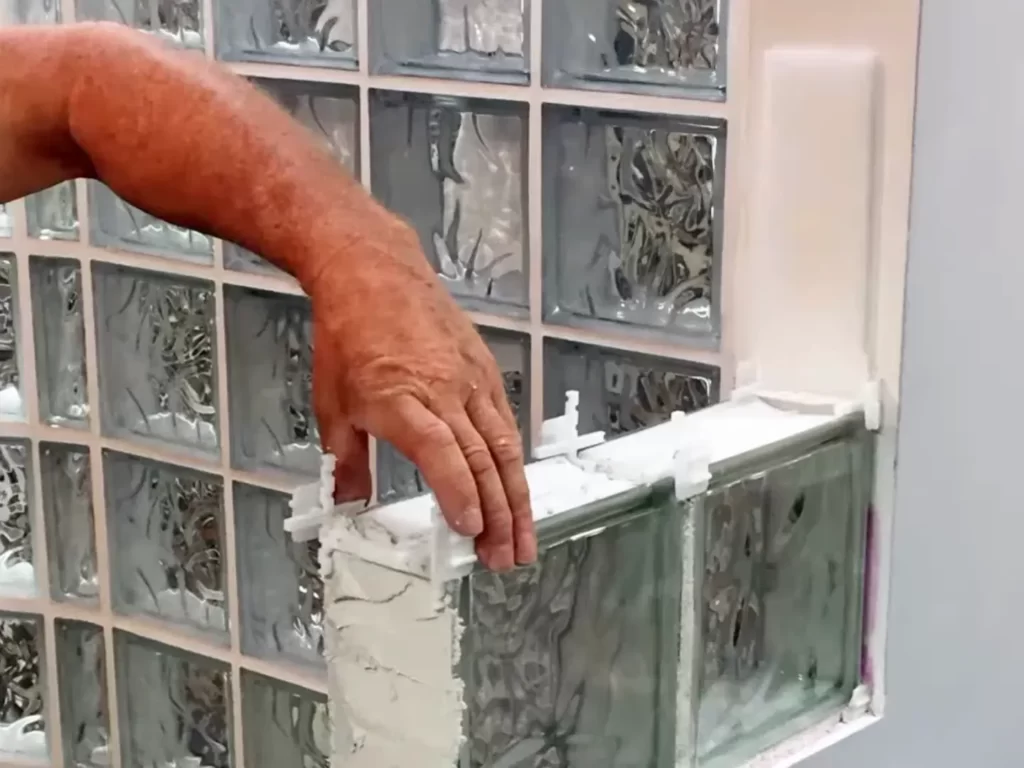
After the first row is set, you can start building up the remaining rows of glass blocks. Apply mortar on top of the first row, then place the next row of glass blocks, making sure to stagger the joints for added stability. Repeat this process until you’ve installed all the desired rows of glass blocks, constantly checking for level and plumb.
h3>Securing the Glass Blocks with Mortar
In order to fully secure the glass blocks in place, it’s important to apply mortar between each block and along the edges. This will create a solid bond and prevent shifting or movement over time. Use a trowel to carefully apply mortar in the gaps between the glass blocks, smoothing it out for a clean finish.
h3>Cleaning the Excess Mortar
Once all the glass blocks are in place and the mortar has dried, it’s time to clean any excess mortar. Use a damp sponge or cloth to wipe away any mortar residue from the face of the glass blocks. Be gentle to avoid scratching the glass.
By following these steps, you can successfully install your glass block shower wall and enjoy a beautiful, modern, and functional addition to your bathroom. Remember to take your time and ensure that each row is level and securely bonded, and don’t forget to clean up any excess mortar for a professional-looking finish.

Finishing Touches
Installing Support Braces
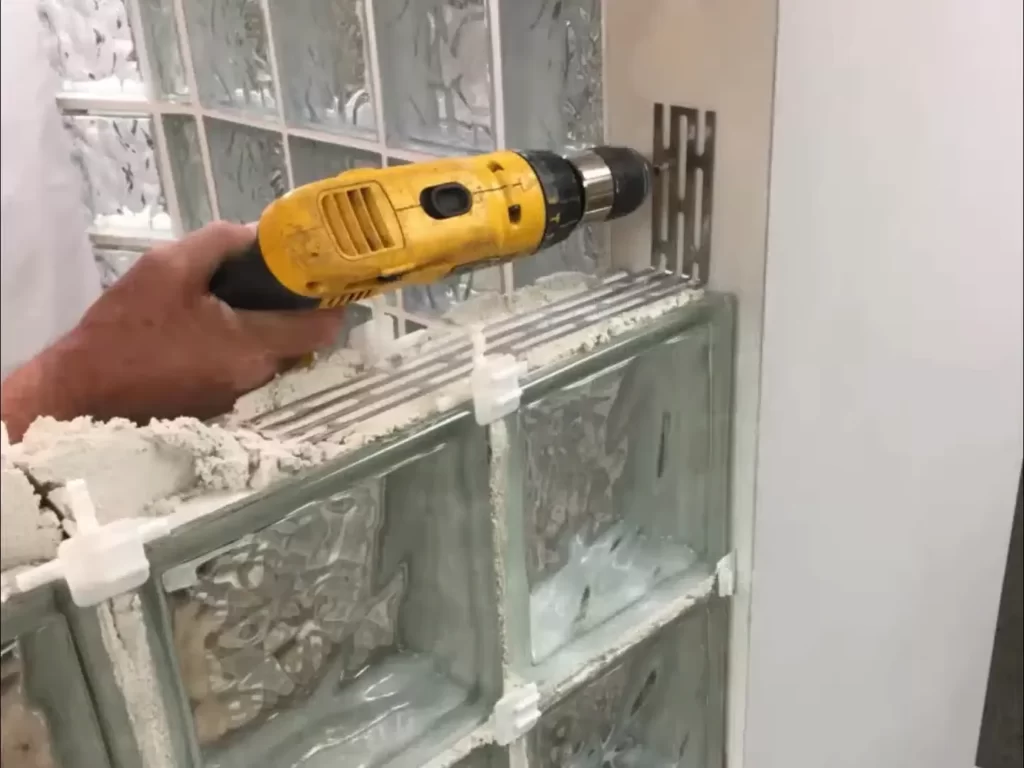
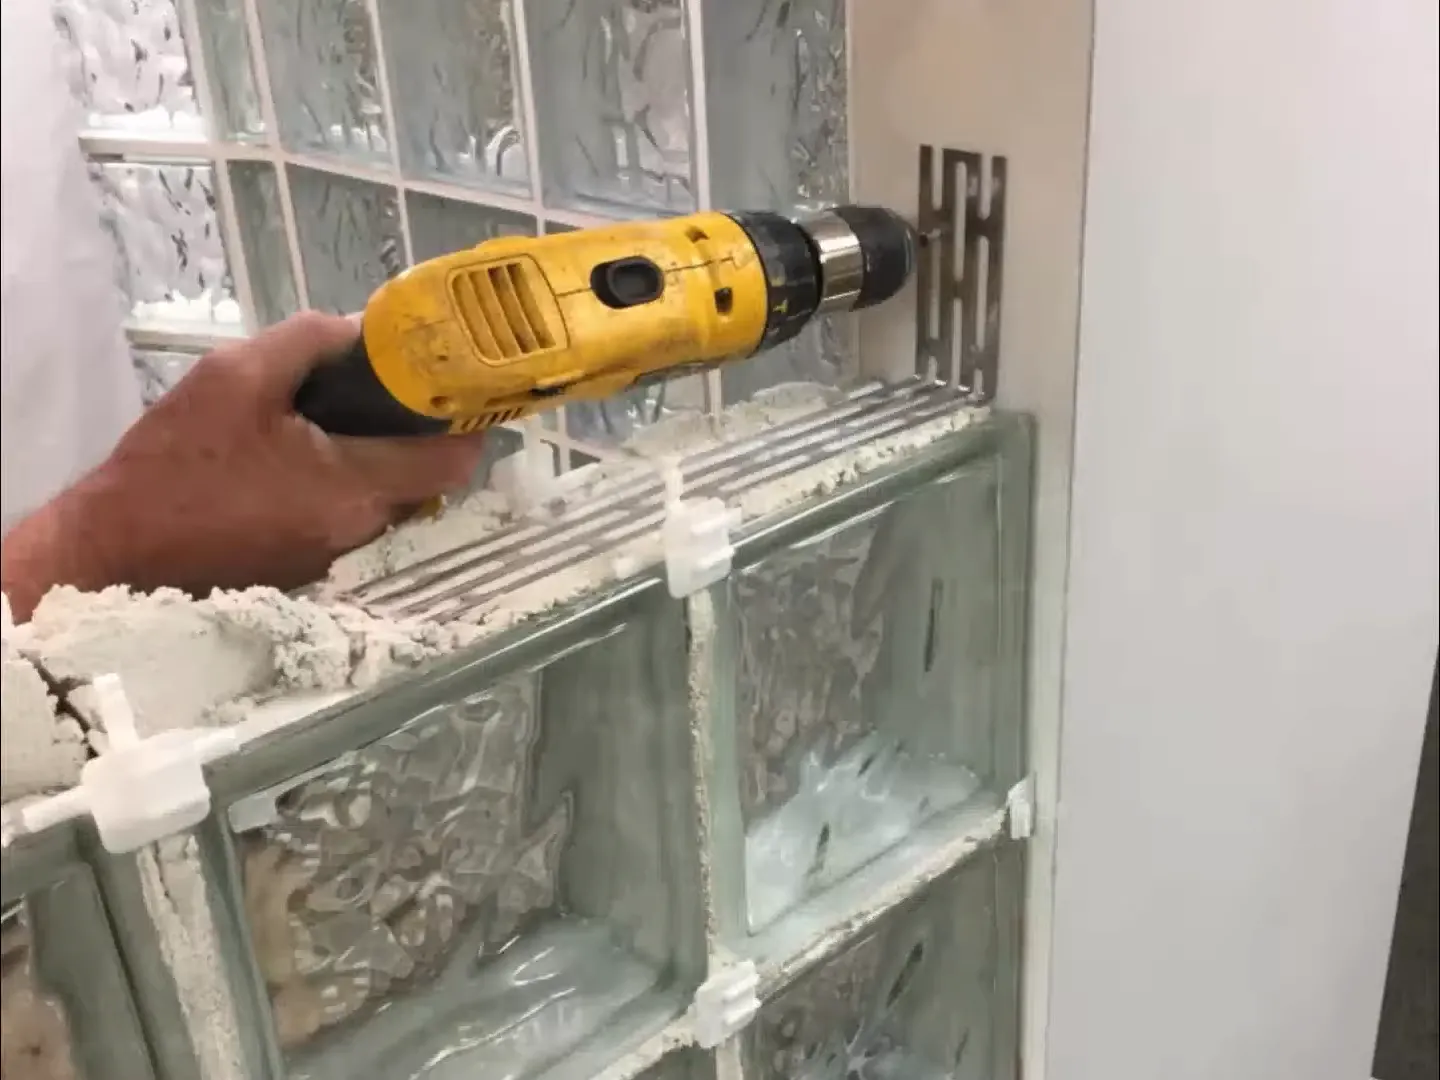
Once you have successfully assembled the glass block shower wall, it’s time to move on to the finishing touches. Before you can proceed with the next steps, it is crucial to install support braces to ensure the stability and longevity of your glass block wall. Support braces help distribute the weight of the glass blocks evenly and prevent any potential sagging or shifting over time.
To install the support braces:
- Measure the width of your glass block shower wall to determine the number of support braces needed.
- Using a drill and appropriate screws, attach the support braces to the studs in the wall.
- Make sure the support braces are level and securely attached.
- Repeat this process for each support brace required.
Applying Grout to the Joints
After the support braces are in place, the next step in completing your glass block shower wall is to apply grout to the joints. Grout not only enhances the appearance of your wall but also provides structural stability by filling any gaps between the glass blocks.
To apply grout to the joints:
- Prepare the grout mixture according to the manufacturer’s instructions.
- Using a grout float, apply the grout to the joints, making sure to completely fill in the gaps.
- Smooth the grout with the float, removing any excess as you go.
- Allow the grout to cure for the recommended time.
Sealing the Glass Block Wall
Sealing the glass block shower wall is an essential step to minimize water infiltration and protect the integrity of the installation. A good sealer will help prevent moisture from seeping into the joints, which could lead to mold or structural damage over time.
To seal the glass block wall:
- Clean the surface of the glass blocks and grout using a mild detergent and water.
- Allow the wall to dry completely.
- Apply a layer of high-quality clear silicone sealer to the joints, using a caulking gun or a putty knife.
- Smooth the sealer with a damp cloth, ensuring a tight seal.
- Let the sealer cure according to the manufacturer’s instructions.
Reinstalling Shower Components
With the glass block wall complete and properly sealed, it’s time to reinstall the shower components. Take care to reconnect everything precisely as it was before the installation process began to ensure optimal functionality.
To reinstall the shower components:
- Carefully reattach the showerhead arm, valve handle, and any other plumbing fixtures that were removed during the installation.
- Check for any leaks or loose connections and make necessary adjustments.
- Turn on the water supply and test the functionality of your shower.
- Enjoy your new glass block shower wall!
Completing these finishing touches brings you one step closer to enjoying a beautiful and functional glass block shower wall. Follow these steps carefully to ensure a successful installation that will last for years to come.
Frequently Asked Questions
How Do You Install Glass Block Walls?
To install glass block walls, follow these steps: 1. Prepare the wall surface by cleaning and smoothing it. 2. Lay out the design, mark the measurements, and plan the openings. 3. Apply mortar to the wall and position the glass blocks carefully.
4. Insert spacer strips between blocks for even spacing and stability. 5. Seal the joints with mortar and allow it to dry.
Can Glass Block Be Used As A Shower Wall?
Yes, glass block can be used as a shower wall. It offers privacy, is easy to clean, and adds a modern touch to the bathroom.
Is Silicone Or Mortar Better For Glass Block?
Silicone is better for glass block installation than mortar. It provides a stronger seal, better flexibility, and prevents leaks. Silicone also allows for easier installation, has faster drying time, and is more resistant to moisture and weather conditions.
Can You Install Glass Block Without Mortar?
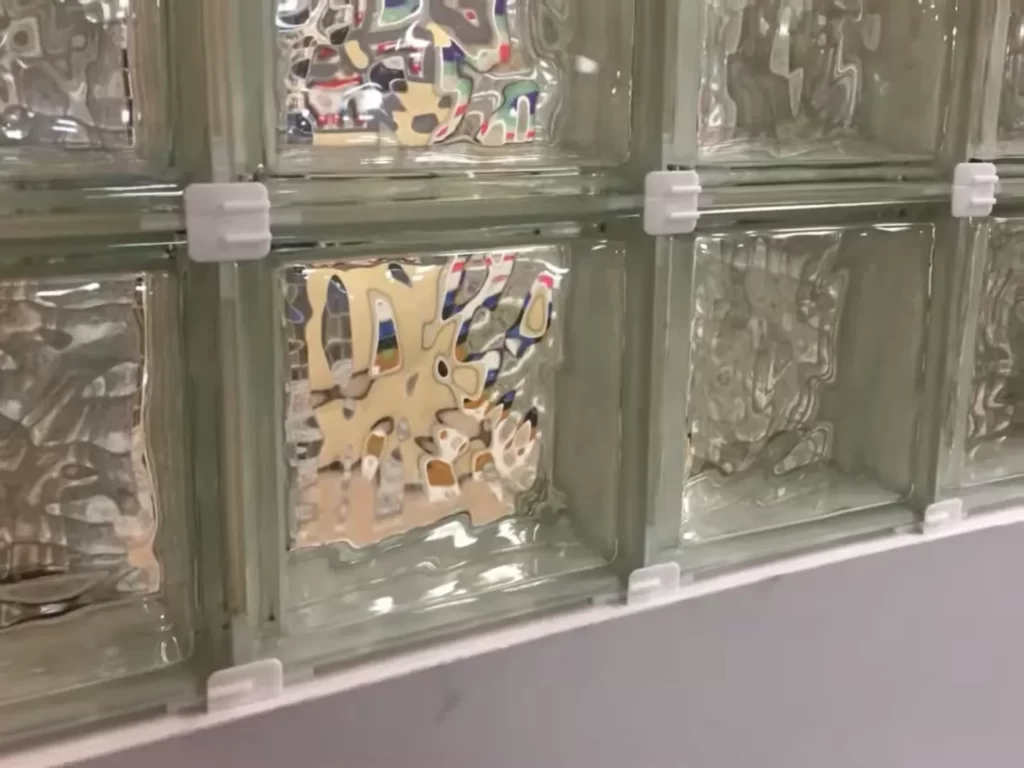
Yes, glass blocks can be installed without mortar. This method uses silicone or rubber spacers to hold the blocks in place. It is a popular alternative that allows for easy installation and removal if needed.
Conclusion
Installing a glass block shower wall adds a touch of elegance and functionality to any bathroom. By following the step-by-step guide outlined in this video, you can easily achieve a professional-looking installation. From preparing the area to sealing and finishing, each stage is crucial for a successful outcome.
So, why wait? Upgrade your shower today and enjoy the beauty and durability of a glass block wall.
