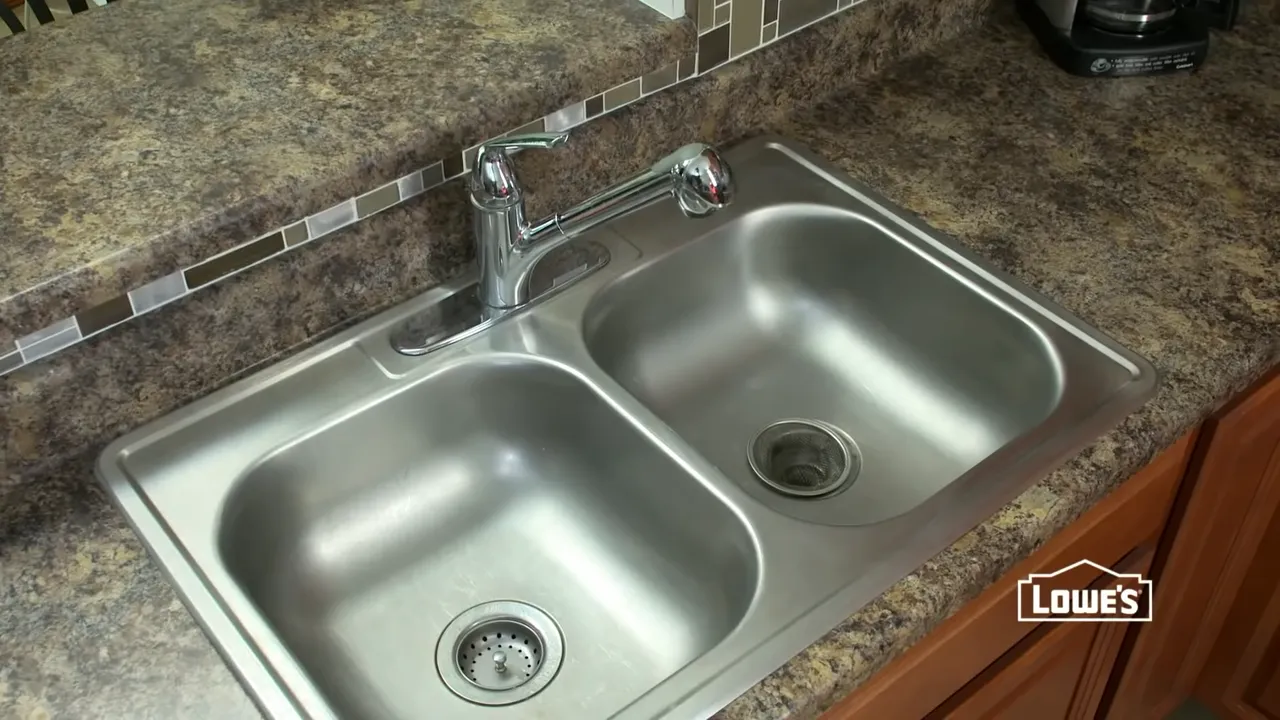
To install a drop-in sink bathroom, begin by measuring the countertop opening and purchasing a sink that fits those dimensions. Then, place the sink in the opening, ensuring it sits level.
Apply a thin layer of adhesive around the edges of the sink, allowing it to dry according to the manufacturer’s instructions. Finally, connect the sink’s drain and water supply lines to complete the installation. This process can be completed by following a few simple steps and will result in a functional and aesthetically pleasing addition to your bathroom.
Planning The Installation Process
Before installing a drop-in sink in your bathroom, it is essential to plan the installation process carefully. This will ensure a smooth and successful installation, allowing you to enjoy your new sink without any issues. In this section, we will discuss the crucial steps involved in planning the installation process, including determining the sink location and measurements, gathering the necessary tools and materials, and preparing the workspace.
Determining the Sink Location and Measurements
The first step in planning the installation process is to determine the location of the drop-in sink in your bathroom. This will depend on various factors, such as the existing plumbing lines, the size of your bathroom, and your personal preferences. To determine the ideal location, consider the following:
- Choose a spot that provides convenient access to the sink and ensures proper functionality.
- Consider the placement of other bathroom fixtures, such as the toilet and shower, to ensure adequate space and flow.
- Measure the available space accurately to determine the size of the drop-in sink you need.
By carefully considering these factors and taking accurate measurements, you can ensure that the drop-in sink fits perfectly into your bathroom.
Gathering the Necessary Tools and Materials
Once you have determined the location and measurements for your drop-in sink, it’s time to gather the necessary tools and materials. Having everything you need on hand before starting the installation process will save you time and prevent any unnecessary delays. Here are the essential tools and materials you will need:
| Tools | Materials |
|---|---|
|
|
Make sure to have all these tools and materials readily available to ensure a hassle-free installation process.
Preparing the Workspace
Before you start installing the drop-in sink, it is crucial to prepare the workspace properly. This will help you work efficiently and ensure a clean and organized installation. Follow these steps to prepare the workspace:
- Clear the countertop or vanity where the sink will be installed.
- Remove any existing plumbing fixtures that may obstruct the installation process.
- Clean the surface thoroughly to remove any dirt, grime, or old caulking.
- Ensure that you have proper lighting and ventilation in the area to work comfortably.
By preparing your workspace beforehand, you can create an environment conducive to a successful drop-in sink installation.
Measuring And Preparing The Sink Opening
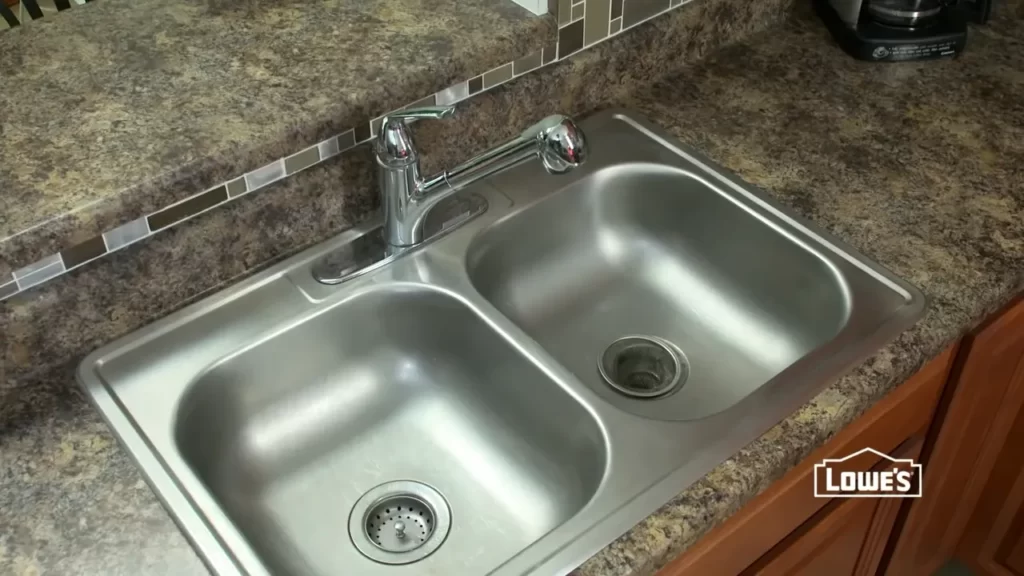
Properly measuring and preparing the sink opening is a crucial step in the installation process of a drop-in sink in your bathroom. This ensures that the sink fits perfectly and functions seamlessly. In this section, we will guide you through the steps of taking accurate measurements, marking the sink opening on the countertop, and using a jigsaw to cut the opening.
Taking Accurate Measurements
Before you begin, gather the necessary tools for this task, including a tape measure, a marking pencil, a level, and a jigsaw. Get down on your knees and assess the area where you intend to install the sink. Begin by measuring the width and depth of your current sink opening, or if you’re starting from scratch, measure the dimensions of the sink you plan to install. Take precise measurements, as even a small discrepancy can cause problems later on. Write down the measurements, ensuring you note down the width first followed by the depth. Double-check your measurements to avoid any errors.
Marking the Sink Opening on the Countertop
Using the width and depth measurements you have taken, mark the sink opening on the countertop. Begin by finding the center point of the width measurement and make a small mark with your marking pencil. Then, measure and mark half the width measurement on either side of the center mark. Connect these marks using a straight edge, creating the outline for the width of the sink.
Next, find the center point of the depth measurement and mark it on the countertop. Measure and mark half the depth measurement above and below the center mark. Connect these marks using a straight edge to create the outline for the depth of the sink.
Once you have marked the width and depth outlines, use a level to ensure they are perfectly straight and aligned. This step is crucial to ensure the sink fits properly and looks aesthetically pleasing when installed.
Using a Jigsaw to Cut the Opening
Now that you have marked the sink opening on the countertop, it’s time to cut it. Put on your safety goggles and gloves before proceeding with this step. Place a piece of scrap wood underneath the countertop to prevent any damage to the surface below.
Align the jigsaw blade with one of the corners of the marked outline and carefully start cutting along the line. Remember to always keep a firm grip on the jigsaw and let the tool do the work, avoiding excessive force. Slowly and steadily guide the jigsaw around the marked outline until you reach the starting point.
Once the cut is complete, remove the waste piece of countertop and check the opening for any rough edges or imperfections. Use sandpaper to smooth out any rough spots and ensure the opening is clean and free from debris before proceeding with the sink installation.
Congratulations! You have successfully measured and prepared the sink opening for a drop-in sink installation in your bathroom. In the next section, we will guide you through the steps of properly installing the sink and connecting the plumbing.
Installing The Sink
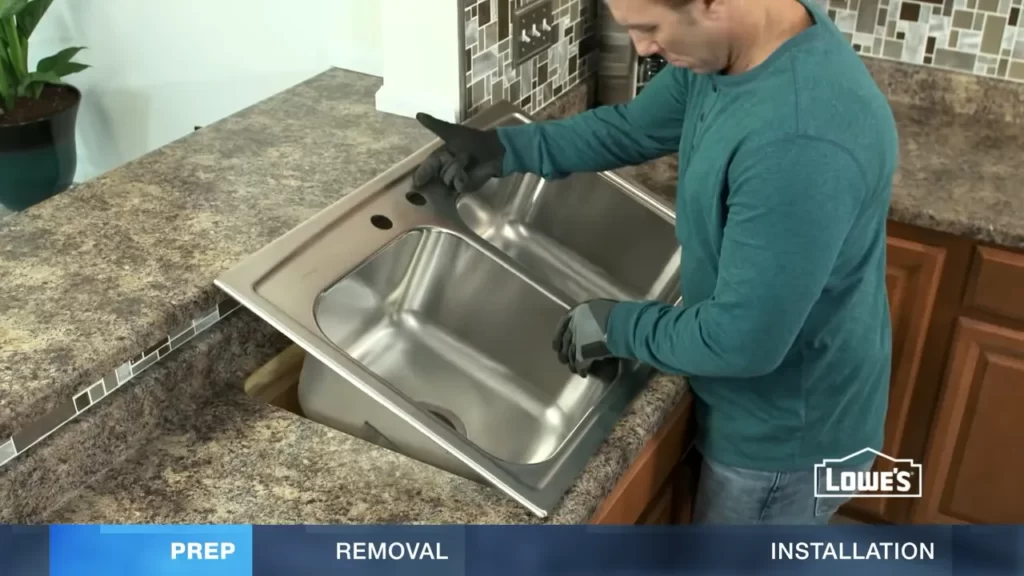
Now that you have prepared the area for your drop-in sink bathroom installation, it is time to move on to actually installing the sink. Follow these steps to ensure a secure and successful installation.
Applying silicone adhesive to the rim of the sink
The first step in installing the sink is to apply silicone adhesive to the rim of the sink. This adhesive will help create a watertight seal between the sink and the countertop. Start by running a bead of silicone adhesive along the entire rim of the sink.
Note: Make sure to use a high-quality silicone adhesive that is specifically designed for use with sinks. This will ensure the best results and long-lasting performance.
Lowering the sink into the opening
Once you have applied the silicone adhesive, carefully lower the sink into the opening on the countertop. Make sure the sink is aligned properly and centered within the opening. Take your time with this step to ensure accuracy.
Securing the sink with clamps
Once the sink is in place, it’s time to secure it using clamps. Place the clamps on the sink rim, making sure they are evenly spaced around the sink. Tighten the clamps gradually and evenly until the sink is securely held in place.
Note: Be cautious not to overtighten the clamps, as this may cause damage to the sink or countertop. Use enough pressure to secure the sink without causing any harm.
TIP: If your sink comes with mounting clips or brackets, follow the manufacturer’s instructions for installation. These additional attachments can provide extra stability and support for your sink.
Once you have followed these steps, your drop-in sink bathroom installation is complete. The sink should be securely installed and ready to use. Take a moment to double-check the sink for any gaps or unevenness. If needed, make adjustments or reposition the sink as necessary. Enjoy your newly installed drop-in sink and the refreshed look it brings to your bathroom!
Connecting The Drains And Plumbing
Installing the Sink’s Drain Assembly
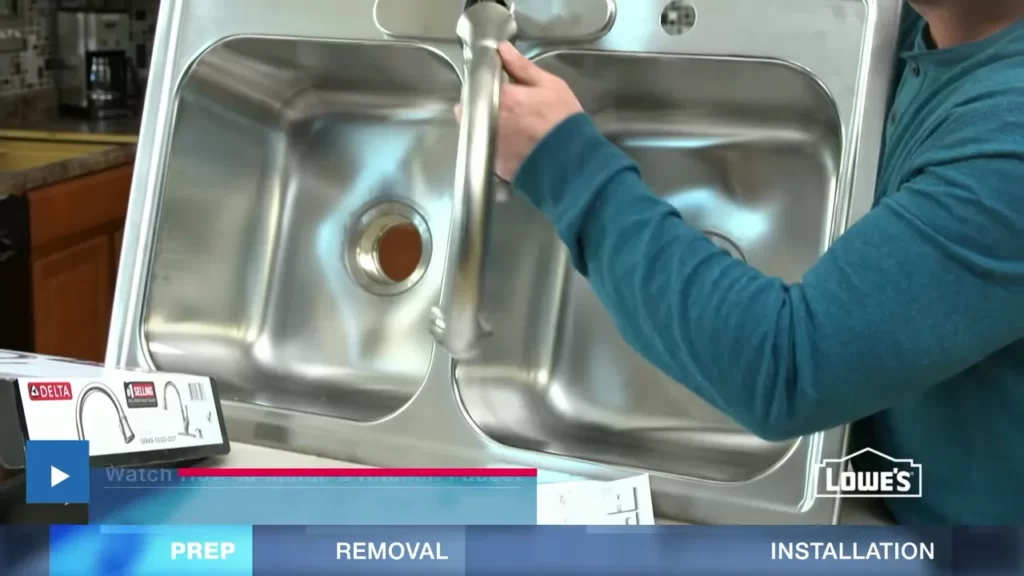
Installing the drain assembly is an essential step in connecting the drains and plumbing of your drop-in sink bathroom. Follow the instructions below to ensure proper installation:
- Step 1: Begin by applying a small amount of plumber’s putty to the underside of the drain flange. This helps create a watertight seal when the flange is installed in the sink.
- Step 2: Insert the drain flange into the drain opening on the sink. Make sure it is centered and pressing down firmly.
- Step 3: Attach the rubber gasket and mounting nut onto the threaded portion of the drain flange. Tighten the nut by hand until it is snug.
- Step 4: Using a pair of pliers, tighten the mounting nut further to ensure a secure fit. However, be careful not to overtighten, as this could cause damage to the sink.
Connecting the P-Trap and Tailpiece
Once the drain assembly is securely in place, it’s time to connect the p-trap and tailpiece. Follow these steps:
- Step 1: Attach the straight end of the p-trap assembly to the threaded portion of the tailpiece. Tighten it by hand until it is snug.
- Step 2: Connect the other end of the p-trap to the rough-in drain pipe coming out of the wall. Again, tighten it by hand.
- Step 3: Use a pair of pliers to tighten both connections further. Make sure not to overtighten to avoid damaging the pipes.
- Step 4: Check that the p-trap and tailpiece assembly align with the drain inlet and rough-in drain pipe. Make any necessary adjustments to ensure a proper fit.
Checking for Leaks and Ensuring Proper Drainage
Before completing the installation, it’s important to check for leaks and ensure proper drainage. Follow these final steps:
- Step 1: Turn on the water supply and let the sink fill partially. Inspect the connections, especially around the drain assembly and p-trap, for any signs of leakage. If you spot a leak, tighten the connection slightly until it is secure.
- Step 2: Once you’re confident there are no leaks, allow the sink to drain completely. Observe the water flow and ensure it reaches the drain smoothly without any clogs or slow drainage.
- Step 3: If you notice any issues with drainage, double-check the connections and make sure they are tightened properly. If the problem persists, consult a professional plumber for further assistance.
- Step 4: Finally, wipe down the sink and surrounding area to remove any excess putty or debris. Your drop-in sink bathroom installation is now complete, ready for use, and free from plumbing issues!
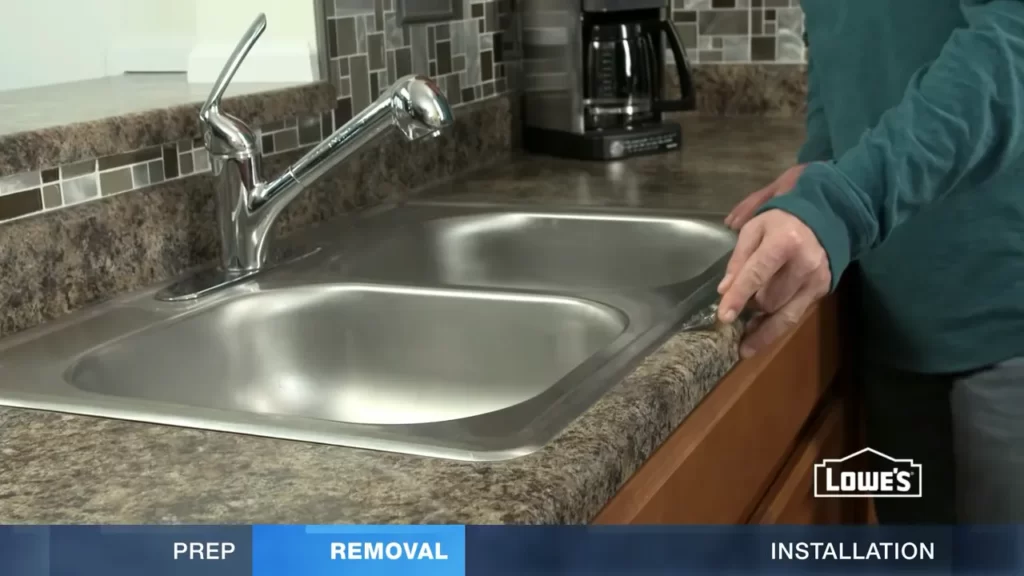
Attaching The Faucet And Supply Lines
Installing the faucet to the sink
Attaching the faucet to the sink is an important step in completing the installation of a drop-in sink in your bathroom. This process involves securely connecting the faucet to the sink, ensuring proper functionality and preventing any potential leaks. Follow these steps to properly install the faucet:
- Before you begin, gather all the necessary tools and materials, including the faucet, sink, mounting hardware, and a pipe wrench.
- Start by placing the rubber or plastic gasket onto the bottom of the faucet.
- Place the faucet into the pre-drilled holes on the sink.
- Underneath the sink, secure the faucet in place using the mounting hardware provided.
- Using a pipe wrench, tighten the nuts and bolts to ensure a secure fit.
- Make sure the faucet is centered and level on the sink to achieve a visually appealing result.
Connecting the supply lines to the faucet
Once the faucet is securely attached to the sink, the next step is to connect the supply lines. These supply lines will bring water to the faucet, allowing it to function properly. Here’s how you can connect the supply lines:
- First, ensure that the water supply valves are turned off to avoid any water leakage during the installation process.
- Connect one end of the supply lines to the hot and cold water supply valves.
- Hand-tighten the connection, and then use a wrench to give it a slight turn to ensure it is secure.
- Next, connect the other end of the supply lines to the corresponding hot and cold water inlets on the faucet.
- Again, hand-tighten the connections and use a wrench to give it a slight turn for added security.
- Take care not to overtighten, as this may damage the connections.
Checking for leaks and testing the faucet
After attaching the faucet and supply lines, it is crucial to check for any possible leaks and test the functioning of the faucet. By following these simple steps, you can ensure that the installation is successful:
- Turn on the water supply valves to allow water to flow through the faucet.
- Make sure all of the connections are tight and secure.
- Inspect the area around the connections, checking for any signs of leaks, such as drips or puddles.
- If you notice any leaks, tighten the connections further or consult a professional plumber if needed.
- Once you are confident that there are no leaks, test the faucet by turning it on and off, checking for proper water flow and functioning.
By following these steps for attaching the faucet and supply lines to your drop-in sink, you can complete the installation process with ease. Remember to double-check for any leaks and ensure the proper functionality of the faucet before considering the job complete.
Sealing And Finishing Touches
After successfully installing a drop-in sink in your bathroom, the next crucial step is to seal it properly and add those finishing touches. This ensures that your sink is securely in place, prevents any leakage, and enhances the overall aesthetic appeal. In this section, we will provide a step-by-step guide on how to apply silicone caulk around the sink rim, wiping away excess caulk and smoothing the edges, as well as cleaning the sink and countertop to complete the installation.
Applying silicone caulk around the sink rim
Applying silicone caulk around the sink rim is an essential step to create a watertight seal and secure the sink in its position. Follow these steps:
- Using a caulk gun, puncture the seal of the silicone caulk tube.
- Cut the tip of the tube at a 45-degree angle to create a small opening.
- Place the caulk tube into the caulk gun, ensuring it fits securely.
- Starting from one corner of the sink rim, steadily squeeze the trigger on the caulk gun to apply a thin and even line of caulk.
- Continue applying caulk along the entire perimeter of the sink, making sure to fill any gaps between the sink and countertop.
Wiping away excess caulk and smoothing the edges
Once the caulk has been applied, it’s important to remove any excess caulk and create a smooth finish. Follow these steps:
- Dampen a clean cloth or sponge with water.
- Gently wipe away any excess caulk surrounding the sink, being careful not to disturb the caulk line.
- For a more professional finish, use a caulk smoothing tool or your finger to smooth the edges of the caulk line. Work in a continuous motion to achieve a neat and uniform appearance.
- Wipe away any excess caulk or residue with a damp cloth or sponge.
Cleaning the sink and countertop
Before considering the installation complete, it’s crucial to thoroughly clean the sink and countertop. Follow these steps:
- Prepare a mixture of warm water and mild dish soap.
- Using a non-abrasive sponge or cloth, gently clean the sink basin, faucet, and countertop surface.
- Rinse the sink and countertop with clean water to remove any soap residue.
- Dry the sink and countertop with a soft cloth to avoid water spots or streaks.
Congratulations! You have successfully sealed and added the finishing touches to your drop-in sink installation. This final step not only ensures the longevity and functionality of your sink but also enhances the overall visual appeal of your bathroom.
Tips For A Successful Installation
Installing a drop-in sink in your bathroom is a great way to enhance the functionality and aesthetics of your space. However, to ensure a successful installation, there are a few key tips to keep in mind. By double-checking the measurements before cutting, using caution when handling the sink to avoid damage, testing for leaks and making adjustments as needed, and following the manufacturer’s instructions, you’ll be well on your way to a beautiful and functional bathroom sink.
Double-checking the measurements before cutting
One of the most important steps in installing a drop-in sink is ensuring that you have the correct measurements before cutting. Take the time to carefully measure the dimensions of both the sink and the countertop cutout. Double-check your measurements to ensure accuracy, as any discrepancies could lead to an ill-fitting sink. It’s always better to measure twice and cut once.
Using caution when handling the sink to avoid damage
When it comes to handling the sink, it’s crucial to exercise caution to avoid any damage. Drop-in sinks can be heavy and fragile, so make sure to use proper lifting techniques and enlist the help of a friend if needed. Use soft materials, such as towels or blankets, to protect the sink and countertops while moving and installing. By being gentle and mindful during the process, you can prevent any accidental chips, cracks, or scratches.
Testing for leaks and making adjustments as needed
Once the sink is installed, it’s essential to test for leaks and make any necessary adjustments. Use a bucket or a towel to catch any excess water during the testing process. Turn on the water and carefully inspect all connections and joints for any signs of leakage. If you notice any leaks, tighten the connections using adjustable wrenches as needed. It’s better to address any potential issues early on to avoid water damage or further complications down the line.
Remember to follow the manufacturer’s instructions for your specific sink model
Each drop-in sink model may have specific instructions provided by the manufacturer. It’s important to carefully read and follow these instructions to ensure a proper installation. Pay attention to any recommended tools, sealing materials, or additional steps that may be necessary for your specific sink model. By adhering to the manufacturer’s instructions, you can guarantee a successful installation that meets warranty requirements.
Seek professional help if you’re unsure about any step of the installation process
If at any point during the installation process you feel uncertain or overwhelmed, it’s always best to seek professional help. Plumbers or experienced contractors have the expertise and tools to ensure a smooth and efficient installation. Investing in professional assistance can save you time, money, and potential headaches caused by mistakes or improper installation.
Take your time and work patiently to ensure a professional-looking result
Finally, it’s crucial to work patiently and take your time during the installation process. Rushing can lead to errors and compromises in the final outcome. Take frequent breaks, especially if it’s a lengthy installation, to maintain focus and prevent fatigue. By working attentively and methodically, you can achieve a professional-looking result that you’ll be proud to showcase in your bathroom.
Frequently Asked Questions
What Holds A Drop-In Bathroom Sink In Place?
A drop-in bathroom sink is held in place by a rim that rests on the countertop. This rim creates a seal and secure fit.
How To Install A Drop-In Sink?
To install a drop-in sink, follow these steps: 1. Measure the sink and cut a hole in the countertop. 2. Apply a bead of silicone adhesive around the rim of the sink. 3. Carefully lower the sink into the hole and press down firmly.
4. Attach the mounting clips underneath the sink to hold it in place. 5. Connect the plumbing lines and check for leaks.
How Do You Seal A Drop-In Bathroom Sink?
To seal a drop-in bathroom sink, follow these steps: 1. Clean the surface around the sink’s rim with a mild soap and water. 2. Apply a thin bead of silicone adhesive caulk along the rim of the sink. 3. Carefully press the sink into place, ensuring it is level and aligned.
4. Wipe away any excess caulk using a damp cloth. 5. Allow the caulk to dry for the recommended time before using the sink.
What Kind Of Sealant Do You Use For A Sink Drop?
For sealing a sink drop, it is recommended to use a silicone-based sealant. Silicone sealant offers excellent waterproofing and flexibility to ensure a secure and durable seal for your sink.
Conclusion
Installing a drop-in sink in your bathroom is a straightforward process that can be completed with a few simple steps. By carefully following the instructions outlined in this guide, you can efficiently and effectively install your new drop-in sink. Remember to gather all the necessary tools and materials beforehand and take your time during the installation process.
With a little patience and attention to detail, you’ll have a stylish and functional drop-in sink in your bathroom in no time. Happy DIY-ing!
