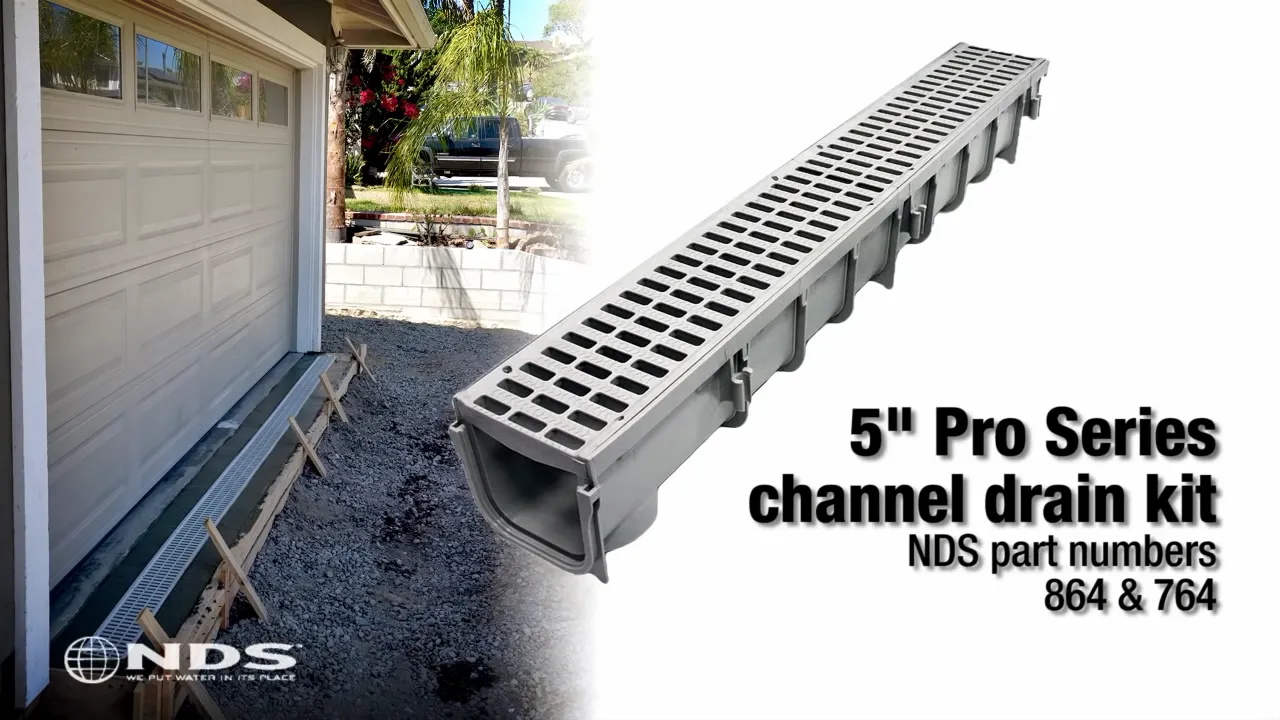
To install a driveway drain channel, dig a trench to the desired length, width, and depth. Place the drain in the trench, ensuring it is level and sloping towards the desired outlet or drainpipe.
Choosing The Right Drain Channel
Factors to Consider When Selecting a Driveway Drain Channel
When it comes to installing a driveway drain channel, choosing the right equipment is crucial for effective drainage and long-lasting performance. There are several factors you should consider before making your purchase. By considering these factors, you can ensure that you select the best drain channel for your specific needs.
Material Options and Their Advantages/Disadvantages
Drain channels are available in various materials, each with its own set of advantages and disadvantages. It is essential to understand the pros and cons of different materials to make an informed decision. Here are some popular material options:
| Material | Advantages | Disadvantages |
|---|---|---|
| Plastic |
|
|
| Concrete |
|
|
| Stainless Steel |
|
|
Load Rating and Capacity Requirements
Another important aspect to consider when selecting a driveway drain channel is the load rating and capacity requirements. The load rating refers to the maximum weight the drain channel can handle without experiencing any structural damage. It is essential to choose a drain channel that can accommodate the expected traffic load.
Additionally, you need to consider the capacity requirements based on the anticipated flow of water. Different drain channels have varying capacities, and it is crucial to select one that can effectively handle the volume of water you expect during heavy rainfall or melting snow.
By carefully considering these factors, including material options, advantages and disadvantages, as well as load rating and capacity requirements, you can make an informed decision when choosing the right driveway drain channel. Remember to assess your specific needs and consult with experts if necessary to ensure optimal drainage performance for your driveway.
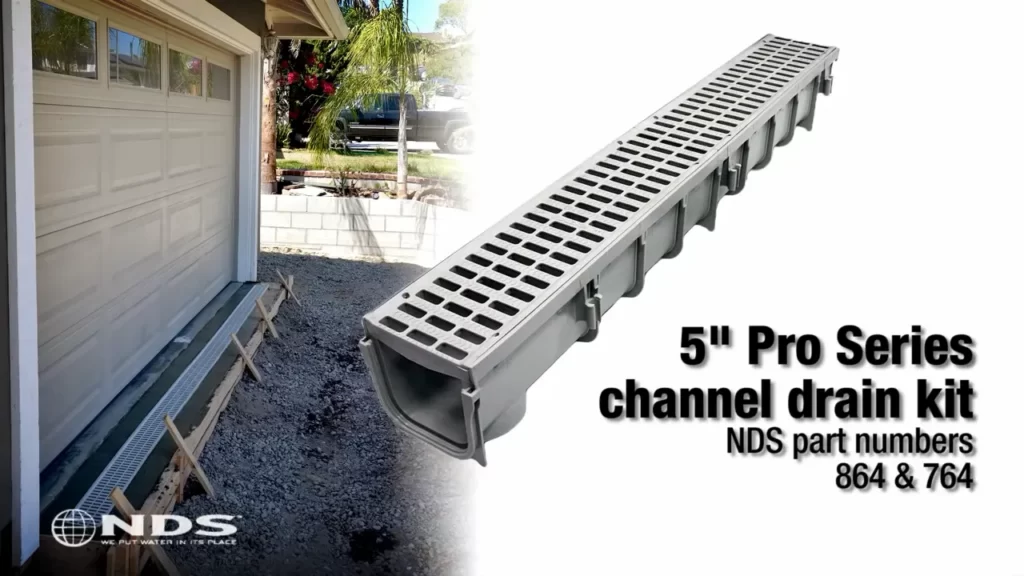
Gathering The Tools And Materials
Before you begin the installation process for your driveway drain channel, it is important to gather all the necessary tools and materials. This will ensure that you have everything you need to complete the project efficiently and effectively. In this section, we will outline the essential tools needed for the installation, along with some additional safety gear that you should have on hand.
Essential tools needed for installation
When it comes to installing a driveway drain channel, having the right tools is crucial. Here are the essential tools you will need:
- Shovel: A shovel will be needed to dig the trench for the drain channel. Make sure to choose a shovel that is sturdy and durable, as you will be using it to move a significant amount of soil.
- Level: To ensure that the drain channel is installed correctly and is sloped properly for optimal water flow, a level is essential. This tool will help you gauge the precise angle at which the channel should be positioned.
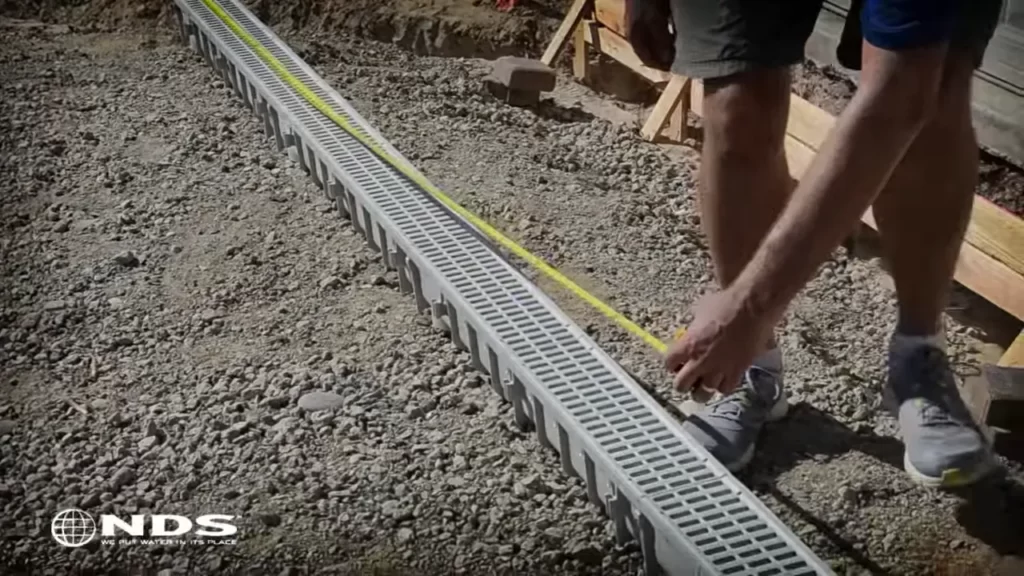
- Tape measure: Accurate measurements are key when it comes to installing a driveway drain channel. A tape measure will allow you to determine the length and width of the trench, as well as ensure that the channel is centered properly.
Safety goggles and gloves
Safety should always be a priority when undertaking any home improvement project. When installing a driveway drain channel, it is important to protect your eyes and hands. Safety goggles will shield your eyes from flying debris or debris while digging the trench, and gloves will keep your hands safe from sharp edges and potential injuries caused by handling tools.
By having all the necessary tools and safety gear on hand, you will be well-prepared to install your driveway drain channel. Now that you’ve gathered everything you need, it’s time to move on to the next step: Digging the Trench.
Preparing The Driveway For Installation
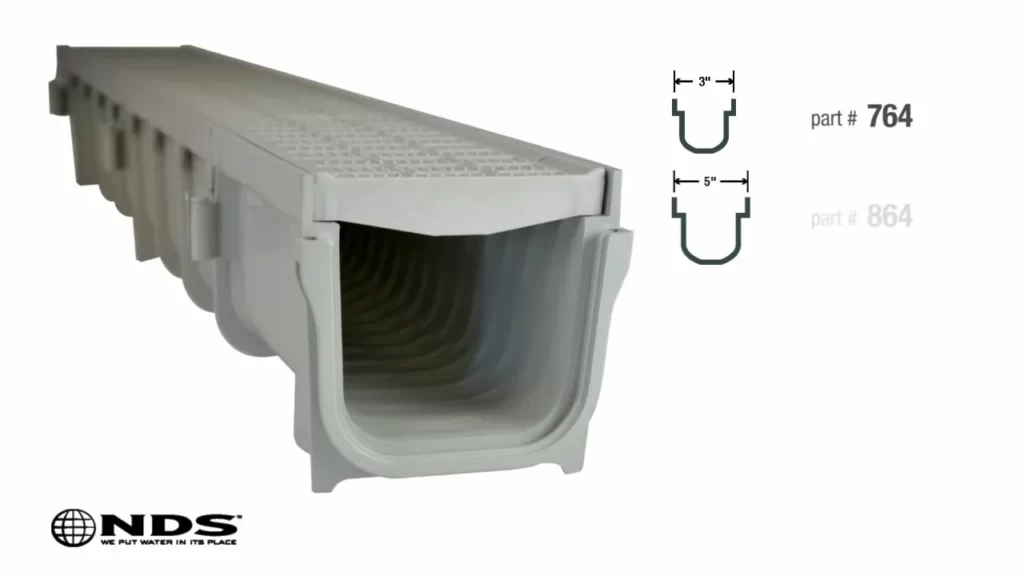
Preparing the driveway for the installation of a drain channel is a crucial step in ensuring proper water drainage and preventing water pooling. By carefully assessing the installation area, identifying the best location for the drain channel, ensuring the proper slope for drainage, marking and excavating the trench, and determining the trench dimensions, you can ensure a successful and effective installation. In this section, we will guide you through each step of preparing the driveway for the installation of a drain channel. Let’s get started!
Assessing the installation area
The first step in preparing the driveway for installing a drain channel is to assess the installation area. Take a close look at your driveway to identify any low-lying areas where water might accumulate or areas where water flows towards your house or garage. By pinpointing these problematic areas, you can plan the best location for your drain channel.
Identifying the best location for the drain channel
Once you have assessed the installation area, it’s time to identify the best location for the drain channel. It’s essential to choose a location that allows proper water flow and doesn’t interfere with any existing structures or utilities. Look for a spot that allows for easy access during installation and future maintenance if needed.
Ensuring proper slope for drainage
To ensure proper water drainage, it is crucial to make sure that the drain channel has the right slope. The recommended slope for a driveway drain channel is typically 1/4 inch per foot, ensuring that water flows towards the drain instead of pooling or creating puddles. Measure the length of the proposed trench and calculate the required slope accordingly.
Marking and excavating the trench
With the location and slope determined, it’s time to mark and excavate the trench. Start by marking the edges of the trench using spray paint or markers. Then, using a shovel or trenching tool, carefully excavate the marked area, ensuring the trench is wide and deep enough to accommodate the drain channel and allow proper water flow.
Determining the trench dimensions
Before proceeding further, it is essential to determine the trench dimensions. Measure the width and depth of the drain channel you will be installing and adjust the trench dimensions accordingly, allowing extra space for any needed bedding material or gravel.
Removing any obstructions or obstacles
Prior to installing the drain channel, it’s crucial to remove any obstructions or obstacles from the trench. This includes rocks, roots, or any other debris that may interfere with the proper functioning of the drain channel. Clear the trench of any hindrances to ensure a smooth installation process.
By following these steps in preparing your driveway for the installation of a drain channel, you are setting the foundation for efficient water drainage and preventing potential damage or hazards. In the next section, we will guide you through the installation process of the drain channel itself.
Installing The Drain Channel
Proper installation of a driveway drain channel is crucial in preventing water accumulation and potential damage. In this section, we will guide you through each step of the installation process to ensure a successful and functional outcome.
Laying the foundation
The first step in installing a driveway drain channel is to prepare the foundation. This involves excavating a trench along the length of the desired drainage path. The trench should be wide enough and deep enough to accommodate the drain channel and provide proper drainage. It’s important to ensure that the trench has a slight slope that directs water away from the surface.
Adding gravel for proper drainage
Once the trench is excavated, it’s recommended to add a layer of gravel to the bottom. This will improve drainage by allowing water to filter through the gravel and into the drain channel. Make sure the layer of gravel is evenly spread and levelled.
Tamping down the foundation to ensure stability
To create a stable foundation for the drain channel, it’s essential to tamp down the gravel layer. This can be done using a hand tamper or a compacting machine. Tamping ensures that the foundation is solid, preventing any shifting or movement of the drain channel once it’s installed.
Placing the drain channel
Now it’s time to place the drain channel in the trench. Carefully position the channel in the center of the trench, ensuring that it follows the slope of the driveway. Aligning the channel properly is crucial for optimal water flow and drainage.
Ensuring proper fit and alignment
Before securing the drain channel, check if it fits snugly in the trench. Make any necessary adjustments to ensure a proper fit. Additionally, verify that the channel is aligned correctly with the trench and the slope of the driveway. This step is crucial for the efficient functioning of the drain system.
Connecting the drain channel components
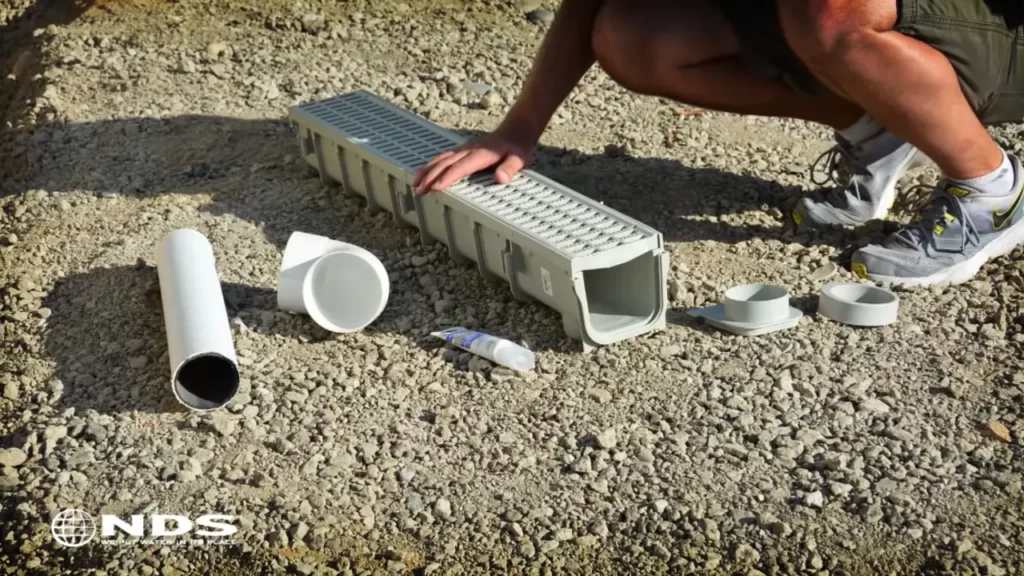
The drain channel typically consists of multiple sections that need to be connected. Follow the manufacturer’s instructions to connect the components securely. Ensure that the connections are tight to prevent any leaks or gaps that could compromise the drain channel’s effectiveness.
Joining multiple sections of the drain channel
If you require a longer drain channel, you may need to join multiple sections together. Align the sections carefully, ensuring a seamless connection. Securely attach them using the provided connectors or couplings. Double-check that the joint is watertight to avoid any potential leaks.
Securing the connections to prevent leaks
Once the drain channel components are connected, it’s important to secure the connections properly. This can be done using screws or fasteners provided by the manufacturer. Make sure each connection is tight and secure to prevent any water leakage or separation of the sections.
Testing the drain channel
Before finalizing the installation, it’s recommended to test the drain channel to ensure proper functionality. Pour water into the channel and observe the water flow. Verify that water is effectively draining away from the surface and into the channel. Adjust the slope or alignment if necessary to achieve optimal drainage.
Pouring water to check for proper drainage
With the drain channel in place, pour a significant amount of water into the trench to check for proper drainage. This test will reveal any potential issues and allow you to address them promptly. By ensuring proper drainage, you can prevent water accumulation and potential damage to your driveway or surrounding areas.
By following these steps, you can confidently install a drain channel in your driveway, providing effective drainage and protecting your property from water-related issues.
Backfilling And Finishing Touches
Once you have successfully installed the driveway drain channel and connected the pipes, it’s time to focus on backfilling the trench and adding the finishing touches. This crucial step will ensure that your drain channel is securely in place and ready to effectively drain excess water from your driveway.
Backfilling the trench
The first step in the backfilling process is to fill the trench around the drain channel with soil. This will provide stability and support for the channel, preventing it from shifting or collapsing over time. Make sure to use soil that is free from large rocks or debris, as this can cause damage to the channel or hinder proper drainage.
Adding soil and compacting it around the drain channel
After backfilling the trench, it’s important to add more soil around the drain channel and compact it firmly. This helps to create a solid foundation and ensures that the channel remains level and stable. Use a hand tamper or a compactor to firmly pack the soil, paying attention to any areas that may be uneven or loose.
Ensuring proper drainage gradient
To ensure effective drainage, it’s crucial to maintain a proper gradient along the length of the drain channel. This gradient should slope away from your driveway and towards an appropriate drainage outlet. Use a level or a measuring tape to check the slope, making any necessary adjustments by adding or removing soil as needed.
Securing the drain channel
Once the backfilling and soil compacting are complete, it’s time to secure the drain channel in place. Use metal or plastic stakes to secure the channel to the surrounding soil. This will keep it firmly in place and prevent it from shifting or moving over time.
Installing grates or covers for safety and aesthetics
To enhance safety and aesthetics, it’s important to install grates or covers over the drain channel. These accessories prevent debris, leaves, and other objects from entering the channel, ensuring its proper functioning. Choose grates or covers that are compatible with your drain channel and follow the manufacturer’s instructions for installation.
Cleaning up and maintaining the drain channel
After completing the installation process, take some time to clean up any excess debris or soil that may have accumulated around the drain channel. This will help to maintain its performance and prevent any clogs or blockages. Regular maintenance is also important to ensure the long-lasting performance of the drain channel.
Regular maintenance tips for long-lasting performance
Here are some tips for maintaining your driveway drain channel:
- Regularly inspect the drain channel for any signs of damage or blockages, and remove any debris or leaves that may accumulate on the grates or covers.
- If you notice any cracks or breaks in the drain channel, repair or replace it as soon as possible to prevent further damage.
- During heavy rain or storms, monitor the drainage performance of the channel and ensure that water is flowing freely without any obstructions.
- Consider using a hose or pressure washer to clean the drain channel periodically, removing any dirt or sediment that may accumulate over time.
- If necessary, consult a professional to perform a thorough maintenance check and ensure that your drain channel is functioning optimally.
By following these simple steps and regularly maintaining your driveway drain channel, you can ensure that it continues to perform effectively, protecting your driveway from excess water and enhancing the overall safety and aesthetics of your property.
Frequently Asked Questions
Do Channel Drains Need To Be Cemented?
No, channel drains do not need to be cemented. They can be installed using different methods and materials, such as plastic channels and grates, which do not require cement.
How Do I Channel Water Away From My Driveway?
To channel water away from your driveway, consider installing a trench drain or a French drain system. These systems collect and divert water, preventing it from pooling on your driveway. Additionally, you can redirect downspouts and add landscaping features like grading and swales to promote proper drainage.
How Do You Install Channel Drainage?
To install channel drainage, follow these steps: 1. Begin by selecting the appropriate location for the drain and mark it. 2. Dig a trench along the marked path, ensuring it has a slight downward slope to promote water flow. 3.
Place the channel drain in the trench, making sure it sits level and secure. 4. Connect the drain to the existing drainage system or an outlet pipe. 5. Backfill the trench with the appropriate material, compact it, and ensure proper drainage.
Can You Install A Channel Drain In Existing Concrete?
Yes, it is possible to install a channel drain in existing concrete.
Conclusion
Installing a driveway drain channel doesn’t have to be a daunting task. By following the steps outlined you can easily and effectively install a driveway drain channel to prevent water pooling and potential damage. Remember to choose the right materials, plan your installation carefully, and ensure proper drainage.
With these tips in mind, you can enjoy a water-free and durable driveway for years to come. Happy installing!
