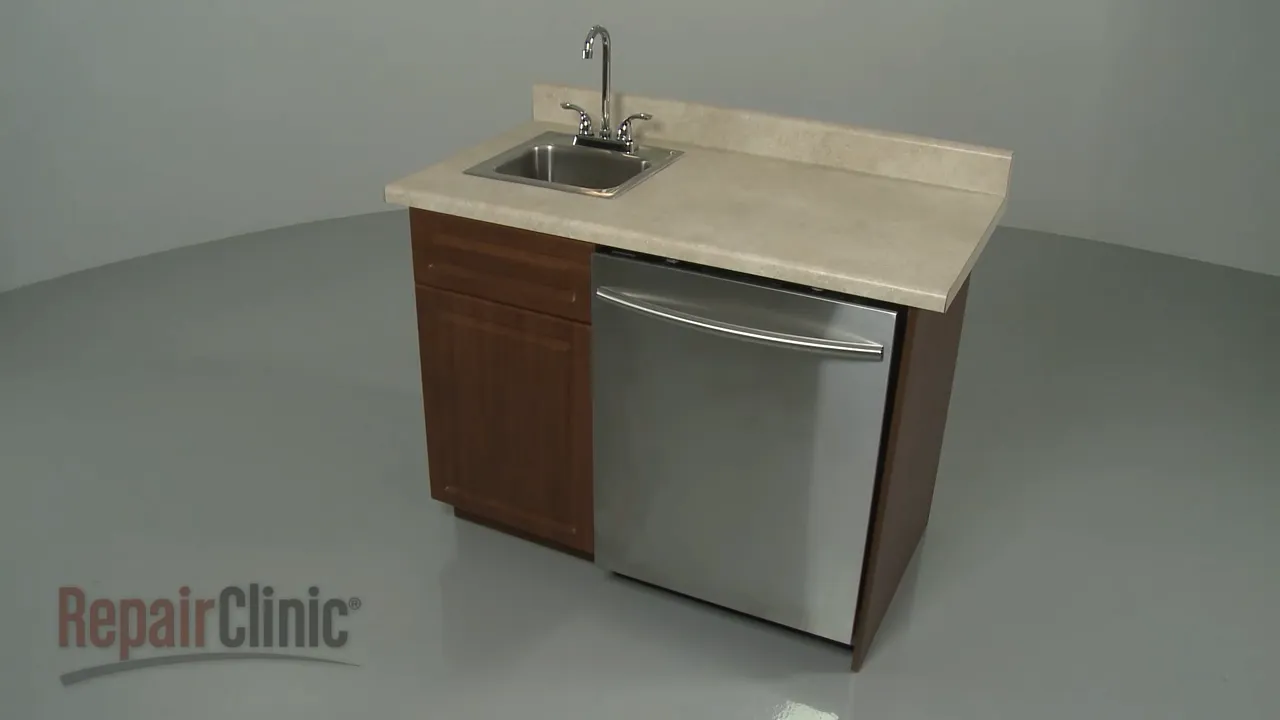
To install a drain for a dishwasher, connect the drain hose to the dishwasher’s drain outlet and secure it with a hose clamp, then connect the other end of the hose to the sink’s drain pipe using a T-fitting and a hose clamp. Installing a drain for a dishwasher is a straightforward process.
By following a few simple steps, you can ensure that the dishwasher functions properly and efficiently. In this guide, we will outline the steps to install a drain for a dishwasher. By connecting the drain hose to the dishwasher’s drain outlet and securing it with a hose clamp, you can then connect the other end of the hose to the sink’s drain pipe using a T-fitting and another hose clamp.
This setup allows the dishwasher to efficiently drain water without any leaks or blockages. Follow these steps to successfully install a drain for your dishwasher.
Gathering The Necessary Tools And Materials
Before you start installing a drain for your dishwasher, it’s important to gather all the necessary tools and materials. This will not only ensure a smooth and hassle-free installation process but also save you from making multiple trips to the hardware store. In this section, we will provide you with a helpful checklist of tools and materials needed, as well as an overview of different types of dishwashers and their drain requirements. Let’s dive in!
Checklist of tools and materials needed
To install a drain for your dishwasher, make sure you have the following tools and materials at hand:
- Adjustable wrench
- Plumber’s tape
- Drain hose
- Hose clamp
- Teflon tape
- Pliers
- Screwdriver
- Bucket for water drainage
- Level
- Measuring tape
- Angled fitting
- Plastic tubing
- Utility knife
- Drain saddle
- Wire cutters
- Sealant
- Bucket for water collection during testing
Types of dishwashers and their drain requirements
Dishwashers come in different types, such as freestanding, built-in, and portable. Each type has its own drain requirements. Here’s a quick overview:
| Type of Dishwasher | Drain Requirements |
|---|---|
| Freestanding Dishwasher | Requires a drain connection to a sink drain or a dedicated floor drain. |
| Built-in Dishwasher | Requires a drain connection to a sink drain or a dedicated floor drain. Additionally, it may require a high loop installation or an air gap for backflow prevention. |
| Portable Dishwasher | Requires a drain connection to a sink drain. It comes with a flexible hose that easily attaches to a faucet or faucet adapter. |
How to measure and plan for the installation
Now that you have gathered your tools and are aware of the drain requirements for different types of dishwashers, it’s essential to measure and plan for the installation. Here are the steps to follow:
- Measure the distance between your dishwasher and the drain connection to determine the length of the drain hose you will need.
- Take note of any obstructions in the path of the drain hose, such as cabinets or pipes, and plan accordingly for routing the hose.
- Check the height of the drain connection and ensure that it is within the maximum height limit specified by your dishwasher’s manufacturer.
- Plan for the location of the air gap device or high loop installation if required by your built-in dishwasher.
- Consider the location of the power outlet for your dishwasher and ensure that it is easily accessible.
By measuring and planning ahead, you can ensure that your dishwasher drain installation is successful and efficient. In the next section, we will walk you through the steps of installing the drain for your dishwasher. Stay tuned!
Preparing The Area For Installation
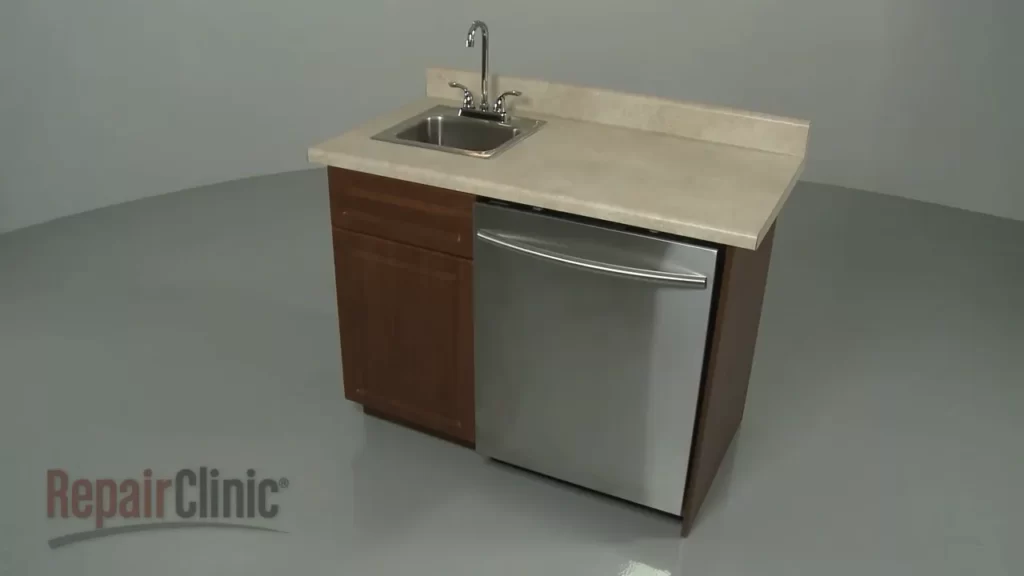
Before installing a drain for your dishwasher, it’s important to properly prepare the area to ensure a smooth and successful installation. This involves clearing out the space under the sink, shutting off the water supply, disconnecting existing plumbing, and inspecting and cleaning the drain hose and filter.
Clearing out the space under the sink
First things first, make sure you have enough space under the sink for the dishwasher drain. Clear out any items that may be blocking the area, such as cleaning supplies, pipes, or other belongings. This will make it easier to access and install the drain when the time comes.
Shutting off the water supply and disconnecting existing plumbing
Before starting any work, it’s important to shut off the water supply to the sink. Look for the shut-off valve typically located under the sink or in a nearby cabinet. Turn the valve clockwise until it is fully closed to stop the flow of water.
Once the water supply has been shut off, you can proceed to disconnect the existing plumbing. This may involve unscrewing pipes or removing fittings. Remember to have a bucket or container ready to catch any water that may spill out during the disconnection process.
Inspecting and cleaning the drain hose and filter
Before connecting the drain hose, take a moment to inspect it for any kinks, clogs, or damage. This will help ensure proper drainage and prevent potential issues down the line. If you notice any issues, it may be necessary to replace the drain hose before installing the dishwasher drain.
Additionally, check the drain filter for debris or blockages. A dirty or clogged filter can hinder the flow of water and impact the efficiency of your dishwasher. Clean the filter thoroughly, removing any food particles or buildup.
By following these steps to prepare the area for installation, you’ll lay the groundwork for a successful dishwasher drain installation. Make sure to take your time, double-check each step, and consult the manufacturer’s instructions for any specific requirements or guidelines.
Installing The Dishwasher Drain
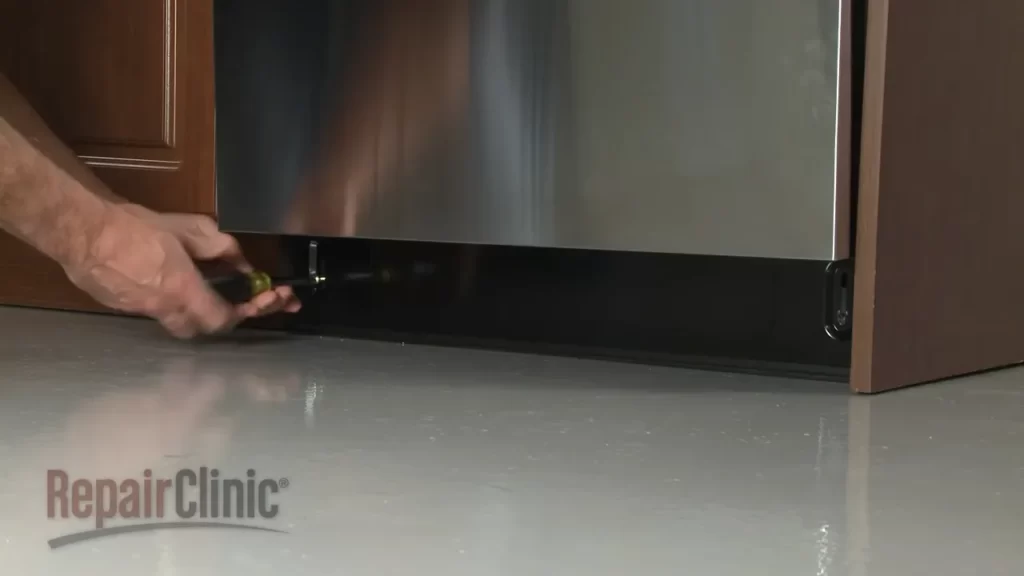
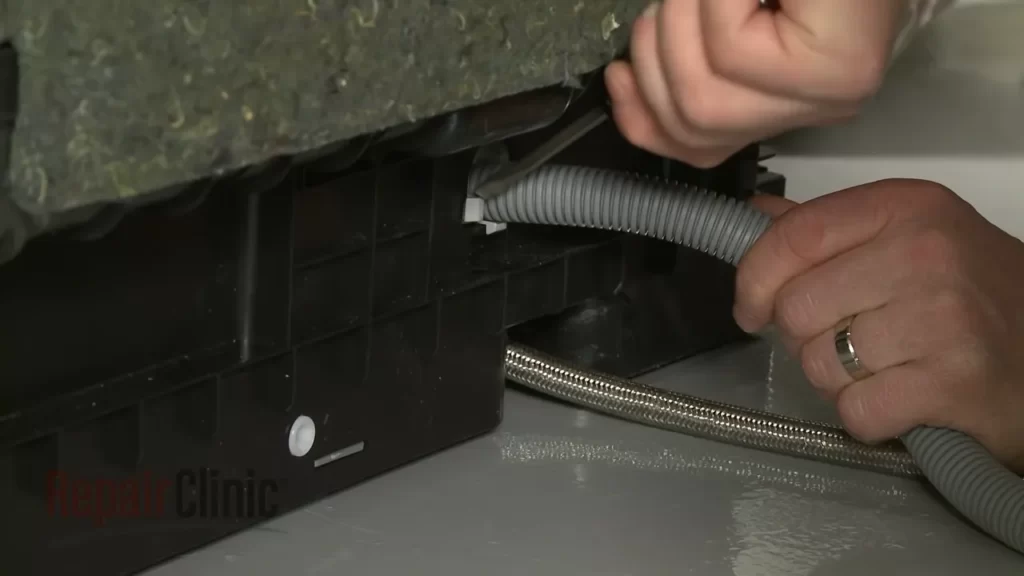
Installing the dishwasher drain is a crucial step in the process of setting up your dishwasher. The drain is responsible for carrying away the dirty water from the dishwasher, ensuring that it doesn’t accumulate and cause any damage. In this section, we will guide you through the steps of connecting the drain hose to the dishwasher, securing it to the underside of the sink, and ensuring proper alignment and tight connections. Let’s get started!
Connecting the drain hose to the dishwasher
Firstly, make sure you have the necessary tools and materials before beginning the installation. These may include a screwdriver, hose clamps, and a drain hose that matches your dishwasher model. With everything prepared, follow these steps:
- Locate the drain outlet at the back or bottom of the dishwasher. It should be clearly marked.
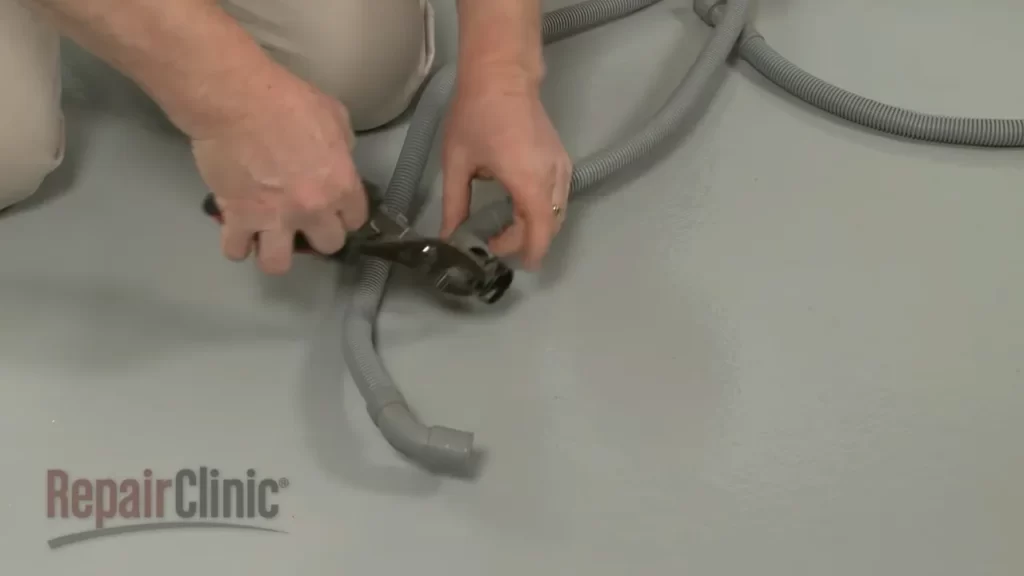
- Attach one end of the drain hose to the drain outlet securely. Ensure it is tightly fastened to prevent any leaks.
- If your dishwasher comes with a disposal unit, make sure to remove the knockout plug from the disposal inlet. This will ensure proper drainage.
- Once the drain hose is attached, check for any kinks or obstructions. Straighten the hose if needed, ensuring a smooth and unobstructed flow of water.
Securing the drain hose to the underside of the sink
After connecting the drain hose to the dishwasher, the next step is to secure it to the underside of the sink to prevent it from hanging loose or getting in the way. Follow these steps to securely fasten the drain hose:
- Identify the location where the drain hose will pass through the cabinet or the wall.
- Use a hose clamp to secure the drain hose at this location. This will ensure it stays in place during the dishwasher operation.
- Make sure the hose clamp is tightened enough to prevent any movement, but not so tight that it damages the hose or restricts water flow.
Ensuring proper alignment and tight connections
Lastly, it is essential to ensure that all connections are properly aligned and tightly secured to prevent any leaks or water damage. Follow these steps to ensure a secure and leak-free drain installation:
- Inspect all connections, including the drain hose to the dishwasher, the hose clamp at the sink, and any other junctions along the drain line.
- If you notice any loose connections, tighten them using a screwdriver or the appropriate tool.
- Check for any signs of leaks, such as water dripping or pooling around the connections. If you identify a leak, tighten the connection further or replace any damaged parts.
- Run a test cycle on your dishwasher to check if the drain functions properly. Keep an eye out for any leaks or blockages during this process.
By following these steps and ensuring proper alignment and tight connections, you can install the dishwasher drain effectively and minimize the risk of any issues in the future.
Testing And Troubleshooting
Running a test cycle to check for leaks and proper draining
After successfully installing the drain for your dishwasher, it’s crucial to perform a test cycle to ensure everything is working properly. Running a test cycle allows you to identify any leaks and verify if the dishwasher is draining correctly. Here is a step-by-step guide:
- Begin by making sure the dishwasher is empty and there are no dishes left inside.
- Connect the dishwasher to the power supply and water source.
- Turn on the dishwasher and select a regular wash cycle.
- Observe the dishwasher during the wash cycle to check for any leakages.
- Inspect the drain hose and connections for any signs of leakage.
- Ensure that the water is draining smoothly without any obstructions.
- If you notice any leaks or draining issues, turn off the dishwasher and proceed to the troubleshooting section below.
Troubleshooting common installation issues and solutions
If you encounter any problems during the test cycle, here are some common installation issues you might face and their possible solutions:
| Issue | Solution |
|---|---|
| Leaking drain hose connection | Tighten the hose connection or replace the faulty hose. |
| Drain hose kinking | Ensure that the drain hose is not twisted or bent. Straighten it out if necessary. |
| Clogged drain hose | Carefully remove the drain hose and check for any blockages. Clear out any debris obstructing the flow of water. |
| Improper drain loop installation | Reposition the drain loop to create a high point. This prevents the backflow of water into the dishwasher. |
By troubleshooting these common installation issues, you can ensure that your dishwasher operates smoothly and without any problems.
Reconnecting the plumbing and testing again
Once you have addressed any issues identified during the test cycle, it’s time to reconnect the plumbing and retest the dishwasher. This final step ensures that your dishwasher is fully functional and ready for use.
- Ensure all connections are secure and tightened.
- Reconnect the drain hose to the dishwasher and the plumbing system.
- Double-check that the drainage is unobstructed.
- Run another test cycle to verify that the dishwasher is draining properly and there are no leaks present.
Once you have completed these steps, your dishwasher should be installed and tested successfully, ensuring efficient drainage and a leak-free operation.
Maintaining And Optimizing Dishwasher Drainage
A properly functioning drain is essential for a dishwasher to efficiently clean your dishes. Without proper maintenance, food particles and debris can clog the drain, leading to poor performance and unpleasant odors. In this section, we will explore some important tips and strategies to maintain and optimize your dishwasher’s drain.
Regular Cleaning and Maintenance Tips for the Drain and Filter
Regular cleaning and maintenance of the dishwasher drain and filter are crucial for proper drainage and efficient performance. Here are some simple yet effective tips to keep your dishwasher’s drain system in top shape:
- Remove any visible food particles: Before running a cleaning cycle, make sure to clear away any large food particles that may have accumulated in the dishwasher. This will prevent them from clogging the drain.
- Clean the filter: The filter plays a vital role in trapping food particles and debris. Over time, it can become clogged and affect the dishwasher’s drainage. Regularly remove the filter and clean it thoroughly. Refer to your dishwasher’s manual for specific instructions on how to remove and clean the filter.
- Check and clean the drain hose: The drain hose is the pathway through which water and debris flow out of the dishwasher. Ensure that it is free from any kinks or clogs. If you notice any obstructions, carefully remove them using a soft brush or pipe cleaner.
- Use a dishwasher cleaner: Periodically running a dishwasher cleaner can help remove built-up residue, lime scale, and grease from the drain pipes, promoting proper drainage. Follow the instructions on the cleaner’s packaging for the best results.
Optimizing the Dishwasher’s Drain Performance
Maximizing your dishwasher’s drain performance starts with ensuring that it is installed correctly. Here are a few tips to optimize its drainage:
- Position the drain hose properly: The drain hose should be positioned to ensure that it isn’t kinked or twisted. This will allow for smooth water flow and prevent any blockages.
- Ensure a proper drain slope: The dishwasher drain hose should have a slight slope downwards to facilitate the flow of water and debris. Check the drain hose’s positioning to ensure it meets this requirement.
- Secure the drain hose: Secure the drain hose in place using clamps or zip ties to prevent it from shifting or disconnecting during operation. This will maintain a steady flow of water and prevent leaks.
Addressing and Preventing Common Drainage Problems
Even with regular maintenance, drainage problems can occur. Here are a few common issues you may encounter:
| Problem | Solution |
|---|---|
| Slow drainage or standing water | Check for clogs in the drain hose and clean the filter. Ensure the drain hose isn’t damaged or bent. |
| Unpleasant odors | Run a cleaning cycle with dishwasher cleaner. Clean the filter and remove any food particles from the dishwasher. |
| Leaks | Inspect the drain hose for any cracks or damage. Replace the hose if necessary. Ensure the hose is properly secured and connected. |
By addressing these common drainage problems promptly and following the maintenance tips outlined above, you can ensure that your dishwasher continues to operate efficiently, providing you with sparkling clean dishes every time.
Ensuring Safety And Compliance
When it comes to installing a drain for your dishwasher, it’s crucial to prioritize safety and compliance. Not only will this help avoid any potential hazards, but it will also ensure that your installation meets the standards set by local building codes and regulations. In this article, we’ll explore the key elements you need to consider when it comes to safety, compliance, and reaching out to professionals when needed.
Adhering to Local Building Codes and Regulations
Before you start installing a drain for your dishwasher, it’s important to familiarize yourself with the local building codes and regulations. These codes are put in place to ensure the safety and functionality of your plumbing system. Make sure to research and understand the specific requirements in your area regarding drain size, materials, and installation techniques.
Here’s a breakdown of essential aspects that you should consider:
| Building Code Elements | Description |
|---|---|
| Drain Size | Determine the appropriate size of the drain pipe as per the local regulations. This typically ensures proper flow and prevents clogs. |
| Materials | Ensure you use approved materials, such as PVC or ABS, to construct the drain pipe. This guarantees durability and longevity. |
| Air Gap | Some regions require an air gap between the dishwasher and the drain. This prevents any contaminated water from flowing back into the dishwasher. |
Safety Precautions to Take During Installation
When it comes to installing the drain for your dishwasher, it’s crucial to prioritize safety precautions. By following these precautions, you can minimize the risk of accidents and ensure a successful and safe installation process:
- Wear protective gloves and goggles to protect yourself from any potential hazards like sharp edges or chemical exposure.
- Turn off the water supply and disconnect the power to the dishwasher before starting any installation work.
- Follow the manufacturer’s instructions for the specific dishwasher model you’re installing. This ensures proper alignment and connection of the drain pipe.
- Double-check all connections and make sure they are secure and leak-free before testing the dishwasher.
When to Consult a Professional for Assistance
While installing a drain for your dishwasher can be a DIY project, there are instances when it’s best to consult a professional plumber. Consider reaching out to a professional if:
- You’re unsure about local building codes and regulations in your area.
- You’re dealing with complex plumbing systems or require extensive modifications.
- You’re facing challenging installation circumstances, such as limited space or unconventional layouts.
- You prefer the assurance of a professional’s expertise, ensuring a safe and compliant installation.
By adhering to local building codes, practicing safety precautions, and knowing when to seek professional assistance, you can ensure a safe and compliant installation of the drain for your dishwasher.
Frequently Asked Questions
What Is The Proper Way To Install A Dishwasher Drain Hose?
To install a dishwasher drain hose correctly, follow these steps: 1. Attach one end of the hose to the dishwasher’s drain outlet. 2. Connect the other end to the drain pipe or disposal unit. 3. Ensure a secure fit by using hose clamps or zip ties.
4. Make sure the hose is elevated above the drain point to prevent backflow. 5. Test for leaks before using the dishwasher.
Can A Dishwasher Drain Directly Into Waste Line?
Yes, a dishwasher can drain directly into a waste line.
Where Does Dishwasher Drain Connect To?
The dishwasher drain typically connects to the kitchen sink drain or garbage disposal.
Should Dishwasher Drain Go Before Or After Sink Trap?
The dishwasher drain should go after the sink trap.
Conclusion
To sum up, installing a drain for your dishwasher doesn’t have to be a daunting task. By following the step-by-step guide outlined in this blog post, you can confidently set up a reliable and efficient drainage system for your appliance.
Remember to consult the manufacturer’s instructions and ensure proper connection to the plumbing system. With a properly installed drain, you can enjoy the convenience of a functioning dishwasher without any worries.
