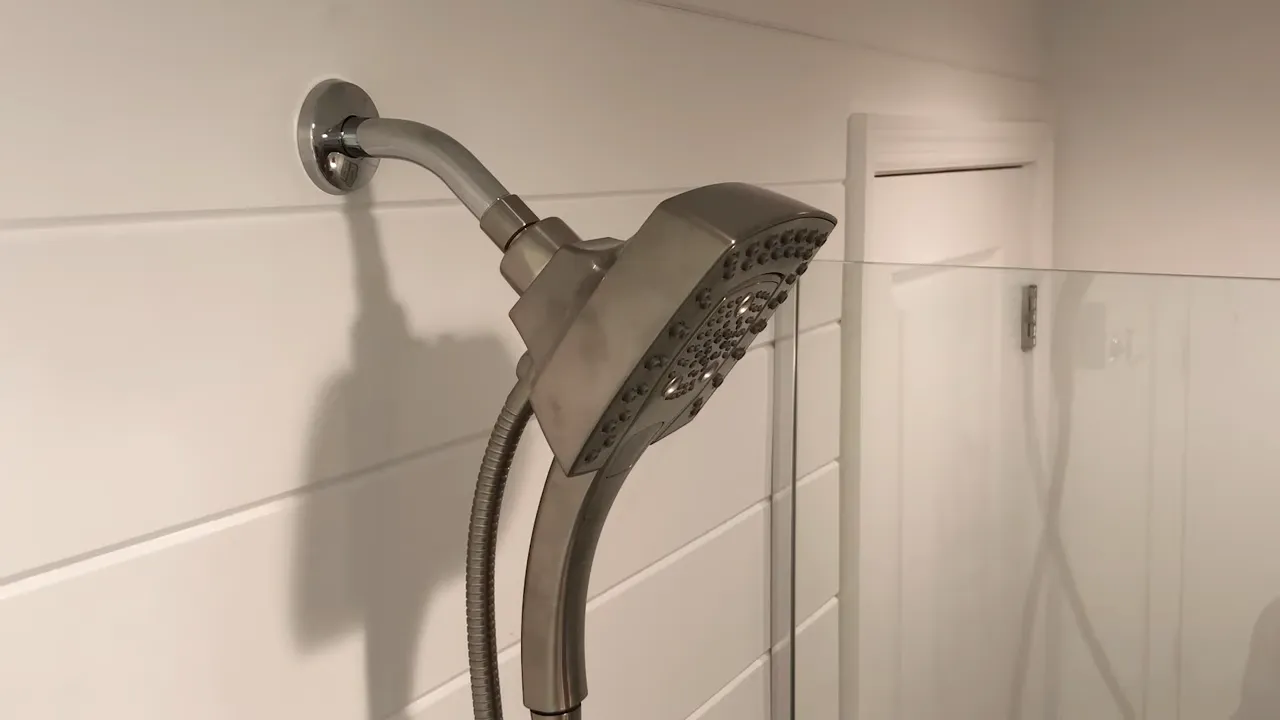
To install a Delta shower head, start by removing the existing shower head by turning it counterclockwise. Then, wrap thread seal tape around the threaded pipe, ensuring a tight seal.
Finally, screw on the new Delta shower head, turning it clockwise until it is securely in place. Welcome to our guide on how to install a Delta shower head. If you’re looking for a simple and straightforward process to upgrade your shower, you’re in the right place.
In this guide, we will walk you through the step-by-step instructions on how to properly install a Delta shower head, so you can enjoy a refreshing and invigorating shower experience. With just a few simple tools and a couple of minutes of your time, you’ll have your new shower head installed and ready to use. So let’s get started!
Gather The Necessary Tools And Materials
Before you begin the installation process of your Delta shower head, it is important to gather all the necessary tools and materials. This will ensure a smooth and hassle-free experience, saving you time and effort. By having everything ready beforehand, you can complete the installation process seamlessly and enjoy your new shower head in no time.
Determine the tools needed for the installation process
First, let’s determine the tools you will need for the installation of your Delta shower head. Make sure you have the following tools ready:
- Adjustable wrench
- Plumber’s tape
- Pliers
- Screwdriver (Flathead or Phillips, depending on the shower head model)
Having these tools at hand will ensure that you are well-equipped to handle any step of the installation process. Remember, it’s always better to be prepared than to realize halfway through that you don’t have the necessary tools.
Gather all the materials required for installing the Delta shower head
Aside from the tools, it is equally important to gather all the materials required for installing your Delta shower head. Here’s a list of materials you will need:
- Delta shower head
- Shower arm
(Note: Some Delta shower heads come with a shower arm attached, while others require a separate shower arm) - Plumber’s tape (also known as Teflon tape)
Once again, having all the necessary materials within reach will prevent any unnecessary delays during the installation process. It’s always a good idea to double-check and ensure you have everything before you start.
By adhering to HTML syntax and properly structuring the headings, you can easily navigate through this section of the blog post. Remember, gathering the necessary tools and materials is a crucial first step towards successfully installing your Delta shower head.
Prepare The Shower Area
Before you begin installing your new Delta shower head, it’s important to properly prepare the shower area. Following a few simple steps will help ensure a smooth installation process and the best possible performance from your new shower head.
Turn off the water supply to the shower
The first step is to turn off the water supply to the shower. This can usually be done by locating the shut-off valve near the shower area and turning it clockwise until it’s fully closed. This will prevent any accidental water leakage during the installation process.
Remove the existing shower head
Next, you’ll need to remove the existing shower head. Use an adjustable wrench or a pair of pliers to unscrew the shower head counterclockwise. Be sure to hold onto the shower arm with your other hand to prevent any damage.
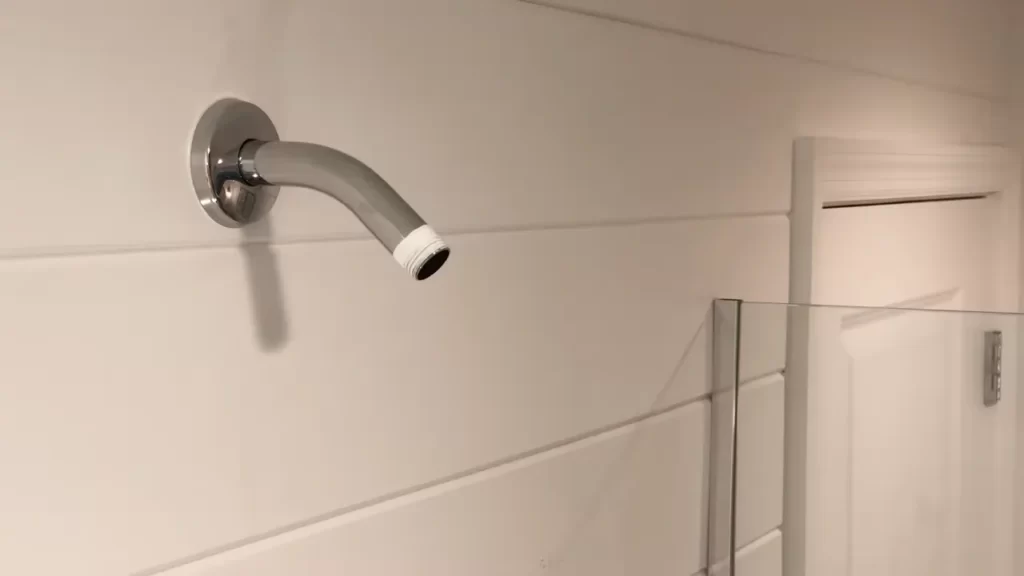
Clean the shower arm and remove any debris or old tape
Once the old shower head is removed, it’s important to clean the shower arm and remove any debris or old plumber’s tape. This can be done by wiping the shower arm with a clean cloth or using a small brush to scrub away any buildup. Ensure that the shower arm is completely clean and free from any obstructions.
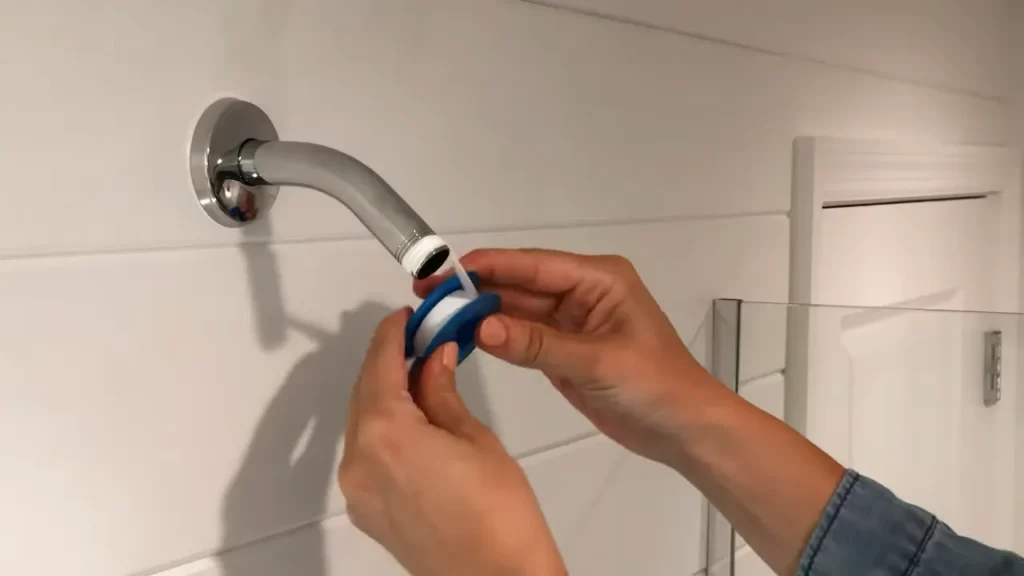
Apply fresh plumber’s tape to the shower arm threads
Before installing the new Delta shower head, you’ll want to apply fresh plumber’s tape to the shower arm threads. This will help create a watertight seal and prevent any leaks. Start by wrapping the plumber’s tape clockwise around the threads of the shower arm. Make sure to cover all the threads and avoid overlapping the tape. Once the tape is applied, press it firmly to ensure it adheres properly.
Following these steps will help you prepare the shower area for the installation of your new Delta shower head. Taking the time to properly prepare and clean the shower arm will ensure a seamless installation and the best performance from your new shower head. Now that the shower area is ready, you can proceed with the installation process and enjoy the enhanced shower experience that comes with your new Delta shower head!
Install The Delta Shower Head
Installing a Delta Shower Head is a simple and straightforward process that can be completed in just a few easy steps. Whether you’re replacing an old shower head or installing a new one, this guide will walk you through the process. Follow these steps to ensure a secure and leak-free installation.
Attach the shower arm diverter (if applicable)
If you have a shower arm diverter, you’ll need to attach it before installing the Delta shower head. The shower arm diverter allows you to switch between a fixed shower head and a handheld shower wand. To attach it, simply follow these steps:
- Wrap a few layers of plumber’s tape around the threads of the shower arm.
- Screw the shower arm diverter onto the shower arm by hand, making sure it is tight and secure.
- Use adjustable pliers to tighten it further if necessary, ensuring a snug fit.
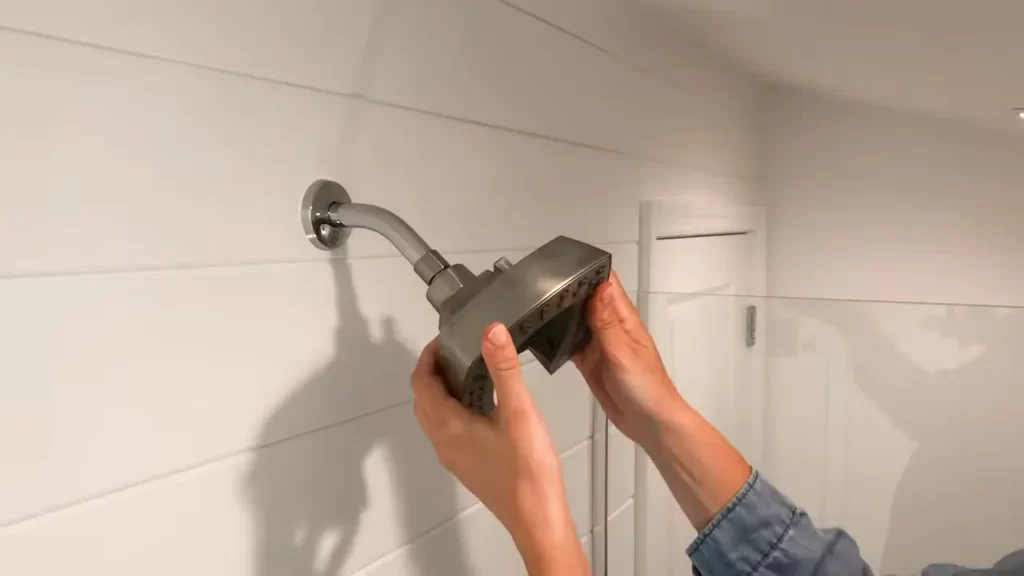
Screw the Delta shower head onto the shower arm
Once the shower arm diverter is in place (if applicable), it’s time to screw on the Delta shower head. Follow these steps:
- Apply a small amount of plumber’s tape to the threads of the shower arm to create a watertight seal.
- Screw the Delta shower head onto the shower arm by hand, turning it clockwise until it is snug.
Hand-tighten the shower head until secure
After screwing on the Delta shower head, use your hand to tighten it further until it is securely in place. Make sure not to overtighten, as this can cause damage to the shower head or shower arm.
Use adjustable pliers to tighten the shower head further if necessary
If the shower head feels loose after hand-tightening, you can use adjustable pliers to give it an extra turn. Grab the shower head with the pliers, being careful not to scratch or damage it, and give it a gentle clockwise turn to tighten it further. Be careful not to overtighten, as this can also cause damage.
Turn on the water supply and check for any leaks
Once the Delta shower head is securely in place, turn on the water supply to check for any leaks. Run the water for a few minutes and inspect the connections for any signs of leakage. If you notice any leaks, use adjustable pliers to tighten the connections further until the leaks stop.
By following these simple steps, you can easily install your Delta shower head and enjoy a refreshing and leak-free shower experience.
Test The Functionality Of The Delta Shower Head
Turn on the shower and check for proper water flow
Once you have successfully installed your Delta shower head, the next step is to test its functionality. Turn on the shower and check if the water flow is coming out smoothly and at the desired pressure. A strong and consistent water flow is essential for a satisfying shower experience. Ensure that the water is not too weak or too strong, as it can affect your comfort while showering.
Adjust the Delta shower head settings, if applicable
Delta shower heads often come with adjustable settings that allow you to personalize your shower experience. If your model has adjustable settings, take a moment to explore them. You can adjust the water pressure, spray pattern, and even the angle at which the water flows. Experiment with the different settings to find the one that suits your preferences the best. Remember, customization is key when it comes to enhancing your shower experience.
Ensure that there are no leaks or issues with the installation
After testing the water flow and adjusting the settings, it’s important to inspect the installation for any leaks or issues. Carefully examine the connection between the shower head and the shower arm, as well as any other joints or connections. Look for any signs of water leakage, such as dripping or pooling water. If you notice any problems, tighten the connections or make any necessary adjustments to address the issue. A leak-free installation is crucial to avoid water wastage and to ensure the longevity of your Delta shower head.
To summarize, testing the functionality of your newly installed Delta shower head is an important step to ensure a satisfactory shower experience. Turn on the shower and check for proper water flow, adjust the settings if applicable, and inspect the installation for leaks or issues. By following these steps, you’ll be able to enjoy your Delta shower head to its fullest potential.
Additional Tips For Installing A Delta Shower Head
If you’ve just purchased a Delta Shower Head and are excited to upgrade your shower experience, you’re on the right track! To ensure a smooth installation process and optimize your new shower head’s performance, consider these additional tips. From using a shower arm extension for better reach or positioning, to protecting the shower head finish with a rag or cloth when using pliers, these tips will help you make the most of your Delta Shower Head installation. Remember to also consult the Delta installation manual for specific instructions and troubleshooting, as well as check for any warranty information or registration requirements. Let’s dive into these tips for a successful installation.
Consider using a shower arm extension for better reach or positioning
If you find that the shower head is not positioned at the ideal height or distance from the wall, using a shower arm extension can be a great solution. A shower arm extension is a simple device that attaches to your existing shower arm and extends it further outward. This allows you to adjust the position and reach of the shower head to better suit your preferences.
Use a rag or cloth to protect the shower head finish when using pliers
When tightening or removing the shower head with pliers, it’s important to protect the shower head’s finish to avoid any scratches or damage. Wrap a clean rag or cloth around the base of the shower head before using pliers to provide a protective barrier. This will ensure that the shower head’s aesthetic appeal remains intact while you work on the installation.
Consult the Delta installation manual for specific instructions and troubleshooting
While the general steps for installing a Delta Shower Head are relatively straightforward, it’s always a good idea to refer to the manufacturer’s installation manual for your specific model. The manual will provide you with detailed instructions tailored to your shower head, as well as troubleshooting suggestions in case you encounter any issues during the installation process. Following the manual’s guidance will help you ensure a successful installation and avoid any potential problems.
Check for any warranty information or registration requirements
Before completing the installation, take a moment to check for any warranty information or registration requirements provided by Delta. Registering your new Delta Shower Head may be necessary to activate any warranties or extended services, ensuring that you are covered in case of any manufacturing defects or issues that may arise in the future. By taking this step, you’ll have peace of mind knowing that your investment is protected and that Delta is there to support you throughout your shower head’s lifespan.
Frequently Asked Questions
How To Replace Delta Shower Heads?
To replace a Delta shower head, follow these steps: 1. Turn off the water supply. 2. Unscrew the existing shower head using adjustable pliers or a wrench. 3. Clean the threads of the shower arm and apply plumber’s tape. 4. Screw in the new Delta shower head onto the shower arm.
5. Turn on the water supply and check for leaks.
How Do You Install A Shower Head Attachment?
To install a shower head attachment, follow these steps: 1. Remove the existing shower head. 2. Clean the shower arm thread with a brush and cloth. 3. Wrap plumber’s tape around the shower arm thread in a clockwise direction. 4.
Screw the new shower head attachment onto the shower arm thread. 5. Tighten it securely, ensuring no leaks.
How Do You Install A Shower Head With A Hand Held Head?
To install a shower head with a hand-held head, follow these steps: 1. Remove the old shower head using pliers. 2. Apply Teflon tape to the shower arm to prevent leaks. 3. Screw the new shower head onto the shower arm.
4. Adjust the height and angle of the hand-held head to your preference. 5. Test the shower head for proper water flow and enjoy your new shower experience.
How To Install Delta Shower Valve Trim Kit?
To install a Delta shower valve trim kit, first turn off the water supply. Remove the existing trim and clean the valve body. Attach the new trim kit, following the manufacturer’s instructions. Test for leaks and ensure the trim is securely in place.
Conclusion
Installing a Delta Shower Head is a simple and straightforward process that can be easily accomplished by anyone. By following the step-by-step instructions provided in this blog post, you can upgrade your shower experience in no time. From gathering the necessary tools to properly connecting the shower head, we have covered all the essential details to ensure a successful installation.
So, don’t wait any longer – transform your shower routine and enjoy the benefits of your new Delta shower head today!