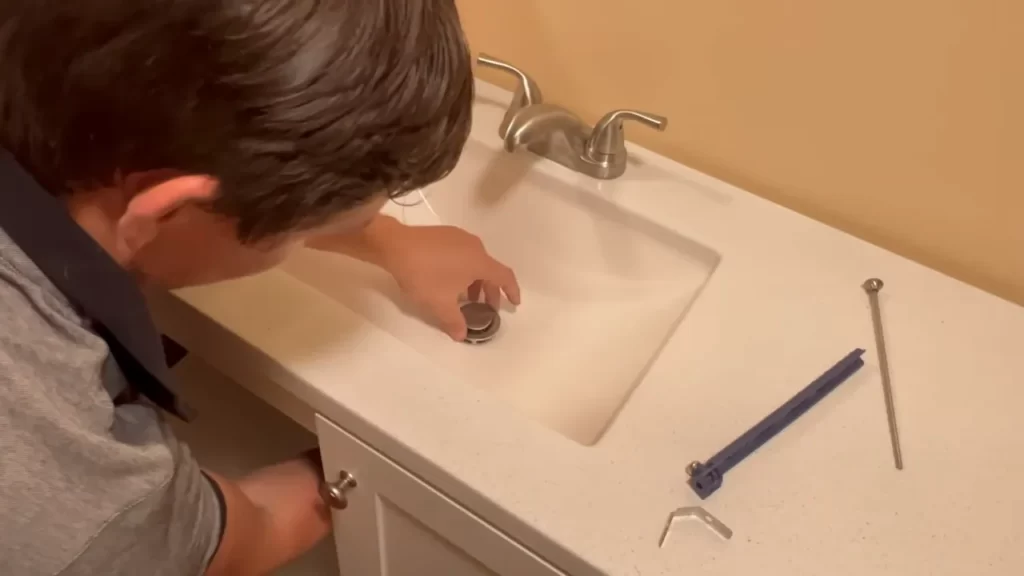
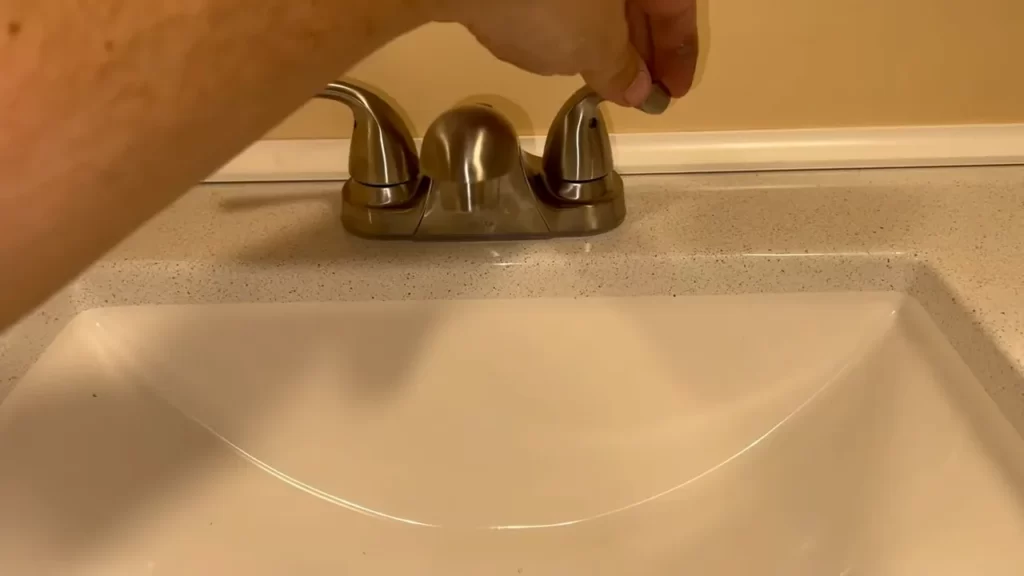
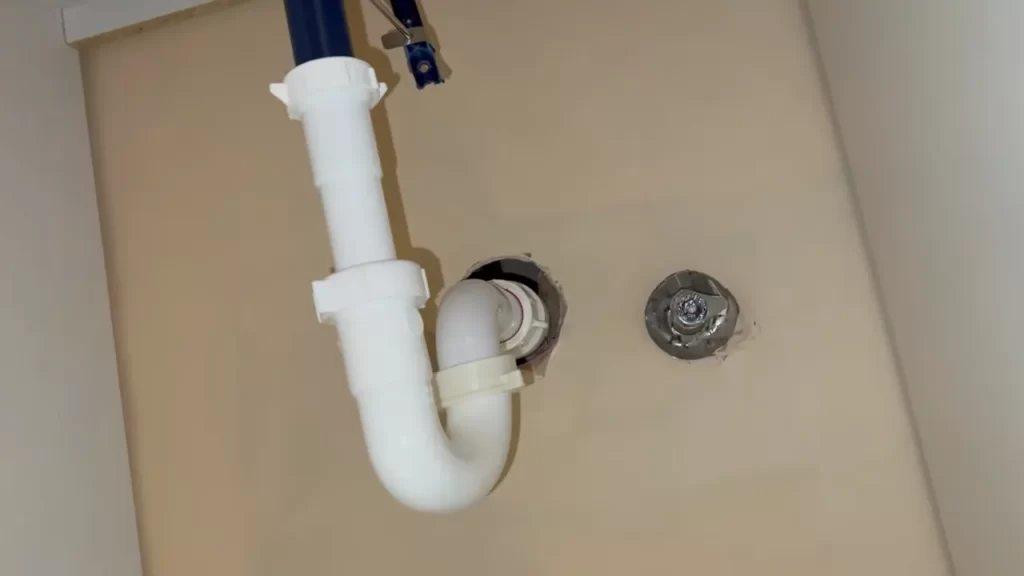
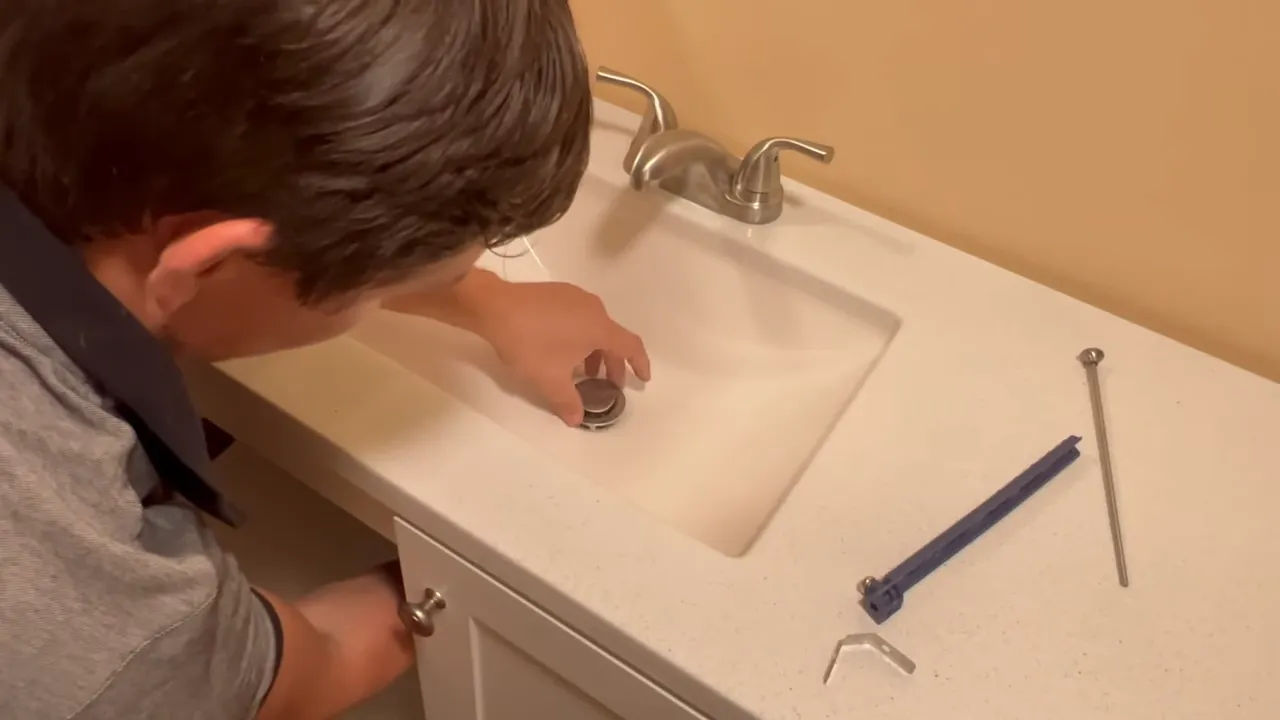
To install a Delta 2 handle bathroom faucet, follow these steps: turn off the water supply, remove the old faucet, clean the area, apply plumber’s putty, attach the faucet to the sink, connect the water supply lines, and finally, test for any leaks. Introducing the process of installing a Delta 2 handle bathroom faucet is a straightforward and manageable task that can be completed with a few simple steps.
By following these instructions, you can effortlessly update your bathroom with a new faucet. We will guide you through the process of installation, ensuring a seamless and leak-free result. Prepare yourself to achieve a refreshed and functional bathroom by installing a Delta 2 handle bathroom faucet.
Overview Of Delta 2 Handle Bathroom Faucet Installation Process
Installing a Delta 2 Handle Bathroom Faucet can be a rewarding DIY project that can breathe new life into your bathroom. With its sleek design and reliable performance, the Delta 2 Handle Bathroom Faucet is a popular choice among homeowners. In this section, we will provide an overview of the installation process, discuss the importance of proper faucet installation, highlight the advantages of this particular model, and address common challenges one may face during the installation process.
Importance of Proper Faucet Installation
Proper installation of your bathroom faucet is crucial for several reasons. Firstly, it ensures that your faucet functions optimally and delivers a consistent flow of water. A poorly installed faucet may lead to leaks, drips, or uneven water pressure, which can be frustrating to deal with and potentially result in costly water damage repairs. Additionally, a properly installed faucet enhances the overall aesthetic appeal of your bathroom, providing a polished and professional finish to your sink area.
Advantages of Delta 2 Handle Bathroom Faucet
The Delta 2 Handle Bathroom Faucet offers numerous advantages that make it an excellent choice for your bathroom. Firstly, its dual-handle design provides precise control over water temperature and flow, allowing you to easily find your desired setting. This can be especially beneficial for those who prefer a specific water temperature or those with differing preferences among household members. Furthermore, Delta faucets are known for their durability and reliability, ensuring that your investment will last for years to come. The faucet’s solid construction and innovative technology make it resistant to corrosion and leaks, providing peace of mind.
Common Challenges Faced During Installation
While installing a Delta 2 Handle Bathroom Faucet is relatively straightforward, there are a few common challenges that one may encounter. Firstly, ensuring a proper seal between the faucet and the sink is essential to prevent any leaks. This may require the use of plumber’s putty or silicone caulk. Additionally, if you are installing the faucet onto an older sink, you may need to replace the existing supply lines or adaptors to ensure compatibility. Lastly, one challenge that homeowners commonly face is tightening the faucet securely without over-tightening, which could cause damage to the fixture or connections.
By being aware of these potential challenges and taking the necessary precautions, installing your Delta 2 Handle Bathroom Faucet can be a smooth and successful process. In the next sections, we will provide a detailed step-by-step guide to help you navigate through the installation process with ease.

Pre-Installation Preparation For Delta 2 Handle Bathroom Faucet
If you’re looking to install a Delta 2 Handle Bathroom Faucet, proper pre-installation preparation is vital to ensure a successful and efficient installation process. This section will guide you through the necessary steps to prepare for the installation, including gathering the required tools and materials, clearing the workspace, and shutting off the water supply.
Required Tools and Materials
Before starting the installation, gather the following tools and materials:
| Tools | Materials |
|---|---|
| Screwdriver | New faucet |
| Adjustable wrench | Plumber’s tape |
| Bucket | Silicone sealant |
| Towel | Water supply lines |
| Bucket or container |
These tools and materials will ensure that you have everything you need to complete the installation process smoothly.
Clearing the Workspace
Before you begin the installation, it is crucial to clear your workspace of any clutter or obstructions. This will allow you to work comfortably and avoid any accidents during the installation process.
Start by removing any items from the bathroom sink or countertop area. Clear away any towels, soap dispensers, or other objects that may hinder your access to the faucet installation area. Make sure to have a clean and level surface to work on.
If necessary, consider using a drop cloth or plastic sheet to protect the surrounding area from potential water damage or scraping during the installation.
Shutting Off Water Supply
Prior to beginning the installation, it is essential to shut off the water supply to your bathroom. This will prevent any water leakage or flooding during the installation process.
Locate the water shut-off valve, which is typically located beneath the sink or behind a wall panel. Turn the valve clockwise until it is fully closed, ensuring that no water can flow through the pipes.
After shutting off the water supply, turn on the faucet handles to release any remaining water in the pipes and relieve any pressure. Place a bucket or container beneath the sink to catch any water that may drain out.
By shutting off the water supply, you can proceed with the installation process without any water-related complications.
Follow these pre-installation preparation steps carefully to ensure a smooth and efficient installation process for your Delta 2 Handle Bathroom Faucet.

Step-By-Step Guide To Installing Delta 2 Handle Bathroom Faucet
Installing a Delta 2 Handle Bathroom Faucet can be a simple and rewarding DIY project that enhances the functionality and style of your bathroom. By following this step-by-step guide, you can easily replace your old faucet with a new Delta 2 Handle model. Let’s get started!
Removing the old faucet
The first step in replacing your bathroom faucet is to remove the old one. Start by shutting off the water valves beneath the sink to prevent any leaks. Next, disconnect the supply lines that are connected to the faucet. Use an adjustable wrench to loosen and remove any mounting hardware holding the old faucet in place.
Preparing for the new faucet installation
Before installing the new Delta 2 Handle Bathroom Faucet, it’s important to inspect and clean the sink surface. Remove any leftover debris or adhesive from the old faucet, ensuring a clean and smooth surface to work with. Take a moment to read the installation instructions provided by Delta to familiarize yourself with the process.
Organizing the faucet components
To ensure a smooth installation, it’s helpful to organize all the components of your new Delta 2 Handle Bathroom Faucet. Lay out the faucet, handles, connecting rods, and any other included parts. Double-check that you have all the necessary pieces and tools before proceeding.
Installing the new Delta 2 Handle Bathroom Faucet
Now it’s time to install the new faucet! Start by attaching the faucet base to the sink. Follow the manufacturer’s instructions for securing the base with any provided screws or clips. Once the base is in place, connect the water supply lines to the corresponding inlet ports on the faucet base. Use an adjustable wrench to tighten the connections, ensuring they are snug but not over-tightened.
Securing the faucet handles
With the water supply lines connected, it’s time to secure the faucet handles. Depending on the model, this may involve sliding the handles onto the connecting rods and tightening set screws with an Allen wrench. Refer to the installation instructions for your specific Delta 2 Handle Bathroom Faucet to ensure proper assembly.
Testing for leaks
Once the faucet is fully assembled and installed, it’s important to test for any leaks. Slowly turn on the water supply valves beneath the sink and check for any drips or water escaping from the connections. If you notice any leaks, double-check that all connections are tight and secure.
Troubleshooting common installation issues
While installing your Delta 2 Handle Bathroom Faucet, you may encounter a few common issues. If you encounter stubborn supply line connections, use a pair of pliers to grip the nuts and provide extra leverage. If leaks or drips persist, ensure all connections are tight and consider adding plumber’s tape to the threads for a more secure seal.
Adjusting handle positions for optimal operation
Finally, take a moment to adjust the handle positions on your new Delta 2 Handle Bathroom Faucet for optimal operation. The handles should move smoothly and without any obstructions. Test the hot and cold water functionality to ensure everything is working properly.
Congratulations! You have successfully installed your new Delta 2 Handle Bathroom Faucet. Enjoy the enhanced functionality and style it brings to your bathroom!

Additional Tips And Recommendations For Delta 2 Handle Bathroom Faucet Installation
Installing a Delta 2 Handle Bathroom Faucet can be a straightforward process, but there are a few additional tips and recommendations that can make the installation even smoother. In this section, we will discuss the proper positioning of the faucet spout and handles, the use of plumber’s tape for secure connections, and regular maintenance for a long-lasting faucet.
Proper positioning of the faucet spout and handles
When installing your Delta 2 Handle Bathroom Faucet, it is crucial to ensure that the spout and handles are correctly positioned for optimal functionality and aesthetics. The spout should be centered over the sink drain to allow for efficient water flow and minimize splashing. Additionally, the handles should be installed at a comfortable distance from the spout to ensure easy operation. Be sure to carefully measure and mark the desired positions before drilling any holes to avoid any mistakes.
If you are unsure about the exact placement, refer to the manufacturer’s instructions or consult a professional plumber for guidance. Taking the time to position the faucet spout and handles correctly will not only enhance the overall appearance of your bathroom but also ensure a seamless and enjoyable user experience.
Using plumber’s tape for secure connections
To prevent leaks and ensure secure connections, using plumber’s tape is highly recommended during the installation of your Delta 2 Handle Bathroom Faucet. Plumber’s tape, also known as thread seal tape, is a thin white tape that helps create a watertight seal between threaded connections.
To use plumber’s tape, simply wrap a few layers of the tape clockwise around the threads of the faucet valve and any other threaded connections. This will help prevent water from leaking out and provide a secure and tight connection. Plumber’s tape is inexpensive and readily available at most hardware stores, making it an essential component for a successful faucet installation.
Regular maintenance for a long-lasting faucet
Maintaining your Delta 2 Handle Bathroom Faucet is essential for prolonging its lifespan and enjoying optimal performance. Regular maintenance includes simple tasks that can easily be incorporated into your cleaning routine.
One of the key maintenance practices is regularly cleaning the faucet surfaces with a mild soap and water solution. This will help prevent the buildup of dirt, grime, and mineral deposits that can affect the faucet’s appearance and functionality. It is also important to gently wipe dry the faucet after each use to prevent water spots and maintain its shine.
In addition to cleaning, it is recommended to periodically check for any loose connections or drips. Tighten any loose nuts or screws using the appropriate tools, and if you notice any leaks, address them promptly to avoid further damage.
By incorporating these simple maintenance practices into your routine, you can keep your Delta 2 Handle Bathroom Faucet in top condition for years to come.
Frequently Asked Questions
How Do You Change A Delta Two Handle Faucet Cartridge?
To change a Delta two-handle faucet cartridge, follow these steps: 1. Turn off water supply. 2. Remove faucet handle screws. 3. Take out the handle. 4. Extract the old cartridge. 5. Install a new cartridge. 6. Reassemble handle and screws.
7. Turn on water supply.
How Can I Remove A Delta Faucet Handle That Has No Set Screw?
To remove a Delta faucet handle without a set screw, follow these steps: 1. Locate a small hole or cap at the base of the handle. 2. Use a small screwdriver or Allen wrench to gently pry off the cap. 3.
Underneath, you’ll find a screw or hex nut. Unscrew or loosen it. 4. Carefully lift off the handle to remove it. Make sure to turn off the water supply before attempting any repairs.
How Do I Know What Model Delta Bathroom Faucet I Have?
To identify your Delta bathroom faucet model, check the faucet body or handle for any labels or imprints. You can also look for a model number on the manufacturer’s website or contact Delta customer support for assistance.
How Does A Two Handle Cartridge Faucet Work?
A two-handle cartridge faucet works by using a cartridge that controls both the temperature and the flow of water. When you turn the handles, the cartridge moves to allow the desired temperature and water flow. This design offers precise control and easy operation for your faucet.
Conclusion
Installing a Delta 2 handle bathroom faucet is a simple process that can be accomplished with a few basic tools. By carefully following the steps outlined in this guide, you can save time and money by completing the installation yourself.
Remember to turn off the water supply and follow the manufacturer’s instructions for a successful installation. With a little patience and attention to detail, you’ll have a beautifully functioning faucet in no time. Happy plumbing!
