To install a ball valve on a copper pipe, you need to ensure the pipe is clean and cut it to size. Then, apply flux to both the valve and pipe, and use a torch to heat the joint.
Once it reaches the right temperature, solder the valve onto the pipe. Installing a ball valve on a copper pipe may seem like a daunting task, but with the right steps, it can be done easily and efficiently. A ball valve provides control over the flow of liquids or gases, making it an essential component in plumbing systems.
Whether you need to replace an old valve or install a new one, this guide will walk you through the process step by step. By following these instructions, you can ensure a secure and leak-free connection between the ball valve and the copper pipe. So let’s dive in and learn how to install a ball valve on a copper pipe.
The Importance Of Ball Valves In Copper Pipe Systems
Ball valves play a crucial role in the smooth functioning of copper pipe systems. These valves are designed to control the flow of water, allowing you to easily open, close, or regulate the water flow in your pipes. Whether you are a DIY enthusiast or a professional plumber, understanding the importance of using ball valves in your copper pipe systems is essential.
Advantages of using ball valves over other types of valves
When it comes to controlling water flow in copper pipe systems, ball valves offer several advantages over other types of valves. Let’s take a closer look at why using ball valves in your plumbing system is a wise choice:
- Easy operation: Ball valves are user-friendly and require minimal effort to operate. With a simple 90-degree turn of the lever or handle, you can open or close the valve, allowing for quick and efficient control of water flow.
- Durability: Ball valves are built to last. Made from high-quality materials like brass or stainless steel, they are corrosion-resistant and can withstand the test of time, ensuring long-term reliability in your copper pipe system.
- Minimal leakage: Thanks to their design, ball valves provide tight sealing and minimize the risk of leakage. This not only helps to conserve water but also prevents damage to your copper pipes and surrounding areas.
- Full flow capacity: Unlike some other valve types, ball valves offer full flow capacity, allowing water to pass through with minimal restriction. This ensures maximum efficiency in your plumbing system and helps to maintain optimal water pressure.
Now that you understand the advantages of using ball valves over other types of valves, let’s delve deeper into their role when it comes to controlling water flow in copper pipe systems.

Tools And Materials Required For Installing A Ball Valve On A Copper Pipe
When it comes to installing a ball valve on a copper pipe, having the right tools and materials is essential for a successful installation. In this section, we will discuss the list of tools needed, the essential materials and supplies required, as well as safety precautions to keep in mind during the installation process.
List of Tools Needed for the Installation Process
In order to install a ball valve on a copper pipe, you will need the following tools:
- Adjustable wrench
- Pipe cutter or tubing cutter
- Emery cloth or sandpaper
- Flux brush
- Propane torch or soldering iron
- Solder and flux
- Deburring tool
- Pipe reamer
- Pipe dope or thread sealant
- Teflon tape
- Tubing bender (if necessary)
- Plumber’s tape measure
- Hacksaw
Essential Materials and Supplies Required for a Successful Installation
In addition to the tools mentioned above, you will also need the following materials and supplies:
- Ball valve
- Copper pipe
- Copper fittings (couplings, elbows, etc.)
- Pipe straps
- Flux
- Solder
- Teflon tape
Safety Precautions to Keep in Mind During the Installation Process
It is important to prioritize safety when installing a ball valve on a copper pipe. Here are some safety precautions to keep in mind:
- Wear safety goggles to protect your eyes from sparks and debris.
- Use heat-resistant gloves to protect your hands while using a torch or soldering iron.
- Work in a well-ventilated area to avoid inhaling fumes from the soldering process.
- Keep flammable materials away from the work area.
- Make sure to turn off the water supply and drain the pipe before starting the installation.
- Follow the manufacturer’s instructions for the specific tools and materials you are using.
By having the right tools and materials, as well as following safety precautions, you can ensure a successful installation of a ball valve on a copper pipe. Now that we have covered the tools and materials required, let’s move on to the step-by-step installation process.
Step-By-Step Guide: How To Install A Ball Valve On A Copper Pipe
Welcome to our step-by-step guide on how to install a ball valve on a copper pipe. Ball valves are essential components in plumbing systems, allowing you to control the flow of water. Whether you’re a DIY enthusiast or a professional plumber, this guide will walk you through the installation process to ensure a secure and leak-free connection. Let’s dive right in!
Preparation and Inspection of the Copper Pipe and Ball Valve
Before starting the installation, it is crucial to inspect both the copper pipe and the ball valve for any damages or defects. This ensures that the connection will be durable and leak-free. Here’s what you need to do:
- Inspect the copper pipe for any dents, cracks, or corrosion. If you notice any issues, replace the pipe before proceeding with the installation.
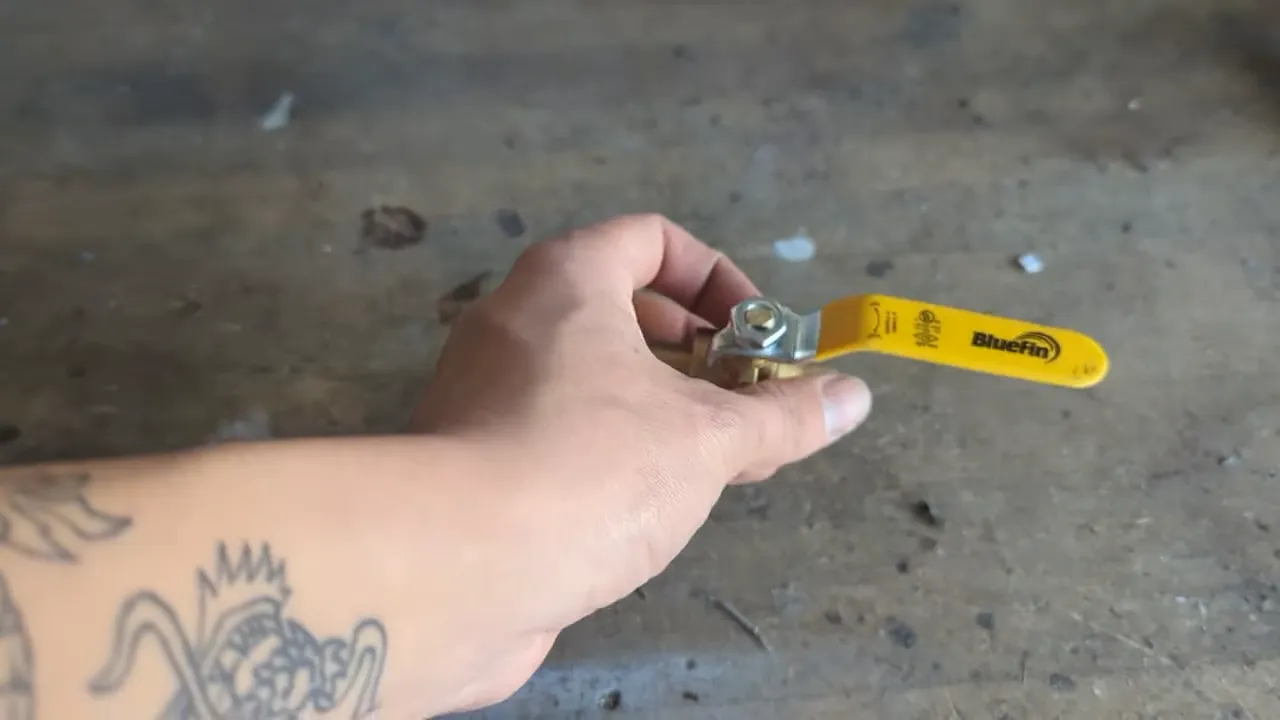
- Check the ball valve for any manufacturing defects or damage. Ensure that the valve is compatible with the copper pipe size.
- Clean both the copper pipe and the ball valve thoroughly to remove any dirt, debris, or impurities that could affect the soldering process.
Cutting the Copper Pipe and Preparing the Ends for Installation
Now that you’ve inspected the copper pipe and the ball valve, it’s time to cut the pipe and prepare the ends for installation.
- Measure the desired length of the copper pipe and mark it accordingly.
- Using a pipe cutter or a hacksaw, carefully cut the pipe at the marked spot. Make sure the cut is clean and straight.
- Deburr the cut ends of the copper pipe using a deburring tool or a file. This step ensures that there are no rough edges or burrs that could affect the fitting connection.
- Clean the cut ends with a sandpaper or emery cloth to remove any oxidation or residue.
Applying Flux and Soldering the Ball Valve onto the Copper Pipe
With the ends of the copper pipe prepared, it’s time to apply flux and solder the ball valve onto the pipe.
- Apply a thin and even coating of flux to the cleaned ends of the copper pipe.
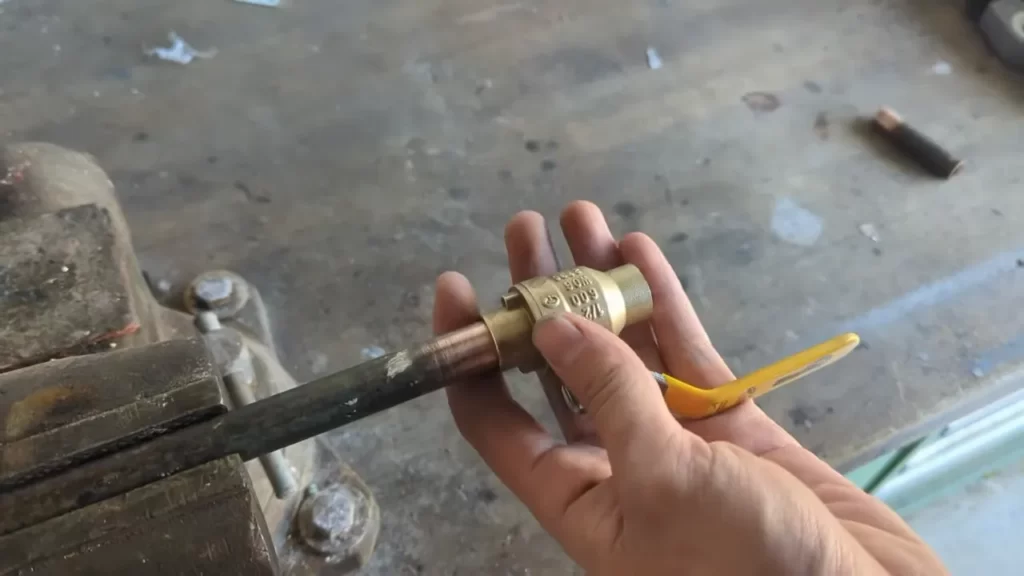
- Slide the ball valve onto the pipe, ensuring a snug fit.
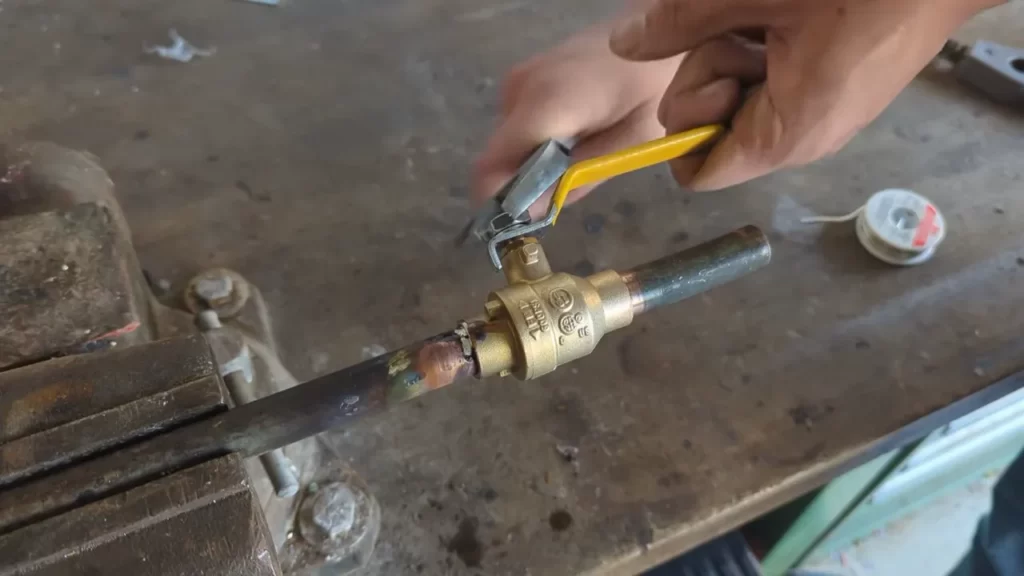
- Using a propane torch, heat the joint where the ball valve and the copper pipe meet.
- Once the joint is heated, touch the tip of the solder wire to the joint. The solder will melt and flow into the gap between the pipe and the valve, creating a watertight seal.
- Do not move or disturb the joint until the solder has cooled and solidified.
Testing the Installed Ball Valve for Leaks and Functionality
After soldering the ball valve onto the copper pipe, it is crucial to test the installation for leaks and ensure its proper functionality. Here’s how:
- Close the ball valve by turning the handle clockwise.
- Turn on the water supply and observe the ball valve for any signs of leakage.
- If there are no leaks, open the ball valve by turning the handle counterclockwise.
- Test the valve by running water through it and checking if the flow is smooth and unrestricted.
- If you notice any leaks or irregularities, repeat the soldering process or consult a professional plumber for assistance.
By following this step-by-step guide, you can successfully install a ball valve on a copper pipe, ensuring a secure and functional plumbing connection. Remember to always prioritize safety and accuracy during the installation process to achieve the best results.
Troubleshooting Common Issues During Ball Valve Installation
When it comes to installing a ball valve on a copper pipe, there are a number of potential problems and challenges that can arise. These issues can range from leaky connections to improper functioning of the valve. In order to ensure a successful installation, it is important to be aware of these common issues and know how to troubleshoot them effectively.
Identifying potential problems and challenges during the installation process
During the installation process, there are a few common problems that may occur. Identifying these issues early on can help prevent further complications. Here are some potential problems you may encounter:
- Leaky connections
- Improperly sized ball valve
- Valve not opening or closing fully
- Difficulty turning the valve
- Insecure fittings
Solutions for common issues such as leaky connections or improper functioning
If you encounter leaky connections during the installation, there are a few potential solutions you can try:
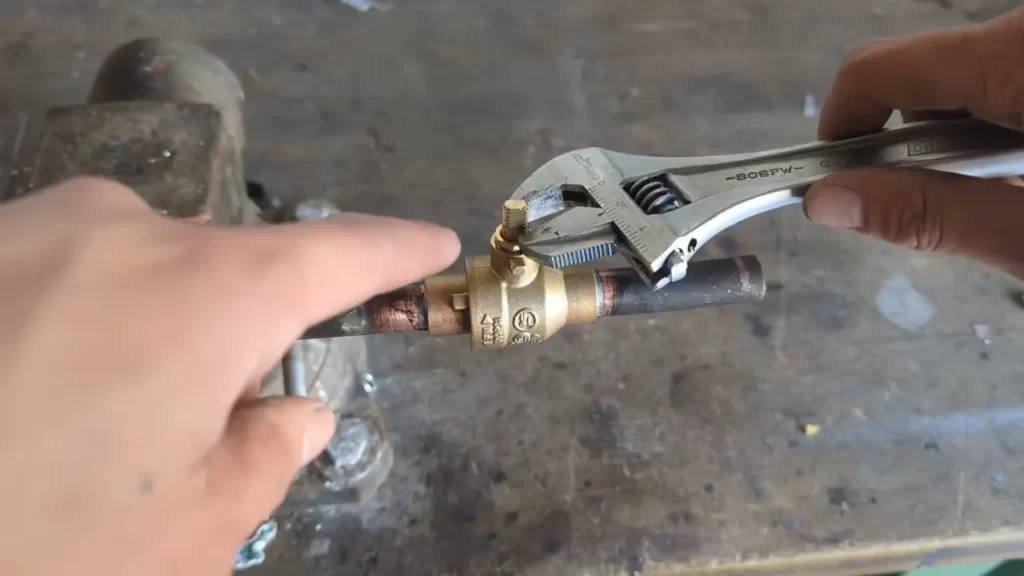
- Tighten the connection – Use a wrench to tighten the compression fittings, ensuring they are snug and secure.
- Apply thread seal tape – Wrap thread seal tape around the threaded part of the valve before screwing it onto the pipe. This can help create a tighter seal and prevent leaks.
- Check for damage – Inspect the valve and fittings for any signs of damage or wear. If any parts are damaged, they may need to be replaced to ensure proper functioning.
- Replace fittings – If the leak persists, it may be necessary to replace the fittings altogether. Ensure you are using the correct size fittings for your specific copper pipe.
In the case of improper functioning, try these troubleshooting tips:
- Check valve alignment – Make sure the valve is properly aligned with the direction of the flow. An incorrectly aligned valve can prevent it from opening or closing fully.
- Clean the valve – Sometimes dirt or debris can accumulate inside the valve, impeding its functionality. Clean the valve thoroughly to remove any obstructions.
- Inspect the valve mechanism – Check the valve mechanism for any signs of damage or wear. Replace any necessary parts to ensure proper functioning.
Tips for avoiding mistakes and ensuring a successful installation
To avoid common problems during the installation of a ball valve on a copper pipe, keep the following tips in mind:
- Measure and prepare – Ensure you have the correct size ball valve and fittings for your copper pipe. Measure the pipe diameter accurately before purchasing the valve.
- Use proper techniques – Follow manufacturer instructions and use appropriate tools when installing the valve. Avoid overtightening fittings or using excessive force when opening or closing the valve.
- Perform a thorough inspection – Before turning on the water supply, inspect the valve and fittings for any signs of leaks, damage, or improper functioning. Address any issues before proceeding.
- Seek professional help if needed – If you are unsure about any step of the installation process or encounter persistent issues, it is best to seek assistance from a professional plumber.
By being aware of potential problems and challenges, as well as implementing the right solutions and following best practices, you can ensure a successful installation of a ball valve on your copper pipe.
Maintenance And Care For Ball Valves On Copper Pipe Systems
Proper maintenance and care are essential to keep ball valves on copper pipe systems functioning optimally. By following regular maintenance practices, cleaning and lubricating the valve, and being aware of signs of wear, you can ensure smooth operation and prevent costly repairs or replacements. In this section, we will delve into the details of maintaining and caring for ball valves on copper pipe systems.
Regular maintenance practices to keep the ball valve functioning optimally
Regular maintenance practices can significantly prolong the life of your ball valve on a copper pipe system. Here are some key steps to follow:
- Inspect the valve periodically:
- Check for smooth operation:
- Test the valve regularly:
- Keep the valve protected:
Regularly inspect the ball valve for any signs of leaks, corrosion, or damage. Look for any loose fittings or connections that may need tightening.
Ensure that the valve opens and closes smoothly without any sticking or resistance. If you notice any issues, it may indicate a need for cleaning or lubrication.
Perform periodic tests to ensure the valve is functioning properly. This can be done by opening and closing the valve several times and checking for any leaks or changes in performance.
Protect the ball valve from extreme temperatures, direct sunlight, and any potential physical damage. This will help prevent premature wear and maintain its efficiency.
Cleaning and lubricating the valve for smooth operation
Cleaning and lubricating the ball valve regularly is crucial for its smooth operation. Here’s how you can do it:
- Shut off the water supply:
- Remove any debris:
- Clean with a mild detergent:
- Rinse and dry:
- Lubricate the valve:
Before cleaning or lubricating the valve, make sure to shut off the water supply to prevent any accidents or water damage.
Using a clean cloth or brush, carefully remove any debris, dirt, or sediment that may have accumulated on the valve surfaces or within the valve mechanism.
Prepare a solution of mild detergent and warm water. Use a soft brush or cloth soaked in the solution to gently clean the valve, including the ball and seals.
Thoroughly rinse the valve with clean water to remove any traces of detergent. Allow it to dry completely before proceeding to lubrication.
Apply a small amount of silicone-based lubricant to the moving parts of the valve, including the stem, ball, and seals. This will ensure smooth operation and help prevent seizing or sticking.
Signs of wear and when to consider replacing the ball valve
Despite proper maintenance, ball valves on copper pipe systems may eventually show signs of wear and require replacement. Here are some indicators that you should consider replacing your ball valve:
- Leaking or dripping:
- Stiff or sticky operation:
- Corrosion or rust:
- Significant reduction in water pressure:
If you notice persistent leaking or dripping from the valve, it may indicate a worn-out ball or damaged seals. In such cases, replacing the valve is recommended.
A ball valve that becomes increasingly stiff or sticky to operate suggests underlying damage or excessive wear. It may be necessary to replace the valve for optimal performance.
Excessive corrosion or rust on the ball valve, particularly on the outer surface or within the connection points, can compromise its integrity. Consider replacing a severely corroded valve.
If you experience a noticeable decrease in water pressure, it could indicate a problem with the ball valve. Consult a professional to assess the situation and determine if a replacement is necessary.
By following these maintenance and care guidelines for ball valves on copper pipe systems, you can ensure their longevity and reliable performance. Regular inspections, cleaning, lubrication, and timely replacement when needed will keep your plumbing system running smoothly for years to come.
Best Practices For Installing Ball Valves On Copper Pipe Systems
Tips for selecting the right size and type of ball valve for the specific application
Choosing the right ball valve for your copper pipe system is crucial to ensure optimal performance and longevity. Here are some essential tips to consider when selecting the size and type of ball valve for your specific application:
- Determine the pipe size: Before purchasing a ball valve, it’s important to know the size of your copper pipe. Measure the diameter of the pipe accurately to select a ball valve that fits snugly.
- Consider the flow rate: The flow rate of the fluid or gas passing through the pipe is another important factor to consider. Ensure the ball valve you choose can handle the required flow rate without causing any restrictions.
- Identify the system pressure: Understanding the operating pressure of your copper pipe system is crucial when selecting a ball valve. Ensure the valve you choose has the appropriate pressure rating to handle the demands of your system effectively.
- Assess the media compatibility: Depending on the application, you may be dealing with different types of fluids or gases. Make sure the ball valve is compatible with the media it will be exposed to, preventing corrosion or damage over time.
- Consider the valve material: Ball valves are available in various materials, such as brass, stainless steel, or PVC. Choose a material that suits your application and provides the necessary durability and resistance to corrosion.
Proper positioning and orientation of the valve for optimal performance
Once you have selected the appropriate ball valve, it’s essential to install it correctly to achieve optimal performance. Here are some best practices to consider for positioning and orientation:
- Position the valve in a convenient location: Choose a location where the valve is easily accessible for maintenance or repairs in the future. Make sure there is enough space surrounding the valve for easy operation.
- Orient the valve in the correct direction: Ball valves have a designated flow direction indicated by arrow markings on the valve body. Ensure the arrow points in the correct direction of flow to avoid any flow restrictions or leakage.
- Align the valve handle: The handle of the ball valve should be aligned with the direction of flow when the valve is fully open. This allows for easy visual indication of the valve position, ensuring smooth operation and preventing accidental misalignment.
Following industry standards and codes for installation and safety compliance
When installing a ball valve on a copper pipe system, it’s crucial to adhere to industry standards and codes to ensure installation and safety compliance. Here are some key considerations to keep in mind:
- Consult local codes and regulations: Different regions may have specific codes and regulations that govern the installation of ball valves. Familiarize yourself with these requirements and ensure compliance to avoid any legal or safety issues.
- Follow manufacturer guidelines: Each ball valve manufacturer may provide specific instructions for installation. It’s important to carefully read and follow these guidelines to ensure proper installation and prevent any warranty voids.
- Inspect the valve and connections: Before installation, thoroughly inspect the valve and its connections for any defects or damage. This includes checking for leaks, ensuring proper sealing, and verifying that all components are functioning correctly.
- Securely tighten connections: Properly tighten all connections, ensuring they are leak-free. Use appropriate tools and techniques to achieve the recommended torque specified by the manufacturer.
By following these best practices for selecting, positioning, and installing ball valves on copper pipe systems, you can ensure optimal performance, longevity, and safety compliance for your specific application.
Frequently Asked Questions
How Do You Attach A Valve To A Copper Pipe?
Attach a valve to a copper pipe by following these steps: 1. Cut the pipe using a copper pipe cutter. 2. Clean the ends of the pipe and the valve with sandpaper. 3. Apply flux to the pipe and valve.
4. Heat the joint with a torch and solder it. 5. Let it cool, then test for leaks.
Which Way Should A Ball Valve Be Installed?
A ball valve should be installed with the lever or handle in a perpendicular position to the pipeline. This ensures that the valve is fully open or fully closed.
What Valve To Use With Copper Pipe?
A copper pipe requires a valve specifically designed for copper pipes.
Can You Use A Ball Valve On A Water Line?
Yes, a ball valve can be used on a water line. Ball valves are commonly used to control the flow of water in plumbing systems. They are durable, easy to operate, and provide a tight seal to prevent leaks.
Conclusion
Installing a ball valve on a copper pipe is a straightforward process that can be accomplished with a few simple steps. By following the guidelines provided in this blog post, you can successfully complete the installation and ensure the proper functioning of your plumbing system.
Remember to take necessary safety precautions and consult professional help if needed. With these tips in mind, you can confidently tackle this DIY project and enjoy the convenience and efficiency of a ball valve in your home plumbing system.