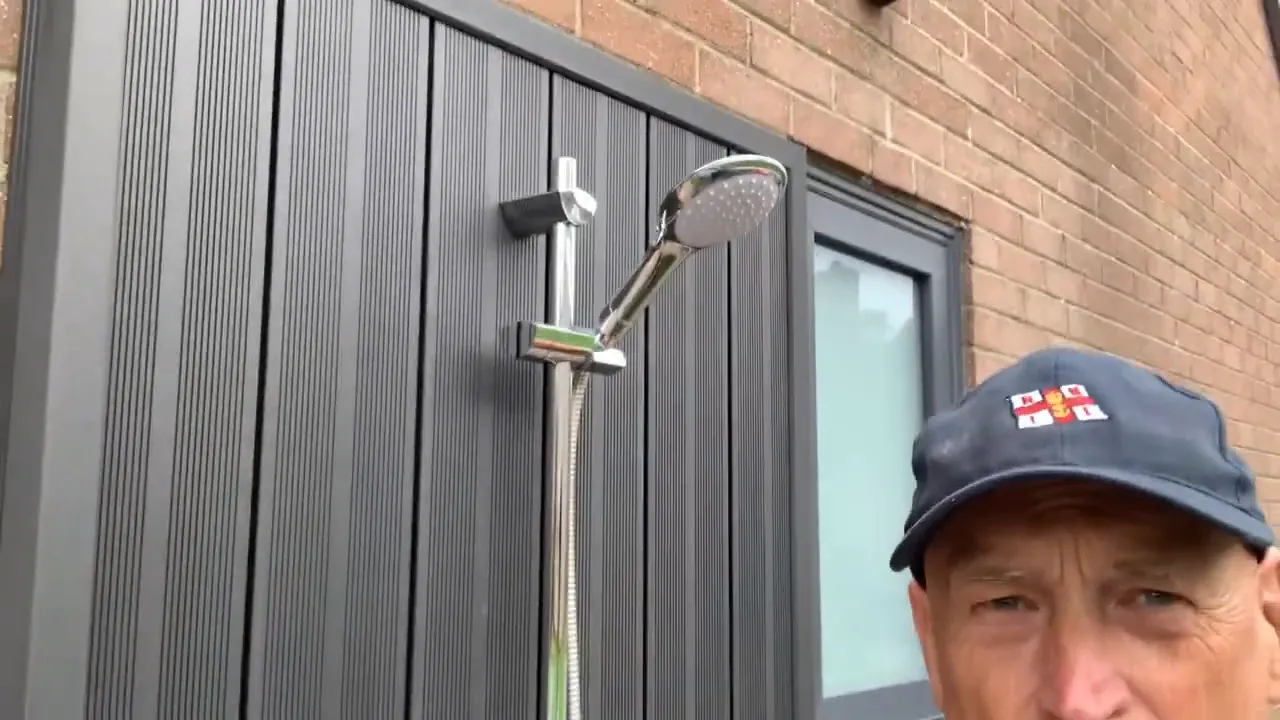
Install an outdoor shower with hot water by connecting the shower to a water source and installing a water heater near it. This article provides a step-by-step guide on how to install an outdoor shower with hot water, enabling you to enjoy a refreshing shower in your outdoor space.
Whether you are planning to use the outdoor shower for relaxation or to wash away sand after a beach visit, having hot water available will enhance your experience. Installing an outdoor shower with hot water requires a few tools and materials, but with the right instructions, it can be a straightforward process.
Follow the steps below to install your own outdoor shower and enjoy the convenience and comfort of hot water in your outdoor oasis.
Choosing The Right Location For Your Outdoor Shower
Installing an outdoor shower with hot water can be a game-changer for your home. Whether you want to rinse off after a refreshing swim or enjoy a luxurious spa-like experience, having the perfect outdoor shower is essential. One of the first steps in this process is choosing the right location for your outdoor shower. Here are a few factors to consider when selecting a location:
Factors to consider when selecting a location
When it comes to choosing the right location for your outdoor shower, several important factors should be taken into account. Let’s take a closer look at these factors:
Assessing water accessibility and plumbing requirements
- Water supply: The location of your outdoor shower should be near a water source for convenience and easy installation.
- Plumbing requirements: Assess the plumbing requirements for your outdoor shower. Will you need to connect it to your existing water supply or install a separate line? Consider the feasibility and cost implications.
- Drainage: Ensure that the location allows for proper drainage to avoid water accumulation and potential damage to your outdoor space.
Considering privacy and convenience
- Privacy: Choose a location that offers the desired level of privacy. Consider nearby structures, landscaping, or natural barriers that can provide a sense of seclusion.
- Proximity to main entrance: Place your outdoor shower near the main entrance of your home, making it easily accessible for both you and your guests.
- Interaction with the surroundings: Take into account the view and surroundings of the selected location. Consider whether you prefer a more intimate spot or a location that provides a beautiful backdrop.
By carefully assessing water accessibility, plumbing requirements, privacy, and convenience, you can choose a location for your outdoor shower that is both functional and aesthetically pleasing. Now that you have considered these factors, it’s time to move on to the next step in the installation process – gathering the necessary materials and tools.
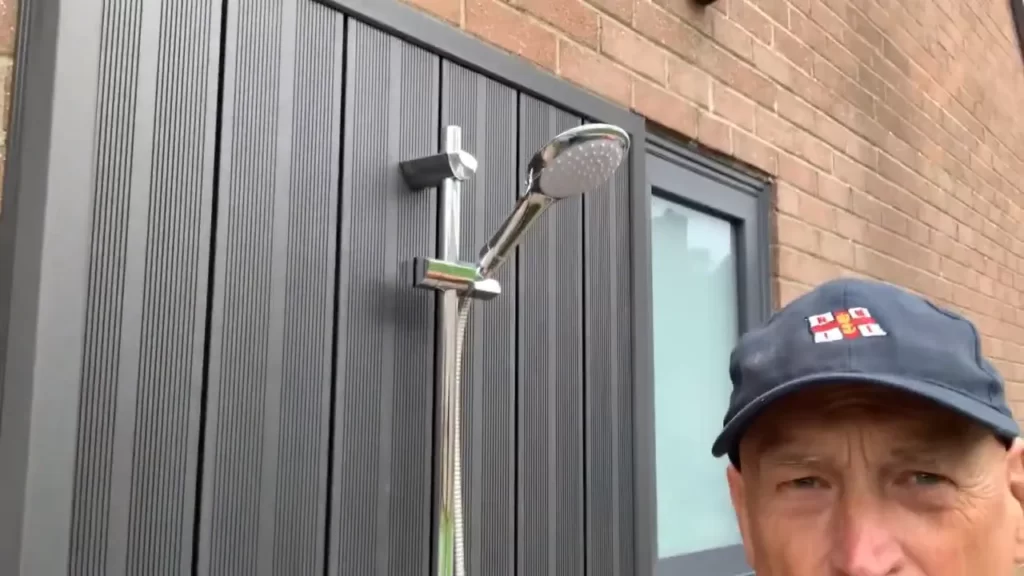
Gathering The Necessary Tools And Materials
Before embarking on your outdoor shower installation project, it is essential to gather the right tools and materials. By having everything at hand, you can ensure a smooth and hassle-free process. In this section, we will discuss the essential tools, recommended materials, and additional accessories that will help you create a durable and weather-resistant outdoor shower setup.
Essential tools for installing an outdoor shower with hot water
When it comes to installing an outdoor shower with hot water, having the right tools is crucial. Here are some essential tools you will need:
| Tool | Description |
|---|---|
| Shovel | A shovel will come in handy for digging the hole for the shower base. |
| Level | Using a level will ensure that your shower structure is straight and properly aligned. |
| Tape measure | Accurate measurements are crucial for a successful outdoor shower installation. |
| Wrench | A wrench will be needed for tightening and connecting the plumbing fittings. |
| Drill | You will need a drill to make holes for attaching the showerhead and other fixtures. |
| PVC cutter | A PVC cutter will make cutting and adjusting the pipes easier. |
Recommended materials for a durable and weather-resistant setup
To ensure the longevity and functionality of your outdoor shower, it is important to use materials that are durable and weather-resistant. Here are some recommended materials:
- PVC Pipes: PVC pipes are lightweight, easy to work with, and resistant to corrosion and weather damage.
- Pressure-treated lumber: Pressure-treated lumber is a great choice for the shower base and structure as it can withstand outdoor conditions.
- Stainless steel: Opt for stainless steel fixtures to prevent rust and ensure durability in wet conditions.
- Waterproof sealant: Applying a waterproof sealant to the shower floor and walls will provide added protection against moisture and water damage.
Additional accessories and features to enhance your outdoor shower experience
Enhance your outdoor shower experience by adding some additional accessories and features. Consider the following options:
- Outdoor shower enclosure: Install a shower enclosure to add privacy and create a spa-like atmosphere.
- Hot water heater: Invest in a hot water heater to enjoy warm showers even on chilly days.
- Shower bench: Add a shower bench for comfort and convenience.
- Outdoor shower mat: Place an outdoor shower mat to prevent slipping and provide a comfortable surface.
- Showerhead with adjustable settings: Choose a showerhead with multiple settings to customize your shower experience.
By gathering the necessary tools, using recommended materials, and considering additional accessories, you can create an outdoor shower setup that is not only functional but also enhances your overall outdoor experience. In the next section, we will discuss the step-by-step process for installing an outdoor shower with hot water.
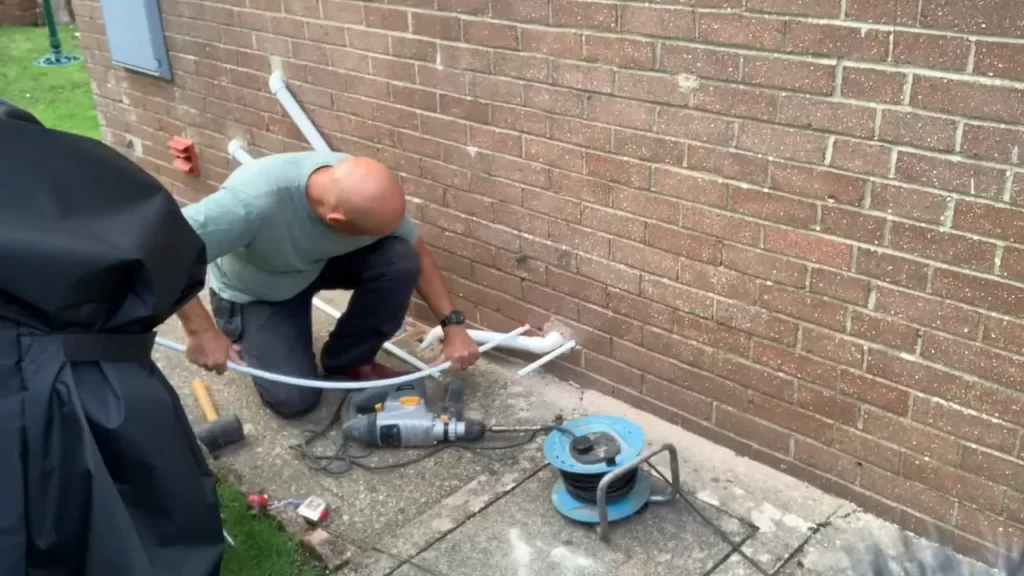
Preparing The Plumbing And Water Supply
Installing an outdoor shower with hot water can be a great addition to your home, providing a refreshing and convenient way to rinse off after a dip in the pool or a day at the beach. However, before diving into the project, it’s essential to ensure that the plumbing and water supply are properly prepared. This will help you avoid any issues with water pressure, drainage, or waste management down the line.
Evaluating existing plumbing systems and connections
To begin the installation process, it’s crucial to evaluate the existing plumbing systems and connections in your home. This will give you a clear understanding of how the hot water supply can be integrated into your outdoor shower.
Start by inspecting your current plumbing setup. Locate the nearest water source and determine whether it is feasible to extend a pipe from this source to your desired shower location. Additionally, check the water pressure in the existing lines to assess if it is sufficient for the intended purpose.
If your existing plumbing system is not easily accessible or lacks the necessary capacity, you may need to consider other options. In such cases, consulting with a professional plumber can provide expert guidance on how to best proceed.
Installing a dedicated hot water supply line
Once you have evaluated the existing plumbing systems and connections, the next step is to install a dedicated hot water supply line. This separate supply line will ensure that your outdoor shower offers consistent and reliable hot water.
To install a dedicated hot water supply line, you will need to connect a new pipe from your water heater to the outdoor shower location. This will require careful measurements and routing, taking into account the distance, elevation changes, and any potential obstacles in between.
It is important to use proper materials and fittings that can handle both hot water and outdoor conditions. This includes using durable pipes, such as copper or PEX, and employing appropriate insulation to prevent heat loss.
Ensuring proper drainage and waste management
Lastly, ensuring proper drainage and waste management is crucial for the functionality and hygiene of your outdoor shower. Without proper drainage, you may face issues with standing water, mold growth, and unpleasant odors.
When designing the drainage system, consider using a combination of slope and pipes to direct the water away from the shower area. This will help prevent any pooling or flooding. Additionally, installing a waterproof membrane beneath the shower floor can further protect against any water seepage.
In terms of waste management, connecting the outdoor shower’s drain to an existing sewer line or a dedicated septic system is essential. This will safely dispose of the wastewater and prevent any contamination of the surrounding area.
By properly preparing the plumbing and water supply for your outdoor shower, you can enjoy the convenience and relaxation it brings without any unexpected hiccups. Remember to carefully evaluate existing systems, install a dedicated hot water supply line, and ensure proper drainage and waste management. With these steps in place, you’ll be well on your way to creating a refreshing oasis in your backyard.
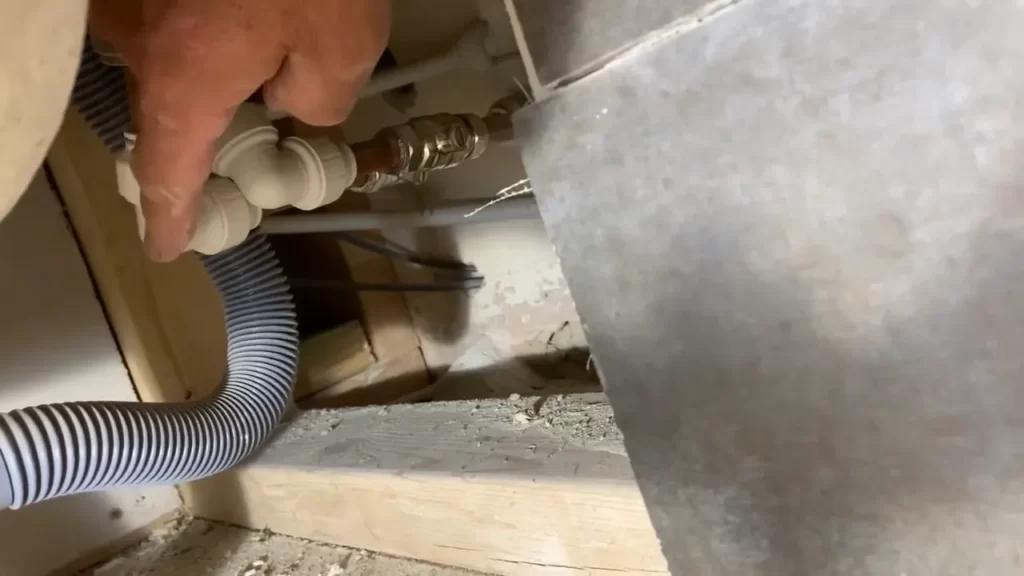
Installing The Shower Fixture And Enclosure
Once you have determined the location for your outdoor shower and prepared the necessary plumbing and electrical connections, it’s time to move on to the next crucial step: installing the shower fixture and enclosure. This is where you can truly bring your outdoor shower vision to life.
Selecting the appropriate type of shower fixture
Before you start installing the shower fixture, it’s important to choose the right type that suits your needs and preferences. There are several options available, each with its own advantages.
- Wall-mount showerhead: This conventional option is mounted directly onto the wall, providing a steady flow of water. It is a popular choice for its simplicity and ease of installation.
- Rainfall showerhead: If you crave the feeling of standing under a refreshing downpour, a rainfall showerhead is the perfect choice. It mimics the sensation of raindrops falling on your skin, creating a soothing and luxurious experience.
- Handheld showerhead: For ultimate versatility, a handheld showerhead allows you to direct the water flow precisely where you need it. This option is particularly handy if you have children or pets that need to be washed.
Consider your specific requirements and aesthetic preferences before making a decision.
Positioning and attaching the showerhead and controls
Now that you have chosen the ideal shower fixture, it’s time to position and attach it. Start by ensuring that the showerhead is at a comfortable height for users of all sizes. This will ensure a pleasant shower experience for everyone.
Next, attach the showerhead to the water supply pipe, following the manufacturer’s instructions. Use plumber’s tape to secure the connection and prevent any leaks.
Similarly, install the shower controls based on the design and layout of your outdoor shower. These controls enable you to adjust the water temperature and flow rate according to your preference.
Building or assembling the enclosure for privacy and protection
Privacy and protection are paramount when it comes to enjoying an outdoor shower. Building or assembling an enclosure will provide you with the necessary seclusion and safeguarding from curious onlookers, as well as the elements.
When constructing your enclosure, consider the following factors:
- Material: Choose a sturdy and weather-resistant material, such as wood, metal, or PVC, that can withstand outdoor conditions.
- Dimensions: Measure and plan the dimensions of your enclosure to ensure it fits the available space and provides ample room to move comfortably.
- Design: Incorporate your personal style and preferences into the design of the enclosure. Whether you opt for a fully enclosed structure or a more open, natural look, make sure it complements the overall aesthetic of your outdoor area.
Take your time during this step to create an enclosure that not only offers privacy and protection but also enhances the visual appeal of your outdoor shower setup.
By carefully selecting the appropriate shower fixture, positioning and attaching the showerhead and controls correctly, and building or assembling a suitable enclosure, you will be well on your way to enjoying a refreshing outdoor shower experience with hot water. Let your creativity guide you as you bring your vision to life, and before you know it, you’ll have a beautiful and functional addition to your outdoor living space.
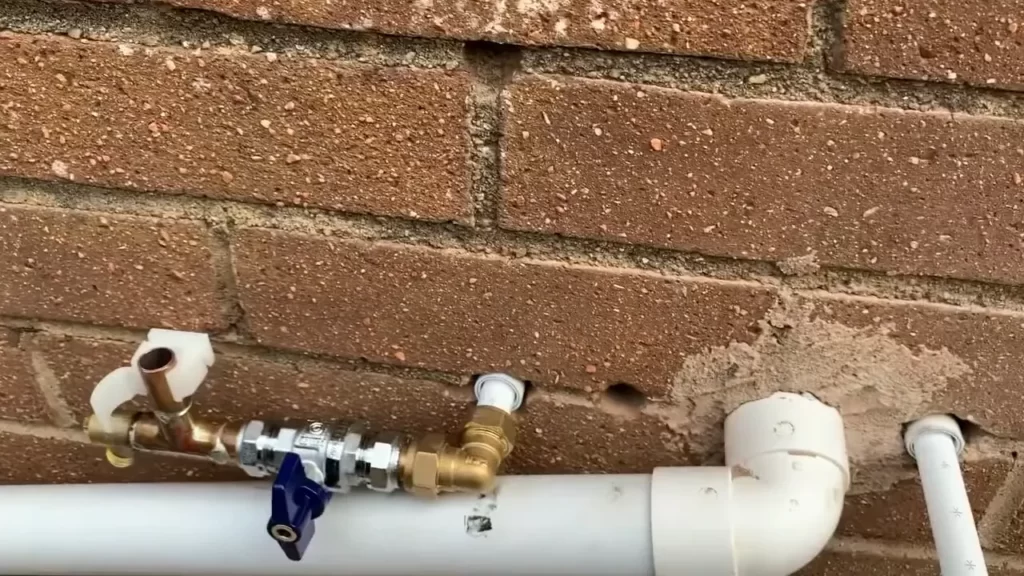
Connecting And Testing The Hot Water Supply
Connecting the hot water supply line to the shower fixture
Once you have successfully installed the plumbing and positioned the shower fixture in your desired outdoor location, it’s time to connect the hot water supply line. This step will allow you to enjoy a warm and refreshing shower experience even in your outdoor space.
To connect the hot water supply line, follow these steps:
- Start by ensuring that the water supply to the shower fixture is turned off.
- Locate the connection point for the hot water supply on the shower fixture. This is usually labeled or indicated by a red marker.
- Attach one end of a flexible hot water supply line to the hot water connection point on the shower fixture.
- Secure the connection by tightening the nut with a wrench. Ensure that it is snug, but be careful not to over-tighten and risk damaging the fittings.
- Connect the other end of the hot water supply line to the hot water source. This could be a water heater or a direct hot water supply line.
- Tighten the nut securely to create a watertight connection.
- Inspect the connections to make sure there are no visible leaks.
Verifying proper water flow and temperature control
Now that you have connected the hot water supply line to the shower fixture, it’s important to ensure that everything is functioning correctly. Verifying proper water flow and temperature control will ensure a satisfying shower experience.
Follow these steps to verify the water flow and temperature control:
- Turn on the water supply to the shower fixture.
- Slowly open the hot water handle or valve on the shower fixture.
- Observe the water flow and check if it is coming out steadily and at the desired pressure.
- Adjust the water flow as necessary using the handle or valve.
- Check the temperature of the water to ensure that it is within your preferred range. Be cautious not to scald yourself or others.
- If you notice any issues with the water flow or temperature control, double-check the connections and make adjustments if needed. It’s crucial to resolve any issues before proceeding.
Conducting a thorough leak and pressure test
Before enjoying your outdoor hot water shower, it’s crucial to conduct a thorough leak and pressure test to ensure the system is functioning properly and water is not wasted.
Follow these steps to conduct a leak and pressure test:
- Turn off the water supply to the shower fixture.
- Inspect all the connections, including the hot water supply line, for any signs of leakage.
- If any leaks are found, tighten the connections or replace faulty fittings.
- Once the connections are secure, turn on the water supply.
- Monitor the system for any additional signs of leaks or excessive pressure.
- If everything looks secure, proceed with a pressure test by turning the water supply to the shower fixture at full force.
- Monitor the system for any unexpected pressure drops or fluctuations.
- If no issues arise during the pressure test, your hot water supply system is ready to use!
By following these steps and ensuring proper connection, water flow, temperature control, and conducting a leak and pressure test, you can confidently enjoy your outdoor shower with hot water. Remember to prioritize safety and address any issues promptly to maintain the functionality of your outdoor shower.
Adding Finishing Touches And Accessories
Now that you have successfully installed your outdoor shower with hot water, it’s time to add those final touches and accessories that will transform your outdoor oasis into a luxurious haven. From sealing and waterproofing the shower and enclosure to incorporating additional features such as lighting, seating, and storage, these finishing touches will elevate your outdoor shower experience to a whole new level.
Sealing and waterproofing the shower and enclosure
Ensuring that your outdoor shower and enclosure are properly sealed and waterproofed is essential to prevent any water damage and prolong their longevity. Here are some steps you can follow to achieve this:
- Clean the shower surface thoroughly, removing any dirt or debris.
- Apply a waterproofing membrane or sealant, focusing on the areas most prone to water exposure.
- Let the sealant dry according to the manufacturer’s instructions.
- Finish off by adding a top coat or sealer for extra protection.
Incorporating additional features such as lighting, seating, and storage
Enhancing your outdoor shower with additional features will not only increase its functionality but also create a more enjoyable and convenient experience. Consider these ideas:
Lighting
Install outdoor lighting around your shower area to create a warm and inviting ambiance during the evening hours. Use weather-resistant fixtures that are suitable for outdoor use. LED lights are a popular choice due to their energy-efficiency and durability.
Seating
Adding seating options near your outdoor shower provides a comfortable spot to relax and enjoy the soothing effects of water. Choose weather-resistant materials such as teak or resin wicker, which can withstand exposure to the elements.
Storage
Having storage solutions near your outdoor shower is a practical addition. Consider installing shelves or hooks to hold towels, toiletries, and other shower essentials. Waterproof storage containers can also be used to keep items safe from moisture.
Landscaping and enhancing the surrounding area for an inviting atmosphere
No outdoor shower is complete without a well-designed landscape that complements the surrounding environment. Here are some tips to enhance the overall atmosphere:
Planting
Choose plants and flowers that thrive in your climate and can withstand the water and sunlight exposure. Position them strategically around the shower area to create a natural and soothing oasis.
Paving or decking
Consider paving or decking the area around your outdoor shower to create a clean and stylish surface. Options such as natural stone, concrete pavers, or wooden decking can add a touch of elegance to your space.
Soothing elements
To enhance the overall relaxation experience, add elements such as a small fountain or a water feature near your outdoor shower. The gentle sound of flowing water can create a tranquil atmosphere.
By taking time to add these finishing touches and accessories, you can transform your outdoor shower with hot water into a true oasis that combines convenience, comfort, and style. Enjoy the luxury of an outdoor shower while immersing yourself in the beauty of nature.
Maintenance And Care Tips For Your Outdoor Shower
When you have an outdoor shower with hot water, it becomes an essential part of your outdoor space. However, like any other feature, proper maintenance and care are crucial to ensure its longevity and functionality. In this section, we will discuss some important maintenance and care tips for your outdoor shower, including regular cleaning and maintenance routines, winterizing the shower to prevent freezing and damage, and troubleshooting common issues and repairs.
Regular cleaning and maintenance routines
To keep your outdoor shower in optimal condition, regular cleaning and maintenance routines are necessary. Here are some steps you can follow:
- Clean the shower enclosure: Start by cleaning the shower enclosure with a mild detergent or soap and water solution. Use a soft brush or cloth to scrub away any dirt or grime. Rinse thoroughly with clean water and allow it to dry.
- Unclog showerheads and faucets: Over time, showerheads and faucets can become clogged with mineral deposits or debris. To unclog them, you can soak the showerheads and faucets in a vinegar solution and scrub gently with a brush. Rinse them well before reattaching.
- Inspect and tighten connections: Regularly inspect the connections of your outdoor shower, including pipes, valves, and fittings. Look for any signs of leaks or loose connections. Tighten them if necessary using appropriate tools.
- Check for mold or mildew: Mold and mildew can develop in damp areas of your outdoor shower. To prevent their growth, regularly inspect and clean the shower area, especially corners and crevices. Use a mixture of bleach and water to remove any existing mold or mildew.
Winterizing the shower to prevent freezing and damage
When the colder months approach, it is essential to winterize your outdoor shower to prevent freezing and potential damage. Follow these steps:
- Shut off the water supply: Locate the valve that controls the water supply to your outdoor shower and turn it off. This will prevent any water from running through the pipes during freezing temperatures.
- Drain the pipes: Open all the outdoor shower faucets and allow any remaining water to drain completely. Use a compressed air blower to blow out any excess water from the pipes to prevent freezing.
- Protect exposed pipes: Cover any exposed pipes with insulation sleeves or wraps to provide an extra layer of protection against freezing temperatures.
- Store showerhead and accessories: Remove the showerhead and any other detachable accessories. Drain and store them in a dry, indoor location to prevent damage from freezing or moisture.
Troubleshooting common issues and repairs
Even with regular maintenance, outdoor showers may encounter some common issues. Here are a few troubleshooting tips and repairs you can perform:
- Low water pressure: If you notice a decrease in water pressure, check for any clogs or obstructions in the showerhead or water supply line. Clean or replace the showerhead and ensure that the water supply line is free from any debris.
- Leaking connections: Inspect all the connections of your outdoor shower for any leaks. Tighten loose connections or replace damaged fittings to resolve the issue.
- Problems with hot water: If your outdoor shower is not providing hot water, check the water heater and thermostat settings. Adjust them accordingly or seek professional assistance if needed.
- Cracked or damaged tiles: If you have a tiled outdoor shower, keep an eye out for any cracked or damaged tiles. Replace them promptly to prevent further damage and potential injuries.
By following these maintenance and care tips for your outdoor shower, you can ensure its longevity, functionality, and a refreshing and enjoyable experience for years to come.
Enjoying Your Outdoor Shower: Tips And Considerations
Installing an outdoor shower with hot water brings a whole new level of convenience and enjoyment to your outdoor space. Whether you’re using it to rinse off after a dip in the pool or to clean up after a long day of gardening, an outdoor shower can become a practical and refreshing addition to your outdoor lifestyle. However, there are a few tips and considerations that can maximize your privacy, comfort, and the overall experience of your outdoor shower.
Maximizing Privacy and Comfort in an Outdoor Setting
When it comes to outdoor showering, privacy and comfort are of utmost importance. Here are a few tips to help you create a serene and private setting:
- Choose a strategic location: Position your outdoor shower in an area that is shielded from prying eyes. Consider using natural barriers like fences, bushes, or privacy screens to create a secluded space.
- Install curtains or enclosures: To enhance privacy, you can hang fabric curtains or install enclosures around your shower area. This way, you’ll have the option to close them when you desire more privacy, and open them up to enjoy the view and fresh air.
- Comfortable flooring: Make sure the flooring of your outdoor shower is slip-resistant and comfortable to stand on. Consider using materials like teak, stone, or composite decking, which are not only practical but also add a touch of elegance to your setup.
Utilizing the Shower for Various Purposes
An outdoor shower can serve multiple functions beyond just a quick rinse. Here are a few ways to get the most out of your outdoor shower:
- Post-swim rinse: Keep your pool water clean by rinsing off chlorine or saltwater before entering your house. This will save you time and effort in keeping your interiors pristine.
- Garden cleanup: Use your outdoor shower to wash off dirt, mud, or chemicals after spending time in your garden. It’s not only convenient but also beneficial for your plants, as it prevents the introduction of harmful substances.
- Pets’ bath time: Turn your outdoor shower into a convenient bathing spot for your furry friends. The adjustable water temperature will make it easier to rinse off them without any discomfort.
Embracing the Nature and Sustainability Aspects of Outdoor Showering
Enjoying an outdoor shower allows you to embrace and appreciate the natural surroundings while being mindful of sustainability:
- Water-efficient fixtures: Opt for water-saving showerheads and faucets to minimize water consumption. This not only helps conserve water but also reduces your utility bills.
- Greywater recycling: If permitted in your area, consider implementing a greywater system that collects shower water and reuses it for landscape irrigation. This sustainable practice minimizes your environmental impact and conserves water resources.
- Natural materials: Use eco-friendly materials for the construction of your outdoor shower. Choose sustainable wood, non-toxic paints, and recyclable materials whenever possible.
By taking these tips and considerations into account, you can create an outdoor shower that not only meets your practical needs but also enhances your overall outdoor experience. Whether it’s privacy, versatility, or sustainability, your outdoor shower will become a harmonious addition to your outdoor oasis.
Frequently Asked Questions
How Do You Hot Water An Outdoor Shower?
To hot water an outdoor shower, you’ll need a water heater system connected to the shower. The water heater heats the water, allowing you to enjoy a warm shower outside. Contact a professional plumber to install the water heater and ensure it’s appropriate for outdoor use.
Enjoy your hot outdoor showers!
Do You Need Plumbing For An Outdoor Shower?
Yes, plumbing is necessary for an outdoor shower. It allows for the proper supply of water and drainage.
How Do You Run A Hot Water Pipe Underground?
To run a hot water pipe underground, follow these steps: 1. Ensure proper insulation for the pipe to prevent heat loss. 2. Dig a trench of appropriate depth and width for the pipe. 3. Lay the pipe in the trench and secure it with hangers or brackets.
4. Connect the pipe to the water source and hot water system. 5. Fill the trench with soil and compact it to protect the pipe.
Can You Shower With Just Hot Water?
Yes, you can shower with just hot water. Hot water can be used alone for showering.
Conclusion
After going through the step-by-step process of installing an outdoor shower with hot water, you are now equipped with the knowledge to create your own little oasis in your backyard. By following the guidelines and using the appropriate materials, you can enjoy the benefits of a refreshing shower under the open sky.
With a little effort and dedication, you can turn your outdoor space into a luxurious retreat. So, take the plunge and start enjoying the ultimate relaxation and convenience of an outdoor shower with hot water today.
