To install American Standard shower walls, carefully follow the manufacturer’s instructions for a successful installation. American Standard shower walls are a durable and stylish choice for any bathroom renovation project.
They come in a variety of sizes and designs to suit your specific needs. Whether you are replacing old walls or starting from scratch, installing American Standard shower walls is a straightforward process. By following the manufacturer’s instructions, you can ensure a proper fit and a secure installation.
In this guide, we will provide step-by-step instructions on how to install American Standard shower walls, making your bathroom renovation project a success.
Preparing For Installation
Before you begin the installation process for your American Standard Shower Walls, it’s crucial to properly prepare to ensure a smooth and successful project. This step-by-step guide will walk you through the necessary tasks to complete before you start the installation.
Choosing the Right American Standard Shower Walls
The first step in preparing for installation is to choose the right American Standard Shower Walls that suit your needs and preferences. Ensure you select a shower wall system that complements your bathroom decor and provides the features you desire. American Standard offers a wide range of shower walls with various designs, colors, and configurations.
To choose the perfect shower wall system, consider the size of your bathroom, the style you desire, and any specific features you need such as shelves, grab bars, or built-in soap dishes. Take measurements of your shower space before making a decision to ensure a proper fit.
Gathering the Necessary Tools and Supplies
Next, gather all the tools and supplies you’ll need for the installation. Having everything ready and easily accessible will save you time and frustration during the process. Here’s a list of the essential tools and supplies you should have on hand:
| Tools | Supplies |
|---|---|
| • Utility knife | • Caulk gun |
| • Measuring tape | • Silicone adhesive |
| • Level | • Screws |
| • Drill | • Wall anchors |
| • Screwdriver | • Waterproofing membrane |
Make sure you have all the listed tools and supplies readily available before you begin the installation process.
Measuring and Prepping the Installation Area
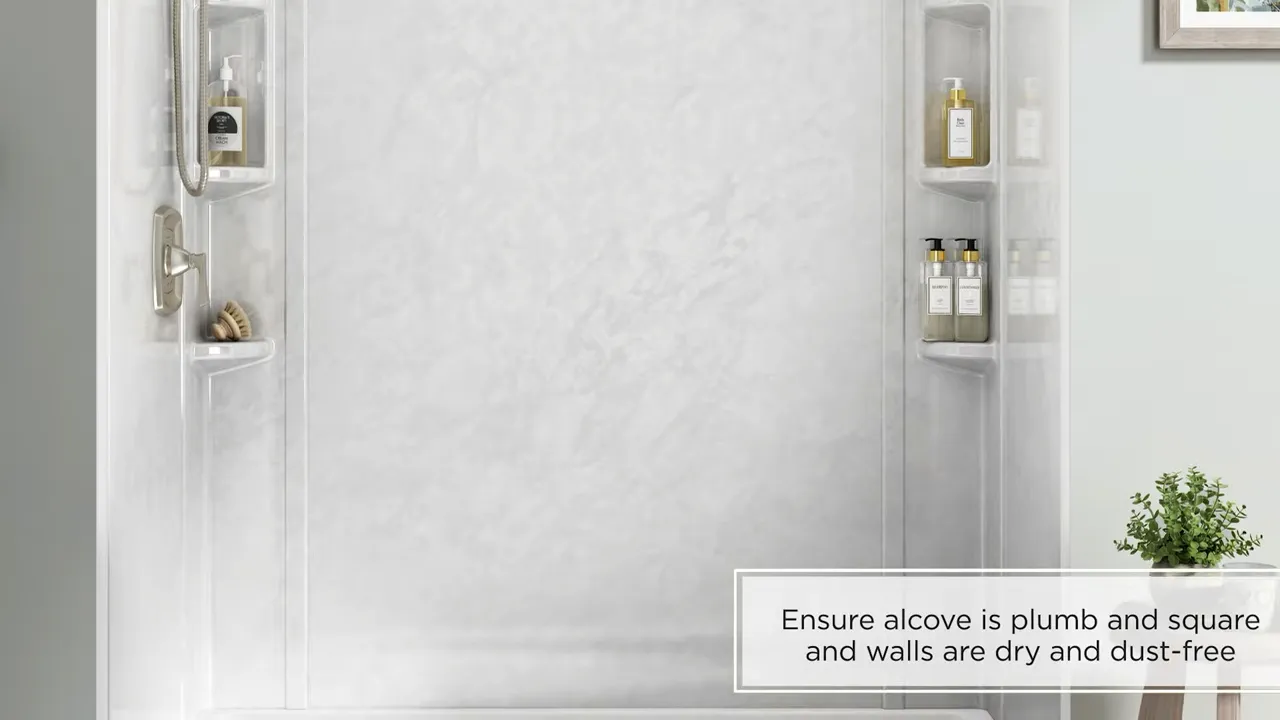
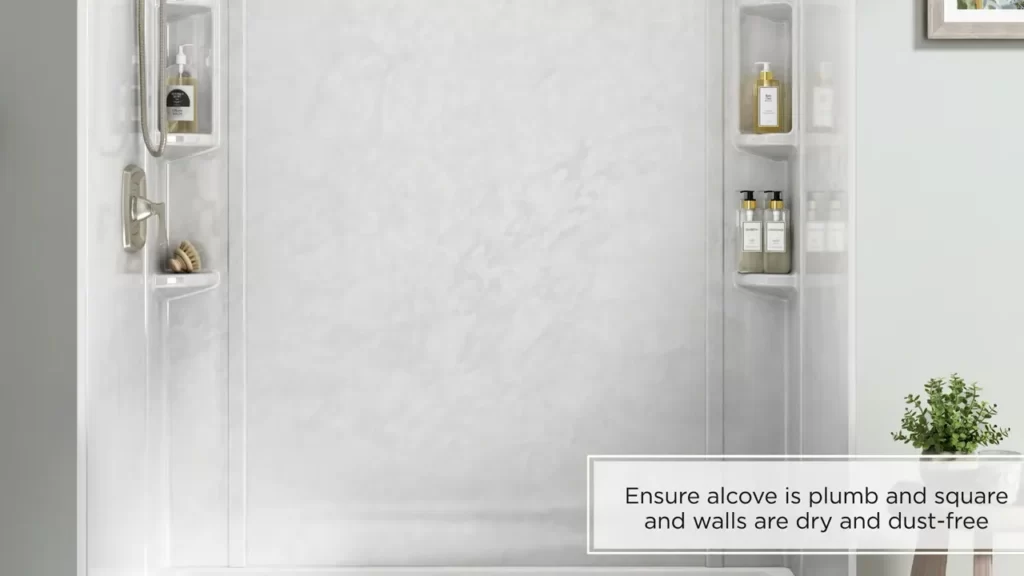
Properly measuring and prepping the installation area is vital to ensure accurate and seamless installation of your American Standard Shower Walls. Here’s a step-by-step guide to assist you in this process:
- Start by measuring the height, width, and depth of your shower space. It’s essential to get precise measurements to ensure a proper fit for your shower walls.
- Next, inspect the installation area for any protrusions, uneven surfaces, or water damage that may affect the installation. Correct any issues before proceeding.
- Prepare the walls by removing any existing wall coverings, such as tiles or wallpaper. Ensure the surface is clean, dry, and free from any debris or residue.
- Apply a waterproofing membrane to the area where the shower walls will be installed. This will help protect the underlying structure from moisture damage.
By carefully measuring and preparing the installation area, you’ll set a solid foundation for a successful installation of your American Standard Shower Walls.
Installing The Shower Base
Installing the shower base is an essential step in the process of installing American Standard shower walls. The shower base provides a stable foundation for the entire shower installation, ensuring a secure and watertight enclosure. In this section, we will guide you through the steps of positioning the shower base, leveling and securing it, and applying sealant and waterproofing for a professional finish.
Positioning the Shower Base
To begin installing the shower base, you need to carefully position it in the desired location. Make sure the floor is clean and level before starting. Here are the steps to follow:
- Measure the area where the shower base will be installed to ensure it fits properly.
- Place the shower base in the desired position, ensuring that it aligns with the drain pipe.
- Check for any gaps or spaces between the shower base and the wall. If there are any, adjust the position of the base accordingly.
- Use a level to ensure the base is evenly positioned and adjust as necessary.
Leveling and Securing the Base
Once the shower base is in position, it’s time to level and secure it. This step ensures stability and prevents any movement or shifting over time. Follow these guidelines for a secure installation:
- Use shims, if necessary, to level the shower base. Place the shims under the base until it is completely level in all directions.
- Secure the base by screwing it into the subfloor. Use screws that are compatible with your specific shower base and make sure they are properly spaced for maximum support.
- Double-check the levelness of the base after securing it and make any necessary adjustments.
Applying Sealant and Waterproofing
To ensure a watertight shower installation, it’s crucial to apply sealant and waterproofing measures. This step protects against leaks and water damage. Follow these steps for a proper seal:
- Carefully clean the area where the base meets the walls to ensure there is no dirt or debris.
- Apply a generous bead of silicone sealant along the edges of the shower base where it meets the walls. Be sure to cover the entire perimeter for a watertight seal.
- Smooth the sealant using a caulk smoothing tool or your finger, making sure there are no gaps or air bubbles.
- Allow the sealant to dry fully according to the manufacturer’s instructions before proceeding.
By following these step-by-step instructions for installing the shower base, you can achieve a secure and professional finish for your American Standard shower walls. Taking the time to properly position, level, secure, and seal the base will ensure a long-lasting and leak-free shower installation.
Setting Up The Wall Panels
Installing American Standard Shower Walls is a great way to enhance both the functionality and aesthetic appeal of your bathroom. To ensure a successful installation, it’s important to properly set up the wall panels. In this section, we will walk you through the process, step by step. From preparing the first panel to ensuring proper panel alignment, we’ve got you covered.
Preparing the First Panel
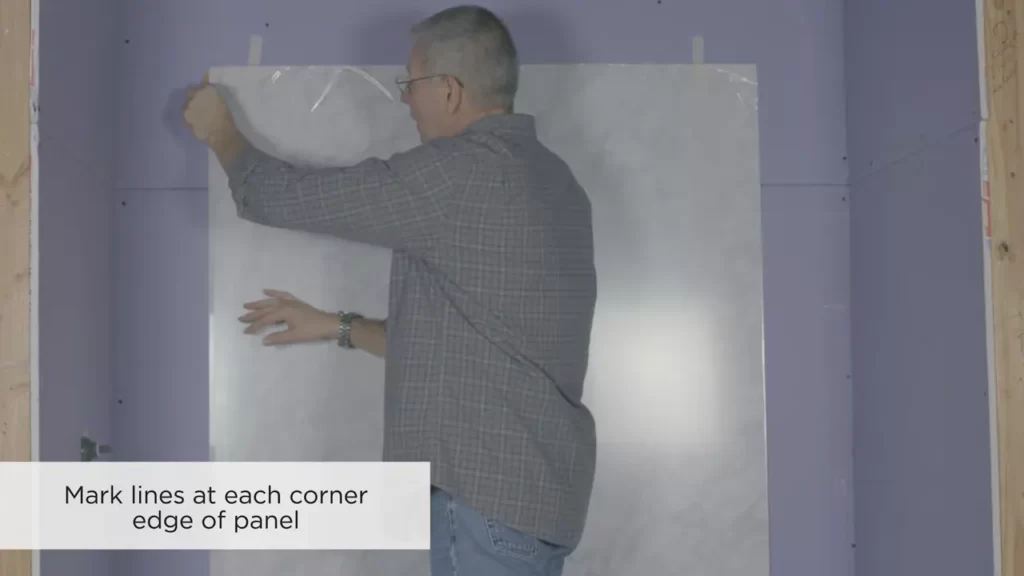
The first step in setting up the American Standard shower walls is to prepare the first panel. Before you begin, make sure you have the necessary tools and materials on hand. These may include a level, measuring tape, adhesive, caulking gun, and a utility knife.
Start by measuring the height and width of the wall where the panel will be installed. Use the measurements to cut the first panel to the appropriate size. Ensure that the panel is cut accurately, as this will impact the overall appearance of the installation.
TIP: It is always a good idea to check the manufacturer’s instructions for any specific measurements or guidelines.
Attaching the Panels to the Wall
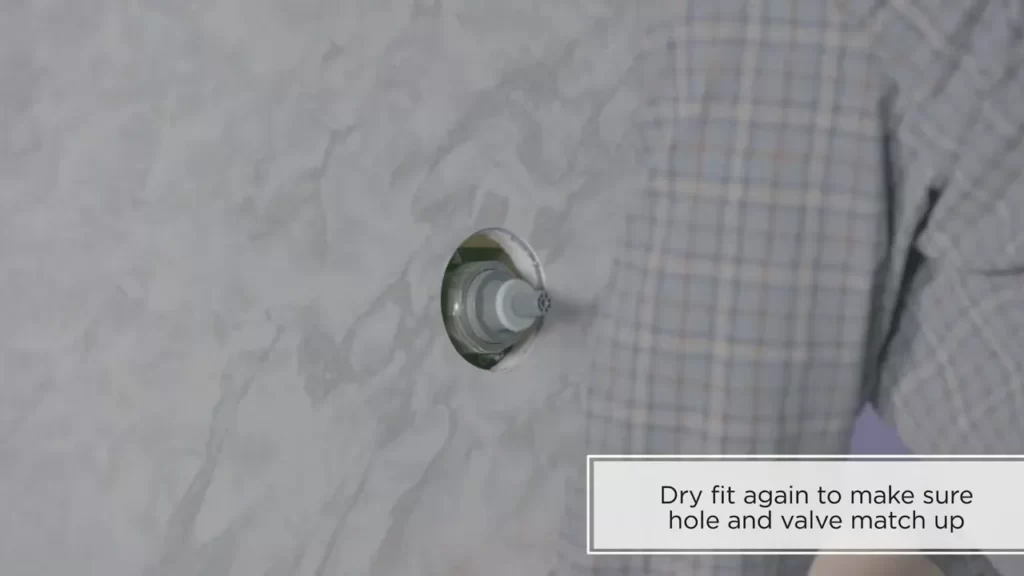
Once the first panel is prepared, it’s time to attach it to the wall. Begin by applying adhesive to the back of the panel, ensuring full coverage. Make sure to follow the manufacturer’s guidelines for the appropriate adhesive to use.
After applying the adhesive, carefully position the panel against the wall. Press it firmly to ensure proper adhesion. Use a level to check if the panel is straight and adjust as necessary. Repeat the process for the remaining panels, ensuring a snug fit between each panel.
Ensuring Proper Panel Alignment
Proper panel alignment is crucial for a professional-looking installation. To ensure the panels are aligned correctly, use a level to check both the vertical and horizontal alignment. Make any necessary adjustments before the adhesive dries.
TIP: If you notice any gaps or unevenness between the panels, use caulking to fill in the spaces and create a seamless appearance.
By following these steps and taking the time to properly set up the wall panels, you can achieve a beautiful and durable American Standard shower installation. Don’t rush the process – take your time to ensure everything is aligned and secure. With a little patience and attention to detail, you’ll have a stunning shower that will stand the test of time.
Finishing Touches And Maintenance
Once you have successfully installed your American Standard shower walls, it’s time to add those finishing touches and perform regular maintenance to ensure the longevity of your investment. Properly installing trim and accessories, caulking and sealing the joints, and following regular maintenance tips will not only enhance the appearance of your shower walls but also prevent any potential issues down the line. Read on to discover the essential steps and practices to complete the installation process.
Installing Trim and Accessories
Installing trim and accessories is a crucial step in achieving a polished and seamless look for your American Standard shower walls. Here’s a step-by-step guide to help you install the trim and accessories correctly:
- Begin by measuring and cutting the trim pieces to the appropriate lengths, ensuring a precise fit.
- Apply a small amount of construction adhesive to the back of each trim piece and press it firmly against the wall, aligning it with the edges of the shower walls.
- Secure the trim in place using finishing nails or screws, ensuring they are concealed for a neat appearance.
- Once the trim is securely fastened, fill any gaps or nail holes with a suitable filler or caulk.
- Finally, use a paintbrush or roller to apply a finishing coat of paint or stain to the trim, complementing the overall aesthetic of your bathroom.
Caulking and Sealing the Joints
Proper caulking and sealing of the joints is essential to prevent water leakage and ensure the durability of your American Standard shower walls. Follow these steps to achieve an effective seal:
- Thoroughly clean the joints between the shower walls using a mild cleanser and a sponge, ensuring the area is free from dirt, debris, and excess moisture.
- Cut the tip of the caulk tube at a 45-degree angle and load it into a caulking gun.
- Apply a steady and even bead of caulk along the joints, ensuring complete coverage and avoiding any gaps.
- Smooth the caulk with a caulk finishing tool or your finger, removing any excess and creating a neat finish.
- Allow the caulk to dry completely before using the shower, following the manufacturer’s recommended drying time.
Regular Maintenance Tips for Longevity
Performing regular maintenance on your American Standard shower walls is crucial to extend their lifespan and keep them in optimal condition. Here are some maintenance tips to keep in mind:
- Regularly clean the shower walls with a non-abrasive cleaner to remove soap scum and prevent the build-up of grime.
- Avoid using harsh chemicals or abrasive materials that can damage the surface of the shower walls.
- Inspect the caulking periodically and reapply if any cracks or gaps develop.
- Check for any signs of water damage or leaks around the shower walls and promptly address them to prevent further issues.
- Ensure proper ventilation in your bathroom to prevent excessive moisture, which can lead to mold and mildew growth.
By following these regular maintenance tips and taking care of the finishing touches like trim and accessories installation, caulking and sealing the joints, you can enjoy the benefits of your American Standard shower walls for years to come.
Frequently Asked Questions
How Do You Attach Shower Panels To The Wall?
To attach shower panels to the wall, follow these steps: 1. Measure and mark the desired position on the wall. 2. Use a drill to create holes for mounting brackets. 3. Attach the brackets to the wall using screws. 4. Slide the shower panels onto the brackets.
5. Secure the panels in place by tightening the screws.
Do You Need Cement Board Behind Shower Surround?
Yes, it is recommended to have cement board behind the shower surround. It provides a strong, water-resistant surface for proper tile installation and helps prevent water damage and mold growth.
What Kind Of Adhesive To Use For A Shower Surround?
For a shower surround, use a waterproof adhesive specifically designed for tile or stone. It provides strong and durable bonding, ensuring the surround stays in place. Choose an adhesive that is suitable for wet areas and can withstand moisture and humidity.
How Do You Install A Shower Wall Surround?
To install a shower wall surround, follow these steps: 1. Measure the area and purchase the appropriate surround kit. 2. Prepare the wall by removing old tiles and repairing any damage. 3. Apply adhesive to the wall and carefully place the surround panels.
4. Secure the panels in place with screws or clips as recommended by the manufacturer. 5. Seal the edges with silicone caulk for a waterproof finish.
Conclusion
Installing American Standard shower walls can be a straightforward and rewarding task. By following the step-by-step instructions provided in this blog post, you can ensure a successful installation. Remember to gather all the necessary tools and materials before starting the process.
With careful attention to detail, you will soon enjoy a beautifully transformed shower space that is both durable and aesthetically pleasing. So, get ready to revamp your bathroom with American Standard shower walls!