To install a tub drain, first, remove the old drain by turning it counterclockwise. Then, apply plumber’s putty to the flange of the new drain and insert it into the drain hole.
Finally, tighten the drain by turning it clockwise until it is secure. Installing a tub drain is a task that may seem intimidating at first, but with the right knowledge and tools, it can be a relatively straightforward process. Whether you are replacing an old drain or installing a new one, having a properly functioning tub drain is essential for efficient drainage and preventing leaks.
We will provide you with a step-by-step guide on how to install a tub drain, ensuring that you can enjoy your bathtub without any plumbing troubles. So, let’s dive into the process and get your tub drain installed in no time.
Materials You Will Need
Wrench
If you’re attempting to install a tub drain, a wrench is an essential tool you’ll need in your arsenal. This tool allows you to tighten and secure various components of the drain assembly, ensuring a watertight seal. A wrench provides the necessary leverage to twist and turn connectors, making it easier to install and remove the drain during maintenance or repairs.
Plunger
A plunger is one of those versatile tools that every homeowner should have on hand, especially when it comes to installing a tub drain. While its primary use is for unclogging drains, it can also be handy when you need to create suction to remove stubborn debris or air pockets from the drain. By applying pressure and creating a seal, a plunger can help you ensure that your tub drain is properly installed and functioning optimally.
Screwdriver
A screwdriver is a critical tool for any DIY enthusiast, and installing a tub drain is no exception. Whether you’re dealing with screws, fasteners, or other components, a screwdriver is essential for proper installation. By providing the necessary torque, a screwdriver allows you to tighten or loosen screws and fittings, ensuring a secure and stable tub drain assembly.
PVC Pipe
When it comes to tub drain installation, PVC pipes are a popular choice due to their durability and affordability. PVC pipes are lightweight, easy to cut, and resistant to corrosion and chemical damage. Whether you need to extend the drainpipe or connect various components, having PVC pipes of the appropriate size and length will ensure a seamless installation process.
Tub Drain Kit
A tub drain kit includes all the necessary components for a successful installation. It typically includes a drain flange, drain body, and other fittings required to create a watertight seal. Investing in a tub drain kit saves you time and effort, as you don’t have to search for individual parts separately. Ensure that the kit you choose is compatible with your tub and plumbing system to avoid any complications during the installation process.
Silicone Sealant
To achieve a secure and leak-free tub drain installation, silicone sealant is a vital ingredient. It helps create a watertight seal between the drain components and the tub, preventing any water leakage. The silicone sealant acts as a barrier against moisture and ensures longevity for your tub drain system. Make sure to choose a high-quality silicone sealant suitable for your specific tub and plumbing materials.

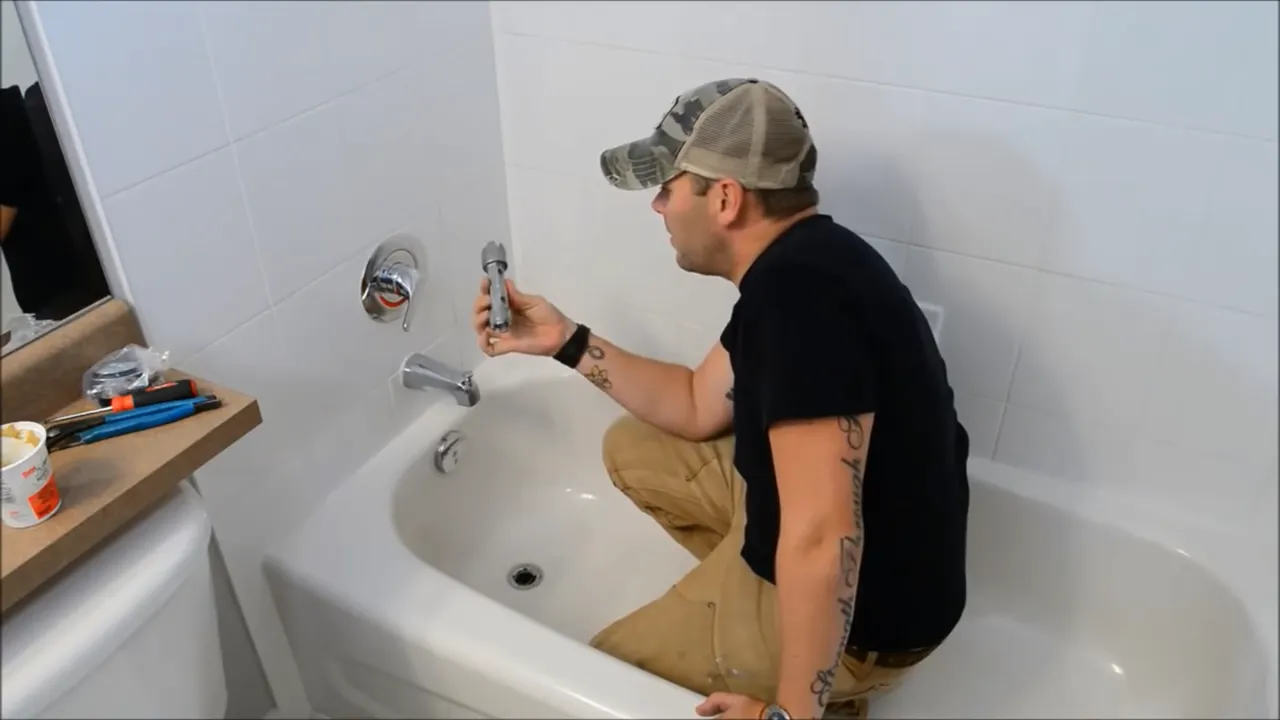
Step 1: Remove The Old Drain
If you’re looking to upgrade your tub or replace a worn-out drain, the first step is to remove the old drain. This process may seem intimidating, but with the right tools and know-how, it can be a straightforward task. Let’s walk through the process of removing the old drain step by step.
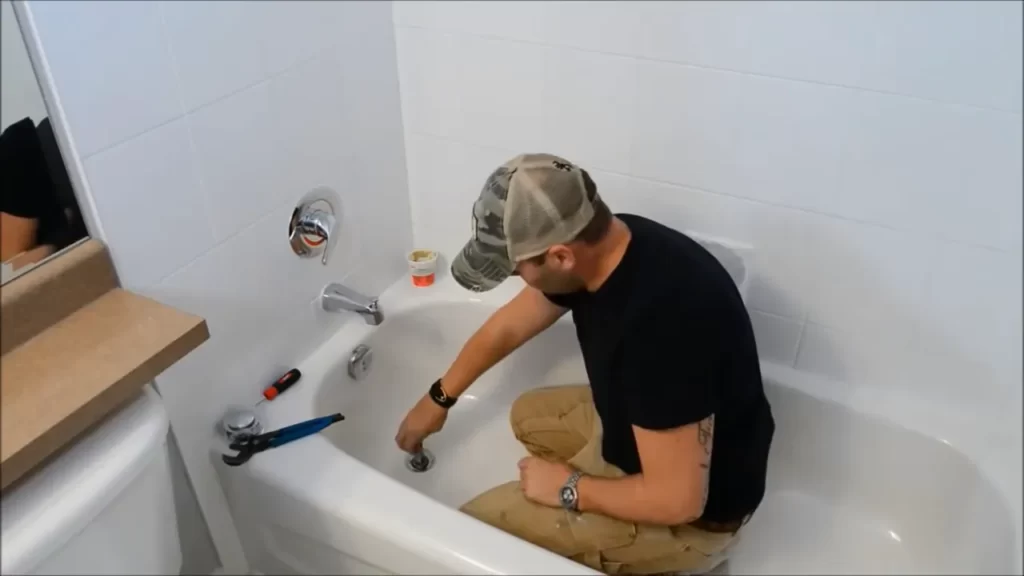
Locate the drain assembly
The first thing you need to do is locate the drain assembly. This is usually found at the bottom of the tub, right below the faucet. Look for a circular opening with a metal stopper or grate covering it. You’ll need to remove this grate to access the drain.
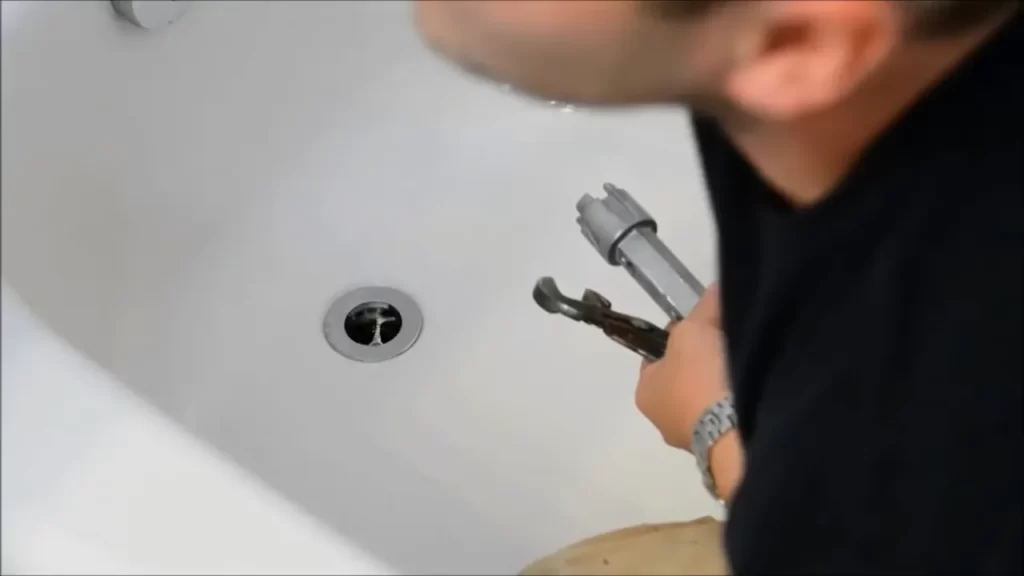
Use a wrench to loosen the drain body
Once you’ve located the drain assembly, you’ll need to use a wrench to loosen the drain body. The drain body is the part that connects the drain to the tub and pipes below. It’s typically secured tightly to prevent leaks. Insert the wrench into the drain body and turn it counterclockwise to loosen it. Be sure to grip the wrench firmly to prevent slipping and damaging the drain or tub surface.
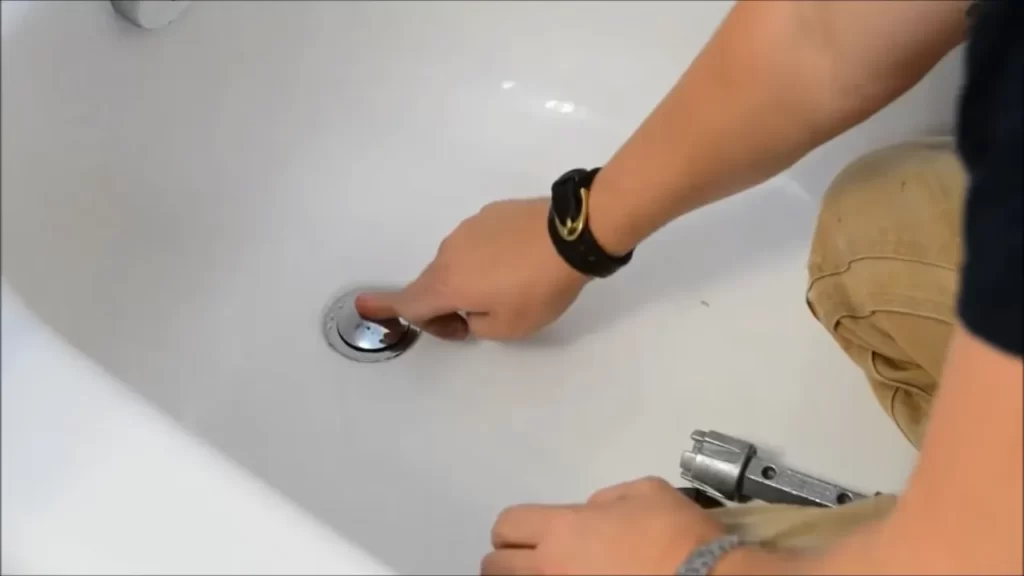
Remove the drain body and any remaining parts
After loosening the drain body, you can now remove it from the drain assembly. Carefully lift the drain body out of the tub, keeping an eye out for any remaining parts that may be attached. Sometimes, there may be additional pieces like a drain stopper or overflow plate that need to be removed as well.
Inspect the drain body and any other removed parts to ensure they’re in good condition. If you notice any signs of damage or corrosion, it’s a good idea to replace these components to prevent future issues.
By following these steps, you’ll be able to successfully remove the old tub drain. Keep in mind that every tub may have slight variations in the drain assembly, so it’s essential to consult the manufacturer’s instructions if you encounter any difficulties.
Step 2: Prepare The Area
In order to ensure a successful installation of your tub drain, it is important to properly prepare the area before getting started. By following these simple steps, you can create a clean and ideal environment for the installation process.
Clean the tub and surrounding area thoroughly
Before beginning the installation, it is crucial to clean the tub and the surrounding area. This will remove any dirt, debris, or soap scum that could potentially interfere with the installation process. Use a mild cleaner and a sponge or non-abrasive cloth to scrub the surface of the tub. Pay special attention to the drain area, making sure to remove any residue.
Use a plunger to remove any standing water in the tub
If there is any standing water in the tub, it is important to remove it before proceeding with the installation. A plunger is an effective tool for this task. Place the plunger over the drain and firmly push down and pull up to create suction. Repeat this motion several times until the water begins to drain. This will not only make the installation process easier but also help prevent any potential water damage.
Wipe down the area to ensure it is dry and clean
After removing any standing water, it is essential to wipe down the area to ensure it is completely dry and clean. Use a clean, dry cloth or paper towels to thoroughly dry the surface of the tub and the area around the drain. This will help ensure a strong bond between the tub drain and the tub surface, preventing any leaks in the future.
Now that you have prepared the area for the tub drain installation, you are ready to move on to the next step. Taking the time to properly clean and dry the tub will help ensure a smooth and successful installation process.
Step 3: Install The New Drain
Apply a Layer of Silicone Sealant around the Drain Hole
Before installing the new drain, it’s important to create a watertight seal to prevent any leaks. To do this, apply a layer of silicone sealant around the drain hole. Silicone sealant not only acts as a barrier between the drain and the bathtub, but it also helps to ensure a secure fit.
To apply the silicone sealant, follow these simple steps:
- Clean the drain hole and surrounding area thoroughly using a mild cleanser.
- Apply silicone sealant around the inner edge of the drain hole using a caulking gun. Start from the bottom and work your way up.
- Ensure that the silicone sealant covers the entire circumference of the drain hole.
- Smooth out the silicone sealant using a small putty knife or your finger to create an even layer.
- Allow the silicone sealant to cure for the recommended time specified in the manufacturer’s instructions.
Insert the New Drain Assembly into the Hole
Once the silicone sealant has cured, it’s time to insert the new drain assembly into the hole. Follow these steps to ensure a proper installation:
- Remove any protective covering or packaging from the new drain assembly.
- Apply a small amount of plumber’s putty to the underside of the flange of the drain body.
- Insert the new drain assembly into the drain hole, making sure the flange sits flush against the bathtub surface.
- Press down firmly on the drain assembly to ensure a secure fit.
- Wipe away any excess putty or sealant using a clean cloth.
Use a Wrench to Tighten the Drain Body Securely
To complete the installation process, use a wrench to tighten the drain body securely. This step is crucial in preventing any water leaks and ensuring the drain functions properly. Here’s how to do it:
- Insert the wrench into the opening on the drain body.
- Tighten the drain body by turning the wrench clockwise until it is securely fastened.
- Be careful not to overtighten, as this can cause damage to the drain assembly or the bathtub surface.
- Check for any signs of leakage around the drain body, and if necessary, use the wrench to make any additional adjustments.
By following these simple steps, you’ll be able to successfully install a new tub drain. Remember to take your time and ensure each step is done correctly for a secure and leak-free installation.
Step 4: Connect The Pipes
Once you have cut and prepared the PVC pipe to the desired length, it is time to connect it to the drain assembly. This step is crucial as it ensures a secure connection between the pipe and the drain, preventing any leaks or future issues. Follow the instructions below to connect the pipes effectively.
Cut the PVC pipe to the desired length
The first thing you need to do is cut the PVC pipe to the desired length. Measure the distance between the drain assembly and the main drain line to determine the length of the pipe you will need. Use a hacksaw or a PVC pipe cutter to make a clean and precise cut. Take proper safety precautions when using cutting tools.
Attach the pipe to the drain assembly using PVC cement
Now that you have the PVC pipe cut to the correct length, it’s time to attach it to the drain assembly. To ensure a secure connection, you will need PVC cement. Apply PVC cement to the end of the pipe and the inside of the coupling or adapter that connects to the drain assembly. Make sure to spread the cement evenly to create a strong bond.
To join the parts together, insert the pipe into the coupling or adapter, twisting slightly to spread the cement evenly. Hold the pieces in place for a few seconds to allow the cement to set. Check the manufacturer’s instructions for the recommended drying time. This step guarantees a reliable and long-lasting connection between the pipe and the drain assembly.
Ensure a secure connection between the pipe and the drain
Once the pipe is connected, it is crucial to ensure a secure connection between the pipe and the drain assembly. Inspect the joint carefully to ensure there are no gaps or loose connections. Apply gentle pressure to check for any movements or wiggle. Tighten any loose parts or reapply PVC cement if necessary.
Remember, a secure connection is essential to prevent any leaks or water damage. Take the time to double-check and make any adjustments needed to ensure a tight and reliable connection.
With the pipes successfully connected, you are now ready to move on to the next step of the tub drain installation process. Stay tuned for more detailed instructions on how to complete the installation and enjoy your new tub!
Step 5: Test For Leaks
Once you have successfully installed the tub drain, it is crucial to thoroughly test for leaks before considering the job done. This step ensures that you have achieved a watertight seal, preventing any potential water damage in the future. Here’s how you can test for leaks:
Fill the tub with water
The first step in checking for leaks is to fill the tub with water. Make sure to plug the drain using a stopper or a rag, ensuring the water level rises above the drain assembly. This will create the necessary pressure to identify any leaks that might be present.
Check for any leaks around the drain assembly and pipe connection
Once the tub is filled with water, carefully inspect the drain assembly and the pipe connection for any signs of leakage. The most common areas where leaks can occur are around the drain flange and the pipe threads. Look for any water seeping out, puddling, or dripping. Be thorough in your examination, paying close attention to any potential trouble spots.
If necessary, tighten connections or apply additional sealant
If you notice any leaks during the inspection, don’t panic! It’s a common occurrence that can be easily fixed. Take note of the exact location and proceed to tighten the connections. Use a wrench to gently tighten any loose fittings, ensuring they are snug but not over-tightened. If the leak persists, it may be necessary to apply additional sealant.
When applying sealant, make sure to use a waterproof silicone or plumber’s putty specifically designed for tub drains. Apply a thin and even layer around the drain flange or the pipe threads, depending on where the leak is occurring. Be careful not to overdo it, as too much sealant can cause problems in the future.
After making adjustments or applying sealant, repeat the test by refilling the tub with water and checking for leaks again. If all connections are secure and no leaks are present, you have successfully installed the tub drain!
Remember, testing for leaks is a crucial step in the tub drain installation process. By following this step, you can ensure a watertight seal, preventing potential water damage and saving yourself from future headaches. Take your time, be thorough in your inspection, and make any necessary adjustments or additions to achieve a leak-free tub drain.
Step 6: Clean Up
After successfully installing the tub drain, it’s time to put the finishing touches on your project. Follow these essential steps to ensure the job is complete and your tub is ready for use.
Wipe away any excess silicone sealant or PVC cement
Inspect the drain area to make sure there are no traces of silicone sealant or PVC cement sticking out. If you notice any excess, take a clean cloth or paper towel and gently wipe it away. This will give your tub a clean, polished appearance while removing any potential hazards.
Dispose of any leftover materials properly
Don’t let unused materials clutter up your workspace. Dispose of any remaining silicone sealant or PVC cement in accordance with local regulations. If possible, recycle any plastic containers or tubes. Keeping a clean and organized area not only improves safety but also makes it easier for future projects.
Give the tub a final clean to remove any residue
Now that everything is installed, take a moment to give your tub a thorough cleaning. This will remove any residue or debris that may have accumulated during the installation process. Use a non-abrasive cleaner and a soft sponge or cloth to gently scrub the tub’s surface. Rinse thoroughly with lukewarm water to remove any lingering cleaning products.
By following these steps, you’ll not only complete the installation of your tub drain but also ensure that your tub is clean and ready to be enjoyed. Take pride in your work and enjoy the satisfaction of a job well done!
Additional Tips And Considerations
When it comes to installing a tub drain, there are a few additional tips and considerations that can help ensure a successful installation and prevent any future issues. By following these guidelines, you can enjoy a properly functioning tub drain for years to come.
Double-check the manufacturer’s instructions for any specific requirements
Before you begin the installation process, it is important to double-check the manufacturer’s instructions for any specific requirements. Different tub drains may have unique installation steps or tools needed, so make sure to familiarize yourself with these details beforehand. By following the instructions provided, you can avoid any unnecessary complications or mistakes.
Consult a professional if you are unsure about any steps or encounter difficulties
If you are unsure about any steps or encounter difficulties during the installation process, it is always best to consult a professional. Professionals have the expertise and experience to handle any complex situations and can provide valuable guidance to ensure the tub drain is installed correctly. Don’t hesitate to reach out for assistance if needed to avoid any potential damage or further complications.
Regularly maintain and clean your tub drain to prevent clogs and other issues
Maintaining and cleaning your tub drain on a regular basis is essential to prevent clogs and other issues. Over time, debris, soap scum, and hair can accumulate in the drain, causing blockages and reduced water flow. To prevent this, it is important to clean the drain regularly using a suitable drain cleaner or natural remedies such as baking soda and vinegar. Additionally, using a drain cover can help prevent large debris from entering the drain and causing clogs.
In conclusion, by following these additional tips and considerations, you can ensure a successful tub drain installation and avoid any potential issues in the future. Remember to double-check the manufacturer’s instructions, seek professional help if needed, and regularly maintain and clean your tub drain. By taking these extra steps, you can enjoy a fully functional tub drain for years to come.
Frequently Asked Questions
How Do You Install A New Drain In A Bathtub?
To install a new drain in a bathtub: 1. Remove the old drain using a drain removal tool. 2. Clean the drain area thoroughly. 3. Apply plumber’s putty to the new drain and insert it into the drain hole. 4.
Tighten the drain using a drain wrench. 5. Test for any leaks.
Should I Put Plumbers Tape On Tub Drain?
Yes, you should use plumbers tape on a tub drain. It helps create a watertight seal and prevents leaks. Plumbers tape is easy to apply and provides added protection for your tub drain.
How Do You Put A Drain Stopper Back In A Bathtub?
To put a drain stopper back in a bathtub, follow these steps: 1. Locate the drain hole at the bottom of the tub. 2. Insert the stopper into the drain hole. 3. Twist and push the stopper until it fits securely.
4. Test by filling the tub with water to ensure it holds. 5. Adjust as needed for a snug fit.
Does A Bathtub Drain Need A Trap?
Yes, a bathtub drain needs a trap. The trap prevents sewer gases from entering the bathroom and helps in preventing clogs by collecting hair, debris, and other objects. It also allows for easy access to remove blockages.
Conclusion
Installing a tub drain is no longer a daunting task with this step-by-step guide. From gathering the necessary tools to sealing the connection, this blog post has provided the essential knowledge needed to successfully complete the installation process. By following these instructions, you can enjoy a properly functioning and leak-free tub drain in no time.
Don’t let a clogged or faulty drain hinder your relaxing bath experience any longer – get started on your tub drain installation today!