
To install a toilet seat, first, remove the old seat by unscrewing the bolts. Then, place the new seat on the toilet bowl and tighten the bolts until secure.
Introducing the process of installing a toilet seat requires clear and concise instructions. In this guide, we will walk you through the steps to replace an old toilet seat with a new one. Whether you’re upgrading for style or replacing a broken seat, this simple process can be completed in no time.
By following these instructions, you’ll have a new toilet seat installed and ready to use, ensuring comfort and functionality in your bathroom. So let’s dive in and learn how to install a toilet seat with ease.
Choosing The Right Toilet Seat
When it comes to choosing a toilet seat, it’s important to consider various factors that will ensure the best fit for your bathroom. From comfort and ergonomics to durability and style, each aspect plays a crucial role in selecting the perfect toilet seat for your needs. In this section, we will delve into the key factors that you should consider when making this decision.
Factors to consider when selecting a toilet seat
When selecting a toilet seat, there are several factors that should guide your decision-making process. These include comfort and ergonomics, durability and material options, and style and design considerations.
Comfort and ergonomics
One of the most important factors to consider when choosing a toilet seat is the level of comfort and ergonomics it offers. After all, you want to ensure a comfortable bathroom experience every time you use the toilet. Look for a seat that is ergonomically designed to provide optimal support and a comfortable seating position. Consider features such as a contoured shape, ample padding, and a smooth finish that won’t cause discomfort during prolonged use.
Durability and material options
Durability is another crucial factor to consider when selecting a toilet seat. You want a seat that will withstand the test of time and regular usage without any wear and tear. Opt for toilet seats made from materials known for their durability, such as solid wood, molded wood, or high-quality plastic. These materials not only offer long-lasting performance but are also easy to clean and maintain. Additionally, some toilet seats come with special coatings that provide added protection against scratches and stains, ensuring the seat remains in pristine condition.
Style and design considerations
While functionality and durability are essential, style and design are equally important when choosing a toilet seat. The seat should seamlessly blend with the overall aesthetics of your bathroom, enhancing its visual appeal. Consider the color and finish options available, ensuring they complement the existing bathroom decor. Additionally, you may want to look for extra features such as soft-close hinges, quick-release mechanisms, or decorative accents that add a touch of elegance to your toilet seat.
Preparing For Installation
Before you start the installation process of a toilet seat, it is essential to prepare yourself with the necessary tools, materials, and safety precautions. Taking these steps will ensure a smooth and hassle-free installation experience. In this section, we will discuss in detail the tools and materials needed, as well as the safety precautions to be taken before beginning the installation process.
Tools and Materials Needed
When it comes to installing a toilet seat, having the right tools at your disposal is crucial. Here is a list of the tools you will need:
| Required Tools |
|---|
| Screwdriver |
| Adjustable wrench |
| Plumber’s tape |
| Measuring tape |
| Pencil |
Materials for Installation
In addition to the tools, you will also need the following materials to facilitate the installation process:
- Toilet seat with lid
- Toilet seat bolts and nuts
- Wrench washers
- Plastic anchors (if necessary)
- Plumber’s putty (if necessary)
Safety Precautions to Take
Prioritizing safety is essential when working with plumbing fixtures. Here are some safety precautions you should take before starting the installation:
- Turn off the water supply. This will prevent any potential leaks or accidents during the installation process.
- Use protective gloves and eyewear. These will safeguard your hands and eyes from any potential harm.
By adhering to these safety precautions, you can ensure a secure and accident-free installation process.
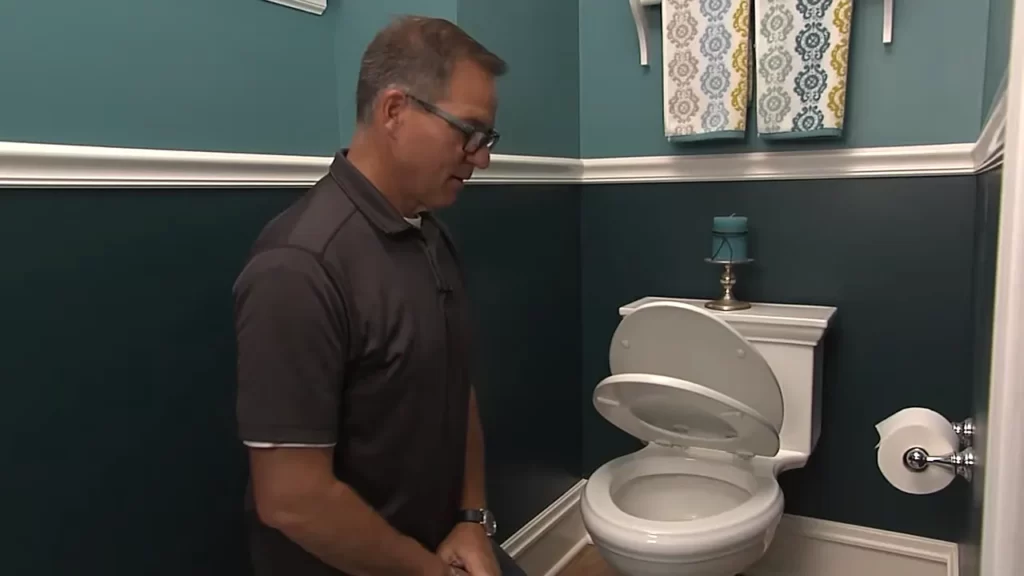
Step 1: Removing The Old Toilet Seat
Removing an old toilet seat may seem like a daunting task, but with the right knowledge and tools, it can be a straightforward process. In this step-by-step guide, we will walk you through the necessary steps to safely and effectively remove your old toilet seat.
Understanding the different types of toilet seat attachments
Before proceeding with the removal process, it is important to understand the various types of toilet seat attachments available. Toilet seats primarily attach to the toilet bowl using hinges and fastening mechanisms. Different types of hinges and fasteners require different removal techniques, so identifying the type of attachment on your current seat is crucial.
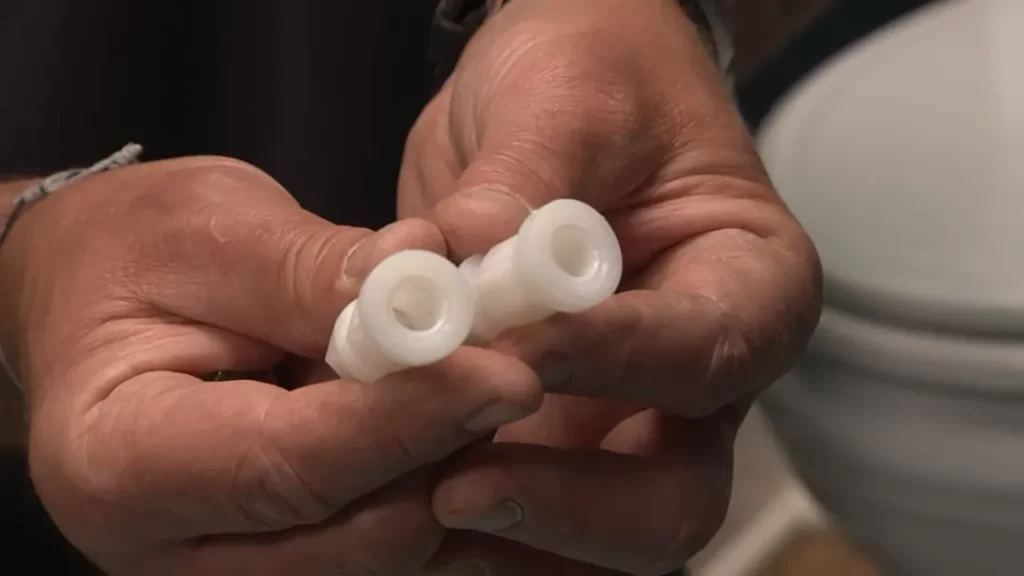
Hinges and fastening mechanisms
There are two common types of hinges used in toilet seat attachments: standard hinges and quick-release hinges. Standard hinges have a fixed connection between the seat and the bowl and typically require the use of nuts or screws to secure the seat in place. On the other hand, quick-release hinges allow for easy removal of the seat without the need for tools.
In addition to hinges, toilet seat attachments may also include other fastening mechanisms such as plastic bolts, metal screws, or wingnuts. These fasteners secure the seat to the bowl and require removal to detach the seat.
Identifying the type of attachment on your current seat
Before proceeding with the removal process, examine your current toilet seat to determine the type of attachment it has. Look for any visible hinges, bolts, screws, or fasteners. Knowing the type of attachment will help you choose the appropriate tools and follow the correct removal technique.
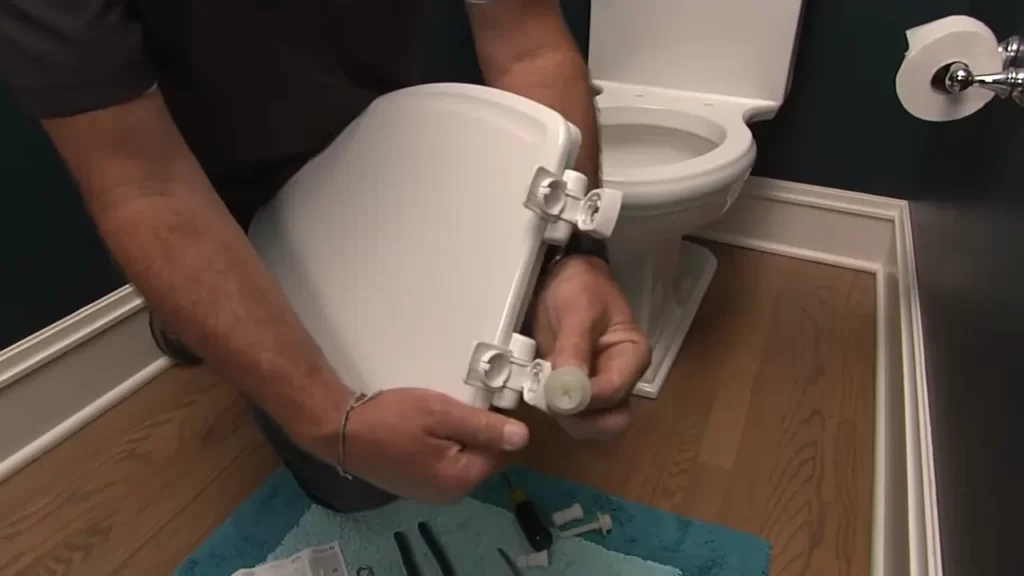
Removing the old toilet seat
Now that you have identified the type of attachment, you can begin removing the old toilet seat. Follow these steps:
- Locate the nuts or screws securing the seat to the toilet bowl. These are usually located on the underside of the bowl, near the hinge area.
- Using an adjustable wrench or screwdriver, loosen the nuts or screws by turning them counterclockwise. In some cases, you may need to hold the top of the bolt or screw with pliers while loosening the nut underneath.
- Once the nuts or screws are loosened, you can detach the seat from the toilet bowl. Lift the seat and cover upwards to separate it from the hinges or fasteners.
Ensure that each H3 heading adheres to HTML syntax. Using appropriate headings not only provides a logical structure to your content but also helps search engines understand the hierarchy and relevance of the information. By following these simple steps, you can easily remove your old toilet seat and prepare for the installation of a new one.
Step 2: Cleaning And Preparing The Toilet Bowl
Once you have gathered all the necessary tools for installing a new toilet seat, the next step is to clean and prepare the toilet bowl. This ensures a hygienic and stable base for your new seat. By following these guidelines, you will be able to accomplish this task safely and efficiently.
Cleaning the toilet bowl
The first step in preparing the toilet bowl is to give it a thorough cleaning. Start by wearing a pair of rubber gloves to protect your hands from any germs or bacteria. Then, use an appropriate cleaning product specifically designed for toilet bowls. These cleaning products help to break down stains, disinfect the surface, and eliminate any unpleasant odors.
Using appropriate cleaning products
When it comes to choosing the right cleaning products, it’s important to select ones that are safe and effective. Look for cleaners that are labeled as being specifically made for toilet bowls. These cleaners typically contain active ingredients that target bacteria, mold, and mildew. Make sure to follow the instructions on the label carefully to ensure proper usage and avoid any damage to the toilet bowl.
Removing any residue or stains
Before proceeding to the next step, it’s essential to remove any residue or stains that may be present on the toilet bowl surface. Using a toilet brush, scrub the entire bowl, paying extra attention to areas that may have stubborn stains. Rinse the brush frequently in the clean water to ensure proper cleaning and avoid spreading any residue or stains.
Inspecting the toilet bowl for damage or repairs
After the cleaning process, take a moment to inspect the toilet bowl for any signs of damage or repairs that may be needed. Look for cracks, chips, or loose components that could affect the stability or functionality of the toilet seat. If you notice any issues, it’s important to address them before proceeding with the installation to prevent further damage or accidents.
Addressing any cracked or broken components
If you do find any cracked or broken components during the inspection, it’s crucial to address these issues promptly. In many cases, cracked or broken parts can be replaced individually rather than replacing the entire toilet bowl. Consult the manufacturer’s instructions or seek professional assistance for guidance on how to repair or replace these components.
Ensuring a stable base for the new seat
Before you install the new toilet seat, it’s important to ensure that the toilet bowl has a stable base. Make sure that the toilet is securely bolted to the floor and that there is no wobbling or movement. If you notice any instability, consider using shims or adjusting the bolts to achieve a firm foundation for the seat.
In conclusion, cleaning and preparing the toilet bowl is a crucial step in installing a new toilet seat. By following these guidelines and ensuring a clean and stable base, you can proceed with confidence to the next step of the installation process.
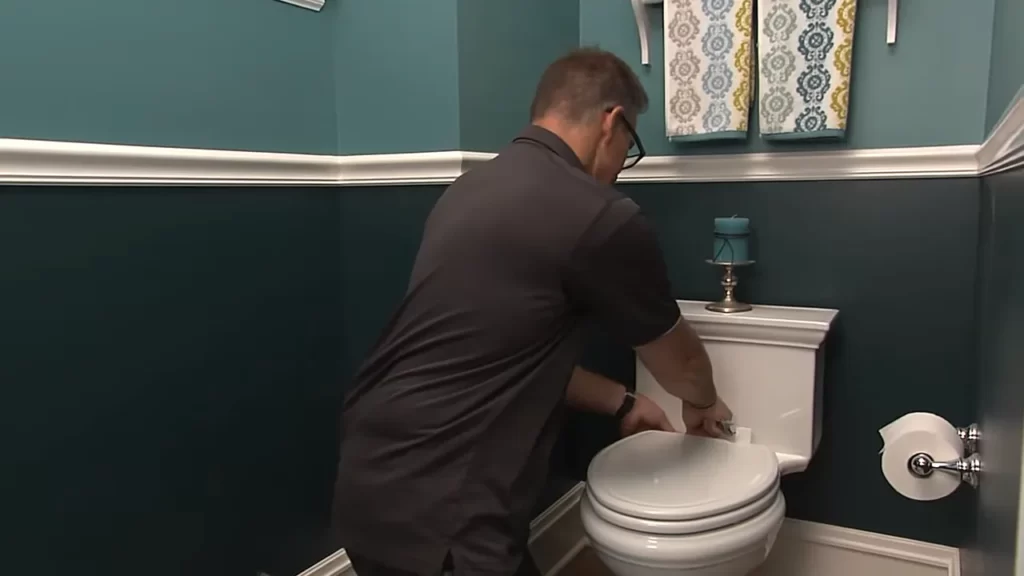
Step 3: Installing The New Toilet Seat
Once you have removed the old toilet seat and cleaned the area, it’s time to install the new one. Follow these simple steps to ensure a proper and secure installation:
Positioning the new seat on the toilet bowl
Place the new toilet seat on the bowl, lining up the attachment holes with the holes on the bowl. Ensure that the seat is centered and positioned correctly.
Aligning the attachment holes
Make sure that the holes on the seat and the holes on the bowl are in perfect alignment. This will ensure a tight and secure fit when attaching the seat.
Ensuring proper orientation and fit
Check the orientation of the seat to ensure that it is facing the correct direction. Additionally, make sure that the seat fits snugly onto the bowl without any gaps or wobbling.
Attaching the seat to the toilet bowl
- Once the seat is properly positioned and aligned, use the provided nuts or screws to attach the seat to the bowl. Insert the nuts or screws through the attachment holes on the seat and into the holes on the bowl.
- Tighten the nuts or screws using a screwdriver or wrench. Be sure not to overtighten, as this can damage the seat or bowl.
Installing the nuts or screws securely
Ensure that the nuts or screws are securely fastened to prevent any movement or instability of the seat. This will provide a safe and comfortable experience for users.
Adjusting the tightness for stability and comfort
If the seat feels too loose or too tight, adjust the tightness of the nuts or screws accordingly. The seat should be stable and secure, without excessive movement.
Confirming the stability and functionality of the new seat
Before finishing the installation, double-check the stability and functionality of the new seat. Test if it moves or wobbles excessively and make any necessary adjustments to ensure a secure fit.
Testing the seat’s movement and secure attachment
Finally, test the seat’s movement and ensure that it is securely attached to the toilet bowl. Sit on the seat and gently move it from side to side to confirm its stability and secure attachment. If there is any movement or loosening, tighten the nuts or screws further until the seat is secure.
Following these steps will help you properly install your new toilet seat and ensure stability, comfort, and functionality for years to come.
Final Steps And Considerations
After successfully installing your new toilet seat, there are a few final steps and considerations to ensure its longevity and proper functioning. By following these guidelines, you will be able to keep your toilet seat clean, properly maintained, and free from common installation issues or water leakage concerns.
Cleaning and maintaining the new toilet seat
To maintain a hygienic and clean toilet seat, you need to adopt regular cleaning habits. Cleaning your toilet seat not only keeps it looking pristine but also helps to prevent the buildup of dirt, grime, and potential bacteria. Here are some recommended cleaning products and techniques for your convenience:
| Recommended Cleaning Products | Cleaning Techniques |
|---|---|
| 1. Mild soap or detergent | 1. Thoroughly wash the seat with a solution of mild soap or detergent and warm water |
| 2. Non-abrasive cleaners | 2. Gently scrub the surface using a soft cloth or sponge |
| 3. Disinfectant spray or wipes | 3. Apply a disinfectant spray or wipes to ensure proper disinfection |
Regular maintenance tips for longevity
Regular maintenance plays a vital role in extending the lifespan of your toilet seat. By following these simple yet effective tips, you can keep your toilet seat in optimal condition for years to come:
- Check and tighten any loose screws or bolts periodically to prevent a wobbly seat
- Clean the hinges and joints regularly to avoid any buildup of dirt or residue
- Avoid using abrasive cleaners or harsh chemicals that could damage the surface
- Ensure that the toilet seat lid is closed gently to prevent unnecessary stress or strain on the hinges
- Consider replacing your toilet seat every few years as a part of regular maintenance
Troubleshooting common installation issues
In case you encounter any installation issues with your toilet seat, here are some common problems and their suggested solutions:
Loose or wobbly seat
If your toilet seat feels loose or wobbly, it is essential to address this issue promptly. Here’s what you can do:
- Tighten the mounting bolts or screws using a screwdriver or wrench
- If the bolts or screws are damaged or worn out, consider replacing them with new ones
- Check the hinges and ensure they are securely attached to the toilet bowl
Seat not fitting properly
If the new toilet seat does not fit properly, follow these troubleshooting steps:
- Double-check the measurements of your toilet bowl and compare them to the specifications provided by the manufacturer
- Verify that you have correctly aligned the hinges with the mounting holes on the toilet bowl
- If necessary, contact the manufacturer for assistance or consider getting a replacement seat
Resolving any water leakage concerns
If you notice water leakage around your newly installed toilet seat, here’s what you can do to address the issue:
- Confirm that the seat is properly aligned and fitted onto the toilet bowl
- Ensure that all the bolts, screws, and hinges are securely tightened
- Inspect the rubber gaskets or washers and replace them if they are damaged or worn out
- If the leakage persists, consult a professional plumber to assess and fix the issue
By following these final steps and considerations, you can enjoy a clean, functional, and hassle-free toilet seat installation. Regular cleaning and maintenance will help prolong the lifespan of your toilet seat, while troubleshooting common issues will ensure optimal performance.
Frequently Asked Questions
Is Installing A Toilet Seat Easy?
Installing a toilet seat is a simple task. Just follow the instructions provided with the seat.
How Do You Put On A New Toilet Seat?
To put on a new toilet seat: 1. Remove the old seat by unscrewing the bolts. 2. Place the new seat on the toilet bowl, aligning the holes. 3. Insert the bolts through the holes and tighten them. 4. Ensure the seat is secure and doesn’t wobble.
5. Test the seat by sitting on it to make sure it’s comfortable and stable.
Do All Toilet Seats Install The Same?
Toilet seats vary in installation depending on the design and model. It is important to check the manufacturer’s instructions for specific installation steps. Factors to consider include the type of toilet and seat, whether it is a retrofit or new installation, and the materials used.
What Is The Correct Way To Put A Toilet Seat Cover On?
To put a toilet seat cover on correctly, simply follow these steps: 1. Lift the seat and place the cover over it, aligning the holes with the seat’s hinges. 2. Pull the cover taut, making sure it covers the entire seat.
3. Press down firmly on the cover to secure it in place. 4. Lower the seat back down gently. 5. Ensure the cover is flat and in position before use.
Conclusion
To sum up, installing a toilet seat may seem like a daunting task, but by following these simple steps, you can easily tackle the job. Remember to gather the necessary tools, prepare the area, and consult the manufacturer’s instructions for specific guidance.
By taking your time and being cautious, you’ll have a secure and comfortable toilet seat in no time. Happy DIY-ing!