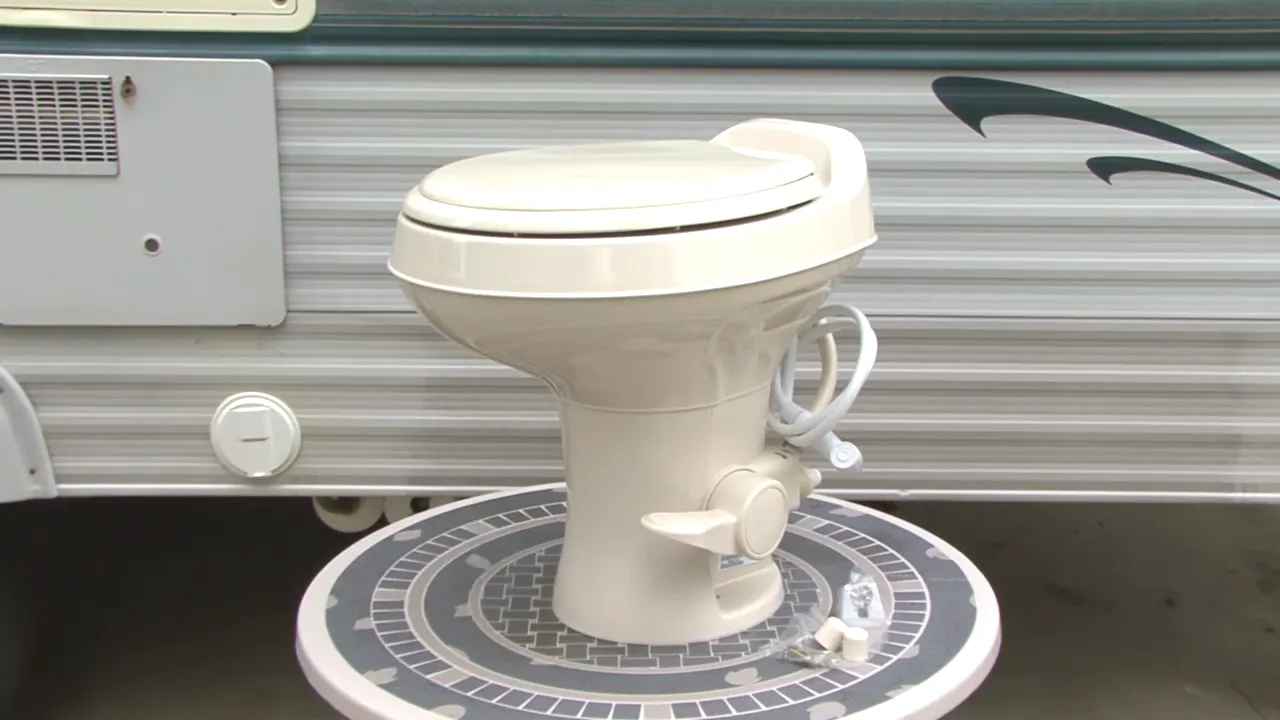
To install a toilet in an RV, you need to follow specific steps and guidelines. Here’s a simple guide to help you navigate the process smoothly and efficiently.
When it comes to installing a toilet in your RV, it’s essential to follow a precise set of instructions. This article will provide you with a step-by-step guide to help you install a toilet in your RV hassle-free. Whether you’re replacing an old toilet or starting from scratch, this guide will ensure a successful installation.
Get ready to enjoy the convenience and comfort of a functional toilet in your RV with these simple steps.
Essential Tools And Materials
Choosing the right toilet for your RV
When it comes to installing a toilet in your RV, one of the first things you need to consider is the type of toilet that will best suit your needs. There are various options available, including gravity flush toilets, macerator toilets, and composting toilets. Each type of toilet offers its own set of advantages and disadvantages.
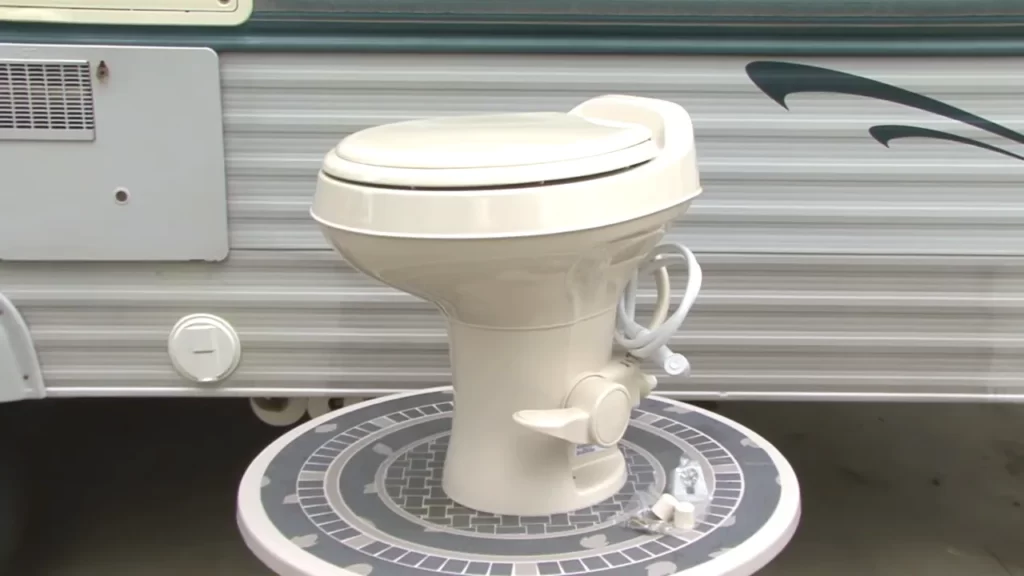
Gravity flush toilets: These are the most common type of RV toilets, and they operate similar to the toilets in residential homes. They use gravity to flush waste into a holding tank. Gravity flush toilets are easy to use and require minimal maintenance.
Macerator toilets: These toilets use a built-in macerator pump to grind waste into a fine slurry before flushing it into the holding tank. They are ideal for RVs with longer plumbing runs or when the holding tank is located far away from the toilet. Macerator toilets require regular maintenance to keep the pump in good working condition.
Composting toilets: Composting toilets are a great option for those who want to minimize water usage and eliminate the need for a blackwater tank. These toilets use natural processes to break down waste into compost. They require regular maintenance and the composting material needs to be emptied periodically.
Tools needed for installation
Installing a toilet in an RV requires a specific set of tools. Before you begin the installation process, make sure you have the following tools on hand:
- Adjustable wrench
- Screwdriver set (flathead and Phillips head)
- Plumbers tape
- Teflon tape
- Tube cutter or hacksaw (if modifying plumbing)
- Razor knife (for cutting holes in the floor)
- Drill (if installing a macerator toilet)
These tools will help you complete the installation process smoothly and efficiently.
Necessary materials for a successful installation
In addition to the right tools, there are several materials you will need to ensure a successful toilet installation in your RV. Here’s a list of the necessary materials:
- New toilet (appropriate for your RV type and size)
- Toilet flange (if replacing an existing toilet)
- Waste tank connection fitting (for macerator toilets)
- Tank cleaner and deodorizer
- Sealant (silicone or plumber’s putty)
- RV-safe toilet paper
- Plumbing fittings (if modifying or replacing existing plumbing)
Having these materials on hand will ensure that you can complete the installation correctly without any delays or issues.
Preparing For Installation
Before installing a toilet in your RV, it’s important to properly prepare for the installation process. This includes shutting off the water supply, emptying and cleaning the RV’s holding tank, and preparing the area where the toilet will be installed. By following these steps, you’ll ensure a smooth and successful installation.
Shutting off the water supply
The first step in preparing for the installation is to shut off the water supply to the RV. This can usually be done by turning off the water valve located near the RV’s main water source. By shutting off the water supply, you’ll prevent any leakage or unnecessary water flow during the installation process, making it easier and less messy.
Emptying and cleaning the RV’s holding tank
Next, it’s important to empty and clean the RV’s holding tank before installing the toilet. This will ensure that the tank is free from any waste or debris that could hinder the proper functioning of the toilet. Use a hose to drain the contents of the holding tank into a suitable disposal area, making sure to follow any local regulations or guidelines. Once the tank is empty, thoroughly clean it with an RV-friendly cleaning solution to eliminate any odors or buildup.
Preparing the area for installation
After shutting off the water supply and emptying the holding tank, it’s time to prepare the area where the toilet will be installed. Start by removing any existing toilet or fixtures from the designated spot. Once the area is cleared, inspect it for any damage or uneven surfaces. It’s important to have a stable and level base for the toilet installation to ensure proper functioning and prevent any leaks. If needed, use leveling tools or shims to adjust the height or level of the installation area.
Additionally, make sure to position the necessary plumbing connections, such as the water supply line and waste pipe, in the correct location for the toilet installation. This will ensure a smooth and seamless connection during the installation process.
By following these preparatory steps, you’ll be on your way to installing a toilet in your RV with ease. Remember to take your time and double-check all connections and installations to ensure a leak-free and functional toilet in your RV.
Step-By-Step Installation Process
Step-by-Step Installation Process
Installing a toilet in your RV is a relatively simple process that can be completed with just a few basic tools. By following these step-by-step instructions, you can have a fully functioning toilet in your RV in no time.
Removing the old toilet (if applicable)
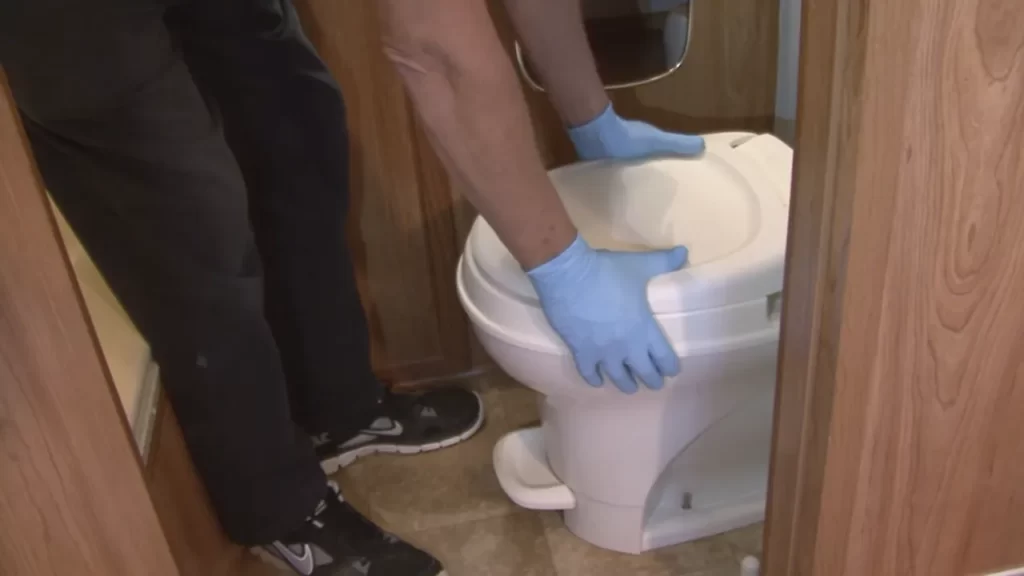
Before installing a new toilet in your RV, you’ll first need to remove the old one, if applicable. Begin by shutting off the water supply to the toilet and draining any remaining water from the system. Next, unscrew the mounting bolts that secure the toilet to the floor. Carefully lift the old toilet off the flange and set it aside.
Assembling the new toilet components
Once the old toilet is removed, it’s time to assemble the new toilet components. Begin by carefully unpacking all of the parts and laying them out on a clean surface. Follow the manufacturer’s instructions to attach the water valve, fill valve, and other necessary components to the toilet bowl. Use any included gaskets or rubber seals to ensure a watertight connection.
Positioning the new toilet in the desired location
With the new toilet components assembled, it’s time to position the toilet in the desired location within your RV. Check the manufacturer’s instructions for specific placement guidelines, but in general, you’ll want to position the toilet over the floor flange and align the mounting holes with the flange bolts. Once the toilet is in the correct position, press down gently to create a seal with the wax ring.
Connecting the water supply
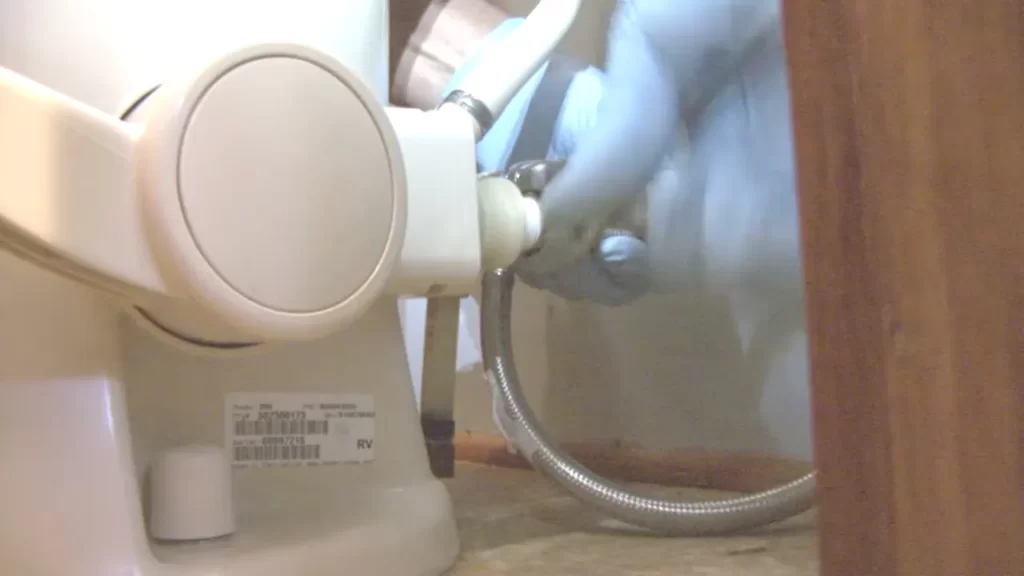
With the toilet in position, it’s time to connect the water supply. Attach the water line to the fill valve on the bottom of the toilet tank, ensuring a secure connection. Turn on the water supply and check for any leaks around the connections. If a leak is detected, tighten the connection until the leak stops.
Securing the toilet to the RV floor
To secure the toilet to the RV floor, insert the mounting bolts through the mounting holes on the toilet base and into the floor flange. Use a wrench to tighten the nuts on the bolts, ensuring that the toilet is securely fastened to the floor. Take care not to overtighten, as this can damage the toilet or flange.
Checking for leaks and performing a test flush
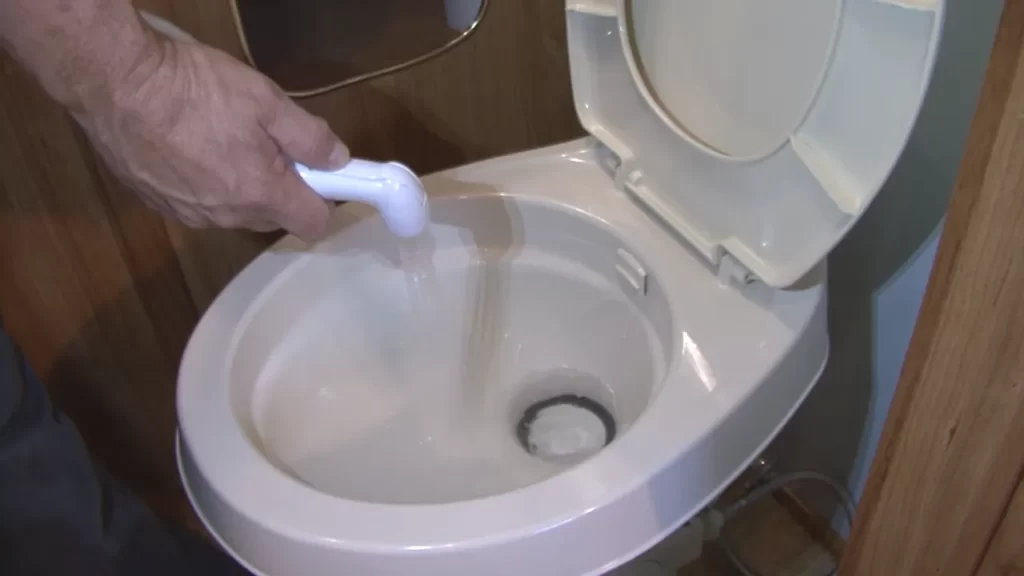
Finally, it’s important to check for any leaks and perform a test flush to ensure that the toilet is functioning properly. Turn on the water supply and inspect all connections for any signs of leakage. Once satisfied that there are no leaks, flush the toilet and check for proper water flow and drainage. Make any necessary adjustments to the fill valve or flush mechanism as needed.
By following these step-by-step instructions, you can easily install a toilet in your RV and enjoy the convenience of a functioning bathroom on your travels.
Troubleshooting Tips
Installing a toilet in an RV can be a straightforward process, but like any other installation, there can be some issues that arise along the way. In this section, we will discuss some common problems that you may encounter when installing a toilet in your RV and how to fix them.
Identifying and fixing common installation issues
During the installation process, there are a few common issues that you might come across. These issues can include misalignment of the toilet with the mounting holes, difficulty in securing the toilet in place, or problems with the water supply line.
To fix these issues, it is important to ensure that the toilet is properly aligned with the mounting holes. If it is not, you may need to adjust the position of the toilet or make adjustments to the mounting flange. Additionally, make sure that the toilet is securely fastened in place by tightening the bolts or screws properly.
If you are experiencing issues with the water supply line, check for any kinks or leaks. Ensure that the water supply valve is fully open and that the connection is tight. If there are any leaks, you may need to replace the water supply line or apply plumber’s tape to the connections.
Dealing with leaks or loose connections
One of the most common issues that RV owners face when it comes to their toilet is leaks or loose connections. Leaks can occur at various points, such as the base of the toilet, the water supply line, or even the flush valve.
If you notice a leak at the base of the toilet, it is likely that the wax ring seal is not properly installed or has worn out. To fix this, you will need to remove the toilet, replace the wax ring seal, and reinstall the toilet using the correct procedures.
For leaks in the water supply line or connections, check for any loose or damaged fittings. Tighten the connections using a wrench and inspect the line for any cracks or damage. If necessary, replace the water supply line to prevent further leaks.
Addressing any irregularities in the flushing process
If you are experiencing irregularities in the flushing process of your RV toilet, such as weak flush or incomplete flushing, there are a few things you can check and fix.
Firstly, ensure that the water supply to the toilet is sufficient. If the water pressure is low, this can affect the flushing performance. Check the water pump or the water supply valve to ensure that they are functioning properly.
Secondly, check the flapper valve or the flush ball seal for any debris or mineral buildup. Clean or replace these components if necessary to ensure proper flushing.
Lastly, check the venting system of your RV to ensure that it is not blocked or restricted. A blocked vent can cause air pressure issues, leading to problems with the flushing process.
In conclusion, troubleshooting common installation issues, dealing with leaks or loose connections, and addressing irregularities in the flushing process are important steps to ensure that your RV toilet is functioning properly. By following these troubleshooting tips, you can enjoy a hassle-free toilet installation and a smooth flushing experience in your RV.
Maintenance And Care
Maintenance and Care
Proper maintenance and care are essential for ensuring optimal performance and longevity of your RV toilet. By regularly cleaning the toilet, maintaining the valve seal, and taking preventative measures against clogs and odors, you can keep your RV toilet in top shape throughout your travels.
Cleaning the RV toilet regularly for optimal performance
Regular cleaning of your RV toilet is crucial for maintaining its performance and preventing unpleasant odors. Here are some steps to effectively clean your RV toilet:
- Gather the necessary supplies: Before starting the cleaning process, gather the following supplies – rubber gloves, toilet bowl cleaner, a toilet brush, and a non-abrasive cleaning cloth or sponge.
- Flush the toilet: Start by flushing the toilet to ensure there is no residue left in the bowl.
- Apply the toilet bowl cleaner: Apply the toilet bowl cleaner to the interior of the bowl, making sure to cover all surfaces.
- Scrub the bowl: Use the toilet brush to scrub the bowl thoroughly, paying attention to the areas under the rim and around the drain hole.
- Clean the exterior: Wipe down the outer surface of the toilet with a non-abrasive cloth or sponge to remove any stains or debris.
- Rinse and dry: Flush the toilet again to rinse away the cleaner, and then dry the toilet with a clean cloth.
Properly maintaining the valve seal and other components
The valve seal and other components of the RV toilet play a crucial role in its proper functioning. To ensure they remain in good condition, follow these maintenance tips:
- Regularly inspect the valve seal: Check the valve seal for cracks, wear, or signs of damage. If necessary, replace the seal to prevent leaks.
- Grease the moving parts: Apply a small amount of silicone or plumber’s grease to the moving parts of the toilet, such as the flush lever and ball valve, to keep them lubricated and functioning smoothly.
- Tighten loose fittings: Periodically inspect all the fittings and connections of the toilet and tighten any that are loose to prevent leaks.
Tips for preventing clogs and odors in the RV toilet
Preventing clogs and odors in the RV toilet can make your travels more enjoyable. Here are some useful tips:
- Use RV-friendly toilet paper: Use toilet paper specifically designed for RVs, as it breaks down more easily and reduces the chances of clogs.
- Avoid flushing non-degradable items: Never flush non-degradable items, such as wipes or feminine hygiene products, down the toilet as they can cause clogs.
- Use an enzyme-based cleaner: Regularly use an enzyme-based cleaner designed for RV toilets to break down waste and prevent odors.
- Keep the black water tank closed: Make sure to keep the black water tank closed until it is time to empty it to prevent odors from escaping into the RV.
By following these maintenance and care tips, you can ensure your RV toilet stays clean, functional, and odor-free, providing you with a pleasant and hassle-free travel experience.
Enhancements And Upgrades
When it comes to your RV toilet, there are numerous enhancements and upgrades that can take your camping experience to the next level. From exploring additional features and options for your toilet to upgrading to more eco-friendly alternatives, the possibilities are endless. In this section, we will delve deeper into these options, highlighting the benefits and considerations of each.
Exploring additional features and options for your RV toilet
Upgrading your RV toilet doesn’t have to mean a complete overhaul. There are many additional features and options that can enhance the functionality and convenience of your toilet. Here are some considerations:
- Water-saving mechanisms: Consider installing a toilet with a low-flow flush system or dual-flush technology to conserve water during your camping adventures.
- Noise reduction: If you value peace and tranquility on your trips, look for a toilet with noise reduction features to minimize disruptive sounds.
- Anti-microbial surfaces: Keep your toilet cleaner and germ-free with a toilet that has anti-microbial surfaces, reducing the need for frequent cleaning.
- Space-saving designs: If space is limited in your RV bathroom, opt for a toilet with a compact and sleek design to maximize the available space.
Upgrading to a composting toilet or other eco-friendly alternatives
If you’re looking to make your RV toilet more environmentally friendly, consider upgrading to a composting toilet or other eco-friendly alternatives. These options not only reduce your ecological footprint but also offer several advantages:
- Water conservation: Composting toilets eliminate the need for water, making them an excellent choice for water-conscious campers.
- Easier waste disposal: Composting toilets convert waste into compost, which can be safely disposed of or used as fertilizer.
- Odor control: Many composting toilets come with odor control systems, ensuring a pleasant and odor-free bathroom experience.
- Extended boondocking capability: By reducing the need for RV park or campground hookups, composting toilets enable longer periods of off-grid camping.
Adding amenities like bidet attachments or motion sensor flush systems
Bring the comforts of home to your RV bathroom by adding extra amenities like bidet attachments or motion sensor flush systems. These upgrades can significantly enhance your camping experience:
- Bidet attachments: Experience the luxury and cleanliness of bidets by installing a bidet attachment, providing a refreshing alternative to traditional toilet paper.
- Motion sensor flush systems: Simplify the flushing process with a motion sensor flush system, eliminating the need to manually operate the flush mechanism.
By investing in these upgrades, you can transform your RV toilet into a modern, comfortable, and eco-friendly oasis on wheels.
Frequently Asked Questions
Can You Install A Real Toilet In An Rv?
Yes, it is possible to install a real toilet in an RV.
How Is An Rv Toilet Plumbed?
An RV toilet is plumbed by connecting it to the RV’s fresh water supply and waste holding tank. Water is used to flush waste into the tank, which can be emptied at a designated dump station.
Do I Need To Put Anything In My Rv Toilet?
No, you don’t need to put anything in your RV toilet.
Can You Use Toilet In Rv Without Water Hookup?
Yes, you can use the toilet in an RV without a water hookup. RVs have a built-in holding tank that collects waste until it can be emptied at a designated dump station.
Conclusion
Installing a toilet in an RV can be a straightforward process with the right guidance. By following the step-by-step instructions outlined in this blog post, you can ensure a successful installation. Remember to choose the right toilet that fits your RV’s specifications and handle the plumbing connections carefully.
With some patience and attention to detail, you’ll have a fully functioning toilet in your RV in no time. Happy travels!
