To install a shower kit, start by assembling all the necessary components according to the instructions provided. Then, position the shower base and connect the plumbing.
Choosing The Right Shower Kit For Your Bathroom
When it comes to remodeling your bathroom, installing a shower kit can be a great way to update the look and functionality of the space. But with so many options available, how do you know which shower kit is the right fit for your bathroom? In this article, we will explore the factors to consider when selecting a shower kit, including the size and dimensions of your bathroom space, your style and design preferences, as well as your budget and cost considerations. By understanding these key factors, you can make an informed decision and choose a shower kit that will transform your bathroom into a stylish and functional oasis.
Factors to consider when selecting a shower kit
Size and dimensions of your bathroom space
The first factor to consider when choosing a shower kit is the size and dimensions of your bathroom space. Measure your bathroom’s length, width, and height to determine the available space for the shower. This will help you narrow down the options and select a shower kit that fits perfectly in your bathroom. Additionally, consider the layout of your bathroom and any obstacles such as windows or doors that may affect the placement of the shower kit.
Style and design preferences
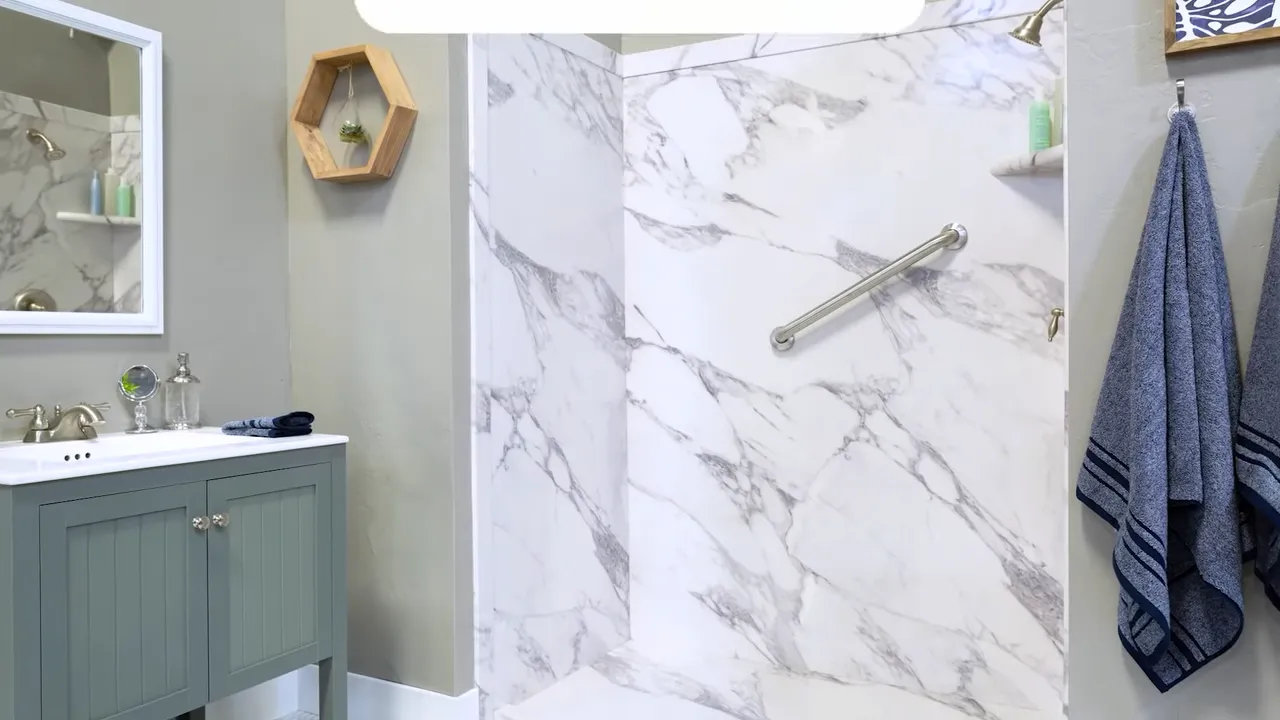
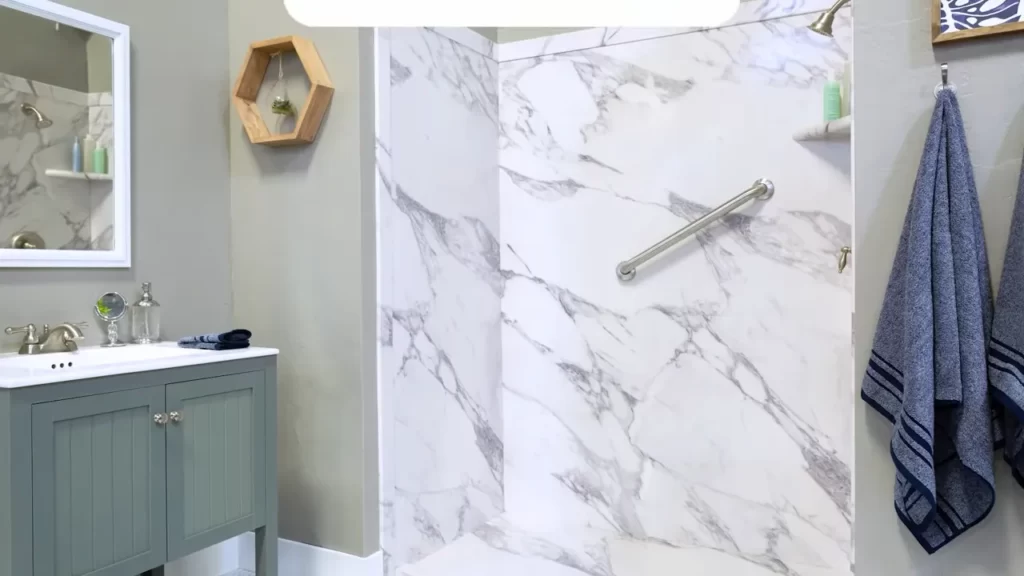
Another important factor to consider is your style and design preferences. Think about the overall aesthetic of your bathroom and the look you want to achieve. Are you going for a modern and sleek design, or do you prefer a more traditional and classic look? Consider the materials, finishes, and colors of the shower kit, as well as any additional features such as built-in shelves or seating. By choosing a shower kit that aligns with your style preferences, you can create a cohesive and visually pleasing bathroom design.
Budget and cost considerations
Budget is a significant factor when selecting a shower kit. Determine how much you are willing to spend on the shower kit itself, as well as any additional costs such as installation or plumbing. Research different brands and models to find options that fit within your budget. Keep in mind that while a higher price may indicate better quality, there are also affordable shower kits available that offer good value for money. By setting a budget and considering the cost implications, you can find a shower kit that meets your needs without breaking the bank.
Preparing Your Bathroom For Shower Kit Installation
Before you begin installing your shower kit, it is crucial to properly prepare your bathroom. This preparation phase will ensure a smooth and hassle-free installation process, allowing you to enjoy your new shower without any issues.
Clearing out the existing shower area
The first step in preparing your bathroom for the shower kit installation is to clear out the existing shower area. Remove any items, such as shampoo bottles, soap dispensers, and shower curtains, from the shower space. This will give you a clear working area and prevent any potential damage to your belongings during the installation process.
Removing any old fixtures or tiles
If you have any old fixtures, such as showerheads or faucets, that need to be replaced, now is the time to remove them. Use the appropriate tools to carefully uninstall the fixtures and disconnect them from the water supply. Additionally, if there are any old tiles on the walls or floor of your shower area, you will need to remove them as well. This step is crucial to ensure a clean and even surface for the installation of the new shower kit.
Checking the plumbing and water supply
Prior to installing the shower kit, it is essential to check the plumbing and water supply. This involves inspecting the existing plumbing connections, such as pipes and valves, to ensure they are in good condition. Verify that there are no leaks or signs of wear and tear that could lead to future problems. Furthermore, check the water supply to ensure adequate pressure and proper functioning. If any issues are detected, it is recommended to have a plumber address them before proceeding with the installation.
In Conclusion
By properly preparing your bathroom for shower kit installation, you can avoid potential complications and ensure a successful outcome. Clearing out the existing shower area, removing old fixtures or tiles, and checking the plumbing and water supply are crucial steps in this process. Following these steps will help create the ideal foundation for installing your new shower kit, allowing you to enjoy a refreshing and revitalizing shower experience.

Step-By-Step Guide To Installing A Shower Kit
Installing a shower kit can be a rewarding DIY project that can transform your bathroom. Whether you’re renovating your bathroom or starting from scratch, a shower kit provides everything you need to create a stylish and functional shower space. In this step-by-step guide, we’ll walk you through the process of installing a shower kit, from gathering the necessary tools and materials to ensuring proper alignment and functionality.
Gathering the necessary tools and materials
Before you begin installing your shower kit, it’s important to gather all the necessary tools and materials. Having everything you need on hand will make the installation process smoother and more efficient. Here’s a list of the tools and materials you’ll need:
- Shower kit
- Utility knife
- Tape measure
- Level
- Drill
- Screwdriver
- Hammer
- Wrench
- Caulking gun
- Plumbing tape
- Silicone sealant
Preparing the shower kit components
Once you have all the necessary tools and materials, it’s time to prepare the shower kit components. Depending on the type of shower kit you have, this may involve assembling the pieces or unpacking them from their packaging. Follow the manufacturer’s instructions for preparing the shower kit components properly.
Installing the shower pan
The shower pan is the base of your shower and provides a waterproof surface. To install the shower pan, follow these steps:
- Place the shower pan in the desired location.
- Check that the shower pan is level using a level tool.
- Adjust the position of the shower pan if necessary.
- Secure the shower pan to the floor using screws or nails.
Leveling the pan
Ensuring that the shower pan is level is essential for proper drainage and stability. Here’s how to level the shower pan:
- Use shims or leveling compound to adjust the height of the shower pan if needed.
- Check the level of the shower pan again to ensure it is properly leveled.
Connecting the drain
The next step is to connect the drain to the shower pan. Follow these steps:
- Apply plumber’s putty or silicone sealant to the underside of the drain flange.
- Insert the drain flange into the drain hole in the shower pan.
- Tighten the drain flange using a wrench.
- Connect the drainpipe to the drain.
- Secure the drainpipe using plumbing tape and a wrench.
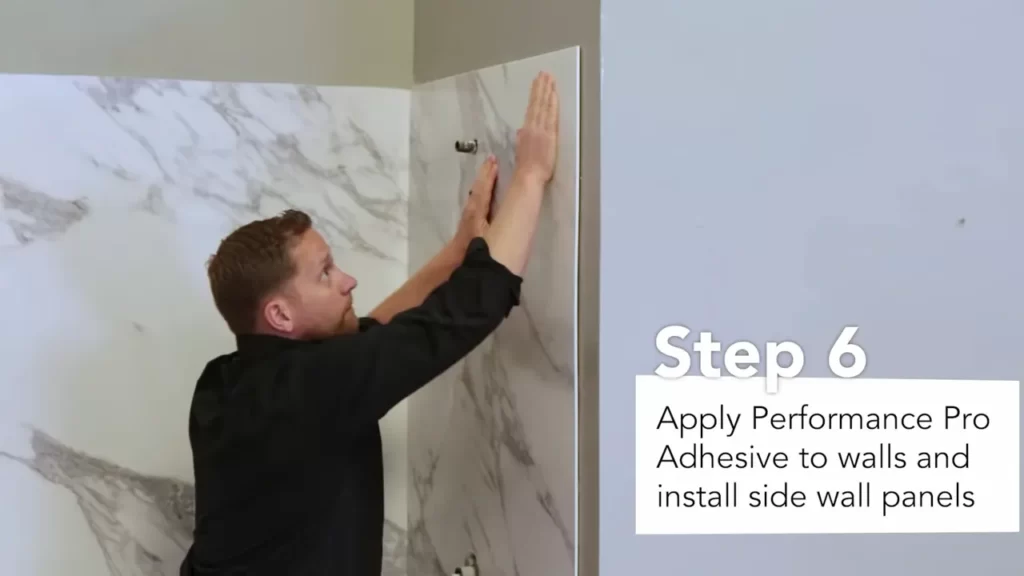
Assembling the shower walls
Now it’s time to assemble the shower walls. Depending on the type of shower kit you have, this may involve snapping or sliding the panels into place. Follow the manufacturer’s instructions for assembling the shower walls properly.
Attaching the walls to the studs
To ensure the stability of the shower walls, they need to be attached securely to the studs. Follow these steps:
- Position the shower walls against the studs.
- Use a drill to screw the walls into the studs.
Sealing the joints and edges
To prevent water from leaking out of your shower, it’s important to seal the joints and edges. Here’s how:
- Apply silicone sealant to the joints between the shower walls and the shower pan.
- Smooth the silicone sealant using a caulk smoothing tool or your finger.
- Allow the silicone sealant to dry according to the manufacturer’s instructions.
Installing the shower door or curtain
If your shower kit includes a shower door or curtain, it’s time to install it. Follow the manufacturer’s instructions for installing the shower door or curtain.
Mounting the door or curtain rod
To ensure the door or curtain stays securely in place, you’ll need to mount it properly. Follow these steps:
- Measure and mark the desired location for the door or curtain rod.
- Use a drill to mount the door or curtain rod brackets.
- Attach the door or curtain rod to the brackets.
Ensuring proper alignment and functionality
Finally, take a step back and ensure that everything is properly aligned and functioning as it should. Check for any leaks, ensure the shower door or curtain opens and closes smoothly, and make any necessary adjustments to ensure the shower kit is working as intended.
With these step-by-step instructions, you’re well-equipped to install a shower kit with confidence. Remember to consult the manufacturer’s instructions for your specific shower kit and reach out to a professional if you encounter any difficulties. Happy shower kit installation!
Testing And Finishing Touches
Once you have successfully installed your shower kit, it’s time to move onto the final steps: testing and adding those essential finishing touches. These last details are crucial to ensure your shower is working properly and looks polished.
Checking for leaks and proper drainage
Before declaring your shower kit installation complete, it’s essential to check for any leaks and ensure the drainage is functioning correctly. Here’s how you can do it:
- Turn on the shower and let the water run for a few minutes.
- Inspect the shower walls, floor, and surrounding areas for any signs of leakage. Look out for water stains or dampness.
- Check the shower drain for any blockages or slow drainage. If the water is draining properly, you’re good to go!
Sealing the seams and corners
Properly sealing the seams and corners of your shower kit is essential to prevent water leakage and maintain the longevity of your installation. Follow these steps to ensure a thorough sealing:
- Inspect all the seams, edges, and corners of the shower kit.
- Apply a high-quality silicone sealant along the seams using a caulk gun.
- Smooth the sealant with a caulking tool or your finger for an even and neat finish.
- Allow the sealant to dry as per the manufacturer’s instructions.
Adding any additional accessories or features
Now that your shower kit is properly sealed and leak-free, it’s time to tailor it to your preferences by adding any additional accessories or features. Consider the following possibilities:
- Install a showerhead with adjustable settings to enhance your showering experience.
- Add a shower caddy or shelves for convenient storage of toiletries.
- Consider incorporating a towel rack or hooks for easy access to towels.
Cleaning up the work area
Lastly, don’t forget to tidy up the work area and leave it looking spotless. Here are a few tips to leave your bathroom sparkling:
- Remove any excess caulk or sealant from the shower walls and floor.
- Wipe down the shower doors or curtains to remove any smudges or fingerprints.
- Vacuum or sweep up any debris or dust left over from the installation process.
By following these testing and finishing touches, you can ensure that your shower kit installation is not only functional and leak-free but also aesthetically pleasing.
https://www.youtube.com/watch?v=lxEN1OnNGZ8&pp=ygUbRWFzaWx5IEluc3RhbGwgYSBTaG93ZXIgS2l0
Frequently Asked Questions
Can I Install A Shower Kit Myself?
Yes, you can install a shower kit yourself. Follow the instructions carefully and ensure you have the necessary tools and skills. Installing a shower kit yourself can save you money but may require some DIY experience.
How Do You Install A Shower Wall Kit?
To install a shower wall kit, follow these steps: 1. Prepare the wall by ensuring it is clean and dry. 2. Measure and mark the positions for the panels. 3. Apply adhesive to the panels and press them firmly onto the wall.
4. Use a level to ensure the panels are straight. 5. Allow the adhesive to dry completely before using the shower.
What Goes Behind A Shower Kit?
A shower kit typically includes a showerhead, shower trim (such as knobs or handles), a shower arm, and a shower valve. Some kits may also include a shower hose, slide bar, or additional accessories.
How Much Does It Cost To Install A Shower Kit?
The cost of installing a shower kit varies depending on factors such as the type of kit and additional features. On average, you can expect to spend between $500 to $1,500 for a basic shower kit installation. However, more complex installs or higher-end kits can cost upwards of $3,000 or more.
Conclusion
To wrap up, installing a shower kit can be a simple task if you follow the proper steps and have the right tools. From preparing the area to attaching the fixtures, each step plays a crucial role in creating a functional and stylish shower space.
By taking your time, being patient, and having a clear understanding of the instructions, you’ll be able to install your shower kit with ease. Enjoy the satisfaction of a job well done as you step into your new and refreshing shower experience.