
To install a shower head in a bathtub, remove the old shower head by twisting it counterclockwise, then clean the shower arm before attaching the new shower head by twisting it clockwise. Are you looking to upgrade your bathtub with a new shower head?
Adding a shower head to your bathtub can provide a convenient and refreshing bathing experience. Installing a shower head is a fairly simple process that can be done in a few easy steps. In this guide, we will walk you through the process of installing a shower head in your bathtub.
From removing the old shower head to attaching the new one, we will cover all the necessary steps to complete the installation. So, let’s dive in and learn how to install a shower head in a bathtub.
Preparing For Installation
Before installing a shower head in your bathtub, it’s essential to properly prepare. This involves gathering the necessary tools and materials, turning off the water supply, and removing any existing shower head. Follow the steps below to ensure a smooth and successful installation process.
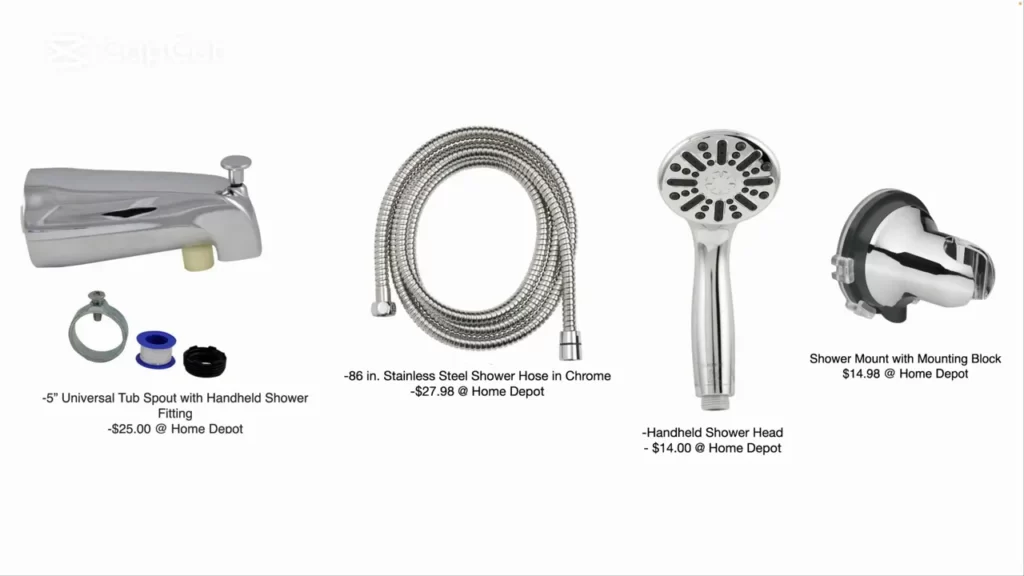
Gather the necessary tools and materials
Before you begin the installation, make sure you have all the required tools and materials on hand. This will help expedite the process and ensure you have everything you need.
| Tools | Materials |
|---|---|
|
|
Turn off the water supply
Before you start removing the existing shower head, be sure to turn off the water supply. This is vital to prevent any accidents or water leakage during the installation process. The water supply can usually be shut off by turning the corresponding valve located near your bathtub or in the basement.
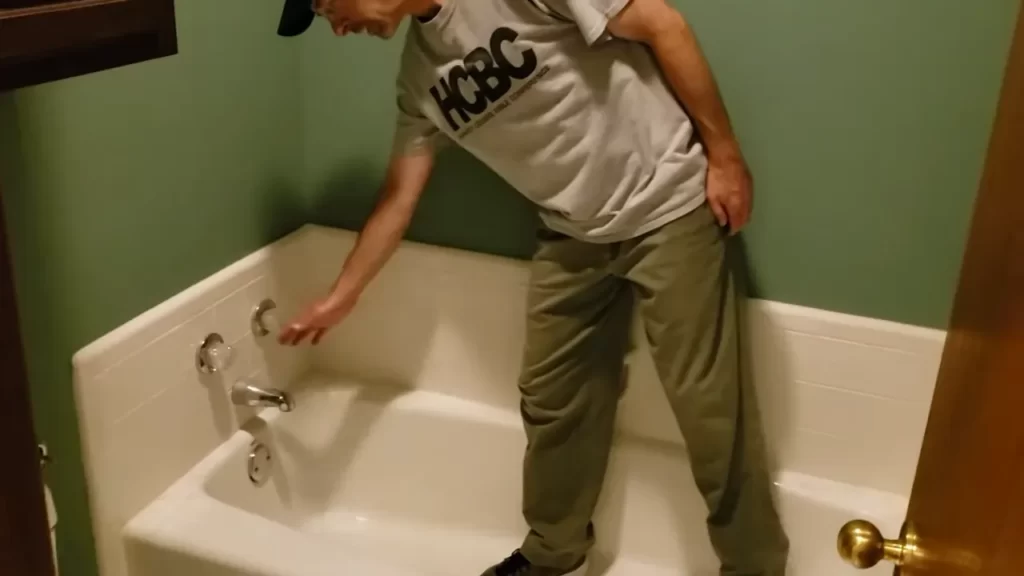
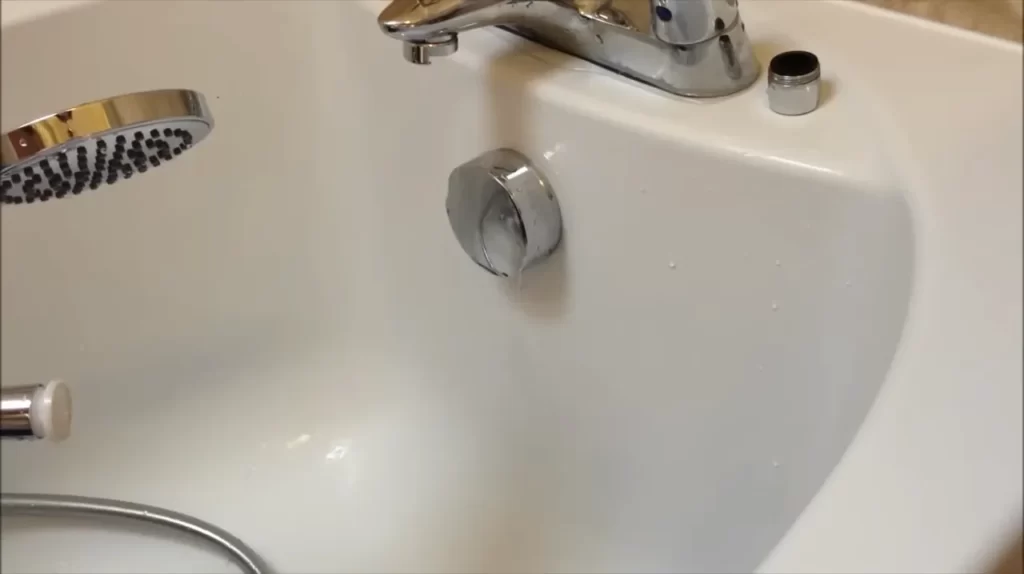
Remove any existing shower head
To make way for the new shower head, you’ll need to remove the existing one. This can be done by following these steps:
- Using an adjustable wrench, turn the shower head counterclockwise to loosen it.
- Continue loosening the shower head until you can remove it completely by hand.
- Check if the old shower head has a rubber gasket or washer attached to it. If damaged, replace it with a new one.
- Apply plumber’s tape to the threads of the shower arm to ensure a watertight seal when installing the new shower head.
By following these simple steps, you’ll be well-prepared to install a new shower head in your bathtub. Remember to ensure you have all the necessary tools and materials, turn off the water supply, and remove any existing shower head before proceeding further with the installation process.
Choosing The Right Shower Head
When it comes to installing a shower head in your bathtub, choosing the right one can make a significant difference in your bathing experience. With a wide range of options available, it’s important to consider factors such as water pressure and flow rate, style and design preferences, and the type of shower head that would best suit your needs. This article will guide you through the process of selecting the perfect shower head for your bathtub.
Consider water pressure and flow rate
Water pressure and flow rate are crucial factors to consider when choosing a shower head for your bathtub. Different homes have varying water pressure levels, with some experiencing low pressure while others may have higher pressure. To ensure a satisfying shower experience, it’s important to choose a shower head that is compatible with your water pressure.
Take note of the flow rate as well, which refers to the amount of water that flows through the shower head per minute. If you prefer a stronger, more invigorating shower, look for a shower head with a higher flow rate. On the other hand, if you aim to conserve water and reduce utility bills, opting for a shower head with a lower flow rate can help you achieve that goal.
Determine the style and design preferences
While functionality is essential, the visual aspect of a shower head should not be overlooked. When choosing a shower head for your bathtub, consider your style and design preferences to complement your bathroom decor. Whether you prefer a sleek and modern look, an elegant traditional design, or perhaps a more unique and eye-catching style, there are countless options available to suit your tastes.
Additionally, consider the finish of the shower head, as it can have a significant impact on the overall aesthetic of your bathroom. Popular options include chrome, brushed nickel, and oil-rubbed bronze, each offering its own distinct look and feel.
Select a suitable shower head type
Understanding the different shower head types is crucial in selecting the right one for your bathtub. Here are some of the most common options:
| Type | Description |
|---|---|
| Rainfall shower head | Provides a gentle and soothing shower experience, mimicking the feel of rainfall. |
| Handheld shower head | Offers flexibility and convenience, allowing you to direct the flow of water exactly where you need it. |
| Massage shower head | Equipped with different settings to provide a therapeutic massaging effect during your shower. |
| Wall-mounted shower head | A common choice that attaches to the wall, providing a steady and reliable flow of water. |
Consider your needs and preferences when choosing a shower head type. If you enjoy a relaxing shower experience, a rainfall or massage shower head might be the perfect fit. If you value convenience and versatility, a handheld shower head might be more suitable.
By taking into account water pressure and flow rate, style and design preferences, and selecting an appropriate shower head type, you can ensure a great bathing experience in your bathtub. Now that you have a better understanding of the factors to consider, you’re ready to make an informed decision and install the ideal shower head for your needs.
Installing The Shower Arm
Now that you have gathered all the necessary tools and materials for installing your shower head in the bathtub, it’s time to move on to the next step: installing the shower arm. The shower arm serves as the connection between the shower head and the water supply. Follow these simple steps to ensure a proper installation.
Measure and mark the placement of the shower arm
Start by measuring and marking the placement of the shower arm on the bathroom wall. Use a measuring tape to determine the ideal height, taking into consideration your own height and comfort. Mark the spot where the shower arm will be installed using a pencil or marker. Make sure the mark is level and centered.
Drill a hole for the arm if necessary
In some cases, you may need to drill a hole in the bathroom wall to accommodate the shower arm. Check the instructions that came with your shower arm to determine if drilling is required. If so, use a drill and the appropriate-sized drill bit to create a hole at the marked spot. Be sure to wear safety goggles and follow all necessary precautions when operating the drill.
Apply plumber’s tape to the threads
Before attaching the shower arm, it’s important to apply plumber’s tape to the threads. Plumber’s tape, also known as Teflon tape, helps create a watertight seal and prevents leaks. Wrap the plumber’s tape around the threads of the shower arm in a clockwise direction. Be sure to cover the entire length of the threads with a few layers of tape.
Screw the shower arm into the elbow or pipe
With the plumber’s tape in place, it’s time to screw the shower arm into the elbow or pipe that connects to the water supply. Insert the threaded end of the shower arm into the opening, applying gentle pressure and twisting it clockwise until it is securely tightened. Use a wrench or pliers if necessary, but be careful not to overtighten and damage the threads.
Once the shower arm is securely installed, you can proceed with attaching the shower head to the other end. Refer to the specific instructions provided with your shower head for proper installation. Remember to test the water flow and check for any leaks before enjoying your newly installed shower head in the bathtub.
Installing the shower arm in your bathtub is a simple task that can be completed in just a few steps. By following these instructions and using the right tools and materials, you can enjoy a refreshing and rejuvenating shower experience every time you step into your bathtub.
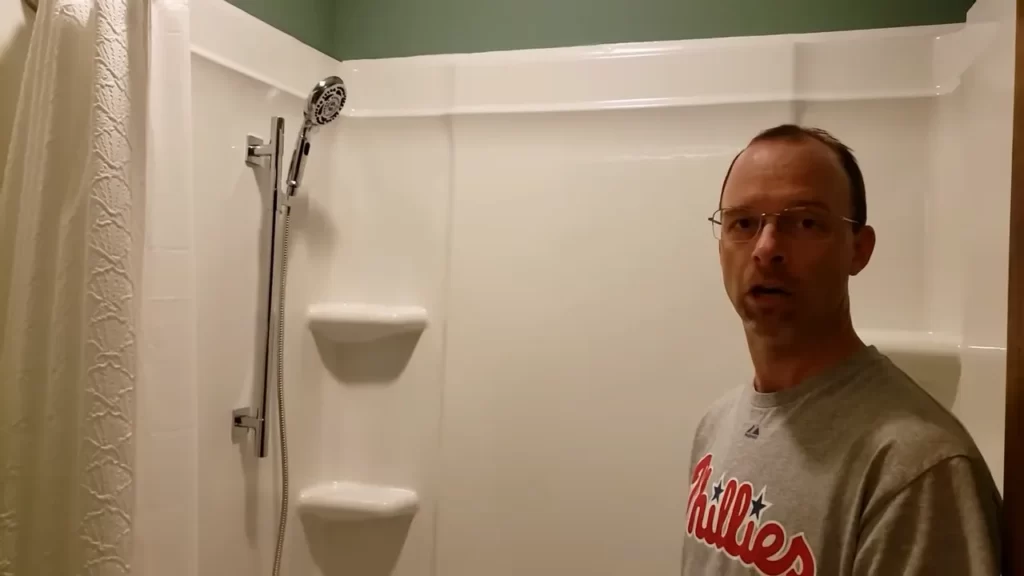
Attaching The Shower Head
Now that you have successfully removed the old shower head and prepared the shower arm, it’s time to attach the new shower head. Follow these steps to ensure a secure and watertight connection.
Apply plumber’s tape to the threads of the shower arm
The first step in attaching the shower head is to apply plumber’s tape to the threads of the shower arm. This tape, also known as Teflon tape, helps create a tight seal and prevents any leaks.
To apply the plumber’s tape, simply wrap it around the threads of the shower arm in a clockwise direction. Make sure to cover the entire length of the threads with the tape, overlapping slightly as you go. Ensure a snug fit, but be careful not to wrap it too tightly, as this can cause the tape to break.
Attach the shower head to the arm
Once the plumber’s tape is in place, it’s time to attach the shower head to the shower arm. Begin by holding the shower head and aligning it with the threads of the arm. Insert the end of the shower head onto the arm, making sure it fits securely.
Ensure that the shower head is oriented correctly, with the direction of the water flow in mind. Some shower heads have a designated front or back, so be sure to check the manufacturer’s instructions if necessary.
Hand-tighten the connection
After aligning the shower head and the arm, you can now hand-tighten the connection. Grasp the shower head firmly and rotate it clockwise to tighten the threads. Continue twisting until you feel resistance, but be careful not to overtighten, as this can cause damage to the shower head or arm.
Use adjustable pliers to secure the connection
If hand-tightening isn’t enough to create a snug connection, you can use adjustable pliers to further secure the shower head. Take the pliers and grip the base of the shower head, being careful not to damage any decorative or delicate parts.
With a gentle but firm grip, twist the pliers clockwise to tighten the connection. Use caution and avoid applying excessive force, as this can cause damage. Check for any leaks or looseness after tightening to ensure a secure connection.
By following these simple steps, you can easily attach your new shower head to the shower arm. Remember to apply plumber’s tape, align the shower head with the arm, hand-tighten the connection, and use adjustable pliers if necessary. With a secure and watertight connection, you’ll be ready to enjoy your refreshing shower in no time!
Testing And Adjusting
Once you have successfully installed your shower head on the bathtub, the next step is to test and adjust it to ensure you are getting the perfect shower experience. This crucial step allows you to check for any leaks, adjust the angle and height of the shower head for optimal performance and comfort. Follow the steps below to properly test and adjust your shower head.
Turn on the water supply
Before you start testing your newly installed shower head, make sure to turn on the water supply. This will allow water to flow through the pipes and the shower head, enabling you to check for any leaks or issues.
Check for leaks
Inspect the shower head and the connection to the bathtub for any signs of leaks. Look for dripping water or water spraying in different directions. Leaks can not only cause water wastage but also reduce the effectiveness of your shower experience. If you notice any leaks, tighten the shower head connection or use plumbing tape to secure it properly.
To ensure a thorough check, you can run water through your shower head for a few minutes. Monitor the joint and connections closely for any signs of leakage. It is important to address any leaks immediately to prevent further damage and water wastage.
Adjust the shower head angle and height if needed
Every individual has their own preference when it comes to shower head position. Your shower head may need adjustment in terms of angle and height to ensure the water is hitting your body comfortably.
If you find that the water is not reaching your desired body parts or the flow is hitting you too hard, you can easily adjust the angle and height of the shower head. Most shower heads come with adjustable features, allowing you to tilt and move them to your liking. You can use your hands or a wrench to loosen or tighten the shower head and adjust it accordingly.
Experiment with different positions to find the most comfortable and relaxing shower experience. Remember to check for leaks again after making any adjustments to ensure there are no new issues.
In conclusion, testing and adjusting your newly installed shower head is crucial to ensure functionality and comfort. By turning on the water supply, checking for leaks, and adjusting the angle and height of the shower head, you can enjoy a refreshing and personalized shower experience.
Maintenance And Troubleshooting
Keeping your shower head in good condition is essential for a refreshing and efficient showering experience. Regular maintenance and troubleshooting can help you address any issues and make sure your shower head is performing at its best. Here are some simple steps you can follow.
Clean the shower head regularly
Over time, mineral deposits can build up inside the shower head, causing clogs and reducing water flow. To prevent this, it’s important to clean the shower head regularly. Here’s a simple method you can try:
- Start by removing the shower head from the wall or arm.
- Soak the shower head in a mixture of equal parts white vinegar and water for about 30 minutes. This will help to dissolve any mineral deposits.
- After soaking, use a toothbrush or a small brush to scrub the shower head, removing any remaining residue.
- Rinse the shower head thoroughly with warm water to remove any vinegar residue.
- Finally, reattach the shower head to the wall or arm and check if the water flow has improved.
Address any potential issues with low water pressure
If you’re experiencing low water pressure from your shower head, there are a few possible causes that you can troubleshoot:
- Check if the water shut-off valve is fully open. Sometimes, it can accidentally get partially closed, reducing water flow.
- Inspect the shower head for any debris that may be blocking the water flow. Remove the shower head and rinse it thoroughly under running water to remove any obstructions.
- If the low water pressure persists, it’s possible that there is a clog in the plumbing system. In this case, it’s best to consult a professional plumber to address the issue.
Replace worn-out parts as necessary
Over time, the components of your shower head may wear out and affect its performance. If you notice any of the following signs, it’s time to replace the worn-out parts:
- If the shower head is leaking, it’s likely that the rubber gasket or O-ring inside is worn out. Replace these parts to prevent further leakage.
- If the shower head is spraying water in multiple directions or unevenly, the internal nozzles may be clogged or damaged. Consider replacing the shower head for optimal water distribution.
- For handheld shower heads, check that the hose is not cracked or leaking. Replace the hose if necessary to maintain a strong and consistent water flow.
By regularly cleaning your shower head, troubleshooting low water pressure, and replacing worn-out parts, you can ensure that your shower head stays in excellent condition for a refreshing and enjoyable showering experience.
Frequently Asked Questions
Can You Add A Shower Head To A Bathtub?
Yes, you can add a shower head to a bathtub. This allows you to have the convenience of a shower when needed.
Where Do You Put A Shower Head In A Bathtub?
Install the shower head on the wall above the bathtub, preferably at a height that suits your preference.
How Do You Install A Hand Held Shower Head In A Bathtub?
To install a handheld shower head in a bathtub, follow these steps: 1. Start by removing the existing shower head. 2. Attach the handheld shower head holder to the wall or the bathtub faucet. 3. Connect the shower hose to both the handheld shower head and the water source.
4. Ensure all connections are tight and secure. 5. Test the shower head to ensure it is working properly.
How Do You Turn A Bathtub Into A Shower?
To turn a bathtub into a shower, hire a professional plumber or contractor. They will remove the bathtub, install a shower pan, waterproof the walls, and add a new shower faucet and drain. Make sure to plan the layout and choose the right materials for a successful conversion.
Conclusion
Installing a shower head in a bathtub is a straightforward task that can enhance your bathing experience. By following a few simple steps, you can easily replace or upgrade your shower head. Whether you choose a handheld shower head or a fixed one, this DIY project can be completed without the need to hire a professional plumber.
Remember to always read the manufacturer’s instructions and ensure that you have the necessary tools before starting. Now, go ahead and transform your daily showers into a refreshing oasis!