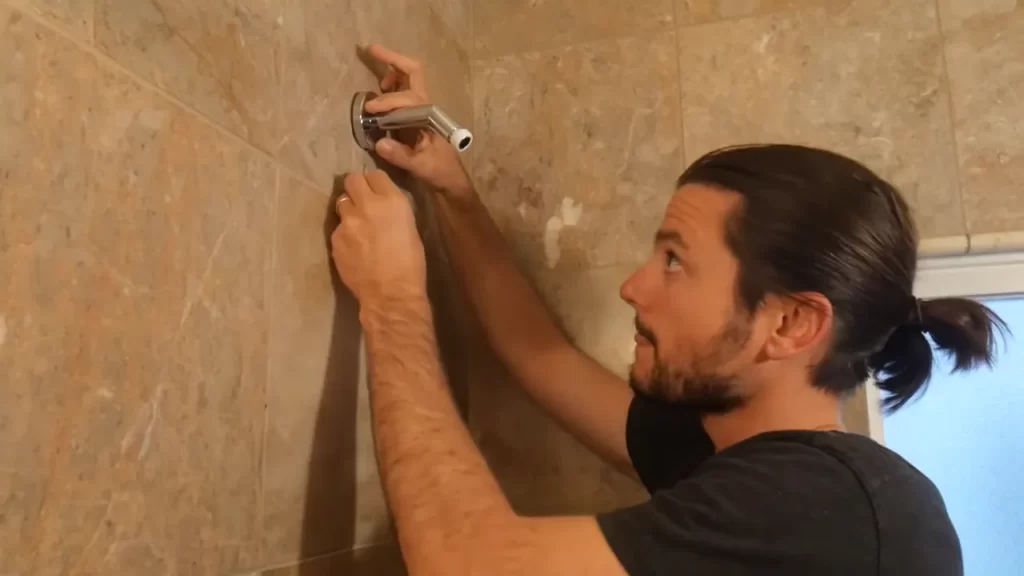
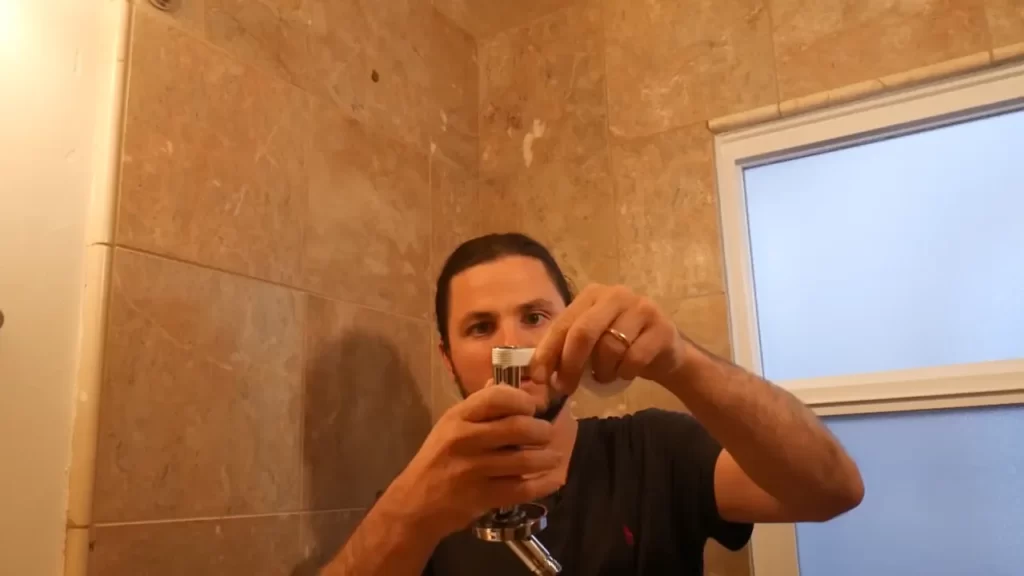
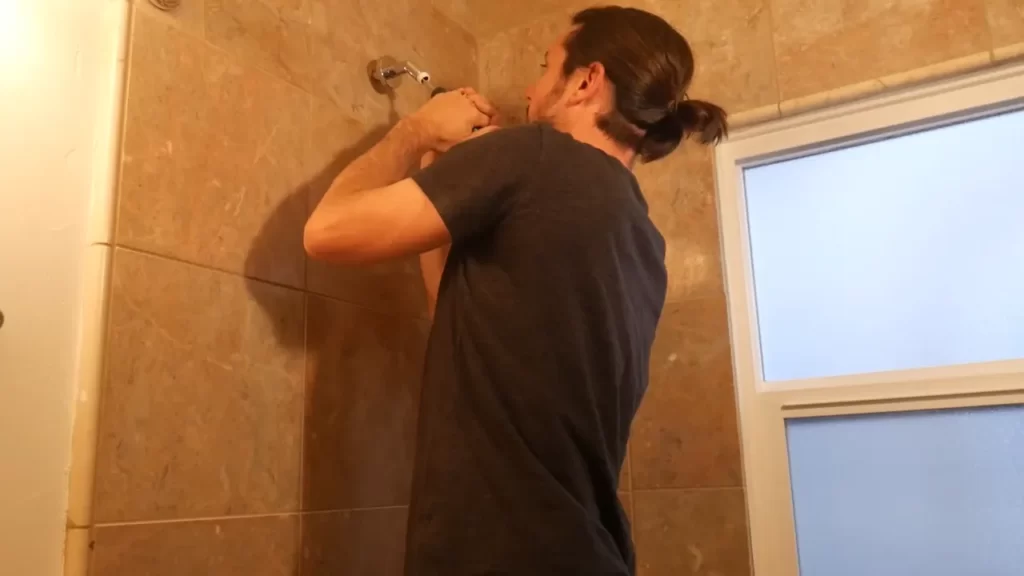
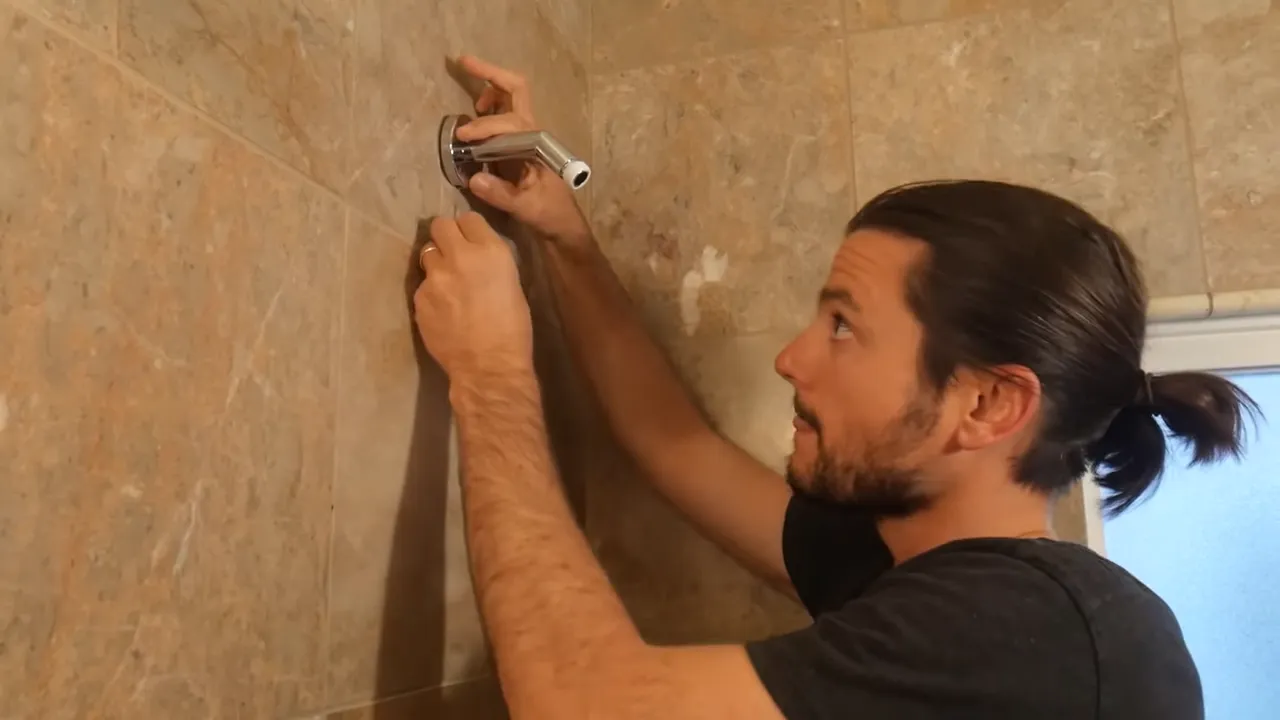
To install a shower flange, first, remove the old flange and clean the surface thoroughly. Then, apply plumber’s putty to the back of the new flange.
Gathering The Necessary Tools And Materials
Before you can start installing a shower flange, it’s important to gather all the necessary tools and materials. Having everything ready beforehand will make the installation process much smoother and more efficient. In this section, we’ll discuss how to choose the right shower flange, the tools you’ll need, and how to properly prepare the area for installation.
Choosing the right shower flange
When it comes to choosing the right shower flange, there are a few factors to consider. Firstly, you’ll need to determine the size and material of the flange. Most shower flanges come in standard sizes, so be sure to measure your existing shower pipe to ensure a proper fit. Additionally, consider the type of material that will best suit your needs. Common options include brass, chrome-plated plastic, and stainless steel. Each material has its own advantages, so choose the one that aligns with your preferences and budget.
Tools needed for the installation
Now that you’ve chosen the perfect shower flange, let’s move on to the tools you’ll need for the installation. Here are the essential tools:
- Adjustable wrench
- Plumber’s tape
- Screwdriver (Phillips or flathead)
- Hacksaw or pipe cutter
- Plumbers’ putty or silicone caulk
- Measuring tape or ruler
- Safety goggles
Having these tools within reach will ensure a seamless installation process and prevent any unnecessary delays.
Preparing the area for installation
Before you can install the shower flange, it’s crucial to prepare the area properly. This will ensure a secure and leak-free installation. Follow these steps to prepare the area:
- Turn off the water supply to the shower. Locate the main water valve and shut it off.
- Remove the existing showerhead and any trim pieces attached to the shower pipe.
- Inspect the shower pipe for any signs of corrosion or damage. If necessary, clean or replace the pipe before continuing.
- Apply plumber’s tape to the threads of the shower pipe. This will create a watertight seal when the new shower flange is installed.
- Measure the depth of the shower pipe to determine if any adjustments need to be made. If the pipe extends too far, use a hacksaw or pipe cutter to trim it to the desired length.
- Thoroughly clean the area around the shower pipe to ensure proper adhesion of the shower flange.
By following these steps and gathering the necessary tools and materials, you’ll be well-prepared to install your shower flange successfully. Stay tuned for the next section, where we’ll guide you through the actual installation process.

Removing The Old Shower Flange
Before you can install a new shower flange, you need to remove the old one. This step is essential to ensure a proper and secure installation. In this section, we’ll guide you through the process of removing the old shower flange.
Turn off water supply
The first step in removing the old shower flange is to turn off the water supply. It’s crucial to do this to prevent any water flow and potential leaks. Locate the water shut-off valve for your shower and turn it clockwise to shut off the water. This valve is typically found near the shower or in the basement.
Removing the showerhead and arm
Once the water supply is turned off, you can proceed to remove the showerhead and arm. Use an adjustable wrench to unscrew the showerhead counterclockwise from the shower arm. Once the showerhead is removed, repeat the process to detach the shower arm from the wall. Set aside the showerhead and arm in a safe place.
Removing the old flange
The next step involves removing the old flange. Start by inspecting the flange to identify any screws or clips holding it in place. If there are screws, use a screwdriver to loosen and remove them. If there are clips, carefully disengage them using a pair of pliers.
Once the screws or clips are removed, gently pull the flange away from the shower wall. Be cautious not to damage the surrounding tiles or plumbing. If the flange feels stuck, you can use a putty knife or pry bar to carefully pry it off.
With the old flange removed, inspect the area for any remaining adhesive or caulking. Use a scraper or putty knife to remove any residue, ensuring a clean surface for the new flange installation.
That’s it! You have successfully removed the old shower flange. Now you’re ready to install the new flange, which we’ll cover in the next section.

Installing The New Shower Flange
Now that you have removed the old shower flange, it’s time to install the new one. This step is crucial in ensuring a tight seal and preventing any leaks in your shower. In this section, we will guide you through the process of preparing the new flange for installation, applying plumber’s tape, and attaching the new flange to the pipe.
Preparing the new flange for installation
Before you begin installing the new shower flange, it’s essential to prepare the flange for a secure fit. Follow these steps:
- Inspect the new flange for any defects or damage. Ensure it’s in good condition and free from any cracks or breakage.
- Clean the area around the pipe where the flange will be attached. Remove any debris, old adhesive, or leftover sealing material from the previous flange.
Applying plumber’s tape
To further ensure a watertight seal, it’s recommended to apply plumber’s tape to the flange threads. This simple step can prevent leaks and keep your shower enclosure in excellent condition. Here’s how to do it:
- Wrap the plumber’s tape clockwise around the flange threads. Make sure to cover the entire threaded area.
- Apply sufficient pressure to ensure a tight grip of the tape on the threads. This will create a seal between the flange and the pipe.
Attaching the new flange to the pipe
With the flange prepared and plumber’s tape applied, it’s time to attach the new shower flange to the pipe securely. Follow these steps:
- Align the new flange with the pipe, ensuring proper positioning and alignment.
- Tighten the flange by turning it clockwise. Apply gentle pressure to ensure a snug fit without over-tightening. Be cautious not to damage the flange or the pipe during this process.
- Double-check the tightness of the flange to ensure it is secure. This will help prevent any water leaks once your shower is in use.
By following these steps, you will successfully install a new shower flange and ensure a tight and leak-free connection between the pipe and the flange. Take your time during the installation process to ensure a proper fit and alignment. Once the flange is securely attached, you can proceed with the next steps of your shower installation project.

Securing The Shower Flange
Tightening the Flange Securely
To ensure a secure and watertight shower flange installation, it is important to properly tighten the flange. Start by positioning the flange over the shower drain pipe, making sure it aligns perfectly. Use a screwdriver to tighten the screws or bolts that hold the flange in place. Make sure not to overtighten, as this can damage the flange or the surrounding material. Tightening the flange securely will help prevent any water leakage and ensure a sturdy installation.
Reattaching the Showerhead and Arm
Once the flange is tightly secured, it is time to reattach the showerhead and arm. Remove any protective coverings or tape from the showerhead and arm, and then screw them back into place on the flange. Use your hands to tighten them firmly but be careful not to overtighten, as this can lead to cracks or damage to the fittings. Once reattached, double-check the position and alignment to ensure a comfortable shower experience.
Checking for Any Leaks
After securing the flange and reconnecting the showerhead and arm, it is essential to check for any leaks. Start by turning on the water supply and allowing it to flow through the showerhead. Inspect the area around the flange and the connected fittings, looking for any signs of water leakage. Pay close attention to areas where the flange meets the shower wall or floor. If you notice any leaks, use your hand or a wrench to tighten the fittings slightly until the leaks stop. Repeat this process until there are no signs of leakage.
By following these simple steps to secure the shower flange, reattach the showerhead and arm, and check for any leaks, you can ensure a secure and functional shower installation. Taking the time to properly tighten the flange and inspect for leaks will provide peace of mind and help maintain the integrity of your shower for years to come.
Tips And Troubleshooting
Common issues during installation
Installing a shower flange may seem like a straightforward task, but there are a few common issues that can arise during the process. By familiarizing yourself with these challenges, you can tackle them head-on and ensure a successful installation.
Incorrect alignment: One of the most common mistakes during shower flange installation is improper alignment. If the flange is not aligned properly with the drain pipe, it can result in leaks or loose connections. To avoid this, take the time to carefully align the flange with the drain pipe before securing it in place.
Cracked or damaged flange: Another issue that can occur is a cracked or damaged flange. This can happen if the flange is mishandled or if excessive force is applied during installation. Before beginning the installation, inspect the flange for any signs of damage. If you notice any cracks or breaks, it is best to replace the flange before proceeding.
How to fix leaks or loose connections
Once the shower flange is installed, it is important to check for leaks or loose connections. These issues can lead to water damage and mold growth if left unresolved. Here are a few steps you can take to fix leaks or loose connections:
- Inspect the connections: Start by examining all the connections between the flange, drain pipe, and shower base. Look for any signs of water leakage or loose fittings.
- Tighten loose connections: If you identify any loose connections, use a wrench or pliers to tighten them. Make sure not to overtighten, as this can cause damage.
- Replace damaged parts: If you find any damaged parts, such as cracked gaskets or worn-out washers, replace them immediately. This can help prevent future leaks or loose connections.
- Apply sealant: To further ensure a watertight seal, consider applying a silicone sealant around the connections. This will provide an added layer of protection against leaks.
Maintenance tips for the shower flange
Maintaining your shower flange is essential to ensure its longevity and prevent any future issues. Here are a few maintenance tips to keep in mind:
- Regular cleaning: Clean the shower flange regularly to remove any buildup of soap scum, mildew, or grime. Use a mild cleanser and a soft-bristle brush to gently scrub the flange.
- Check for wear and tear: Periodically inspect the flange for any signs of wear and tear. Look for cracks, breaks, or corrosion. If any damage is found, take prompt action to repair or replace the affected parts.
- Ensure proper drainage: Make sure the drain holes in the flange are free from debris and obstructions. This will ensure proper water flow and prevent clogs in the drain system.
With these tips and troubleshooting advice, you can install and maintain a shower flange with ease. By addressing common issues, fixing leaks or loose connections, and implementing regular maintenance, you can enjoy a leak-free and fully functional shower for years to come.
Frequently Asked Questions
How Do You Attach A Shower Arm Flange?
To attach a shower arm flange, follow these steps: 1. Unscrew the old flange from the shower arm. 2. Apply plumber’s tape to the threads of the shower arm. 3. Screw the new flange onto the shower arm, ensuring it is tight.
4. Use an adjustable wrench to secure the flange in place. 5. Check for any leaks and make necessary adjustments.
How Do You Secure A Shower Head Flange?
To secure a shower head flange, follow these steps: 1. Start by unscrewing the old flange if there is one. 2. Thoroughly clean the area where the new flange will be attached. 3. Apply plumber’s tape or thread sealant to the shower arm.
4. Place the flange over the shower arm and screw it securely until it is tight. 5. Use a wrench to tighten it further if necessary.
What Does A Shower Flange Do?
A shower flange is a decorative ring that attaches to the wall pipe of a shower. It provides a finished look by covering the hole where the pipe comes through the shower wall. The flange also helps to prevent water from seeping behind the wall.
How Do You Install A Shower Nozzle?
To install a shower nozzle, follow these steps: 1. Turn off the water supply to the shower. 2. Remove the old nozzle by unscrewing it counterclockwise. 3. Apply plumber’s tape to the threads of the new nozzle. 4. Screw the new nozzle onto the shower arm, turning it clockwise.
5. Turn on the water supply to test for any leaks.
Conclusion
To sum up, installing a shower flange doesn’t have to be a daunting task. By following the step-by-step guide mentioned in this post, you can easily replace or install a new shower flange in your bathroom. Remember to gather the necessary tools, prepare the area, and carefully attach the flange to ensure a secure and leak-free shower installation.
With a little patience and the right instructions, you’ll have your shower flange installed in no time. Happy DIYing!
