To install a shower drain trap, first, remove the existing drain cover and clean the drainpipe thoroughly. Then, fit the new drain trap into the drainpipe, making sure it is securely in place.
Introducing the proper installation of a shower drain trap is essential to ensure an efficient and leak-free drainage system. By following a few simple steps, you can easily install a shower drain trap and prevent any potential issues in the future.
This article will provide a concise and accurate guide on how to install a shower drain trap, allowing you to tackle this DIY project with confidence. With a few basic tools and some careful attention to detail, you can successfully install a new shower drain trap and enjoy worry-free showering experiences.
Gathering The Necessary Tools And Materials
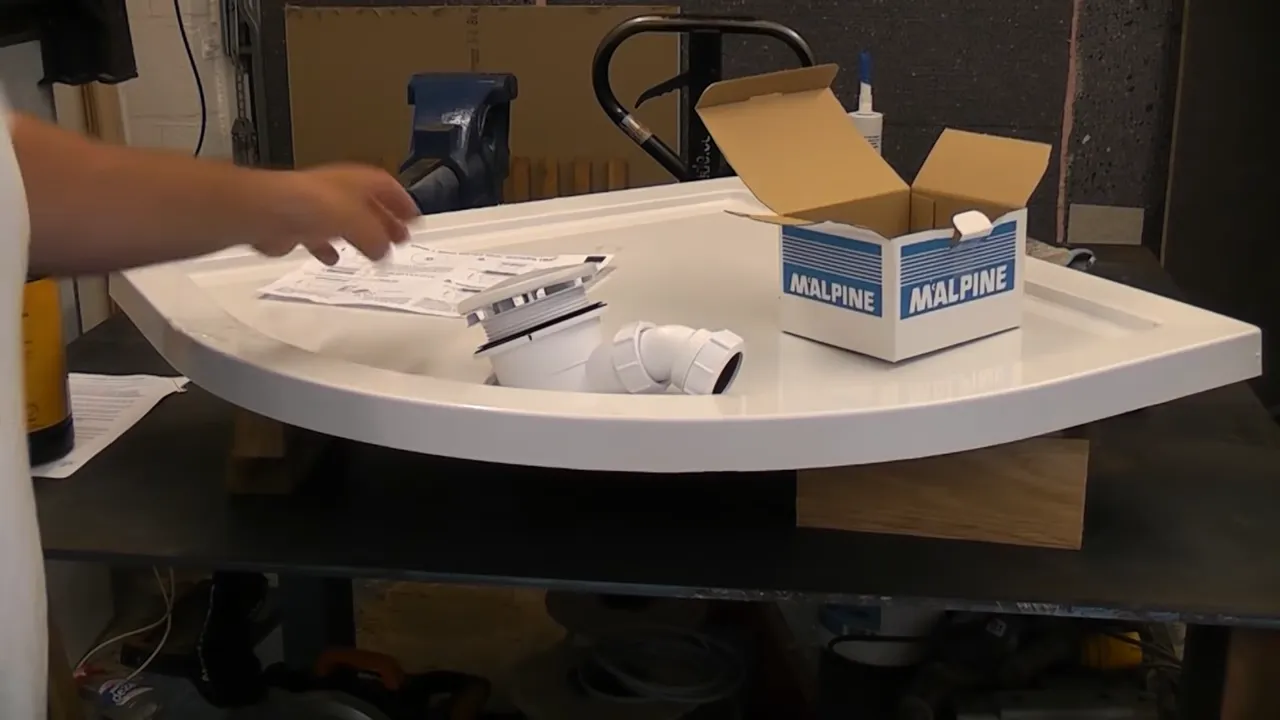
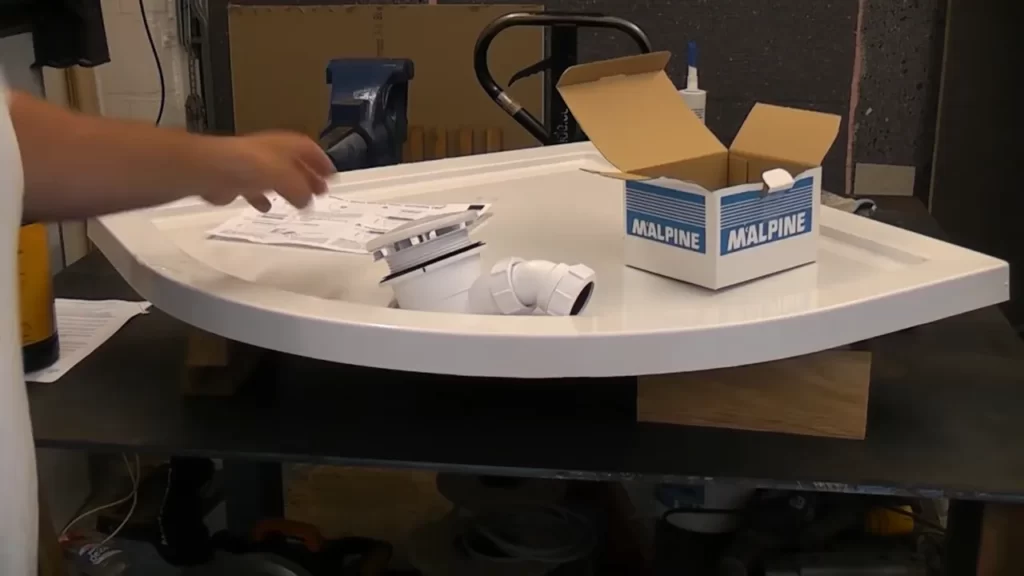
Before you start installing a shower drain trap, it’s important to gather all the necessary tools and materials. Having everything prepared and within reach will help streamline the installation process and ensure a successful outcome. Here’s what you’ll need:
Essential tools for the installation process:
- Adjustable wrench
- Screwdriver (flathead and Phillips)
- Hacksaw
- Tape measure
- Pencil or marker
- Plumber’s putty or silicone sealant
- Teflon tape
- Bucket or container to catch water
Choosing the right drain trap for your shower:
When it comes to selecting a drain trap for your shower, there are a few factors to consider. The type of plumbing system you have, the size and design of your shower, and local plumbing codes will all play a role in your decision-making process. Take the following points into consideration:
- Check the diameter of your existing drain pipe to ensure compatibility with the new drain trap.
- Consider the material of the drain trap – PVC, stainless steel, and brass are commonly used options.
- Look for a trap that is specifically designed for shower use, as it will have features such as hair catchers and easy-to-clean designs.
- Ensure the drain trap complies with local plumbing codes to avoid any regulatory issues down the line.
Measuring and preparing the area for installation:
Before diving into the installation process, it’s essential to accurately measure and prepare the area where the shower drain trap will be installed. Follow these steps:
- Remove the shower drain cover or grate and inspect the existing drain pipe.
- Using a tape measure, measure the diameter of the drain pipe to determine the appropriate size for the drain trap.
- Mark the area around the drain pipe with a pencil or marker to indicate where the drain trap will be positioned.
- Ensure that the area is clean and free of any debris that may hinder the installation process.
By gathering the necessary tools and materials, choosing the right drain trap for your shower, and properly measuring and preparing the area, you’ll be well-prepared to tackle the installation process with confidence. Now that you have everything you need, let’s dive into the actual steps of installing a shower drain trap, which we’ll cover in the upcoming sections.
Removing The Old Drain And Preparing For Installation
Before installing a new shower drain trap, it is crucial to remove the old one and prepare the area for the installation process. This involves safely removing the existing drain trap, cleaning and inspecting the drain pipe, and applying plumber’s putty or sealant. Following these steps will ensure a proper and secure installation of the new drain trap.
Safely removing the existing drain trap
To begin the process of removing the old drain trap, it is important to gather the necessary tools. You will need a pair of pliers, a wrench, a bucket, and a rag to catch any water or debris that may come out during the removal process.
Start by locating the drain trap, which is usually located underneath the shower or bathtub. Use the pliers or wrench to loosen the nut connecting the drain trap to the drain pipe. Carefully remove the old drain trap and place it in the bucket.
Cleaning and inspecting the drain pipe
Once the old drain trap has been removed, it is essential to clean and inspect the drain pipe. Use a rag or brush to remove any debris or buildup inside the pipe. This will ensure that the new drain trap fits properly and functions correctly.
Inspect the drain pipe for any damage or leaks. Look for cracks, loose fittings, or signs of wear and tear. If any issues are detected, it is recommended to replace or repair the drain pipe before proceeding with the installation of the new drain trap.
Applying plumber’s putty or sealant
Next, it is time to apply plumber’s putty or sealant to create a watertight seal between the new drain trap and the drain pipe. This is crucial for preventing leaks and ensuring the proper functioning of the shower drain.
Take a small amount of plumber’s putty or sealant and roll it into a thin, uniform rope. Place the rope around the rim of the drain pipe opening. Carefully press the new drain trap into place, making sure it fits snugly onto the putty or sealant.
Tighten the nut or screws to secure the new drain trap in place. Be careful not to overtighten, as this can damage the drain pipe or the new drain trap.
Finally, wipe away any excess putty or sealant with a damp rag, leaving a clean and seamless finish to the installation process.
By following these steps and taking the time to properly remove the old drain trap and prepare the area, you are ensuring a successful installation of the new shower drain trap. This will result in a reliable and efficient drain system that will serve you well for years to come.
Installing The New Shower Drain Trap
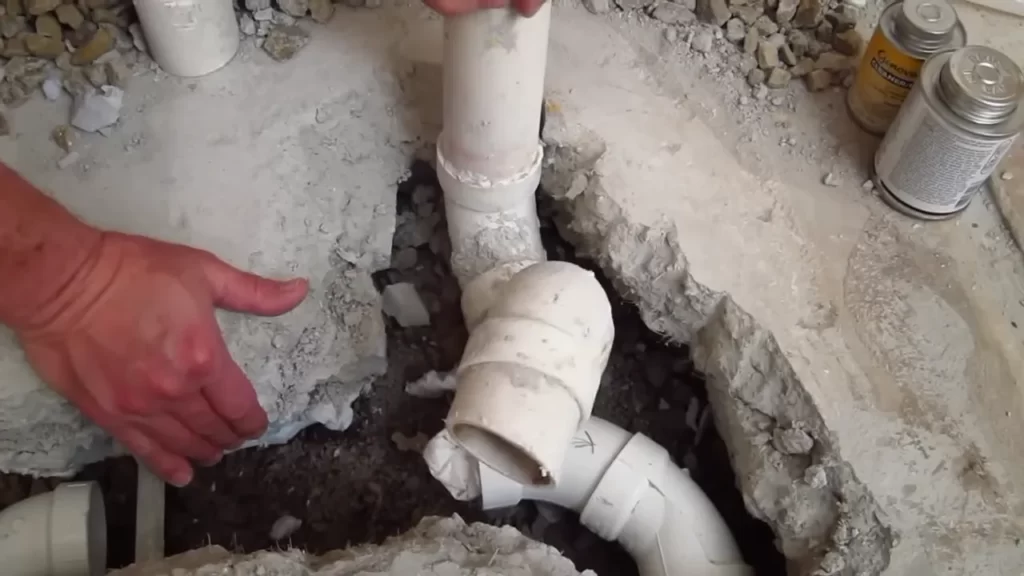
Positioning the new drain trap and fitting it into place
Before you can install a new shower drain trap, it’s important to position it correctly and ensure that it fits into place securely. Start by examining the shower pan or floor and determining the exact location for the drain trap. Using a pencil or marker, mark the position directly on the shower pan or floor.
Next, take the new drain trap and hold it up to the marked position, aligning it with the existing drain pipe. Make sure that the trap is level and fits snugly against the shower pan or floor. Adjust as necessary to achieve the proper positioning.
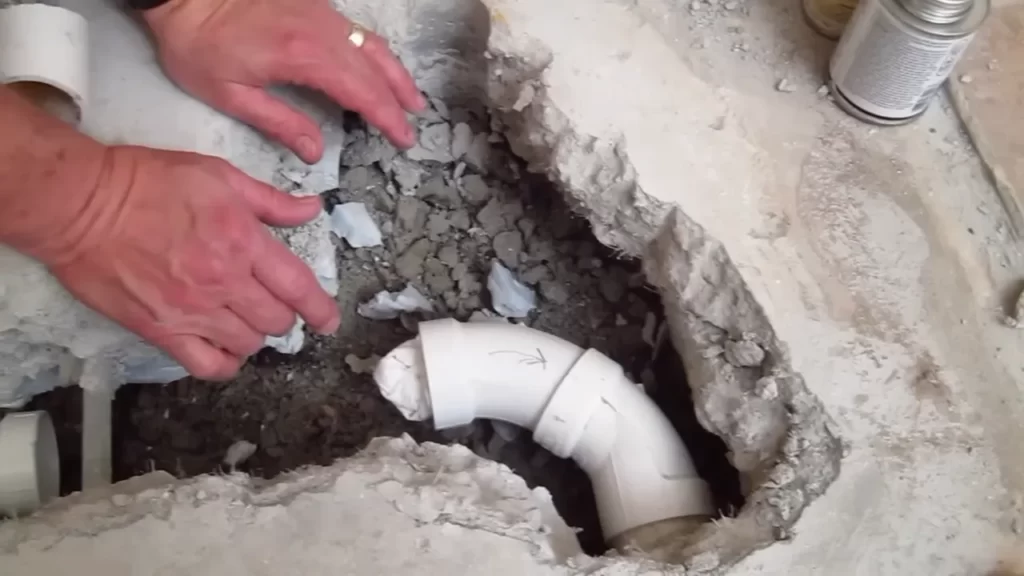
Properly connecting the drain trap to the drain pipe
Once you have positioned the new drain trap, it’s time to connect it to the drain pipe. Start by applying a generous amount of plumber’s putty to the bottom of the drain trap. This will create a watertight seal and prevent any leaks.
Next, carefully insert the drain trap into the drain pipe, ensuring that the plumber’s putty creates a tight seal. Twist the drain trap clockwise to secure it in place. Use a wrench or pliers to tighten the connections, but be careful not to overtighten, as this can cause damage.
After connecting the drain trap to the drain pipe, it’s important to check for any potential leaks. Run a small amount of water through the drain and inspect the connections for any signs of water leakage. If you notice any leaks, carefully tighten the connections until they are secure.
Securing the drain trap with screws or clamps
In order to ensure that the drain trap remains secure and in place, it’s important to secure it with screws or clamps. Begin by locating the screw holes or clamping mechanisms on the drain trap and the surrounding area.
Depending on the specific type of drain trap you have, you will either need to insert screws through the designated holes or tighten clamps around the drain trap and the drain pipe. Use a screwdriver or wrench to properly secure the drain trap.
Testing the drain trap for proper functionality
Once you have installed and secured the new shower drain trap, it’s crucial to test it for proper functionality. Fill the shower pan or floor with water and watch closely for any signs of drainage issues or leaks.
If the water drains properly and there are no leaks, congratulations! You have successfully installed a new shower drain trap. However, if you notice any problems, such as slow drainage or water leakage, you may need to revisit the installation process and make any necessary adjustments.
Installing a new shower drain trap may seem like a daunting task, but by following these steps and ensuring proper positioning, connection, and securing, you can have a functional and leak-free shower drain. Take your time, double-check your work, and enjoy the peace of mind that comes with a properly installed shower drain trap.
Taking Precautions And Ensuring Proper Functionality
Installing a shower drain trap may seem like a simple task, but it’s essential to take precautions and ensure proper functionality to prevent potential issues down the line. By following a few key steps, you can ensure that your shower drain trap is properly sealed, free from blockages or obstructions, and provides the optimal water flow and drainage. Let’s explore these steps in detail.
Ensuring the Trap is Properly Sealed to Prevent Leaks
One of the primary concerns when installing a shower drain trap is preventing leaks. Leaks can cause water damage and mold growth, leading to costly repairs. To avoid this, it’s crucial to make sure the trap is properly sealed.
Here’s how you can ensure a tight seal:
- Carefully apply a layer of plumber’s putty around the rim of the drain before inserting the trap assembly.
- Tighten the nuts connecting the trap to the drain pipe using a wrench, ensuring a secure fit.
- Inspect the entire area around the trap for any signs of leakage once the installation is complete.
Checking for Any Potential Blockages or Obstructions
Another important step in installing a shower drain trap is checking for potential blockages or obstructions. Even the smallest debris can cause clogs and disrupt the proper functioning of the drain.
Here’s how to ensure there are no blockages:
- Inspect the drain opening for any visible debris or obstructions before installing the trap.
- Use a flashlight to illuminate the drain pipe and visually check for any blockages.
- If you spot any debris, remove it using a plumber’s snake or a pair of tweezers.
Testing the Drain for Proper Drainage and Water Flow
Once the shower drain trap is securely installed, it’s time to test the drain for proper drainage and water flow. This step is essential to ensure that the trap functions effectively and prevents any issues caused by slow or blocked drainage.
Here’s how to test the drain:
- Let water run through the drain for a few minutes and observe the flow.
- Check for any signs of slow drainage or standing water.
- If the drain is not functioning correctly, disassemble the trap and examine for any blockages or improper installation.
- Reassemble the trap and repeat the testing process until the drain functions optimally.
By following these precautions and ensuring proper functionality, you can install a shower drain trap that works seamlessly, prevents leaks, and provides efficient drainage. Taking the time to perform these steps correctly will save you from potential headaches and expensive repairs in the future.
Frequently Asked Questions
Do You Have To Put A Trap On A Shower Drain?
Yes, it is necessary to install a trap on a shower drain. The trap prevents unpleasant odors and sewer gases from entering your bathroom. It also helps to catch hair, soap scum, and other debris, preventing clogs and potential damage to your plumbing system.
How Far Can A Shower Trap Be From The Drain?
The shower trap should be installed within 3 to 6 feet from the drain for proper drainage and to prevent clogs.
What Does A Shower P Trap Look Like?
A shower P trap is a curved pipe underneath the shower drain that prevents sewer gases from entering the bathroom. It has a U or S shape and is usually made of PVC or metal. Its design allows water to flow freely while blocking the odorous gases.
What Are The Different Types Of Shower Drain Trap?
Shower drain traps come in various types, including P-trap, S-trap, and bottle trap. These traps prevent sewer gases from entering the bathroom by creating a water seal. P-traps are commonly used in modern plumbing, while S-traps are older designs. Bottle traps are compact and often used in small spaces.
Conclusion
Installing a shower drain trap is a crucial step in ensuring proper drainage and preventing unpleasant odors. By following the step-by-step instructions provided in this blog post, you can easily install a shower drain trap without any hassle. Remember to check for leaks and ensure the trap is securely in place.
With this knowledge, you can confidently tackle your shower drain trap installation and enjoy a clean and functional shower.