To install a shower door sweep, start by measuring the width of the shower door and cut the sweep accordingly. Then, slide the sweep onto the bottom of the door and secure it in place using adhesive or screws.
Selecting The Proper Size And Material
Consider the dimensions of your shower door
When it comes to installing a shower door sweep, one of the crucial steps is selecting the proper size. Before making any purchases, take accurate measurements of your shower door to ensure a perfect fit. You should measure the width and height of the door, as well as the thickness. These dimensions will help you determine the correct size of the shower door sweep you need.
Determine the type of material suitable for your needs
The material of the shower door sweep plays a significant role in its durability and effectiveness. There are various materials available, each with its own advantages and limitations. Here are some common options to consider:
- Vinyl: This is a popular choice due to its affordability and ease of installation. Vinyl shower door sweeps are flexible and can effectively seal gaps, preventing water leakage.
- Rubber: Rubber shower door sweeps are known for their excellent sealing capabilities. They are durable, resistant to wear and tear, and can effectively block water from seeping through the gaps.
- Silicone: If you are looking for a long-lasting option, silicone shower door sweeps are worth considering. They are resistant to mold and mildew and offer a tight seal, keeping the water inside the shower.
Before making your final decision, assess your needs and preferences. Consider factors such as budget, maintenance requirements, and the specific conditions of your shower environment.

Understanding The Importance Of A Shower Door Sweep
The role of a shower door sweep in preventing water leaks
A shower door sweep, also known as a shower door seal or shower door bottom seal, plays a vital role in preventing water leaks from your shower enclosure. It is a small but crucial component that is often overlooked, yet it serves as the first line of defense against water seeping out of your shower area.
When properly installed, a shower door sweep creates a watertight seal between the bottom of your shower door and the threshold or shower curb. This seal prevents water from escaping onto your bathroom floor, which can lead to unsightly water damage, mold growth, and even structural issues.
Designed to fit snugly against the shower door, a shower door sweep acts as a barrier, redirecting water back into the shower area and away from your bathroom floor. It effectively fills the gap between the door and the threshold, ensuring a leak-free showering experience.
Benefits of installing a shower door sweep
Installing a shower door sweep offers several benefits beyond preventing water leaks. Let’s explore some of the key advantages:
- Water damage prevention: By creating a watertight seal, a shower door sweep helps avoid water damage to your bathroom floor and underlying structures. It eliminates the need to constantly mop up water after each shower, keeping your bathroom clean and dry.
- Mold and mildew prevention: Excess moisture breeds mold and mildew, which not only compromises the appearance of your bathroom but also poses risks to your health. A properly installed shower door sweep reduces the chances of mold and mildew growth by preventing water from seeping out.
- Eco-friendly: By keeping water contained within your shower area, a shower door sweep promotes water conservation. It minimizes wastage and reduces the need for excessive cleaning, ultimately contributing to a more sustainable lifestyle.
- Noise reduction: Along with preventing water leaks, a shower door sweep also helps reduce noise caused by water splashing onto the bathroom floor. This can create a more serene and peaceful showering experience.
In conclusion, understanding the importance of a shower door sweep highlights its role in preventing water leaks and the benefits it offers. From water damage prevention to mold and mildew control, installing a shower door sweep ensures a safer, cleaner, and more sustainable showering environment.
Gathering The Necessary Tools
Gathering the necessary tools is the first step in installing a shower door sweep. It is essential to have the right tools readily available before beginning the installation process. With the right tools, you can ensure a smooth and hassle-free installation. In this section, we will provide a comprehensive list of the tools you will need.
List of tools required for the installation process
Here is a breakdown of the tools you will need:
- Screwdriver: A screwdriver will be needed to remove any screws or fasteners that are currently holding the old sweep in place. It is recommended to have both a flathead and a Phillips head screwdriver handy in case different types of screws are used.
- Measuring Tape: Accurate measurements are crucial for ensuring that the shower door sweep fits properly. Having a measuring tape on hand will help you measure the correct length and width.
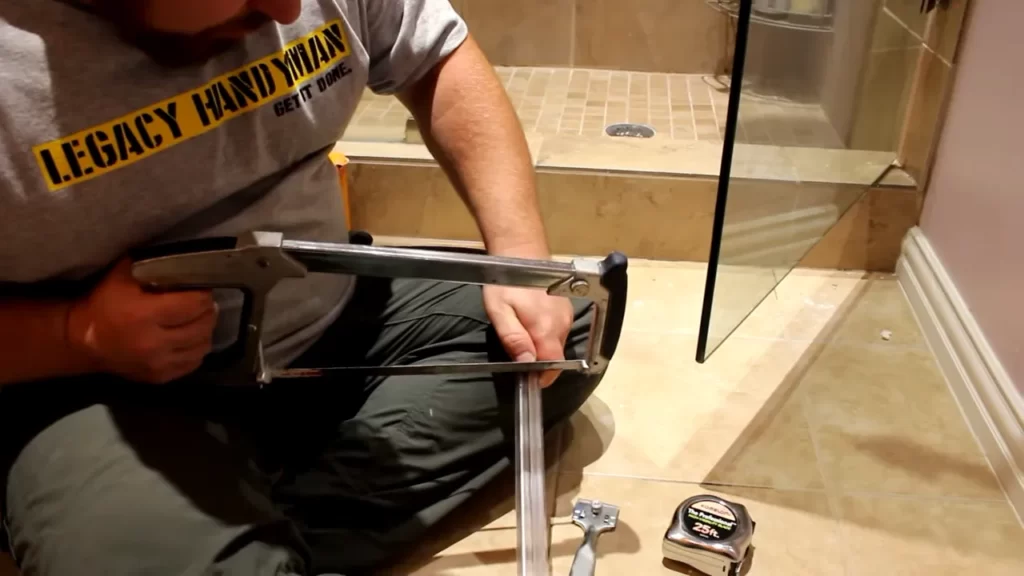
- Hacksaw: Sometimes, the shower door sweep may need to be trimmed to fit perfectly. A hacksaw will come in handy for cutting the sweep to the required size.
- Safety Glasses: Safety should always be a priority. Wearing safety glasses during the installation process will protect your eyes from any debris or flying particles.
- Mallet or Hammer: A mallet or hammer can be used to secure the new sweep in place. It will help you tap it into position, ensuring a tight fit.
- Silicone Sealant: Silicone sealant is necessary to create a watertight seal between the shower door and the sweep. Be sure to choose a high-quality sealant that is designed for use in wet environments.
By gathering these tools in advance, you will be fully prepared to install the shower door sweep without any interruptions or delays. Having everything you need within reach will save you time and make the installation process much easier.
Collecting The Required Materials
Before you can install a shower door sweep, it is important to gather all the necessary materials. This ensures that you have everything you need for a successful installation. By being prepared and having the right tools and supplies on hand, you can save time and make the process smoother.
Identify the materials needed for a successful installation
When it comes to installing a shower door sweep, there are a few key materials that you will need. Here is a list of the essential items:
| Materials | Description |
|---|---|
| Shower Door Sweep | This is the main component that will seal the gap between the shower door and the floor. Make sure to choose a sweep that is the right length and thickness for your door. |
| Measuring Tape | You will need a measuring tape to accurately measure the length of your shower door. This ensures that you select the correct size of shower door sweep. |
| Pencil or Marker | Use a pencil or marker to mark the desired length of the shower door sweep on the door. |
| Hacksaw or Miter Saw | Depending on the type of shower door sweep you have, you will need either a hacksaw or a miter saw to cut it to the correct length. |
| Screws or Adhesive | Screws or adhesive will be needed to secure the shower door sweep to the bottom of the door. The type of fastener you use will depend on the material of your shower door. |
| Drill or Screwdriver | A drill or screwdriver will be necessary if you are using screws to attach the shower door sweep. This tool allows you to securely fasten the sweep to the door. |
| Alcohol or Cleaner | Before installing the shower door sweep, it is important to clean the door thoroughly. Alcohol or a suitable cleaner can be used to remove any dirt or residue. |
| Rag or Cloth | You will need a rag or cloth to wipe down the door after cleaning it. This ensures that the surface is clean and ready for the installation. |
By having all of these materials ready, you can ensure a smooth and successful installation of your shower door sweep. Taking the time to gather everything you need upfront will save you from having to pause the installation process to retrieve missing items. Now that you have identified the required materials, let’s move on to the next step of the installation process.
Pre-Installation Preparation
Before you begin the installation process of a shower door sweep, it’s important to prepare properly. This step is vital to ensure that the installation goes smoothly and the sweep functions effectively. Follow these simple guidelines to make sure you have everything in order before getting started.
Cleaning the shower door track
One of the first things you’ll want to do is thoroughly clean the shower door track. Over time, dirt, soap scum, and grime can build up in this area, which can impede the proper functioning of the sweep. Use a cleaner suitable for the material of your shower door, whether it’s glass or a different type of material, and scrub away any residue. Pay special attention to the corners and edges where debris tends to accumulate. After cleaning, rinse the track and dry it completely to eliminate any remaining moisture.
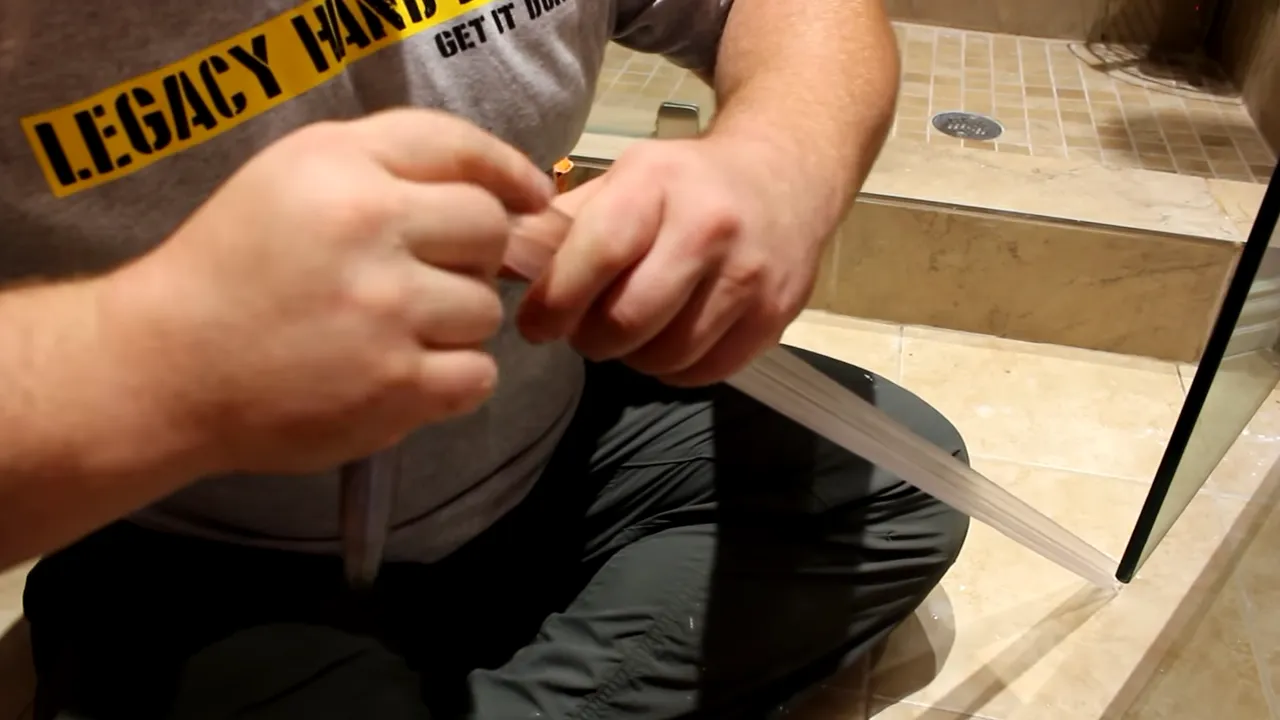
Measuring and prepping the sweep for installation
Next, you’ll need to measure and prepare the shower door sweep for installation. This step ensures that the sweep fits properly and provides the desired seal. Using a measuring tape, carefully measure the length of the shower door track from one end to the other. Take note of this measurement and use it to cut the sweep to the appropriate length. It’s important to measure accurately to avoid any gaps or overlaps that could compromise the efficiency of the sweep. Once the sweep is cut to size, remove any protective covering and ensure that it is clean and free of debris.
Now that you’ve completed the necessary pre-installation preparation, you’re ready to move on to the next steps in installing a shower door sweep. By following these guidelines and taking the time to clean the shower door track and measure and prep the sweep correctly, you’ll set yourself up for a successful installation process and enjoy the benefits of a properly functioning sweep.
Positioning The Shower Door Sweep
Ensuring proper alignment of the sweep with the door
When it comes to installing a shower door sweep, one of the most crucial steps is positioning it correctly on the door. This guarantees an effective seal and prevents water leakage. Proper alignment of the sweep with the door ensures that it can fulfill its purpose of keeping water inside the shower enclosure.
To ensure proper alignment, start by determining the length of the shower door sweep. Measure the width of the shower door opening, allowing for a slight overlap on both ends. This overlap is essential for forming a tight seal. Once you have the correct length, mark it on the sweep using a permanent marker or a pencil.
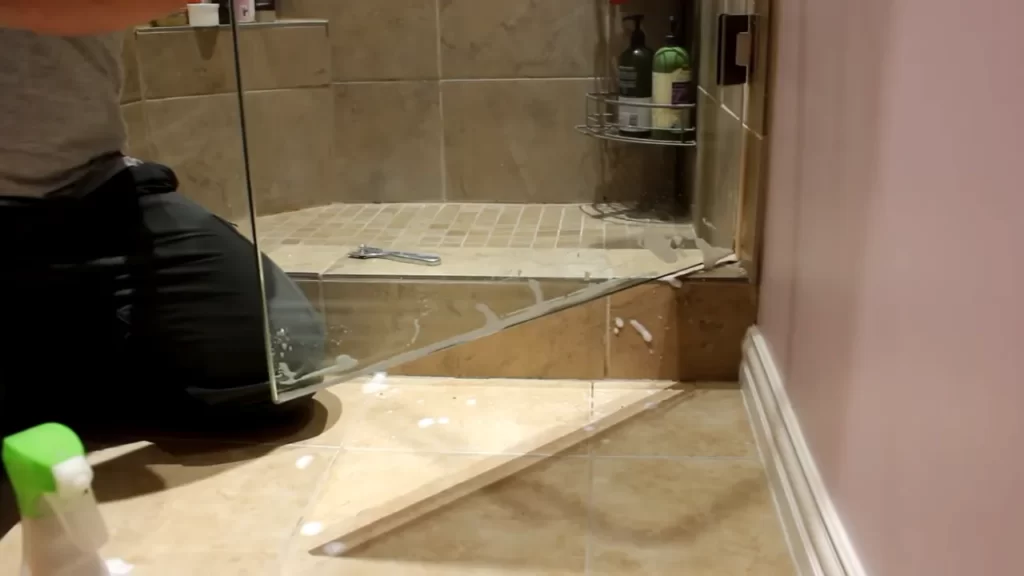
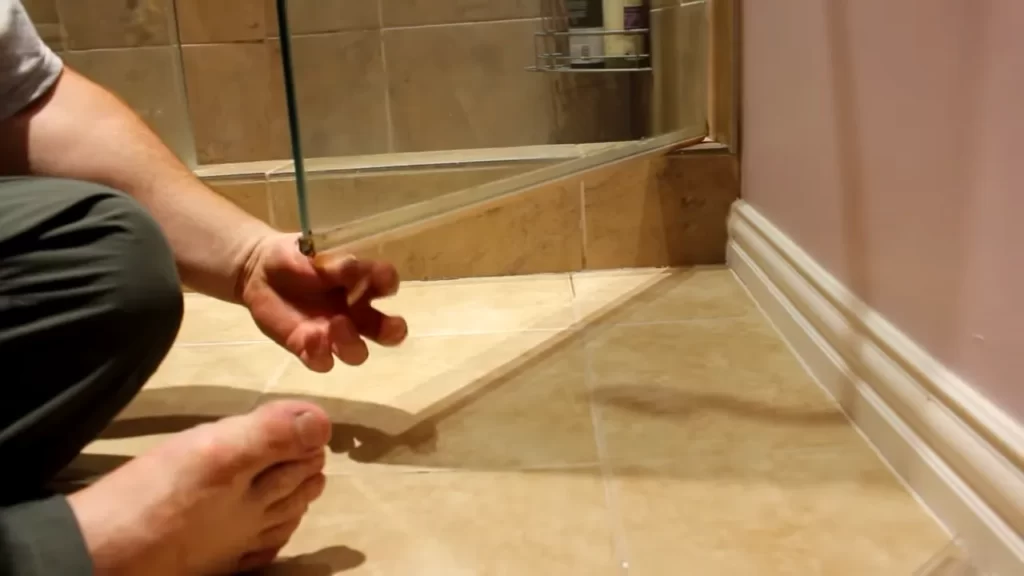
Next, carefully position the sweep on the bottom edge of the shower door. Make sure the marked length aligns with the width of the door opening. By holding the sweep up against the door, you can easily double-check this alignment. It’s important to be precise during this step to avoid any gaps that could lead to water leakage.
Securing the sweep in place using adhesive or screws
Once you’ve ensured the proper alignment of the shower door sweep, the next step is securing it in place. There are two common methods for attaching the sweep to the door: using adhesive or screws.
If you choose to use adhesive, apply a thin, continuous line of adhesive along the bottom edge of the shower door, directly where the sweep will be placed. Press the sweep firmly against the adhesive, ensuring it adheres properly. Allow the adhesive to dry according to the manufacturer’s instructions before using the shower. This method is convenient and creates a clean, seamless look.
Alternatively, you can use screws to secure the sweep to the door. Pre-drill small pilot holes through the marked areas on the sweep, then position the sweep back onto the door. Insert the screws through the pilot holes and tighten them until the sweep is securely attached. This method provides a sturdy hold and allows for easy removal and replacement if needed.
Whichever method you choose, make sure that the sweep is tightly secured to the door. This will prevent it from coming loose or detaching, ensuring its effectiveness in keeping water from seeping out.
Testing And Adjusting The Shower Door Sweep
Once you have installed the shower door sweep, it is important to test its effectiveness and make any necessary adjustments. This will ensure that the sweep provides a proper seal, preventing water leakage and keeping your bathroom floor dry and safe.
Verifying the effectiveness of the installation
To verify the effectiveness of the shower door sweep installation, you can perform a simple test. Begin by closing the shower door and turning on the water. Pay attention to any signs of water leakage, such as water seeping through the bottom of the door or pooling on the bathroom floor. If you notice any water leakage, it’s time to make some adjustments.
Making any necessary adjustments
If water leakage is detected during the verification process, it is crucial to make the necessary adjustments to ensure a watertight seal. Here are a few steps you can follow to adjust the shower door sweep:
- Inspect the sweep: Take a close look at the sweep, examining it for any signs of damage or wear. If you notice any cracks, tears, or frayed edges, it may be necessary to replace the sweep entirely.
- Apply additional sealant: If the sweep appears to be in good condition but is not providing a sufficient seal, you can try applying some additional sealant. Using a suitable sealant product, carefully apply a thin bead along the inside bottom edge of the door sweep. This will help create a tighter seal and prevent water from leaking out.
- Adjust the sweep height: In some cases, the sweep height may need to be adjusted to achieve a proper seal. Depending on the type of shower door sweep you have installed, this adjustment can be made by loosening the screws or adjusting the positioning of the sweep. Gradually adjust the sweep height until it creates a tight seal without causing any unnecessary friction or preventing the door from closing smoothly.
- Test again: Once you have made the necessary adjustments, repeat the water leakage test described earlier. This will help you ensure that the changes you have made are effective and that the shower door sweep now provides the desired seal.
By following these steps and testing the shower door sweep, you can make the necessary adjustments to achieve a watertight seal. This will not only keep your bathroom floor dry, but also help prevent any potential water damage and maintain a clean and safe bathroom environment.
Regular Cleaning And Inspections
Regular cleaning and inspections can help ensure the longevity and effectiveness of your shower door sweep. By taking the time to clean the sweep and inspect it for any signs of wear or damage, you can prevent the buildup of debris, mold, and other unwanted substances. In this article, we will explore the steps you can take to maintain your shower door sweep and keep it functioning optimally for years to come.
Cleaning the sweep to prevent buildup of debris and mold
Regular cleaning of your shower door sweep is essential to prevent the accumulation of debris, soap scum, and mold. These unwanted substances can not only affect the appearance of your bathroom but also compromise the efficiency of the sweep. To clean the sweep, follow these simple steps:
- First, give the sweep a quick rinse with warm water to remove any loose debris.
- Next, mix a solution of mild soap and water.
- Dip a soft-bristled brush or cloth into the soapy solution and gently scrub the sweep, paying extra attention to any areas with visible buildup.
- Rinse the sweep thoroughly with warm water to remove any soap residue.
- Finally, dry the sweep with a clean towel or allow it to air dry completely.
Regular cleaning should be conducted at least once a week to maintain the cleanliness and functionality of the shower door sweep. By following this simple routine, you can prevent the buildup of debris and mold, ensuring a hygienic and visually appealing shower door area.
Inspecting the sweep for signs of wear or damage
In addition to regular cleaning, it is crucial to inspect your shower door sweep periodically for any signs of wear or damage. Over time, a sweep may become worn out or develop cracks, which can compromise its ability to effectively prevent water leakage. To inspect the sweep, follow these steps:
- Start by examining the entire length of the sweep, looking for any cracks, tears, or deformities.
- If you spot any visible damage, it is recommended to replace the sweep promptly.
- Pay close attention to the seal between the sweep and the shower door. Ensure that it is intact and properly adhered.
- If the seal appears loose or damaged, remove the old seal and replace it with a new one.
- Lastly, test the sweep by opening and closing the shower door to verify that it is sealing properly.
Regular inspections should be conducted every few months to catch any signs of wear or damage early on. By promptly addressing any issues, you can avoid leaks and costly repairs in the future.
Remember, regular cleaning and inspections are crucial to maintain the functionality and effectiveness of your shower door sweep. By following these simple steps, you can ensure a clean and well-maintained shower area that will provide you with years of satisfaction.
Replacing A Worn Or Damaged Shower Door Sweep
Your shower door sweep plays an important role in keeping water inside your shower and preventing leaks onto your bathroom floor. Over time, the sweep can become worn or damaged, leading to decreased effectiveness and potential water damage. In this guide, we will show you how to identify when it’s time to replace the shower door sweep and provide a step-by-step process for removing and replacing it.
Identifying when it’s time to replace the sweep
It’s important to regularly inspect your shower door sweep for signs of wear or damage. Here are some indicators that it might be time for a replacement:
- Visible cracks, chips, or tears in the sweep
- Excessive water leakage during showers
- Visible mold or mildew growth on or near the sweep
- Difficulty opening or closing the shower door
Step-by-step process for removing and replacing the sweep
Once you’ve determined that the shower door sweep needs to be replaced, follow these steps:
- Start by measuring the length of the old sweep to ensure you purchase the correct replacement size.
- Use a utility knife or a flathead screwdriver to carefully remove the old sweep from the bottom of the shower door. Be cautious not to damage the shower door frame.
- Clean any residual adhesive or debris from the shower door frame using a mild cleaner and a soft cloth.
- Trim the new shower door sweep to fit the length required. It’s best to use a hacksaw or a pair of scissors for this task.
- Apply a thin layer of silicone adhesive to the bottom edge of the shower door.
- Align the new sweep with the bottom of the shower door and press firmly to ensure a secure bond.
- Allow the silicone adhesive to dry completely according to the manufacturer’s instructions before using the shower.
And just like that, you’ve successfully replaced your shower door sweep! Remember to conduct regular inspections and replace the sweep when necessary to maintain an effective seal and prevent water damage in your bathroom.
Frequently Asked Questions
How Do You Install A Side Sweep On A Shower Door?
To install a side sweep on a shower door, follow these steps: 1. Measure the length needed for the sweep. 2. Cut the sweep to size using a hacksaw or utility knife. 3. Clean the shower door track thoroughly. 4.
Attach the sweep to the bottom of the door, aligning it with the track. 5. Secure the sweep in place with screws or adhesive, ensuring it is tightly sealed.
Can You Install Door Sweep Without Removing Door?
Yes, you can install a door sweep without removing the door. It is a simple and straightforward process that can improve energy efficiency and block drafts. Just measure and trim the sweep to fit the bottom of the door, then attach it using screws, adhesive, or a combination of both.
How Do You Slide A Shower Door Sweep?
To slide a shower door sweep, gently push or pull the sweep along the bottom edge of the shower door. Make sure to apply even pressure and guide it smoothly to avoid any damage or detachment.
Is A Shower Door Sweep Necessary?
Yes, a shower door sweep is necessary. It helps to keep water from leaking out of the shower, preventing damage to the floor and ensuring a clean and safe bathroom environment. Additionally, a shower door sweep also helps to reduce drafts and keep out insects and debris.
Conclusion
To sum up, installing a shower door sweep is a simple and effective way to prevent water leakage and maintain the cleanliness of your bathroom. With the right tools and following the step-by-step process outlined in this guide, you can easily complete the installation in no time.
Remember to measure, cut, and secure the sweep properly to ensure its efficiency. By taking this small step, you can enhance the functionality and aesthetics of your shower while saving yourself from future hassle and maintenance.