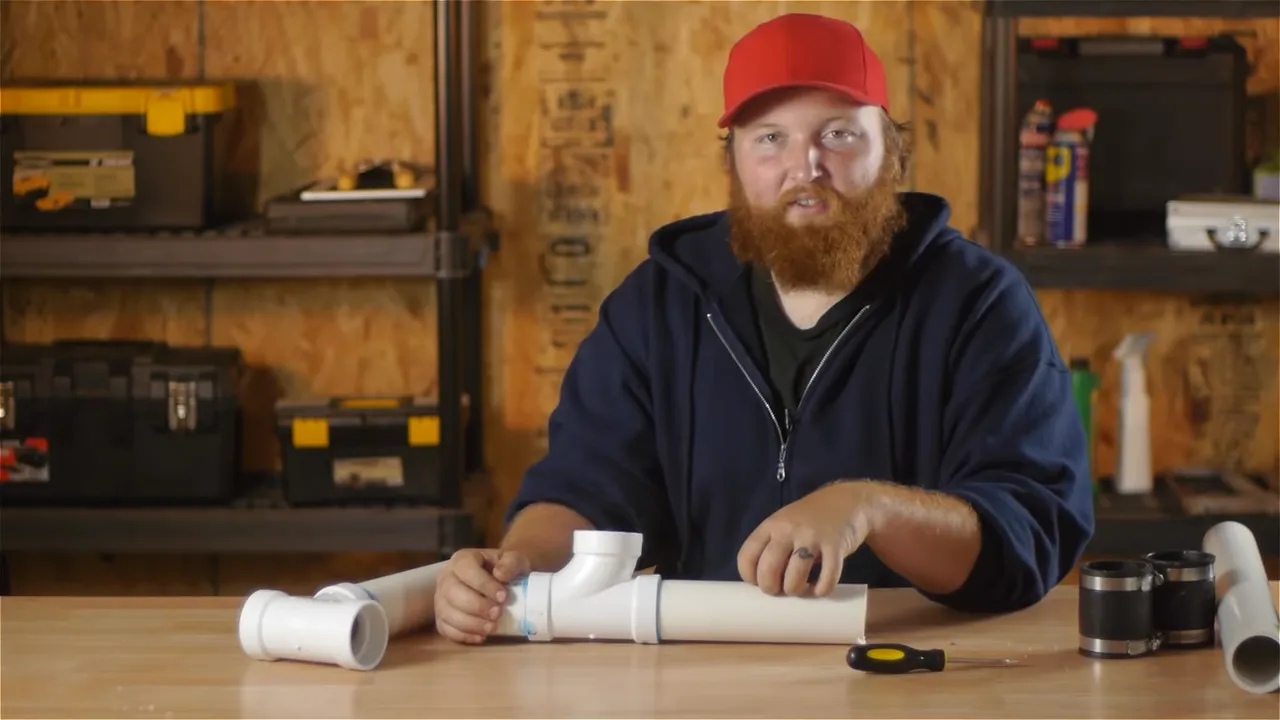
To install a sanitary tee, position it at the desired location and connect the adjoining pipes securely for proper plumbing alignment. Installing a sanitary tee is an essential task to ensure efficient drainage and prevent any clogs or backups.
This article will guide you through the step-by-step process of installing a sanitary tee to help you achieve a well-functioning plumbing system.
Gathering The Necessary Tools And Materials
In order to successfully install a sanitary tee, it is essential to gather all the necessary tools and materials beforehand. By being prepared, you can ensure a smooth and efficient installation process. This section will guide you through the step of gathering the required items and provide you with valuable tips to make your installation a success.
Understanding the Purpose and Function of a Sanitary Tee
Before you begin gathering the necessary tools and materials, it is important to have a clear understanding of what a sanitary tee is and its purpose in plumbing installations. A sanitary tee is a type of fitting that is used to connect two pipes at a right angle while also providing an outlet for a third pipe. Its primary function is to maintain the flow and direction of wastewater or sewage in plumbing systems.
Exploring Different Types and Sizes of Sanitary Tees
When it comes to selecting a sanitary tee, it is crucial to choose the right type and size that suits your specific installation needs. Sanitary tees are available in various materials, including PVC, ABS, and cast iron, among others. Each material has its own advantages and considerations, such as durability, compatibility, and cost.
Additionally, sanitary tees come in different sizes to accommodate different pipe diameters. It is crucial to measure the diameter of the pipes you will be connecting and purchase the corresponding size of sanitary tee. Choosing the wrong size can lead to leaks, blockages, and other plumbing issues.
Deciding on the Location for Installing the Sanitary Tee
Once you have a good understanding of the purpose and types of sanitary tees, it is important to determine the optimal location for installing the tee. The location should be strategic, allowing for easy access and functionality.
Consider factors such as the direction of wastewater flow, proximity to existing pipes, and any local plumbing codes or regulations that may affect the installation. Taking these aspects into account will ensure that the sanitary tee is installed in the most effective and appropriate location.
Gathering the necessary tools and materials for installing a sanitary tee is a crucial first step for a successful installation. Understanding the purpose and function of the tee, exploring different types and sizes, and deciding on the location are all important considerations in this process. By being well-prepared, you can ensure a seamless installation and a properly functioning plumbing system. With the right tools and materials in hand, you are now ready to proceed with the actual installation of the sanitary tee.

Measuring And Marking The Cutting Points
Measuring and marking the cutting points is a crucial step when installing a sanitary tee. Proper measurement ensures accuracy and precision, making sure that the new sanitary tee fits seamlessly into the existing plumbing system. In this section, we will discuss the different aspects of this process, including identifying the existing plumbing system, taking accurate measurements, and marking the cutting points with precision.
Identifying the Existing Plumbing System
Before you can start measuring and marking the cutting points, it’s essential to identify the existing plumbing system. This involves understanding the layout and configuration of the pipes to determine where the sanitary tee needs to be installed. Take note of any other junctions or connections in the existing system, as this will impact where you position the sanitary tee.
Taking Accurate Measurements for the Sanitary Tee
Accurate measurements are crucial for a successful installation. Start by measuring the diameter of the existing pipe where the sanitary tee will be attached. Use a measuring tape or a pipe diameter measuring tool to ensure precise measurements. Record the size of the existing pipe as this will determine the size of the sanitary tee you need to purchase. It’s essential to choose a sanitary tee that matches the diameter of the existing pipe to ensure a proper fit.
Additionally, take measurements for the length of the sanitary tee itself. Measure the distance between the two ends of the sanitary tee where it will connect to the existing pipe and the new pipe. These measurements will help determine the length of pipe you need to cut and attach to the sanitary tee.
Marking the Cutting Points with Precision
Once you have taken accurate measurements, it’s time to mark the cutting points on the existing pipe. Start by ensuring the pipe is clean and free from any debris or obstructions. Use a permanent marker to make clear, visible marks where the cutting will occur. Take care to mark the pipe at the correct measurements, aligning the marks for the connection points of the sanitary tee.
To ensure precision, use a level to make sure the marks are straight and aligned correctly. This will help avoid any uneven or crooked cuts that can affect the installation process. Double-check the marks before making any cuts to ensure accuracy.
Remember to use appropriate safety precautions when making cuts on the existing pipe, such as wearing protective gloves and using a suitable cutting tool. Following these steps will help ensure a seamless and accurate installation of the sanitary tee.
Safely Disconnecting The Water Supply
Before you can install a sanitary tee, it is crucial to safely disconnect the water supply. This process involves shutting off the water and releasing pressure, as well as draining the pipe system and detaching the existing pipe sections. By following these steps, you can ensure a smooth and hassle-free installation.
Shutting Off the Water and Releasing Pressure
The first step in safely disconnecting the water supply is to shut off the water and release any remaining pressure in the pipes. This will prevent any water from flowing while you work and minimize the risk of accidents or water damage. Here’s how you can do it:
- Locate the main water shut-off valve in your home. This valve is usually found near the water meter or where the main water line enters your house.
- Turn the valve clockwise to shut off the water supply. This will stop the flow of water throughout your plumbing system.
- Next, release any remaining pressure in the pipes by opening a faucet or other water outlet at a lower elevation. This will allow the water to drain out and relieve any built-up pressure.
Draining the Pipe System
Once the water supply is shut off and the pressure is released, it’s time to drain the pipe system. This is necessary to prevent any water from leaking or spilling during the installation process. Follow these steps to drain the pipes:
- Start by opening all faucets, both hot and cold, in your home. This will allow the water to flow out of the pipes.
- Flush toilets and run any appliances that use water, such as washing machines or dishwashers, to further drain the system.
- After a few minutes, check that no water is flowing from the faucets or fixtures. This indicates that the pipes have been successfully drained.
Detaching the Existing Pipe Sections
With the water shut off and the pipes drained, you can now proceed to detach the existing pipe sections. This will clear the way for installing the sanitary tee. Follow these steps to detach the pipes:
- Inspect the pipe sections and identify the points where they need to be disconnected. This could be where two pipes are joined with a coupler or a union, or where a pipe meets a valve or fixture.
- Using a pipe wrench or pliers, carefully loosen and remove any couplers, unions, valves, or fixtures that are connecting the pipes.
- If necessary, cut through the pipes using a pipe cutter or hacksaw. Make sure to measure and mark the cutting points accurately before proceeding.
- Once the pipes are detached, inspect the ends for any debris or rough edges. Use a file or sandpaper to smooth out any rough surfaces, ensuring a clean and secure connection for the sanitary tee.
By safely disconnecting the water supply and detaching the existing pipes, you are now ready to install a sanitary tee. This crucial step sets the foundation for a successful and leak-free plumbing system. Stay tuned for our next blog post, where we will guide you through the process of installing a sanitary tee in detail.
Positioning And Aligning The Tee
Proper positioning and aligning of the sanitary tee are essential for a successful installation. This crucial step ensures efficient water flow and prevents clogs or leaks in your plumbing system. In this section, we will explore the proper orientation of the tee, fitting it into the existing pipe system, and aligning it for optimum water flow.
Understanding the Proper Orientation of the Tee
Before you begin, it is crucial to understand the proper orientation of the sanitary tee. The tee has three openings: one for the drain pipe, one for the horizontal (straight) run, and one for the vent pipe. The vertical section of the tee should align with the drain pipe, while the horizontal section should be positioned in line with the straight run of the pipe system.
Fitting the Tee into the Existing Pipe System
Now that you know the correct orientation, it’s time to fit the sanitary tee into the existing pipe system. Follow these steps to ensure a proper fit:
- Measure the length of the existing pipe to determine the appropriate cutting point.
- Using a hacksaw or a PVC pipe cutter, carefully cut the pipe at the measured point.
- File or deburr the edges of the cut pipe to remove any roughness or burrs.
- Apply PVC primer to both the inner surface of the fitting and the outer surface of the cut pipe.
- Apply PVC cement to the same areas where the primer was applied.
- Insert the cut end of the pipe into the appropriate opening of the sanitary tee, ensuring a snug fit.
- Hold the pipe and the tee together firmly for a few seconds to allow the cement to bond properly.
Aligning the Tee for Proper Water Flow
Aligning the sanitary tee correctly ensures proper water flow and prevents any potential issues. Here are the steps to align the tee:
- Check the vertical section of the tee to ensure it aligns perfectly with the drain pipe. Any misalignment can lead to clogs or leaks.
- Verify that the horizontal section of the tee is parallel to the straight run section of the existing pipe system. This alignment allows water to flow smoothly without any obstructions.
- Make any necessary adjustments by gently rotating the tee until it is properly aligned.
Remember, accurate positioning and aligning of the sanitary tee are essential for the longevity and efficiency of your plumbing system. Take your time and ensure everything is properly aligned before continuing with the installation process.
Attaching The Tee With Connectors
When it comes to installing a sanitary tee in a plumbing system, one important step is attaching the tee with connectors. Choosing the right connectors, joining the tee with existing pipes, and ensuring a secure and leak-free connection are crucial aspects of this process. In this section, we will delve into each of these steps, providing you with a comprehensive guide to successfully attach a sanitary tee with connectors.
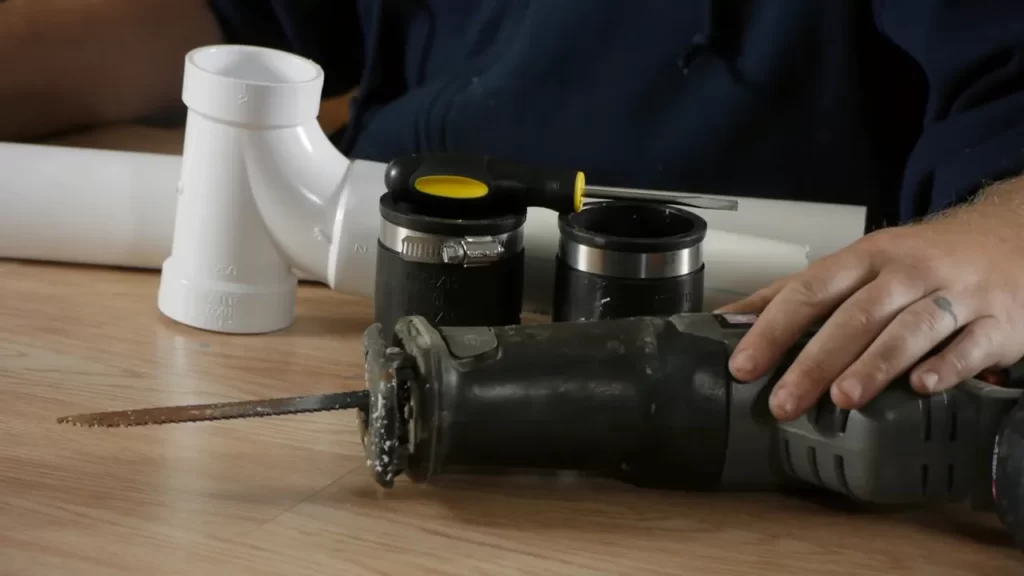
Choosing the Right Connectors for the Job
Before you start attaching the sanitary tee, it’s essential to select the right connectors for the job. The connectors you choose should be compatible with the type of pipe and fittings you are working with. Whether you are using PVC, copper, or another material, make sure the connectors are designed to fit securely and create a watertight seal. It is recommended to consult with a plumbing professional or refer to the manufacturer’s instructions to ensure you are using the appropriate connectors for your specific application.
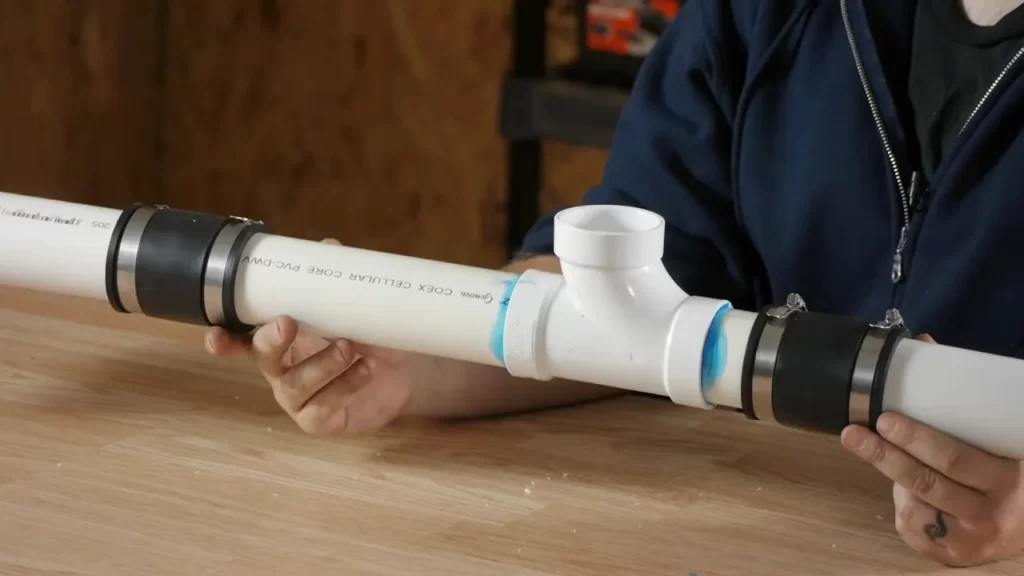
Joining the Tee with Existing Pipes
Once you have chosen the correct connectors, it’s time to join the sanitary tee with the existing pipes. The exact method may vary depending on the type of connectors you are using and the specific piping system you have. However, in most cases, the process involves connecting the tee to the existing pipes using wrenches or pliers to tighten the connectors. It is crucial to ensure that the connectors fit snugly without overtightening, as excessive force can damage the pipes or compromise the seal. Take your time to align the pipes and connectors properly, double-checking that everything is secure before proceeding to the next step.
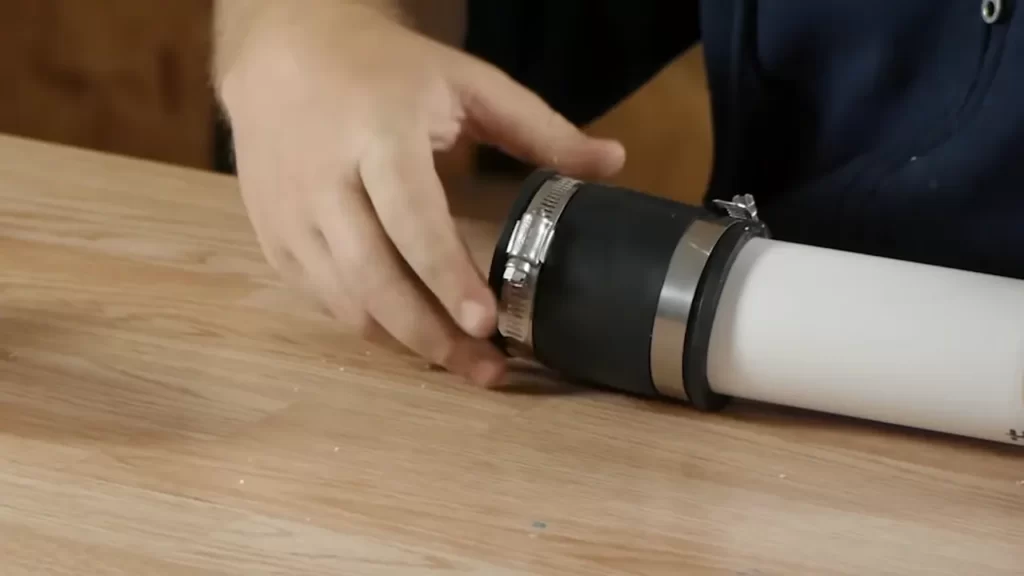
Ensuring a Secure and Leak-Free Connection
Securing a leak-free connection is paramount to the proper installation of a sanitary tee. To achieve this, pay close attention to the following steps:
- Inspect the connections: After attaching the tee, carefully examine the connectors to ensure they are properly aligned and tightly secured. Look for any signs of gaps or misalignment that could lead to leaks.
- Apply pipe joint compound: To further enhance the seal, consider applying pipe joint compound or plumber’s tape to the threaded portions of the connectors. This extra layer of protection helps prevent leaks and provides added peace of mind.
- Perform a pressure test: Once all the connections are in place, it’s a good idea to perform a pressure test to confirm the integrity of the installation. This can be done by temporarily closing off the other end of the pipes and applying water or air pressure to check for any leaks or weak points.
By following these steps and ensuring a secure and leak-free connection, you can successfully attach a sanitary tee with connectors in your plumbing system. Remember to always prioritize safety and consult with a professional if you are unsure about any aspect of the installation process. With the right connectors and proper techniques, you can have confidence in a well-functioning and reliable plumbing system.
Checking For Proper Alignment And Angle
When it comes to installing a sanitary tee, one crucial step is checking for proper alignment and angle. This ensures that the tee fits correctly into the existing pipe system and allows for efficient waste flow. In this section, we will cover three important aspects: verifying the parallel alignment of the tee, assessing the angle and incline of the pipes, and making adjustments if necessary.
Verifying the Parallel Alignment of the Tee
To ensure a successful installation, it is essential to verify that the sanitary tee is parallel to the existing pipes. Misalignment can lead to leakage and obstruction in the flow. Follow these steps to check the alignment:
- Place a level on top of the sanitary tee, ensuring it is centered.
- Observe the bubble in the level. If it is in the center, it indicates that the tee is parallel to the pipes.
- If the bubble is not centered, make the necessary adjustments by gently shifting the tee until the bubble is aligned.
Assessing the Angle and Incline of the Pipes
Another crucial aspect to consider when installing a sanitary tee is the angle and incline of the pipes. Proper angle allows for smooth waste flow and prevents clogging. Here’s how to assess the angle:
- Use a protractor or angle measuring tool to determine the angle of the existing pipes.
- Compare the angle with the specifications provided by the manufacturer or local building codes.
- If the angle does not meet the required specifications, adjustments might be needed. Consider using appropriate fittings, such as elbows or wyes, to achieve the correct angle.
Making Adjustments if Necessary
In some cases, adjustments might be necessary to ensure proper alignment and angle of the sanitary tee. If the tee does not fit snugly or the pipes are not properly aligned, follow these steps:
- Loosen the adjustable pipe joints, ensuring not to damage the pipes or fittings.
- Gently rotate the tee or adjust the pipe position to attain the desired alignment or angle.
- Once aligned, tighten the pipe joints securely to prevent any future leaks.
By carefully checking for proper alignment and angle before installing a sanitary tee, you can avoid potential issues and ensure the optimal functionality of your plumbing system.
Applying Pipe Joint Compound Or Teflon Tape
When it comes to installing a sanitary tee, one crucial step is applying pipe joint compound or Teflon tape to ensure a watertight seal. This sealant acts as a barrier, preventing leaks and keeping your plumbing system running smoothly. In this section, we will explore the purpose of these sealants, how to apply them safely, and the final step of reassembling the disassembled parts.
Understanding the Purpose of Sealants
The purpose of pipe joint compound or Teflon tape is to create a tight seal between threaded connections. Both options offer their advantages, and it’s important to choose the one that best suits your needs.
Teflon tape is a thin tape made of polytetrafluoroethylene (PTFE) that is wrapped around the threaded male end of a fitting. It provides lubrication and fills any gaps between the threads, preventing water or gas leaks.
Pipe joint compound, on the other hand, is a paste-like substance that is applied to the male threads before connecting the fittings. It not only fills gaps but also hardens over time, creating a durable and long-lasting seal.
Safely Applying the Sealant to Threads
Now that we understand the purpose of these sealants, let’s dive into the process of safely applying them to the threads:
- Start by ensuring that the threaded ends of the fittings are clean and free from debris.
- If using Teflon tape, wrap it clockwise around the male threads three to five times, ensuring it covers the entire thread surface.
- If using pipe joint compound, apply a thin layer to the male threads. Be careful not to apply too much, as excess compound can squeeze out and cause blockages.
- Tighten the fittings together by hand, ensuring they are snug but not over-tightened.
- For an extra secure seal, use a pipe wrench to give the fittings a quarter-turn, ensuring they are firmly connected.
Reassembling the Disassembled Parts
With the sealant applied, it’s now time to reassemble the disassembled parts and complete the installation of the sanitary tee.
Start by connecting the fittings, ensuring the male and female threads align properly. Hand-tighten them until they are snug.
If any excess sealant or tape is visible, trim it off using a utility knife or scissors. This will ensure a clean and professional-looking installation.
Finally, use a pipe wrench to give the fittings a quarter-turn, ensuring a tight seal without over-tightening.
By following these steps carefully and applying the appropriate sealant, you can effectively install a sanitary tee and enjoy a leak-free plumbing system.
Restoring Water Supply And Pressure
Turning on the Water
Once the installation process of a sanitary tee is complete, it’s time to restore the water supply and pressure. Turning on the water is a crucial step to ensure that your plumbing system is functioning as it should. Here’s a step-by-step guide on how to do it:
- Locate the main water supply valve in your property. This valve is typically found near your water meter or in the basement.
- Gently turn the valve to open it. This allows the water to flow into your pipes.
- Keep an eye on the pipes and connections for any signs of leaks or drips. If you notice any, take immediate action to rectify the issue.
- Allow the water to run for a few minutes to flush out any air or debris that may have accumulated during the installation process.
Checking for Leaks
After turning on the water, the next step is to carefully inspect your plumbing system for potential leaks. Even a small leak can lead to significant water waste and damage over time. Follow these steps to conduct a leak check:
- Thoroughly examine all the connections and joints of the sanitary tee. Look for any signs of water seepage or moisture around these areas.
- Inspect the surrounding area for any visible water stains or dampness. Pay close attention to walls, floors, and ceilings near the installation site.
- Feel the pipes with your hands to detect any subtle changes in temperature that could indicate a leak.
- If you find any leaks or suspect a leak, it’s important to address the issue immediately. Tighten any loose connections or replace faulty parts if necessary. Call a professional plumber if the problem persists.
Conducting a Functional Test of the Sanitary Tee
Once you have ensured that there are no leaks, it’s time to conduct a functional test to guarantee that the sanitary tee is working properly. Follow these steps:
- Flush the toilets in your property multiple times to check if the water flows smoothly through the sanitary tee.
- Turn on all the faucets and showers to assess the water pressure and ensure that there are no blockages or restrictions in the plumbing system.
- Observe the drainage system as water flows down the drains. Look for any signs of slow drainage or blockages.
- If you encounter any issues during the functional test, it may be necessary to adjust or rectify them before considering the installation complete.
Adjusting and Rectifying Any Issues
If you come across any problems or deficiencies during the functional test, it’s crucial to address them promptly. Here’s what you can do:
- If the water pressure seems too low, check if the supply valve is fully open. Adjust it accordingly to increase the pressure.
- If there are blockages or slow drainage, use a plumber’s snake or a drain cleaning solution to clear the pipes.
- Consider calling a professional plumber for assistance if you are unable to resolve the issues on your own.
By following these steps and conducting thorough checks, you can ensure that your sanitary tee installation is successful and that your water supply and pressure have been fully restored. Remember, regular maintenance and periodic inspections are essential to keep your plumbing system in optimal condition.
Discarding Waste And Cleaning The Work Area
As you near the completion of a sanitary tee installation, there are important steps to take to ensure a clean and efficient work area. Discarding waste properly and cleaning up any debris will not only maintain a safe environment but also ensure that all components are functioning optimally. In this section, we will discuss the proper disposal of cut pipe sections and debris, as well as how to clean the surrounding work area.
Properly Disposing of Cut Pipe Sections and Debris
One of the key aspects of a successful sanitary tee installation is proper waste disposal. Cut pipe sections and other debris can accumulate during the process, and it is important to handle them appropriately. Follow these steps to dispose of waste safely:
- Collect all the cut pipe sections and debris in a designated container or bag. This will prevent scattered waste and make cleaning up easier.
- Seal the container securely to prevent any leaks or spills that might contaminate the surrounding area.
- Check with your local waste management guidelines to determine the proper method of disposal. Some areas may require specific procedures or recycling options.
- Transport the waste to the designated disposal area, following all safety regulations.
Cleaning the Surrounding Work Area
After disposing of the waste, it is essential to clean the surrounding work area to ensure overall cleanliness and prevent any potential hazards. Here’s how you can effectively clean the work area:
- Remove any tools, equipment, or materials that are no longer needed for the installation. This will create a clear space to work in and avoid any accidental trips or falls.
- Use a broom or vacuum to remove any loose debris, such as dust or small particles, from the floor and surrounding surfaces.
- If necessary, wipe down the area with a damp cloth or mop to remove any remaining dirt or residue. Pay extra attention to the immediate vicinity of the sanitary tee installation.
- Dispose of the cleaning materials properly, following the same waste disposal guidelines mentioned earlier.
By properly disposing of cut pipe sections and debris, as well as cleaning the work area, you are completing the final steps of a sanitary tee installation with professionalism and attention to detail. These measures ensure not only the functionality of the newly installed sanitary tee but also a safe and tidy working environment.
Frequently Asked Questions
Which Way Does A Sanitary Tee Go?
A sanitary tee should be installed with the curved part facing upward. This allows waste to flow smoothly while preventing any potential clogs or backups.
Can You Put A Sanitary T On Its Back?
No, you cannot put a sanitary T on its back.
Can You Use A Sanitary Tee On Its Side For Drainage?
Yes, a sanitary tee can be used on its side for drainage purposes.
How Do You Attach A Tee To An Existing Pvc Pipe?
To attach a tee to an existing PVC pipe, start by cutting the pipe at the desired location. Apply PVC primer to the ends of the cut pipe and the tee fitting, then apply PVC cement. Quickly insert the tee into the pipe ends and hold it firmly for a few seconds to allow the cement to bond.
Conclusion
To wrap it up, installing a sanitary tee doesn’t have to be a daunting task. By following these simple steps, you can ensure a smooth and leak-free plumbing system in your home. Remember to measure accurately, use the correct tools, and secure the connections tightly for optimal results.
With a little practice, anyone can become proficient in this essential plumbing skill. Happy plumbing!