
To install an RV toilet, first, remove the old toilet and clean the area thoroughly. Then, follow the manufacturer’s instructions to install and secure the new toilet in place.
Installing an RV toilet is an important task when it comes to maintaining and upgrading your recreational vehicle. Whether you’re replacing an old toilet or installing a new one, it is essential to do it correctly to ensure a durable and functional bathroom fixture.
In this guide, we will outline the simple steps to help you install an RV toilet hassle-free. From removing the old toilet to securing the new one, we’ll provide all the necessary instructions for a successful installation. So, let’s dive into the details and get your RV toilet installed properly for a comfortable and convenient mobile bathroom experience.
Understanding The Different Rv Toilet Types
Understanding the Different RV Toilet Types
When it comes to RV toilets, there are various types available in the market. Each type has its own key features and benefits, as well as pros and cons to consider. In this section, we will explore the different types of RV toilets and help you understand which one might be the best fit for your needs.
Key Features and Benefits of RV Toilets
RV toilets are specially designed to meet the unique needs of recreational vehicle owners. They offer several key features and benefits that make them a popular choice for mobile living. Here are some of the advantages you can expect from RV toilets:
1. Space-saving Design: RV toilets are compact and space-efficient, making them ideal for the limited space in an RV bathroom.
2. Light and Durable: These toilets are constructed with lightweight materials, ensuring they won’t add unnecessary weight to your RV. Despite their lightness, they are durable and able to withstand the rigors of travel.
3. Water Efficiency: RV toilets are designed to conserve water. They use lesser amounts of water per flush compared to traditional toilets, making them environmentally friendly and helping you conserve your freshwater supply.
4. Odor Control: RV toilets are equipped with odor control mechanisms to ensure a fresh and pleasant bathroom experience. They often feature sealed lids and effective ventilation systems to keep unwanted odors at bay.
5. Easy Installation: Most RV toilets are straightforward to install, allowing you to do it yourself without the need for professional assistance. This can save you time and money.
Different Types of RV Toilets Available in the Market
Now let’s take a closer look at the different types of RV toilets available in the market:
1. Cassette Toilets: Cassette toilets are self-contained units that have a removable waste-holding tank. These tanks can be easily detached and emptied at designated dumping stations. They offer flexibility and convenience, making them a popular choice among RVers.
2. Portable Toilets: Portable toilets are standalone units that are not permanently installed in the RV. They are lightweight and compact, making them easy to transport and store. These toilets are ideal for those who require flexibility and prefer not to deal with plumbing systems.
3. Gravity-Flush Toilets: Gravity-flush toilets operate similarly to residential toilets, relying on gravity to remove waste. They require a direct connection to an external sewage system or holding tank. These toilets are commonly found in larger and more permanent RVs.
Pros and Cons of Each Type
Here is a quick overview of the pros and cons of each type of RV toilet:
| Type | Pros | Cons |
|---|---|---|
| Cassette Toilets | – Easy to empty and clean | – Limited tank capacity |
| Portable Toilets | – Lightweight and easy to transport | – Requires manual waste disposal |
| Gravity-Flush Toilets | – Similar operation to residential toilets | – Requires a connection to external sewage system |
By considering the unique features, benefits, and drawbacks of each type, you can choose the RV toilet that fits your needs and preferences. Whether you prioritize convenience, flexibility, or familiarity, there is sure to be an RV toilet type that suits you perfectly.
Gathering The Necessary Tools And Materials
Before embarking on the installation process of a RV toilet, it is essential to gather all the necessary tools and materials. Having everything at hand will not only save you time but also make the installation smoother and hassle-free. In this section, we will discuss the essential tools required for the installation process, provide a list of required materials, and offer tips for finding high-quality tools and materials.
Essential tools required for the installation process
Having the right tools is crucial for a successful RV toilet installation. Here is a list of essential tools you will need:
- Adjustable wrench: This versatile tool will help you tighten or loosen fittings and connections.
- Phillips and flat-head screwdrivers: These screwdrivers will come in handy for loosening or tightening screws during the installation.
- Pipe cutter: You may need a pipe cutter to trim and adjust the plumbing pipes to fit the new toilet system.
- Plumber’s tape: Plumber’s tape, also known as Teflon tape, is essential for ensuring leak-proof connections.
- Sealant: A high-quality sealant is necessary to create a watertight seal between the toilet and the RV plumbing system.
- Measuring tape: Accurate measurements play a vital role in the installation process, so having a measuring tape is a must.
Make sure to have these tools readily available before you begin with the installation process, as it will make your work much more convenient and efficient.
List of materials needed for the installation
In addition to the essential tools, you will also need the following materials to complete the installation of your RV toilet:
| Materials | Quantity |
|---|---|
| RV toilet unit | 1 |
| Mounting bolts and nuts | Varies |
| Wax ring | 1 |
| Water supply hose | 1 |
| RV toilet paper | Varies |
| Storage tanks chemicals | Varies |
Ensure that you have all these materials on hand to avoid any interruptions during the installation process.
Tips for finding high-quality tools and materials
When it comes to finding high-quality tools and materials for your RV toilet installation, following these tips will help you make the right choices:
- Research: Spend some time researching different brands and models to identify reliable and durable tools and materials.
- Read reviews: Look for customer reviews and ratings to get insights into the performance and quality of the tools and materials.
- Seek professional advice: Consult with experienced RV enthusiasts or professionals to get recommendations on trusted brands and suppliers.
- Compare prices and warranties: Compare prices from different sources and check for warranties to ensure you are getting the best value for your money.
- Buy from reputable sellers: Purchase tools and materials from well-established sellers or authorized dealers to guarantee authenticity and customer support.
Following these tips will help you find high-quality tools and materials that will not only make the installation process smooth but also ensure the longevity and functionality of your RV toilet.
Step-By-Step Guide To Installing An Rv Toilet
Preparing the workspace and ensuring safety
To begin the installation process for your RV toilet, it is essential to prepare the workspace and ensure safety. Safety should always be the top priority when working with any plumbing fixtures. Here are some steps you can follow in this pre-installation phase:
- Turn off the water supply to the RV.
- Gather all the necessary tools and equipment, such as a wrench, screwdriver, and gloves.
- Ensure there is enough lighting in the area to clearly see what you are doing.
- Put on your safety goggles and gloves to protect yourself from any potential splashes or injuries.
Removing the old toilet and cleaning the area
Before installing the new RV toilet, it is crucial to remove the old one and clean the area thoroughly. Follow these steps to complete this phase of the installation process:
- Turn off the water supply to the toilet.
- Flush the toilet multiple times to empty the tank as much as possible.
- Disconnect the water supply line from the toilet tank.
- Remove the nuts or bolts securing the toilet to the floor using a wrench or screwdriver.
- Lift the old toilet off the floor and carefully set it aside.
- Clean the area around the toilet flange, removing any old wax or debris.
Installing the new RV toilet: a detailed walkthrough
Now that you have prepared the workspace, ensured safety, and removed the old toilet, it’s time to install the new RV toilet. Follow this detailed walkthrough to complete the installation process:
- Place a new wax ring on the toilet flange, ensuring it is centered.
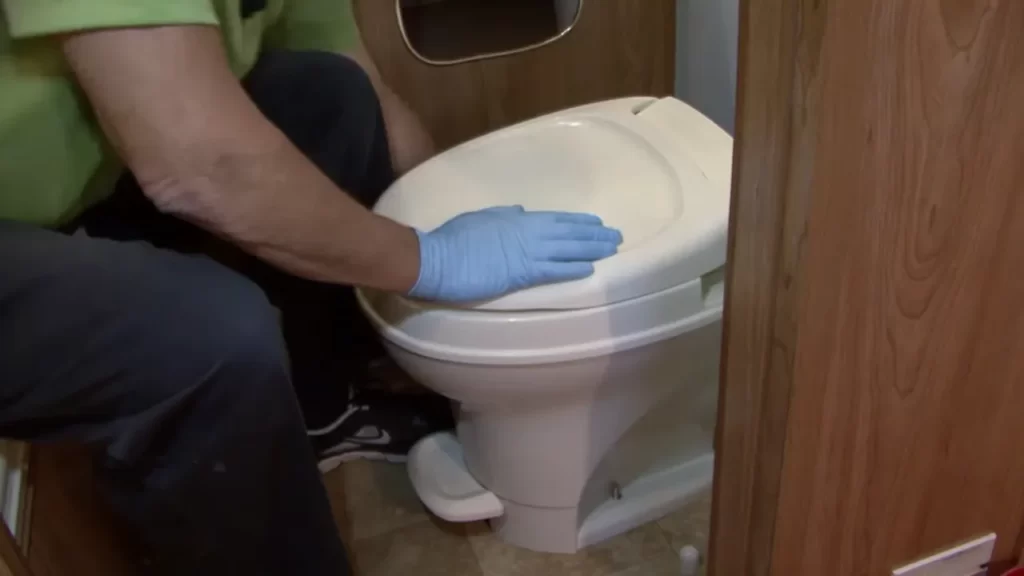
- Position the new toilet over the wax ring and gently press it down.
- Align the toilet with the bolt holes in the floor.
- Secure the toilet to the floor by tightening the nuts or bolts with a wrench.
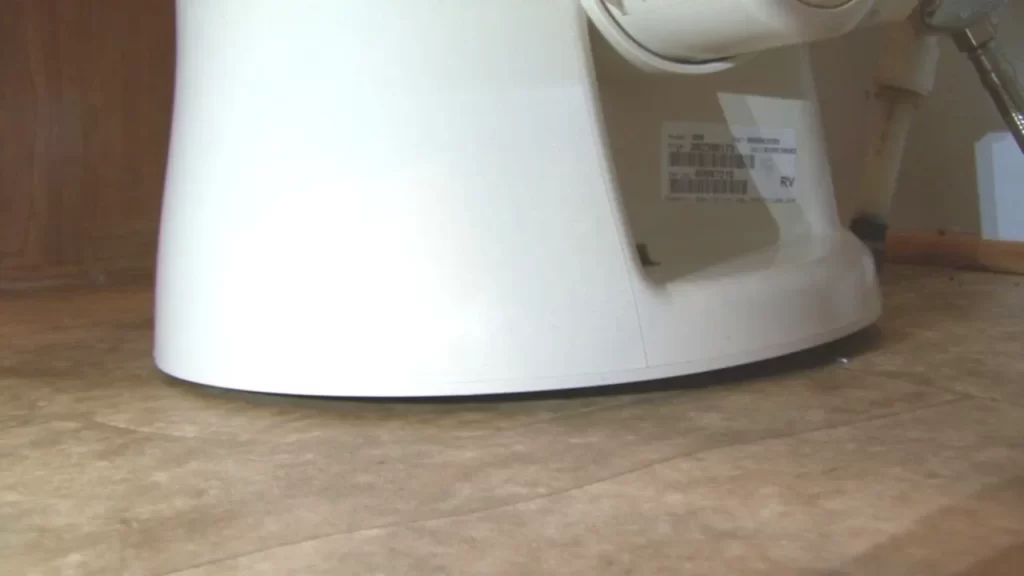
- Apply a small amount of silicone caulk around the base of the toilet to create a watertight seal.
Positioning the toilet and aligning it with the plumbing system
Proper positioning and alignment of the RV toilet with the plumbing system are crucial for its functionality. Follow these steps to ensure the correct position and alignment:
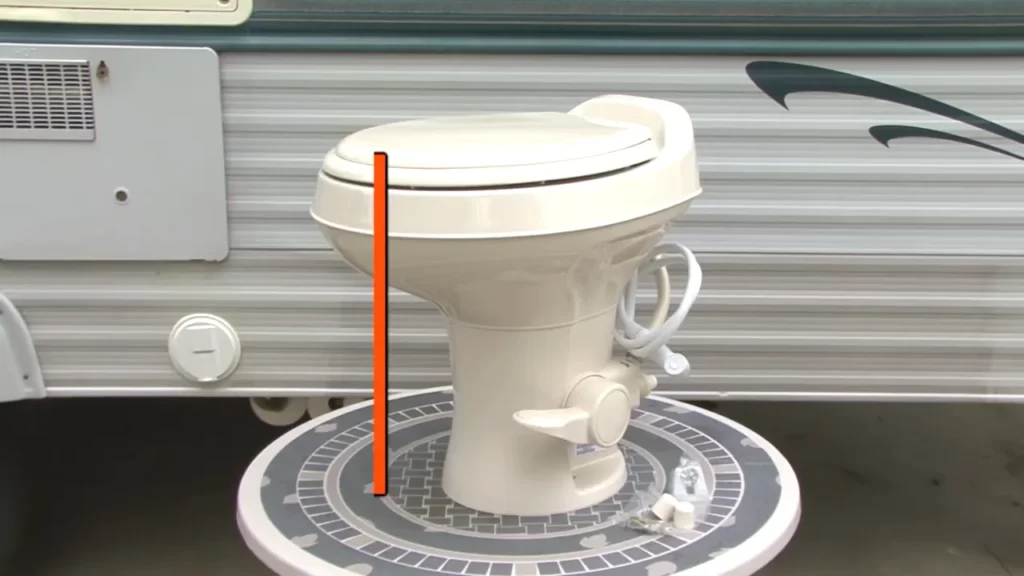
- Measure the distance between the toilet flange and the back wall.
- Adjust the toilet’s position to leave enough space behind for optimal comfort.
- Check that the toilet is level by using a bubble level.
- Ensure that the toilet is aligned with the plumbing system, allowing for a smooth connection.
Connecting the water supply lines
With the toilet in the correct position, it’s time to connect the water supply lines. Follow these steps for a proper connection:
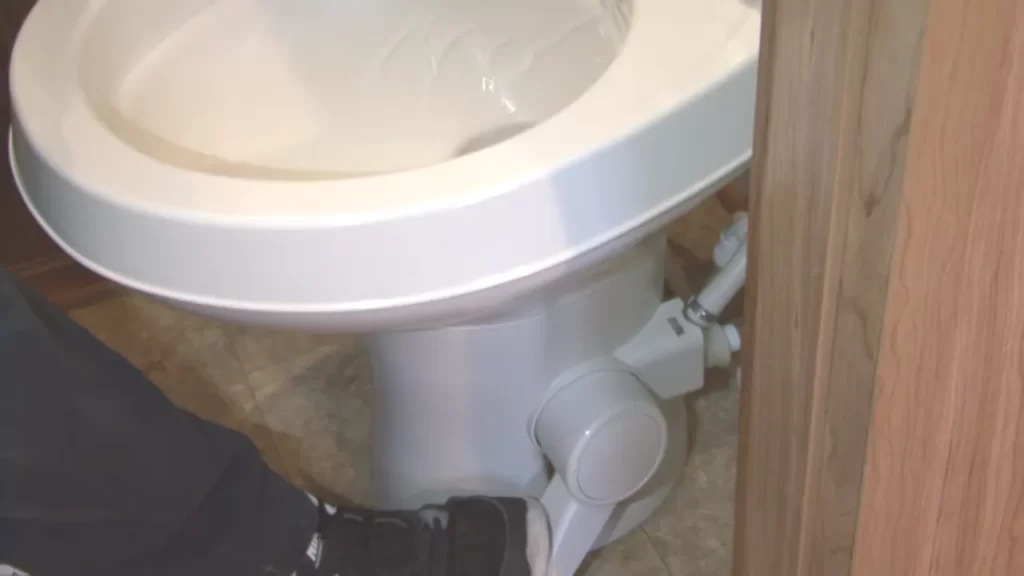
- Attach a flexible water supply line to the threaded connection on the bottom of the toilet tank.
- Tighten the connection using a wrench, ensuring it is secure but not overtightened.
- Connect the other end of the water supply line to the RV’s water source, such as a water pump or external hookup.
Securing the toilet to the floor
To ensure stability and prevent any movement, it is important to secure the RV toilet to the floor. Follow these steps to properly secure the toilet:
- Tighten the nuts or bolts that secure the toilet to the floor, ensuring they are snug but not overly tightened to avoid damaging the toilet or flooring.
- Verify that the toilet is stable and does not wobble.
Testing for leaks and proper functionality
Once the RV toilet is installed and secured, it’s essential to test for leaks and proper functionality. Follow these steps to verify everything is working correctly:
- Turn on the water supply to the RV.
- Flush the toilet to check for any leaks near the connections or at the base.
- Inspect the area around the toilet for any signs of water leakage or damage.
- Make sure the toilet flushes properly and refills the tank without any issues.
Troubleshooting common installation issues
During the installation process, you may encounter some common issues that need troubleshooting. Here are a few problems you might face and how to overcome them:
- If the toilet wobbles despite being secured to the floor, check the tightness of the nuts or bolts and readjust if necessary.
- If there are water leaks around the base of the toilet, remove the toilet, and replace the wax ring before reinstalling.
- If the water supply line does not connect securely or causes leaks, ensure proper threading and tighten the connection.
- If the toilet does not flush or fill correctly, check the water supply and ensure the tank components are properly attached and functioning.
By following this step-by-step guide to installing an RV toilet, you can successfully replace your old toilet with a new one, ensuring optimal functionality and comfort in your RV. Remember to take the necessary precautions and troubleshoot any issues that may arise during the installation process.
Maintaining Your Rv Toilet For Longevity
Proper maintenance of your RV toilet is essential for its longevity and functionality. By regularly cleaning and sanitizing your toilet, you can ensure it remains in peak condition for years to come. Additionally, following a few simple tips to prevent clogs and odors will help keep your RV bathroom fresh and hygienic. Let’s explore how you can maintain your RV toilet effectively.
Regular cleaning and sanitization methods
Cleaning your RV toilet regularly is crucial to prevent the buildup of bacteria, mold, and unpleasant odors. To keep your toilet clean and sanitized, follow these steps:
- Start by flushing the toilet to remove any waste.
- Mix a solution of equal parts water and vinegar.
- Dampen a soft cloth or sponge with the vinegar solution.
- Gently scrub the entire surface of the toilet, including the seat, lid, and inside the bowl.
- Rinse the toilet thoroughly with clean water.
- For added sanitation, you can use an RV-specific toilet bowl cleaner.
- Remember to wear gloves and protect your hands while cleaning.
Regular cleaning and sanitization will not only keep your RV toilet looking clean, but it will also help prevent the growth of bacteria and minimize odors.
Tips for preventing clogs and odors
Dealing with clogs and odors can be a major hassle when you’re on the road. To avoid these issues, consider the following tips:
- Only flush toilet paper and waste down the toilet. Avoid flushing excessive amounts of toilet paper or non-biodegradable items.
- Use RV-friendly toilet paper that easily dissolves to prevent clogs.
- Regularly empty your RV’s black water tank to prevent odors.
- Use an RV-specific holding tank treatment to control odors and break down waste.
- Keep the toilet’s water valve closed when not in use to prevent odors from entering the RV.
Following these tips will help maintain a clog-free and odor-free RV toilet experience.
Importance of proper maintenance to prolong the toilet’s lifespan
Proper maintenance plays a crucial role in prolonging the lifespan of your RV toilet. By regularly cleaning and sanitizing your toilet, you can prevent the buildup of grime and bacteria that can lead to malfunctions and unpleasant odors. Additionally, following the tips mentioned above will help prevent clogs and minimize wear and tear on your toilet’s components.
Remember, your RV toilet is not only a convenience but also an investment. Taking care of it will ensure that it serves you well for many adventures to come.
Upgrading Your Rv Toilet: Optional Features And Accessories
When it comes to RV toilets, there are a variety of optional features and accessories available that can enhance your overall bathroom experience on the road. Whether you’re looking to add a bidet attachment or a water-saving mechanism, here are some steps to install and how to choose the right accessories for your specific needs.
Exploring additional features and accessories for RV toilets
If you’re looking to take your RV toilet to the next level, there are a few additional features and accessories that you might want to consider. These can not only make your bathroom experience more comfortable but also add convenience to your travels. Some popular enhancements include:
- Bidet attachments: Bidet attachments are a great addition to any RV toilet. They provide a thorough and hygienic cleaning experience, eliminating the need for toilet paper. Installing a bidet attachment is a simple process that involves attaching it to the existing toilet seat.
- Water-saving mechanisms: Another optional feature to consider is a water-saving mechanism. These mechanisms limit the amount of water used per flush, reducing water consumption and making your RV more eco-friendly. Installation may vary depending on the specific mechanism you choose, but it typically involves replacing the flushing system or adding a water-saving kit.
- Handheld sprayers: Handheld sprayers are a versatile accessory that can be used for various purposes, including cleaning the toilet, personal hygiene, or even for washing other items. Installing a handheld sprayer usually requires attaching it to the water supply line and mounting it near the toilet.
- Odor control systems: If you want to keep your RV bathroom smelling fresh, an odor control system can be a great investment. These systems use chemicals or natural products to neutralize unpleasant odors and keep your bathroom smelling clean. Most odor control systems are easy to install and require minimal maintenance.
Steps to install optional features like bidet attachments or water-saving mechanisms
Installing optional features like bidet attachments or water-saving mechanisms for your RV toilet can be a simple DIY project. Here are some general steps to follow:
- Research and select the accessory you want to install based on your preferences and needs.
- Read the manufacturer’s instructions thoroughly before starting the installation process.
- Gather the necessary tools and materials needed for the installation.
- Turn off the water supply to the toilet and drain any remaining water from the tank or bowl.
- Remove the existing toilet seat or flushing system if necessary.
- Follow the manufacturer’s instructions to install the new accessory, making sure to tighten all connections securely.
- Turn on the water supply and check for any leaks. If there are leaks, tighten the connections or replace any faulty parts.
- Test the functionality of the installed accessory and make any necessary adjustments.
- Dispose of any old parts or packaging materials responsibly.
How to choose the right accessories for your specific needs
Choosing the right accessories for your specific needs is essential to ensure a successful installation. Here are some factors to consider when selecting RV toilet accessories:
- Compatibility: Ensure that the accessory is compatible with your RV toilet’s make and model.
- Quality and durability: Look for accessories made from high-quality materials that are built to last, especially given the unique demands of RV travel.
- Functionality: Consider your specific needs and preferences. For example, if personal hygiene is a priority, a bidet attachment can be a beneficial addition.
- Space availability: Evaluate the available space in your RV bathroom to determine if the accessory will fit comfortably without causing any inconvenience.
- Reviews and recommendations: Read reviews and seek recommendations from fellow RVers to get insights into the performance and reliability of different accessories.
By considering these factors, you can choose the right accessories that will enhance your RV toilet experience and make your travels more comfortable and convenient.
Frequently Asked Questions
How Are Rv Toilets Attached To The Floor?
RV toilets are attached to the floor using bolts or screws. The toilet base has holes that align with corresponding holes in the floor. The bolts or screws are then inserted through these holes and tightened to secure the toilet in place.
How Is An Rv Toilet Plumbed?
An RV toilet is plumbed by connecting it to the onboard water supply and a holding tank. Water flows from the supply to the toilet bowl, creating a flushing action. Waste is then stored in the holding tank until it can be dumped at a designated location.
Do I Need To Put Anything In My Rv Toilet?
No, it is not necessary to put anything in your RV toilet.
How To Install A Dometic Rv Toilet?
To install a Dometic RV toilet, start by removing the old toilet and cleaning the area. Then, position the new toilet over the flange and secure it with bolts. Connect the water supply and waste line, ensuring a tight seal.
Test the toilet for any leaks and make necessary adjustments. Enjoy your new Dometic RV toilet!
Conclusion
Installing an RV toilet doesn’t have to be a daunting task. With the right tools and a step-by-step approach, you can easily replace or install a new toilet in your RV. By following the instructions in this guide, you’ll have a functional and efficient toilet in no time.
Whether you’re a seasoned RVer or a first-time DIYer, this blog post has provided you with the essential knowledge and tips to get the job done. So, go ahead and give your RV bathroom an upgrade with a brand-new toilet!