To install a rubber shower pan, you need to measure, cut, and fit the pan into place, secure it with adhesive or nails, and connect the drain. Proper installation ensures a waterproof and durable shower base that prevents leaks and damage.
Introducing a rubber shower pan into your bathroom is an excellent way to create a waterproof and reliable foundation for your shower. Whether you are renovating your bathroom or starting from scratch, installing a rubber shower pan is a crucial step for ensuring a long-lasting and leak-free shower.
This guide will walk you through the installation process, providing you with the necessary steps to successfully install a rubber shower pan. By following these instructions, you can confidently complete the installation on your own and enjoy a functional and sturdy shower base. So let’s dive into the details of how to effectively install a rubber shower pan.
Gather The Necessary Tools And Materials
Before installing a rubber shower pan, it’s crucial to gather all the necessary tools and materials to ensure a smooth and successful installation process. Having everything on hand will save you time and prevent delays during the installation. Here are the essential tools and materials you will need:
Rubber Shower Pan
The first and most important item on your list should be a high-quality rubber shower pan. Opting for a rubber pan is a wise choice as it provides excellent durability, water resistance, and flexibility for seamless installation. Make sure to measure your shower area accurately to get the right size of rubber pan for a perfect fit.
Measuring Tape
A measuring tape is an indispensable tool when it comes to installing a rubber shower pan. You’ll need it to precisely measure your shower floor dimensions before cutting the rubber pan to fit. Accuracy is paramount to ensure a snug fit and prevent any leakage issues down the road.
Utility Knife
Another tool that will come in handy is a sharp utility knife. You’ll need it to cut the rubber shower pan to match the measurements you took earlier. Make sure to use the knife carefully and follow the marked lines precisely for a clean and accurate cut.
Adhesive
An adhesive specifically designed for rubber shower pans is crucial for secure and long-lasting installation. Look for a high-quality adhesive that is water-resistant and compatible with rubber materials. Applying the adhesive properly is essential for ensuring a solid bond between the rubber pan and the shower floor.
Caulk Gun
A caulk gun is necessary for applying the adhesive evenly and precisely. It allows for controlled dispensing of the adhesive, ensuring a neat and professional finish. Make sure to choose a caulk gun that is compatible with the size of adhesive tubes you will be using for your project.
Level
Using a level during the installation process is crucial to ensure that the rubber shower pan is installed perfectly flat and level. This prevents any pooling of water and helps in maintaining proper drainage. Make sure to check the levelness of the shower floor before starting the installation and adjust as needed.
Having these essential tools and materials in your possession will make the installation process of a rubber shower pan straightforward and hassle-free. Double-check your checklist to ensure you have everything you need, and you’ll be ready to move on to the next step of the installation process.
Measure And Prep The Shower Area
Installing a rubber shower pan is a great way to ensure your shower area remains leak-free and well-protected. Before you begin the installation process, it is essential to measure and prep the shower area properly. This step is crucial as it establishes the foundation for a successful installation. In this section, we will guide you through the process of measuring the dimensions of the shower area, removing any existing shower pan or flooring, and cleaning and leveling the subfloor. Following these steps meticulously will guarantee a smooth installation and a durable rubber shower pan.
Measure the dimensions of the shower area
To start the installation process, it is vital to accurately measure the dimensions of the shower area. This will ensure that you purchase a rubber shower pan that fits perfectly and provides optimal coverage. Here’s how you can measure the shower area:
- Start by measuring the length of the shower area. Use a tape measure to measure from one end to the other, ensuring you record the measurement in inches or centimeters.
- Next, measure the width of the shower area. Again, use a tape measure to measure from one side to the other, and note down the measurement.
- Finally, measure the depth of the shower area. This measurement is essential to determine the appropriate thickness for your rubber shower pan.
By accurately measuring the dimensions of the shower area, you will be able to choose a rubber shower pan that fits perfectly, preventing any potential leaks or water damage.
Remove any existing shower pan or flooring
Before you can install the rubber shower pan, it is crucial to remove any existing shower pan or flooring in the shower area. This step ensures a clean and sturdy foundation for the new shower pan. Here’s how you can remove any existing materials:
- Start by removing the shower drain cover and disconnecting any plumbing connections surrounding the shower pan.
- Using a pry bar or a suitable tool, carefully loosen and remove the existing shower pan or flooring material.
- Dispose of the old materials properly, ensuring you follow any local regulations or guidelines for disposal.
Removing the existing shower pan or flooring allows for a fresh start and ensures that the rubber shower pan can be installed correctly, providing a watertight seal.
Clean and level the subfloor
Once the old shower pan or flooring is removed, it is essential to clean and level the subfloor to create a smooth and stable base for the rubber shower pan. Follow these steps to clean and level the subfloor:
- Thoroughly clean the subfloor using a broom or vacuum cleaner to remove any dust, debris, or residue.
- If there are any uneven areas or imperfections on the subfloor, use a leveling compound to fill in the gaps and create a level surface. Follow the manufacturer’s instructions for mixing and applying the leveling compound.
- Allow the leveling compound to dry completely before proceeding with the rubber shower pan installation.
A clean and level subfloor will ensure that the rubber shower pan adheres properly and provides a solid foundation for your shower area.
By measuring the dimensions of the shower area, removing any existing shower pan or flooring, and cleaning and leveling the subfloor, you are one step closer to installing a rubber shower pan successfully. Ensuring precise measurements and a properly prepped shower area will contribute to a durable and leak-free shower experience.
Prepare The Rubber Shower Pan
Preparing the rubber shower pan is an important step in ensuring a proper installation and watertight seal for your shower. Follow these guidelines to prepare the rubber shower pan for installation.
Unroll the rubber shower pan and let it flatten
Before you begin installing the rubber shower pan, unroll it and let it flatten. This will help to remove any creases or wrinkles in the material, ensuring a smooth and even installation. Lay the rubber shower pan on a flat surface, such as the floor, and let it sit for at least 24 hours. This will allow the material to relax and conform to its natural shape.
Trim the rubber shower pan to fit the dimensions of the shower area
Measure the dimensions of your shower area and use a utility knife or scissors to trim the rubber shower pan to the appropriate size. It’s important to accurately measure and cut the rubber shower pan to fit snugly in the shower space, ensuring a proper fit and preventing any water leakage. Take your time and make precise cuts to achieve the best results.
Cut holes for the shower drain and other fixtures
In order to accommodate the shower drain and any other fixtures, such as a faucet or showerhead, you’ll need to cut holes in the rubber shower pan. Using a sharp utility knife, carefully cut out the necessary holes, making sure they align with the location of the drain and fixtures. Take extra care to ensure the holes are smooth and free of any jagged edges that could cause leaks or damage to the rubber pan.
By following these steps, you can properly prepare the rubber shower pan for installation. Next, you’ll be ready to move on to the actual installation process, which will ensure a secure and watertight seal for your shower.
Apply Adhesive To The Subfloor
Introductory Paragraph:
Applying adhesive to the subfloor is a crucial step when installing a rubber shower pan. This process ensures that the pan is securely bonded to the subfloor, preventing any leaks or water damage. In this section, we will discuss how to spread a layer of adhesive evenly on the subfloor, following the manufacturer’s instructions for application. With careful attention to detail, you can achieve a strong and watertight bond between the shower pan and the subfloor.
Spread a Layer of Adhesive Evenly on the Subfloor:
When it comes to applying adhesive to the subfloor for your rubber shower pan installation, it is essential to do it correctly. Follow the steps below to ensure a successful application:
- Clean the subfloor thoroughly to remove any dirt, dust, or debris that may interfere with the adhesive’s bonding capability. Make sure the surface is dry before proceeding.
- Based on the manufacturer’s instructions, gather the appropriate adhesive for your shower pan installation. It is important to use the recommended adhesive to ensure the best results.
- Begin by spreading a thin, even layer of adhesive on the subfloor using a trowel or a recommended application tool. Use the flat side of the trowel to spread the adhesive, keeping the layers uniform.
- Work in small sections to prevent the adhesive from drying out before placing the rubber shower pan. This will also help to maintain control over the application process.
- Once a section of the subfloor is coated with adhesive, press the rubber shower pan firmly onto the adhesive, ensuring good contact between the two surfaces. It is essential to follow the manufacturer’s instructions for the proper placement of the rubber shower pan.
- Continue applying adhesive and attaching the rubber shower pan section by section until the entire subfloor is covered.
- After completing the installation, allow the adhesive to dry according to the manufacturer’s recommended drying time. Avoid putting any weight or stress on the shower pan during this period.
By following these steps and adhering to the manufacturer’s instructions, you can achieve a secure and durable bond between the rubber shower pan and the subfloor. Taking the time to apply the adhesive correctly will ensure a watertight seal, giving you peace of mind and a long-lasting shower installation.
Lay The Rubber Shower Pan
Installing a rubber shower pan is an essential step in ensuring a watertight shower enclosure. This durable and flexible material helps to protect the subfloor from water damage and provides a solid foundation for your tile or stone shower floor. In this section, we will guide you through the process of laying the rubber shower pan, ensuring a secure bond and a smooth installation.
Position the rubber shower pan over the adhesive
To begin, carefully position the rubber shower pan over the adhesive that has been applied to the subfloor. The adhesive should be spread evenly, covering the entire surface area where the shower pan will be laid. Take your time to align the shower pan accurately, ensuring it fits properly within the designated shower enclosure.
Press down firmly to ensure a secure bond
Once the rubber shower pan is positioned correctly, press down firmly to create a secure bond between the pan and the adhesive. Start from the center and work your way out towards the edges, using your hands or a flat trowel to apply even pressure. This will help to eliminate any air pockets and ensure a tight seal.
Smooth out any air bubbles or wrinkles
As you press down, be vigilant for any air bubbles or wrinkles that may form beneath the rubber shower pan. These imperfections can compromise the integrity of the installation and lead to water leakage. Use a rolling pin or a vinyl flooring roller to smooth out any air bubbles or wrinkles, starting from the center and working your way outwards.
Conclusion
By following these straightforward steps, you can successfully lay a rubber shower pan and create a solid foundation for your shower floor. Positioning the pan accurately, pressing down firmly, and smoothing out any imperfections will ensure a secure and watertight installation. With a properly installed rubber shower pan, you can enjoy your shower without worrying about leaks or water damage.
Seal The Edges And Corners
Once you have properly positioned your rubber shower pan in place, it’s important to seal the edges and corners to ensure a watertight installation. This step is crucial in preventing any potential leaks or water damage.
Apply a bead of adhesive along the edges and corners of the shower pan
To seal the edges and corners of your rubber shower pan, you will need to apply a bead of adhesive. This adhesive will help create a strong bond between the pan and the surrounding walls, ensuring a secure fit.
Using a caulk gun for precise application is recommended. The caulk gun allows you to control the amount of adhesive being applied, allowing for more accuracy and ensuring that you only apply the adhesive where it is needed.
Smooth the adhesive with a caulk smoother or your finger
Once the adhesive is applied along the edges and corners, it’s important to smooth it out for a clean and professional finish. This can be done using either a caulk smoother or your finger.
By running the caulk smoother or your finger along the applied adhesive, you can ensure that it is evenly spread and any excess is removed. This will not only improve the overall appearance of the installation but also enhance the effectiveness of the seal.
Make sure to take your time and pay attention to each corner and edge of the shower pan to ensure a thorough application of adhesive. This will help create a watertight seal and minimize the risk of any potential leaks.
Sealing the edges and corners of your rubber shower pan is an important step in the installation process. By following these steps and using the right tools, you can ensure a secure and leak-free shower pan that will provide years of reliable use.
Install The Shower Fixtures
Installing a rubber shower pan in your bathroom can be a great way to protect the floor from water damage. Once you have successfully installed the rubber pan and prepared the subfloor, it’s time to move on to the next step: installing the shower fixtures. This includes connecting the shower drain and other fixtures to the rubber shower pan.
Connect the shower drain and other fixtures to the rubber shower pan
One of the most important steps in installing a rubber shower pan is connecting the shower drain. The shower drain is responsible for ensuring that water properly drains out of the shower area, preventing any potential water buildup or leakage. Here’s how you can connect the shower drain and other fixtures to the rubber shower pan:
- Begin by referring to the instructions provided by the manufacturer of the rubber shower pan. Each manufacturer may have specific guidelines for connecting the shower drain and fixtures, so it’s important to read and follow these instructions carefully.
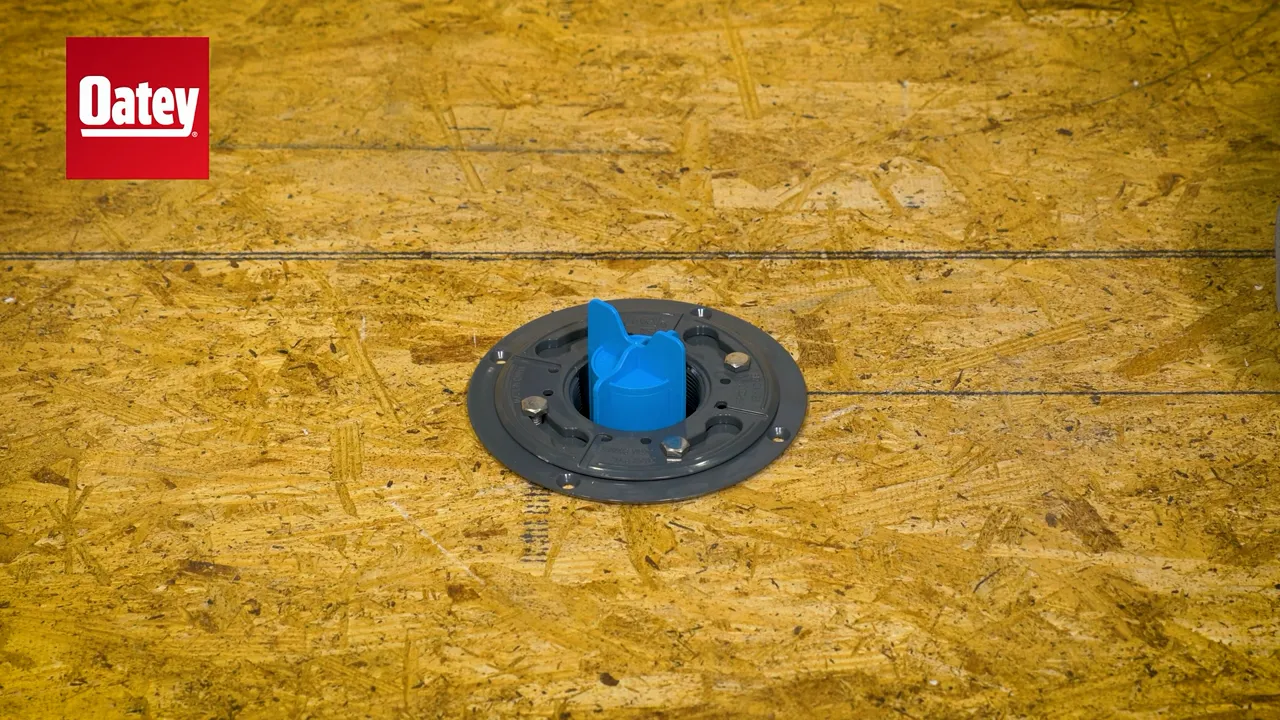
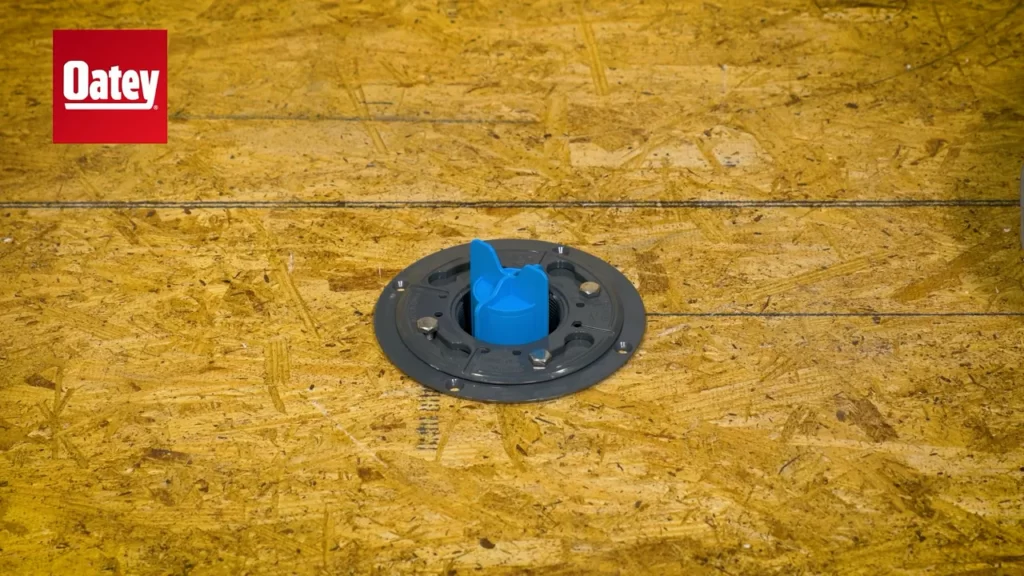
- Access the underside of the rubber shower pan and locate the pre-marked area for the shower drain. The shower drain should slide into the pre-cut hole in the rubber pan, creating a tight and secure fit.
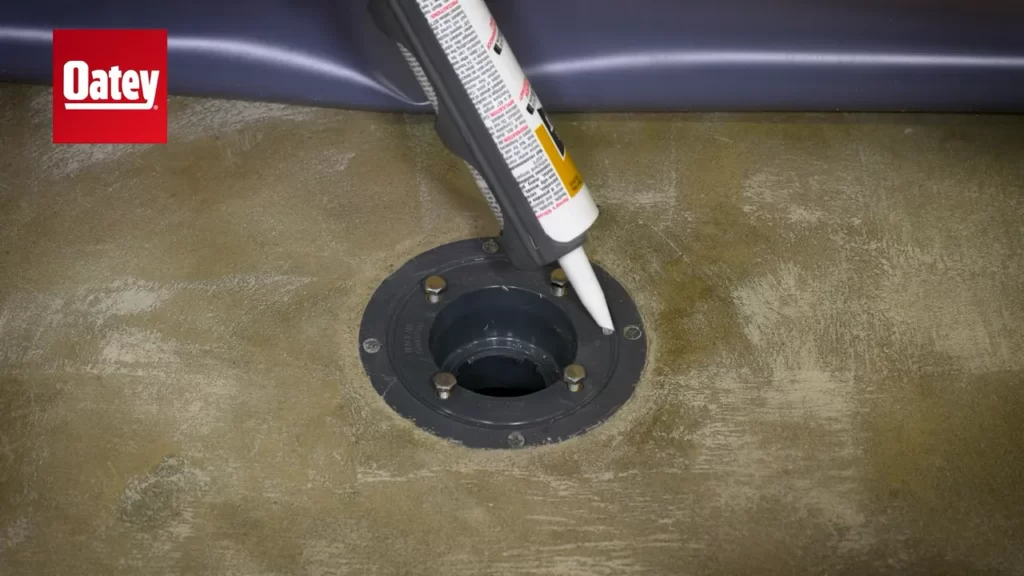
- Apply a suitable adhesive or sealant to ensure a watertight seal between the shower drain and the rubber pan. This will help prevent any water leakage in the future.
- Tighten the shower drain by hand or use a wrench to secure it in place. Be sure not to overtighten, as this could cause damage to the rubber pan or the drain itself.
- Next, it’s time to connect the other fixtures, such as the showerhead and faucet. Follow the manufacturer’s instructions for each specific fixture, ensuring proper installation and tight connections.
- Once all the fixtures are securely connected to the rubber shower pan, test for any potential leaks by running water through the system. Check for any water seepage or drips and make any necessary adjustments.
By following these steps and adhering to the manufacturer’s instructions, you can successfully connect the shower drain and other fixtures to the rubber shower pan. This will ensure a secure and watertight installation, providing you with a functional and well-protected shower area in your bathroom.
Test For Leaks
After successfully installing a rubber shower pan, it is crucial to test for leaks. This step ensures that your shower pan is watertight, preventing any potential damage to your bathroom floor and walls. Here’s how to perform a thorough leak test:
Fill the shower pan with water
To begin the leak test, fill the shower pan with water. Make sure to cover the entire surface area of the pan, ensuring that it reaches the desired level. It’s essential to fill the pan to a level that simulates normal shower usage, allowing you to detect any possible leaks accurately.
Check for any signs of leakage
Once the shower pan is filled, closely examine the entire surface for any signs of leakage. Look out for any water escaping from the pan and pooling on your bathroom floor. Pay attention to the corners, edges, and seams, as these areas are more prone to leaks.
If you notice any water escaping or find damp spots around the pan, it’s a clear indication of a leak. Additionally, inspect the surrounding walls and floor for any signs of moisture or water damage. Identifying leaks early on will save you from potential headaches and costly repairs in the future.
Make any necessary adjustments or repairs
If you’ve found any leaks or areas of concern, it’s crucial to address them promptly. Begin by assessing the cause of the leak, which could be due to improper installation or a defective rubber shower pan. Determine if the issue requires adjustments or repairs.
In some cases, minor adjustments, such as tightening screws or caulking exposed edges, can effectively resolve the leak. However, if the leak persists or appears to be a more significant issue with the shower pan, you may need to consider replacing it to ensure a watertight seal.
When making adjustments or repairs, follow the manufacturer’s instructions and use appropriate materials for the specific type of shower pan you have installed. Taking the time to address leaks promptly will help maintain the integrity of your shower and prevent any further damage.
In conclusion, testing for leaks is a crucial step after installing a rubber shower pan. By carefully filling the pan with water and checking for any signs of leakage, you can identify any potential issues and address them promptly. Ensuring a watertight seal is essential for maintaining a functioning and damage-free shower in your bathroom.
Finish The Shower Installation
Once you have successfully installed the rubber shower pan, it’s time to complete the rest of the shower installation. This involves installing the shower walls and any additional features that you may have chosen for your shower. Follow the manufacturer’s instructions carefully to ensure a proper and secure installation.
Install the Shower Walls
Begin by preparing the area where the shower walls will be installed. Make sure the walls are clean and free of any debris. If necessary, apply a waterproofing membrane to the walls to provide an extra layer of protection.
Next, carefully position the first shower wall panel against the rubber shower pan. Use a level to ensure that it is plumb and level. Secure the panel to the wall using the recommended fasteners provided by the manufacturer. Repeat this process for the remaining shower wall panels, making sure to align them properly. Use a level to check for plumb and level after each panel is installed.
After all the shower wall panels are securely in place, apply silicone sealant along the joints between the panels to create a watertight seal. Smooth the sealant with a caulk tool or your finger to ensure a neat and tidy finish.
Install Any Additional Features
If you have chosen to include any additional features in your shower, such as shelves or soap dishes, now is the time to install them. Follow the manufacturer’s instructions to securely attach these features to the shower walls.
After installing all the necessary features, take a step back and inspect the entire shower installation. Check for any gaps or areas that may need additional sealing or adjustments. Address these issues promptly to ensure a leak-free and visually appealing finished shower.
Remember, proper installation of the shower walls and any additional features is crucial for a functional and durable shower. Take your time, follow the instructions, and double-check everything along the way. By doing so, you’ll be well on your way to enjoying your newly installed rubber shower pan and the benefits it brings to your bathroom.
Frequently Asked Questions
Do You Have To Put Mortar Under A Shower Pan?
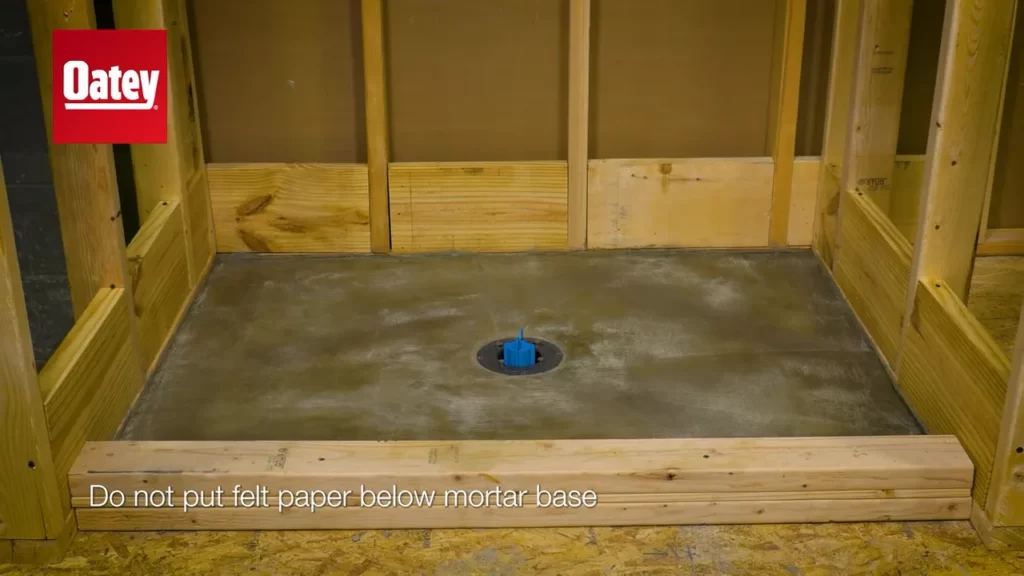
Yes, it is necessary to put mortar under a shower pan. The mortar provides a stable and leveled base for the shower pan, ensuring proper support and preventing movement or leaks. It is an essential step in the installation process to ensure a durable and functional shower.
How Do You Install A Rubber Gasket On A Shower Base?
To install a rubber gasket on a shower base, follow these steps: 1. Clean the area where the gasket will go 2. Apply a small amount of silicone adhesive to the underside of the gasket 3. Press the gasket firmly onto the shower base 4.
Smooth out any wrinkles or air bubbles 5. Allow the adhesive to dry completely before using the shower.
What Is The Proper Way To Install A Shower Pan?
To properly install a shower pan, follow these steps: 1. Prepare the subfloor by ensuring it is clean and level. 2. Position and secure the shower pan in place according to the manufacturer’s instructions. 3. Connect the drain to the plumbing system and test for leaks.
4. Install the waterproofing membrane over the shower pan and up the walls. 5. Finally, install the tile or other desired finish on the shower walls and floor.
How Do You Fasten A Shower Pan Liner?
To fasten a shower pan liner, follow these steps: 1. Position the liner over the shower base and ensure it covers all areas. 2. Use a staple gun or adhesive to secure the liner to the studs or walls. 3.
Trim any excess liner around the edges. 4. Apply a second layer of liner tape for added protection. 5. Proceed with tiling or installing the shower walls as needed.
Conclusion
Installing a rubber shower pan can be a straightforward process, and the benefits are substantial. With its durability and waterproofing properties, a rubber shower pan provides a long-lasting solution for preventing leaks and water damage. By following the steps outlined in this guide, you can confidently install a rubber shower pan in your bathroom.
Take the time to measure accurately, prepare the surface, and ensure a proper seal for optimal performance. Enjoy the peace of mind knowing that your shower will be protected for years to come.