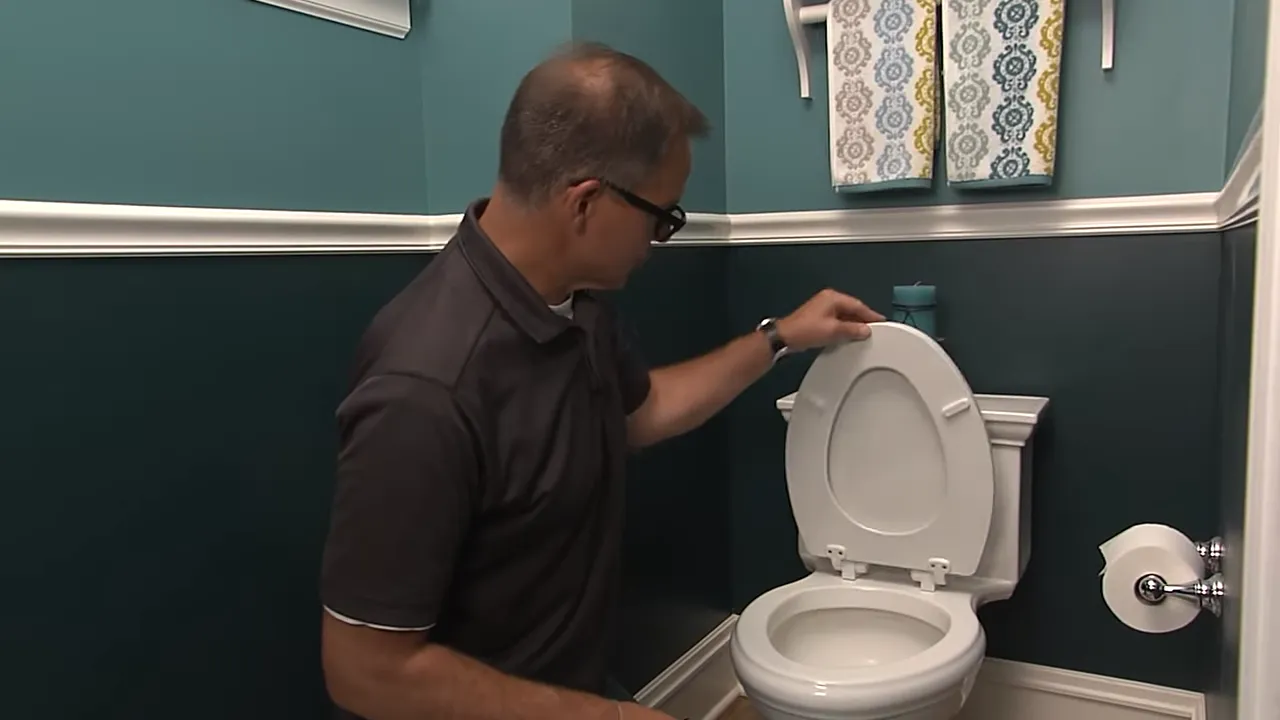
To install a new toilet seat, first remove the old seat by loosening and removing the bolts, then place the new seat onto the toilet bowl and tighten the bolts. Are you looking to update your bathroom with a new toilet seat?
Installing a new toilet seat is a simple and straightforward task that can be completed in just a few minutes. By following a few easy steps, you can give your bathroom a fresh look and improve its functionality. We will guide you through the process of installing a new toilet seat.
Whether you’re a seasoned DIYer or a beginner, this step-by-step guide will help you get the job done smoothly. So let’s dive in and learn how to install a new toilet seat in no time.
Choosing The Right Toilet Seat
The toilet seat is an essential part of every bathroom, and choosing the right one is important for both style and functionality. There are several factors to consider when selecting a new toilet seat that will not only enhance the overall look of your bathroom but also provide utmost comfort.
Factors to consider when selecting a new toilet seat
When it comes to selecting a toilet seat, there are a few key factors that you should keep in mind:
- Material: Toilet seats are available in various materials, including plastic, wood, and cushioned. Plastic seats are durable and easy to clean, while wooden ones add an elegant touch to the bathroom. Cushioned seats are known for their extra comfort, making them perfect for those who spend longer periods of time on the toilet.
- Shape and Size: To ensure a perfect fit for your toilet, you need to consider the shape and size of both the toilet bowl and the seat. Most toilets come in either a round or elongated shape, so make sure to measure your toilet bowl accurately.
- Style: The style of your toilet seat should complement the overall aesthetics of your bathroom. Whether you prefer a modern, minimalist design or a more traditional look, there are numerous options available to match your personal taste.
- Features: Some toilet seats come with additional features that can enhance your bathroom experience. These may include built-in bidet functions, soft-close hinges, or even heated seats. Consider the features that matter most to you and your household.
- Budget: Lastly, it’s important to establish a budget for your new toilet seat. With a wide range of options available, prices can vary significantly. Determine your budget in advance to make the selection process easier.
By considering these factors, you can choose a toilet seat that not only fits your toilet perfectly but also enhances the overall style and comfort of your bathroom. Take your time to explore different options and find the toilet seat that meets your unique needs and preferences.
Step 1: Measuring Your Current Toilet Seat
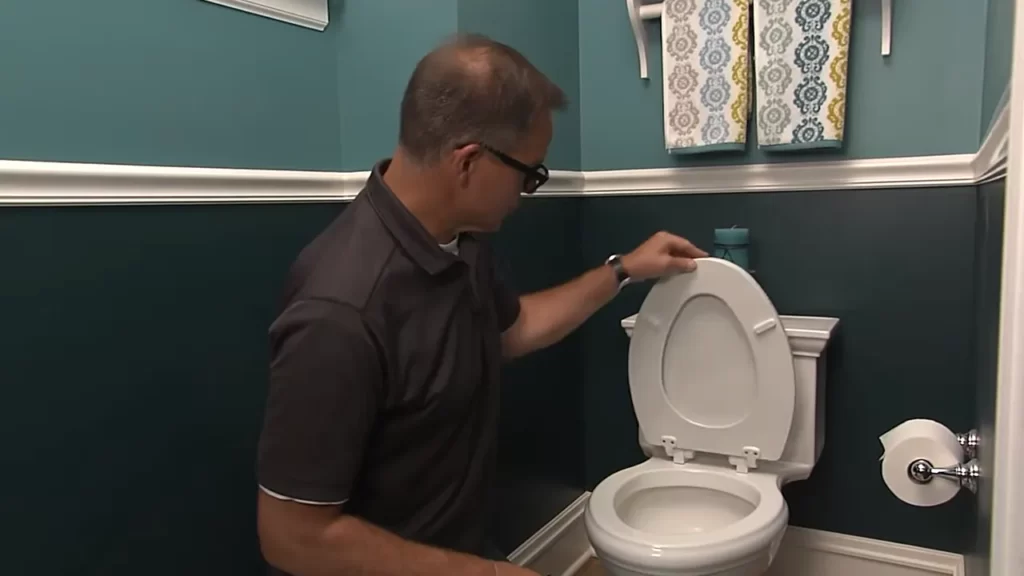
Before you rush to install a new toilet seat, it’s important to measure your current one. By doing so, you can ensure that the new seat will fit perfectly and save yourself from potential headaches down the line. This step-by-step guide will help you measure your current toilet seat accurately.
Guidelines for measuring the dimensions of your current toilet seat
To measure your current toilet seat, follow these simple guidelines:
- Width: Begin by measuring the width of your existing toilet seat. To do this, take a tape measure and place it across the widest part of the seat, from one outer edge to the other. Make sure to measure the seat itself and not the lid. Jot down the measurement in inches or centimeters.
- Length: Next, measure the length of your toilet seat. Take your tape measure and place it at the seat’s front edge. Extend the tape measure towards the back until you reach the seat’s back edge. Again, write down the measurement.
- Hinge Hole Distance: The hinge hole distance refers to the measurement between the two mounting holes on your current seat. Place the tape measure at the center of one hinge hole and extend it to the center of the other. This distance is crucial to ensure the new seat aligns perfectly with your toilet bowl.
By accurately measuring the width, length, and hinge hole distance of your current toilet seat, you’ll be well-prepared for finding a suitable replacement. Remember to double-check your measurements to avoid any discrepancies. With these measurements in hand, you’re now ready to move on to the next step of installing your new toilet seat.
Step 2: Removing The Old Toilet Seat
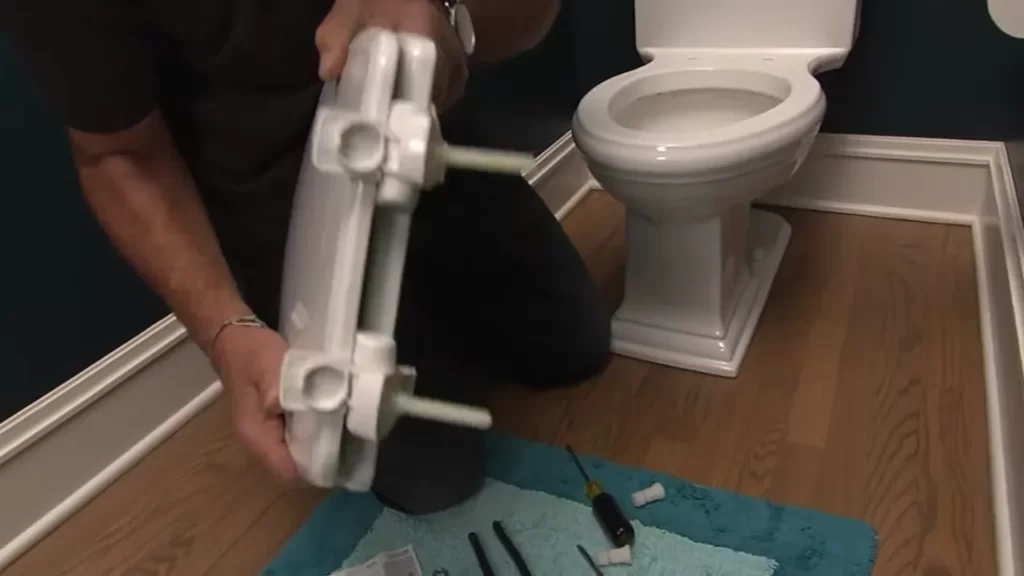
One of the first steps in installing a new toilet seat is actually removing the old one. Although it may seem like a straightforward task, it’s important to do it safely and efficiently to avoid any damage or injuries. In this article, we’ll explore the tools and techniques that you need to successfully remove the existing toilet seat.
Tools for safely removing the existing toilet seat
Before you start removing the old toilet seat, make sure you have the following tools handy:
| Tools | Description |
|---|---|
| Adjustable wrench | This tool is essential for loosening and tightening nuts and bolts. |
| Flathead screwdriver | Use a flathead screwdriver to remove any caps or covers that are hiding the attachment bolts. |
| Gloves | Wearing gloves is important to protect your hands from any germs or dirt that may be present. |
Techniques for safely removing the existing toilet seat
Once you have gathered the necessary tools, follow these steps to remove the old toilet seat:
- Start by putting on a pair of gloves to protect your hands.
- Locate the plastic caps or covers on the toilet seat hinges. These are usually located at the back of the seat where the seat meets the toilet bowl.
- Using a flathead screwdriver, gently pry off the caps or covers to reveal the attachment bolts.
- Once the attachment bolts are exposed, use an adjustable wrench to loosen the nuts that secure the toilet seat in place.
- Turn the nuts counterclockwise until they are loose enough to remove by hand.
- Once the nuts are removed, lift the toilet seat upward to detach it from the hinges.
- After removing the old toilet seat, make sure to clean the area thoroughly before installing the new one.
By following these techniques and using the right tools, you can safely remove the old toilet seat and prepare for the installation of a new one. Stay tuned for the next step in our guide, where we’ll cover how to install a new toilet seat.
Step 3: Preparing The Toilet Bowl
Cleaning and preparing the toilet bowl for the new seat installation
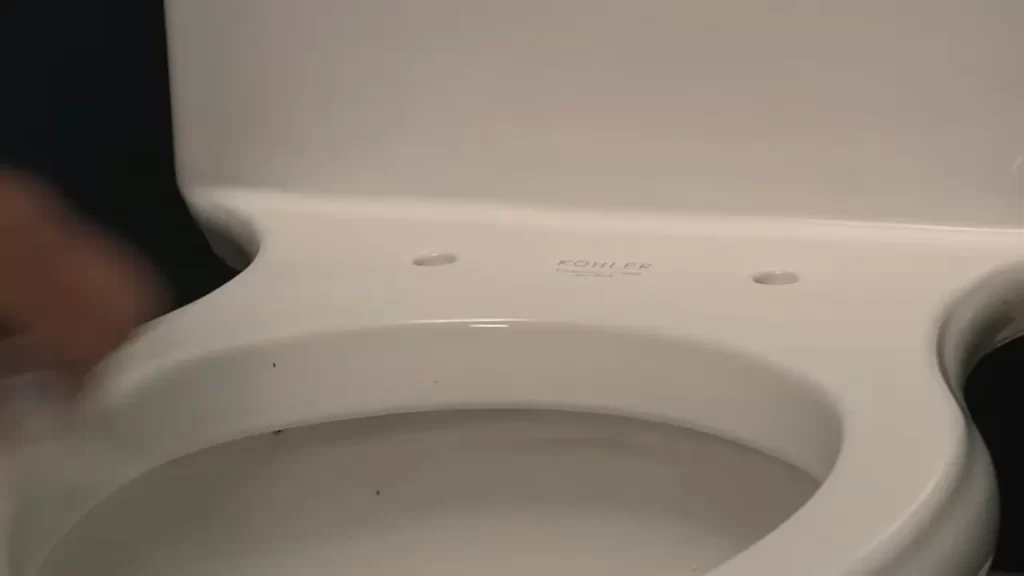
Step 3 of installing a new toilet seat involves thoroughly cleaning and preparing the toilet bowl for the installation process. It’s important to ensure that the toilet bowl is clean and free of any debris or residue that may interfere with the proper installation of the new seat. This step will help to guarantee a secure and hygienic fit for the new seat. Here’s how to clean and prepare the toilet bowl:
Cleaning the toilet bowl
The first step in preparing the toilet bowl is to clean it. Start by putting on a pair of rubber gloves to protect your hands from any chemical cleaners. Then, take a toilet bowl cleaner and apply it to the inside of the bowl, focusing on the areas under the rim and around the waterline. Use a toilet brush to scrub the bowl thoroughly, making sure to reach all areas including the bottom of the bowl. Finally, flush the toilet to rinse away the cleaner and any loosened dirt.
Removing stubborn stains
If there are any stubborn stains or mineral deposits in the toilet bowl, you may need to take additional steps to remove them. One effective method is using a mixture of vinegar and baking soda. Sprinkle baking soda into the bowl, followed by pouring vinegar over it. The mixture will bubble and fizz, helping to loosen and dissolve the stains. Let it sit for a few minutes before scrubbing the stains away with a toilet brush. Flush the toilet to rinse away the mixture and check if the stains are completely removed. Repeat the process if necessary.
Checking for leaks or cracks
While preparing the toilet bowl, it is essential to inspect for any leaks or cracks. Inspect the area where the toilet is fixed to the floor for any signs of water leakage. Feel around the base of the toilet for any moisture or soft spots, as these could indicate a leak. Additionally, visually inspect the bowl for any visible cracks or damage. If you notice any leaks or cracks, it is recommended to consult a professional plumber to address the issue before proceeding with the installation of the new seat.
Conclusion
By following these steps to clean and prepare the toilet bowl, you can ensure a clean and ideal surface for the installation of your new toilet seat. Cleaning the bowl thoroughly, removing stubborn stains, and checking for leaks or cracks will help guarantee a secure fitting and a visually pleasing result. Once you have completed this step, you are ready to proceed to the next step of installing the new toilet seat.
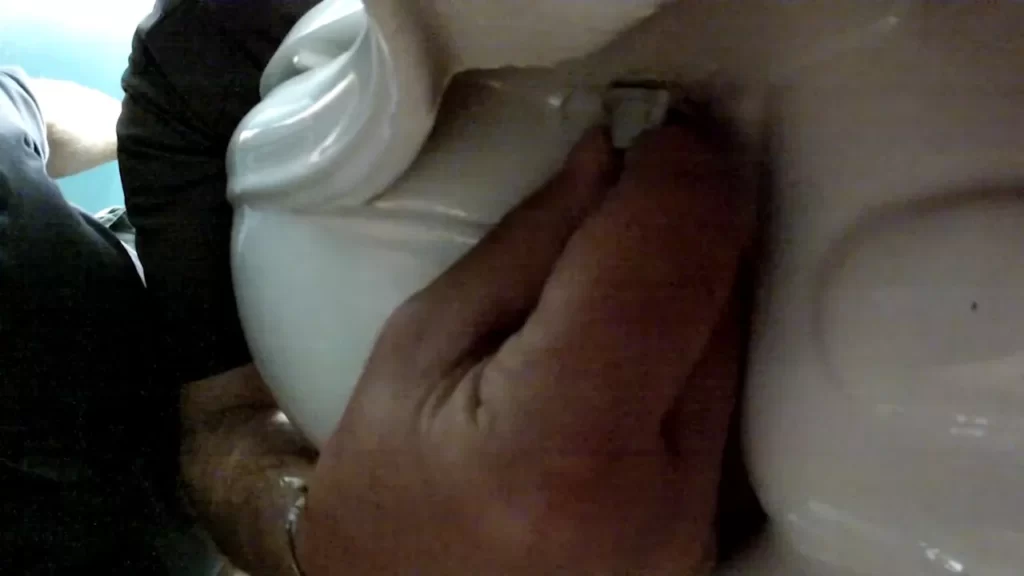
Step 4: Assembling The New Toilet Seat
Now that you have removed the old toilet seat and prepared your toilet bowl, it’s time to assemble the components of the new toilet seat. Follow these step-by-step instructions to ensure a proper installation:
1. Place the Hinges on the Toilet Bowl
The first component of the new toilet seat is the hinges. These are usually made of plastic or metal and come in a set of two. Before attaching them to the toilet bowl, make sure they are clean and free from any debris.
To install the hinges, position them on the back of the toilet bowl where the old seat’s hinges were located. Align them with the holes on the toilet bowl and ensure they are centered. Use the screws provided in the new toilet seat package to secure the hinges in place.
2. Attach the Seat to the Hinges
Now that the hinges are in place, it’s time to attach the seat itself. The seat usually consists of two parts: the upper seat and the lower seat. These parts are designed to be connected to the hinges for stability.
To connect the seat to the hinges, locate the holes on the bottom of the seat that correspond to the hinges’ positioning. Align these holes with the hinges and insert the screws provided into the holes. Tighten the screws using a screwdriver, ensuring a snug fit.
3. Test the Stability
Once the seat is fully assembled, it’s important to test its stability before using it. Sit on the toilet seat and check if it wobbles or feels loose. If it does, you may need to adjust the position of the hinges or tighten the screws further.
4. Install the Bolt Caps
Finally, install the bolt caps to give your new toilet seat a polished look. These caps cover the screws that hold the hinges in place. Place the caps over the screws and press them down firmly until they snap into position.
Congratulations! You have successfully assembled your new toilet seat. Make sure to follow the manufacturer’s instructions for any additional steps, and enjoy your upgraded bathroom fixture.
Step 5: Installing The New Toilet Seat
Now that you have successfully removed the old toilet seat, it’s time to install the new one. Installing a new toilet seat is a relatively simple task that you can easily do on your own. Just follow these simple steps to ensure a proper and secure installation.
Step 5.1: Preparing the New Toilet Seat
Before installing the new toilet seat, make sure you have all the necessary tools and parts. Double-check the contents of the new seat package to ensure it includes the seat, hinges, bolts, and any accompanying hardware. Place these items within easy reach for a hassle-free installation process.
Step 5.2: Aligning the Hinges
Take the new toilet seat and flip it upside down so that the bottom side is facing up. Locate the hinges on the underside of the seat. Most toilet seats have a quick-release mechanism that allows for easy cleaning, which may require additional assembly. Refer to the manufacturer’s instructions for guidance on attaching the hinges to the seat if needed.
Step 5.3: Inserting the Bolts
With the hinges aligned, it’s time to insert the bolts. Depending on the specific design of your toilet seat, this step may vary slightly. Generally, you’ll need to insert the bolts through the mounting holes on the toilet bowl, ensuring that they pass through the aligned holes on the hinges. Once inserted, secure the bolts in place using the provided nuts or wingnuts. Tighten the nuts with a screwdriver or wrench until they are snug but not overly tight, as this can damage the toilet bowl.
Step 5.4: Adjusting the Seat Position
With the seat installed, check for proper alignment and positioning. Adjust the seat as needed to ensure it is centered on the toilet bowl and sits level. Once you are satisfied with the position, tighten the nuts or wingnuts further to securely fasten the seat to the toilet bowl. Take care not to overtighten, as this may lead to cracking or breakage of the seat or bowl.
Step 5.5: Testing and Finishing Up
Once the seat is securely installed, give it a gentle test by sitting on it and wiggling slightly to verify stability. If the seat feels loose or unstable, double-check that all nuts are tightened properly before using the toilet. After ensuring a secure fit, clean the seat and surrounding areas with a mild household cleaner to remove any fingerprints or smudges.
That’s it! You have successfully installed your new toilet seat. Enjoy the added comfort and freshness it brings to your bathroom, and remember to check periodically for any signs of loosening or wear over time.
Step 6: Adjusting The Toilet Seat
After successfully installing a new toilet seat, it is important to adjust it properly to ensure proper alignment and maximum comfort. This step plays a crucial role in preventing any future issues or discomfort while using the toilet. By following the tips mentioned below, you can easily adjust your new toilet seat to perfection.
Tips for adjusting the new toilet seat to ensure proper alignment and comfort
Here are some tips to help you adjust your new toilet seat:
- 1. Position the seat correctly: Place the seat on top of the bowl, ensuring that it aligns perfectly with the ceramic edges. This will provide stability and prevent any unnecessary movement.
- 2. Align the seat hinges: Ensure that the seat hinges are aligned properly with the mounting holes on the toilet bowl. This will facilitate easy and smooth adjusting of the seat.
- 3. Tighten the seat screws: Once the seat is aligned correctly, use a screwdriver to tighten the screws securely. Ensure that the seat is stable and doesn’t wobble when pressure is applied.
- 4. Test the seat: After adjusting and tightening the seat, give it a gentle test to ensure it’s comfortable and doesn’t shift around. This will help identify any issues that need further adjustments.
- 5. Make necessary adjustments: If you notice any discomfort or misalignment during the test, adjust the seat accordingly. Loosen the screws slightly and reposition the seat until it feels comfortable and stable.
- 6. Recheck the alignment: Once you’ve made adjustments, double-check the alignment of the seat. Ensure that it is still centered and properly aligned with the toilet bowl.
By following these tips, you can easily adjust your new toilet seat to ensure proper alignment and maximum comfort. Taking the time to properly adjust the seat will result in a more pleasant and hassle-free experience for everyone using the toilet.
Step 7: Testing And Finishing Touches
With the new toilet seat securely installed, it’s time to test its functionality and make any finishing touches to ensure everything is in place. This step is crucial to ensure that your newly installed toilet seat is both comfortable and working properly. Here are the final steps to follow in order to complete the installation successfully:
Testing the functionality
- Sit on the seat: The first thing you should do is test the stability and comfort of the seat by sitting on it. Make sure it feels secure and does not wobble or shift.
- Check the lid and seat alignment: Open and close the lid a few times to ensure it aligns properly with the bowl. It should close smoothly without any resistance.
- Test the hinges: Gently lift and lower the seat to check if the hinges function smoothly. The seat should stay in place when lifted and lower gradually when released.
- Flush the toilet: Now it’s time to test the flushing mechanism. Flush the toilet a few times to make sure it works efficiently and effectively without any issues.
- Inspect for leaks: Carefully observe the area around the base of the toilet seat and the connections for any signs of leaks. Any leaks should be addressed and fixed immediately.
Finishing touches
Once you have tested the functionality of the newly installed toilet seat, it’s time to add those final touches to ensure everything is in place and looks neat:
- Tighten loose screws: Check all the screws and bolts to make sure they are tightened securely. If any are loose, use a screwdriver or wrench to tighten them.
- Clean and polish: Give the toilet seat and its surrounding area a thorough cleaning with a suitable cleaner. This will ensure a fresh and hygienic finish.
- Adjust seat alignment: If the seat is not perfectly aligned, adjust it carefully to ensure it is centered and stable on the bowl.
- Replace accessories: If you removed any accessories during the installation process, such as water supply caps or tank covers, make sure to put them back in their proper places.
By following these final steps to test the functionality of the newly installed toilet seat and adding the finishing touches, you can be confident that your bathroom fixture is ready for use. Remember, proper installation and maintenance are essential for longevity and optimal performance of your toilet seat. Enjoy your newly upgraded bathroom experience!
Bonus Tips And Troubleshooting
In addition to knowing how to install a new toilet seat, it’s important to have some additional tips and troubleshooting knowledge to ensure your toilet seat remains in top condition. Here are some helpful insights to help you maintain and address common issues with toilet seats.
Additional Tips for Maintaining Toilet Seats
Maintaining your toilet seat properly can increase its lifespan and prevent potential problems. Here are some additional tips to help you keep your toilet seat in great shape:
- Regularly clean your toilet seat with mild soap and water, avoiding abrasive cleaners that can damage the surface.
- Avoid using harsh chemicals or bleach on your toilet seat as they can cause discoloration or deterioration over time.
- Check the tightness of the seat’s bolts and nuts periodically, and retighten if necessary, to prevent wobbling or shifting.
- If your toilet seat is made of plastic, avoid placing heavy objects on it as this can lead to cracking or breaking.
- Consider using seat covers or protective films to prevent scratches or stains on your toilet seat.
Troubleshooting Common Issues with Toilet Seats
Despite regular maintenance, you may encounter some common issues with your toilet seat. Here’s how you can troubleshoot and fix them:
- If your toilet seat is loose or wobbly, tighten the bolts that secure it to the toilet bowl using a wrench. Ensure they are adequately tightened, but be cautious not to over-tighten and crack the seat.
- If your toilet seat keeps shifting from side to side, consider using rubber pads or adhesive bumpers on the underside of the seat to provide better stability.
- If your toilet seat has stains or discoloration, use a non-abrasive cleaner specifically formulated for toilet surfaces. Alternatively, you can create a mixture of baking soda and water to gently scrub away the stains.
- If your toilet seat is cracked or broken, it will likely need to be replaced. Purchase a new toilet seat that matches the shape and size of your toilet bowl, following the installation steps mentioned earlier.
- In case your toilet seat is constantly shifting or keeps coming loose, it may be a sign of a damaged or worn-out hinge. In such cases, consider replacing the hinges to secure the seat properly.
By following these additional tips and troubleshooting advice, you can ensure your toilet seat remains comfortable, stable, and in good condition for years to come.
Frequently Asked Questions
Answers to Common Questions about Installing and Maintaining Toilet Seats
Frequently asked questions about installing and maintaining toilet seats can often arise when undertaking this DIY project. Whether you are a seasoned DIY enthusiast or a beginner, it’s always helpful to have answers to common questions at your fingertips. Here, we provide quick and practical responses to the most commonly asked questions about toilet seat installation and maintenance.
Can I Install a New Toilet Seat on My Own?
Absolutely! Installing a new toilet seat is a fairly straightforward process that can be tackled by anyone with basic DIY skills. You don’t need to hire a professional plumber for this task. With a few simple tools and the right instructions, you can have your new toilet seat securely installed in no time.
What Tools Do I Need for Toilet Seat Installation?
The tools required for toilet seat installation are usually minimal and can be found in most household toolkits. Here’s a list of the basic tools you’ll need:
| Tool | Function |
|---|---|
| Screwdriver | To remove the old seat and tighten the bolts on the new one |
| Pliers | To hold the nuts while adjusting the bolts |
| Adjustable Wrench | To tighten the nuts securely |
How Do I Remove the Old Toilet Seat?
To remove the old toilet seat, follow these simple steps:
- Locate the two bolts attaching the seat to the bowl at the back of the toilet.
- Using a screwdriver, unscrew the nuts that are securing the bolts.
- Lift the old seat straight up off the bolts and remove it.
How Do I Install the New Toilet Seat?
Installing a new toilet seat involves these steps:
- Align the bolt holes on the new seat with the holes in the toilet bowl.
- Insert the bolts into the holes and secure them with the nuts provided.
- Tighten the nuts until they are snug, but be careful not to overtighten, as it may damage the seat or toilet.
- Close the seat and check if it sits evenly on the bowl.
How Do I Maintain and Clean a Toilet Seat?
To keep your toilet seat clean and well-maintained, follow these tips:
- Regularly clean the seat with a mild soap or cleaner and a soft cloth or sponge.
- Avoid using abrasive cleaners or scrub brushes, as they can scratch the surface.
- Wipe off any spills or stains promptly to prevent discoloration.
- Inspect the seat and tightening bolts periodically to ensure they remain secure.
By following these simple steps and answering these commonly asked questions, you can confidently install and maintain your new toilet seat without any hassle. Remember, proper installation and regular maintenance will ensure a comfortable and hygienic bathroom experience for years to come.
Frequently Asked Questions
Do All Toilet Seats Attach The Same?
Toilet seats do not all attach the same way. Different toilet models can use different attachment methods, such as bolts, hinges, or snap-on mechanisms. It’s important to check the manufacturer’s instructions for proper installation.
How Do You Remove And Replace A Toilet Seat?
To remove and replace a toilet seat, follow these steps: 1. Locate the plastic caps on the hinges at the back of the toilet seat, and pop them off. 2. Using a screwdriver, unscrew the nuts from the bolts under the toilet seat.
3. Lift the seat and remove it completely. 4. To install the new seat, align the holes of the seat with the bolts. 5. Secure the nuts tightly with the screwdriver. Done!
How Do You Replace A Hidden Bolt On A Toilet Seat?
To replace a hidden bolt on a toilet seat, locate the access holes beneath the seat and insert a screwdriver or pliers. Rotate counterclockwise to loosen, then lift the seat to access the underside. Unscrew the hidden bolt, remove the old seat, and replace it with the new one.
Tighten the bolt securely and ensure proper alignment.
How Toilet Seats Are Installed?
To install a toilet seat, start by removing the old seat and cleaning the area thoroughly. Then, place the new seat on the toilet bowl and align it with the holes. Secure the seat using the provided nuts and bolts, making sure it is tight and stable.
Finally, test the seat by sitting on it to ensure proper installation.
Conclusion
Installing a new toilet seat can be a simple and cost-effective way to freshen up your bathroom. By following these easy steps, you can achieve a successful installation without any hassle. Remember to choose the right size and style of toilet seat, gather the necessary tools, and carefully remove the old seat.
Then, align and attach the new seat, ensuring it is secure. With these tips, your bathroom will have a brand new look in no time!
