To install a handheld shower head, first, you need to remove the existing shower head by unscrewing it from the shower arm. Then, wrap plumber’s tape around the threads of the shower arm to prevent leaks, and screw on the handheld shower head by hand until it’s tight.
Introducing a handheld shower head to your bathroom can greatly enhance your bathing experience. Whether you want the convenience of being able to direct the water flow or you have specific mobility needs, installing a handheld shower head is a relatively simple process that you can do yourself.
In this guide, we will walk you through the step-by-step instructions to install a handheld shower head in your bathroom. By following these easy steps, you’ll be able to enjoy the flexibility and comfort that a handheld shower head provides in no time.
Factors To Consider When Selecting A Handheld Shower Head
When it comes to selecting a handheld shower head, there are several factors that you need to consider in order to find the perfect match for your needs. To make the right choice, it’s important to take into account factors such as water pressure compatibility, spray patterns and functions, and material durability. By keeping these factors in mind, you can ensure that you select a handheld shower head that not only meets your preferences, but also provides a satisfying shower experience.
Water Pressure Compatibility
One of the first things to consider when selecting a handheld shower head is its compatibility with your water pressure. It’s important to choose a shower head that is designed to work well with the water pressure in your home. If you have low water pressure, you’ll want to look for a shower head that is specifically designed to increase water flow and provide a strong and invigorating shower. On the other hand, if you have high water pressure, you’ll want to select a shower head that has features to control and regulate the water flow to ensure a comfortable and enjoyable shower.
Spray Patterns and Functions
Spray patterns and functions are another important factor to consider when selecting a handheld shower head. Different shower heads offer various spray patterns and functions to suit individual preferences. Some common spray patterns include rain, massage, mist, and waterfall. Additionally, some shower heads may have adjustable settings that allow you to control the intensity and direction of the water flow. Consider your personal preferences and desired shower experience when choosing a shower head with the right spray patterns and functions.
Material and Durability
The material and durability of a handheld shower head are crucial aspects to keep in mind. Ideally, you’ll want a shower head that is made from high-quality materials that are long-lasting and resistant to rust or corrosion. Stainless steel or chrome-plated shower heads tend to be both durable and visually appealing, while plastic shower heads can be a more budget-friendly option. Additionally, consider if the shower head comes with a warranty, as this can be a good indication of its durability and the manufacturer’s confidence in the product.
By considering factors such as water pressure compatibility, spray patterns and functions, and material durability, you can make an informed decision when selecting a handheld shower head. Remember, finding the right shower head for your needs can greatly enhance your shower experience and provide you with the refreshing and invigorating showers you deserve.
Essential Tools For Installation
When it comes to installing a handheld shower head, having the right tools is essential to ensure a smooth and successful installation process. Having the appropriate tools not only makes the task easier but also helps prevent any unnecessary damage or complications. In this section, we will discuss the essential tools you need to have on hand to install a handheld shower head.
Adjustable Wrench
An adjustable wrench is a must-have tool for installing a handheld shower head. It is used to tighten and loosen various fittings and connections. The adjustable wrench allows you to easily grip and turn nuts and bolts of different sizes, making it highly versatile for this installation process. Ensure that the wrench is of good quality and properly adjusted to fit the size of the fittings you will be working with.
Pipe Tape
Pipe tape, also known as plumber’s tape or PTFE tape, is an essential tool for creating watertight seals in threaded connections. This thin, white tape is wrapped around the threads of pipes and fittings to prevent leaking. It provides an effective barrier that helps ensure a tight and secure connection. Remember to wrap the tape in a clockwise direction to prevent it from unraveling during the installation process.
Screwdriver
A screwdriver is another essential tool you will need for installing a handheld shower head. It is used to remove and tighten screws that hold various parts together. Depending on the shower head model, you may need either a flat-head or Phillips screwdriver. Make sure you have the appropriate screwdriver size and type to avoid damaging the screw heads.
Pliers
Pliers are versatile tools that can be incredibly useful during the installation of a handheld shower head. They are used for gripping, bending, and tightening various components. Pliers come in different types, including slip-joint pliers and adjustable pliers. It is recommended to have adjustable pliers on hand as they allow you to adjust the grip according to your needs.
By having these essential tools, such as an adjustable wrench, pipe tape, screwdriver, and pliers, you will be well-prepared to install a handheld shower head. Remember to use the appropriate tools for each step of the installation process to ensure a secure and leak-free installation.
Prepare The Shower Area
To install a handheld shower head, you need to start by preparing the shower area. This involves a few simple steps to ensure a smooth installation process. In this section, we will discuss how to turn off the water supply, remove the old shower head, and clean the shower arm.
Turn off the Water Supply
The first step in preparing the shower area is to turn off the water supply. This is important to prevent any water leakage during the installation process. Follow these steps to turn off the water:
- Locate the shut-off valve for your shower. This is usually located near the water pipes in the wall behind your shower.
- Turn the valve clockwise to shut off the water flow. Ensure that the valve is completely closed.
Remove the Old Shower Head
Once the water supply is turned off, you can proceed to remove the old shower head. Follow these steps to safely remove it:
- Gently twist the old shower head counterclockwise to loosen it from the shower arm.
- If the shower head is stuck, use a pair of pliers to provide additional grip and carefully loosen it.
- Once the shower head is loose, continue twisting it until it is completely detached from the shower arm.
Clean the Shower Arm
After removing the old shower head, it’s important to clean the shower arm before installing the new handheld shower head. Follow these steps to ensure a clean surface:
- Inspect the shower arm for any debris or mineral deposits.
- If there is any buildup, use a cloth or sponge to scrub the surface of the shower arm.
- Rinse the shower arm with water to remove any residue.
By following these steps to prepare the shower area, you will be ready to install your new handheld shower head. The next section will guide you through the installation process in detail.
Install The Shower Head Holder
Installing a handheld shower head can provide you with added convenience and flexibility in your daily shower routine. One important step in the installation process is securing the shower head holder to the wall. This ensures that your shower head is properly supported and easily accessible. Follow these steps to install the shower head holder:
Determine Placement
Before attaching the holder to the shower wall, you need to determine the ideal placement for your handheld shower head. Consider the height and accessibility that will work best for you. Keep in mind that the holder should be positioned within reach of both adults and children, allowing for comfortable use by everyone in your household. Once you have decided on the placement, you can proceed to attach the holder.
Attach the Holder to the Shower Wall
To attach the shower head holder to the shower wall, follow these simple steps:
- Start by removing any existing shower head or old holder that may be in place. This will give you a clean surface to work with.
- Position the holder at the desired location on the wall and use a pencil to mark the mounting holes.
- Drill the necessary holes according to the size of the mounting bracket or screws provided with the holder.
- Insert plastic anchors into the drilled holes to provide extra support for the holder.
- Line up the mounting bracket with the drilled holes and use screws or other fasteners to secure it to the wall.
- Ensure that the holder is level and securely attached to the wall.
Ensure Sturdiness and Stability
Once the shower head holder is in place, it is important to ensure that it is sturdy and stable. This will prevent any accidents or damage caused by a loose or wobbly holder. Here are some tips to ensure sturdiness:
- Test the holder by gently pulling on it to check for any movement or instability.
- If the holder feels loose, tighten the screws or fasteners to secure it further.
- Consider using adhesive strips or glue for added stability, especially if the wall surface is not suitable for drilling.
- Double-check the installation to make sure the holder can handle the weight and movement of the handheld shower head.
By following these steps and ensuring the sturdiness and stability of the shower head holder, you can enjoy a secure and convenient showering experience with your new handheld shower head.
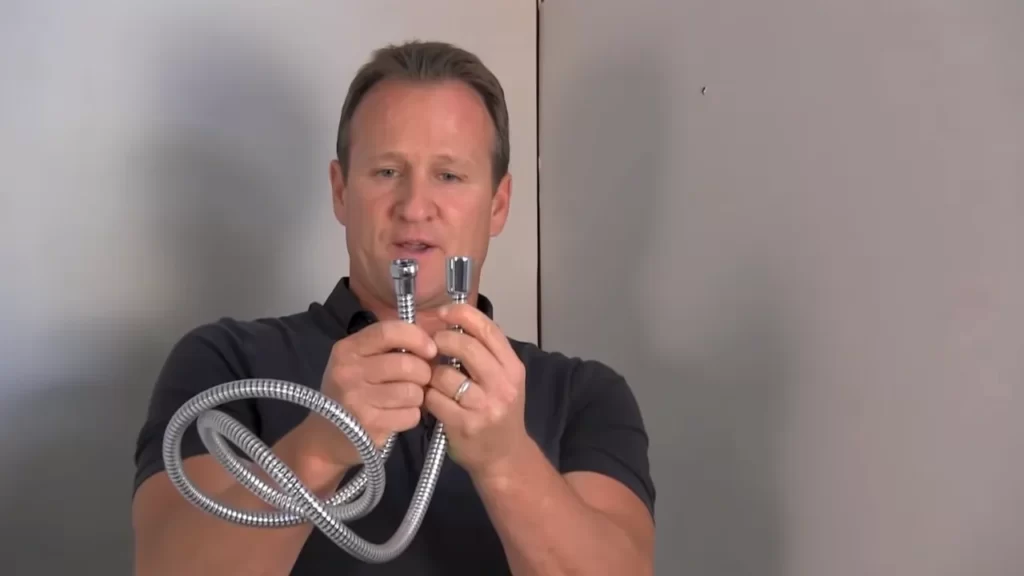
Connect The Shower Hose
Connecting the shower hose is the next step in installing a handheld shower head. This is an important part of the process as it allows the water to flow from the shower arm to the handheld shower head. Follow these simple steps to ensure a secure and leak-free connection:
Apply Pipe Tape to the Shower Arm
The first step to connect the shower hose is to apply pipe tape to the shower arm. Pipe tape, also known as plumber’s tape or Teflon tape, is a thin white tape that helps create a watertight seal. Here’s how you can apply pipe tape to the shower arm:
- Start by wrapping the pipe tape clockwise around the threads of the shower arm.
- Ensure that the tape is tightly wrapped around the entire length of the threads.
- Make sure that there are no gaps or overlaps in the tape.
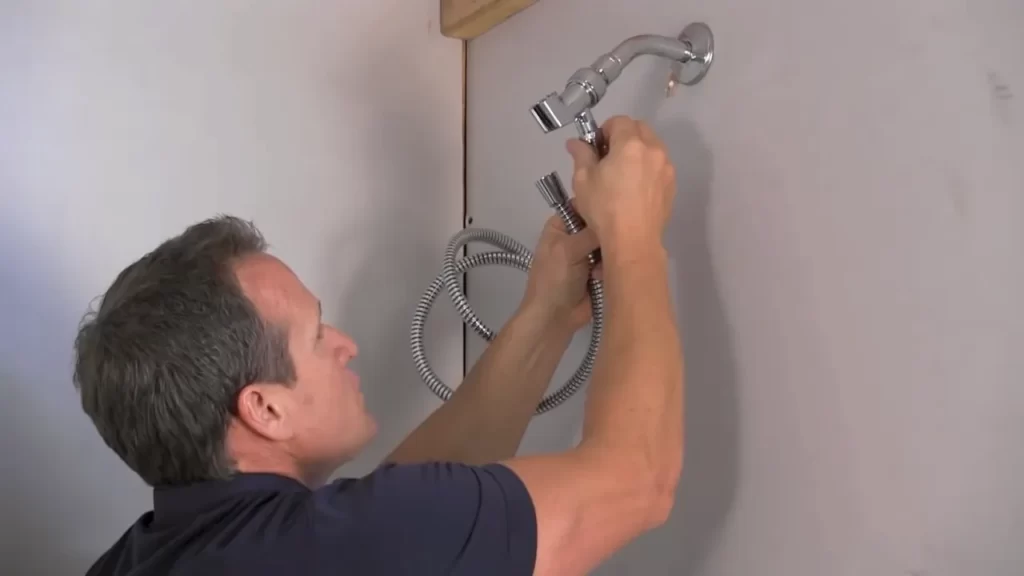
Connect the Hose to the Shower Arm
Once the pipe tape is applied, it’s time to connect the hose to the shower arm. The hose is usually equipped with a handheld shower head on one end and a connector on the other end. Here’s how you can connect the hose:
- Start by screwing the connector end of the hose onto the threaded end of the shower arm.
- Ensure that the hose is securely attached and does not wobble or move when pressure is applied.
- Check for any visible gaps or leaks between the hose and the shower arm.
Hand Tighten the Connection
After connecting the hose to the shower arm, it’s important to hand tighten the connection to ensure a proper seal. Here’s how you can hand tighten the connection:
- Hold onto the shower arm with one hand to stabilize it.
- Using your other hand, grip the connector end of the hose and turn it clockwise to tighten the connection.
- Continue turning until the connection feels secure and snug.
It’s important not to overtighten the connection as this can lead to damage to the threads or cause leaks.
By following these steps, you can effectively connect the shower hose to the shower arm, ensuring a secure and leak-free installation of your handheld shower head.
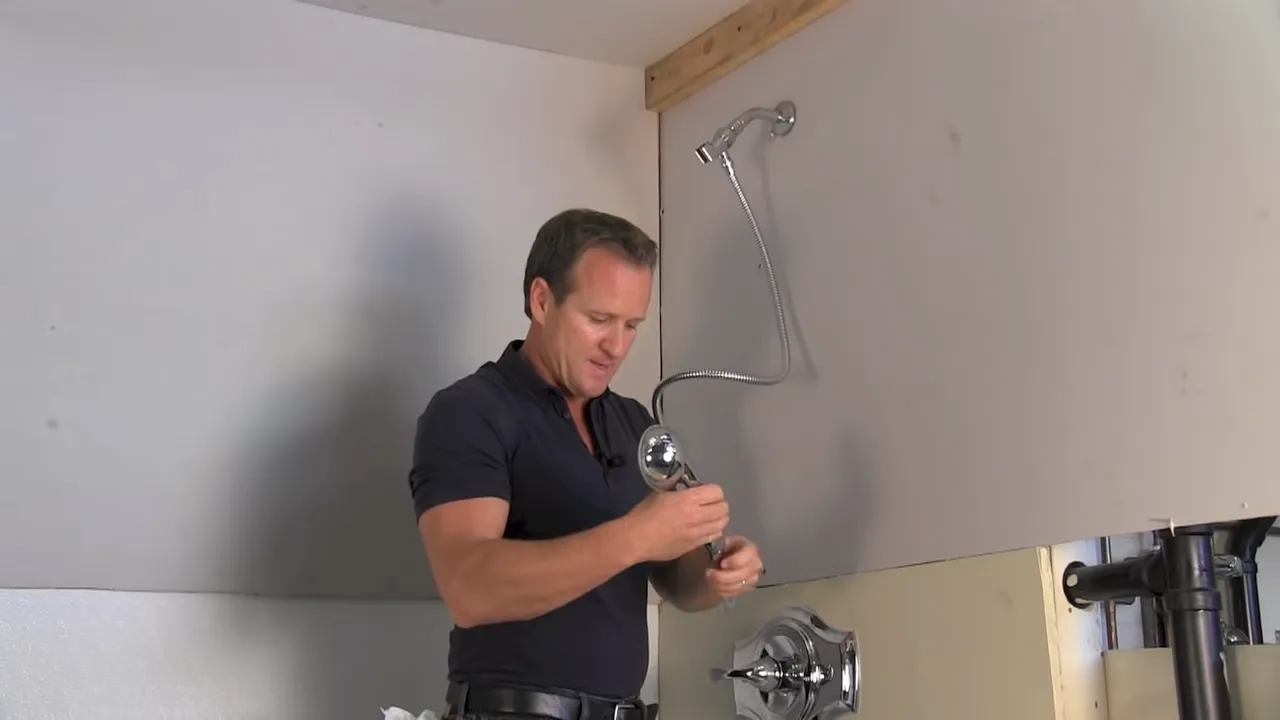
Attach The Handheld Shower Head
Attaching the handheld shower head is a simple process that can be done in just a few steps. Follow these instructions to ensure a secure and leak-free connection:
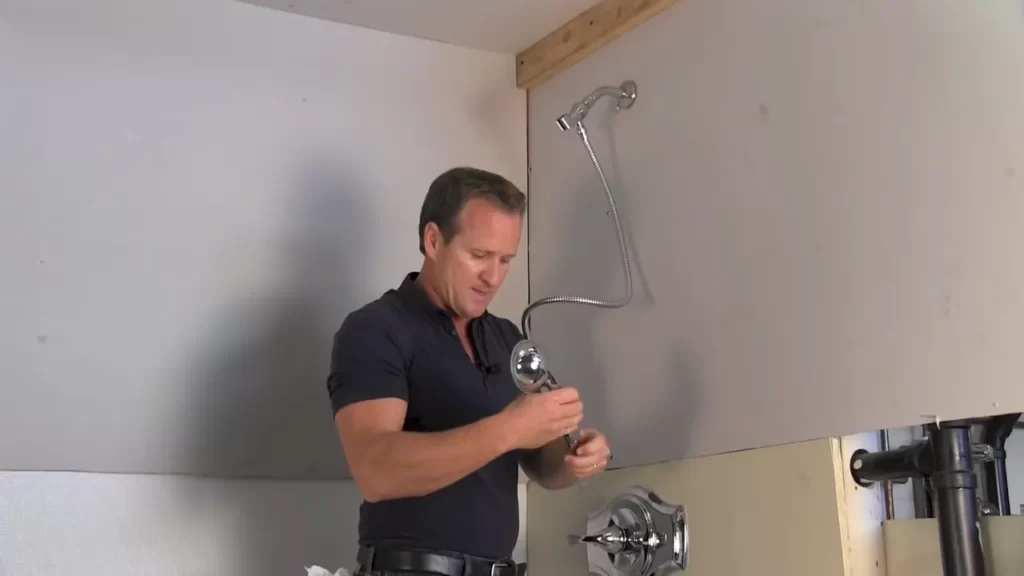
Insert the Shower Head into the Holder
Begin by inserting the shower head into its holder, which is usually located on the shower wall. The holder often consists of a bracket or mount with a cylindrical opening where the shower head is inserted. Align the shower head with the opening and gently push it in until it clicks into place. Ensure that it is securely held in the holder and does not wobble or move around.
Test the Connection for Leaks
Once the shower head is securely attached, it is important to test the connection for any leaks. Turn on the water and observe if water is leaking from the connection between the shower head and the holder. If there are any leaks, tighten the connection further using your hands or a wrench if necessary. It’s crucial to eliminate leaks as they can lead to water wastage and potential damage to your bathroom.
Adjust the Angle and Height
After attaching the handheld shower head, it’s essential to adjust the angle and height for optimal use. Most shower heads have adjustable features that allow you to change the angle and position of the water flow. Experiment with different adjustments until you find a position that suits your preferences. Make sure the shower head is at a comfortable height, so it is easy to reach and use.
Installing a handheld shower head can greatly enhance your bathing experience, providing you with flexibility and convenience. By carefully attaching the shower head, testing for leaks, and adjusting the angle and height, you can enjoy the benefits of a handheld shower head in no time.
Use Pipe Tape To Prevent Leaks
When it comes to installing a handheld shower head, one crucial step in ensuring a leak-free connection is to use pipe tape. Pipe tape, also known as plumber’s tape or Teflon tape, is a thin, flexible tape that helps create a tight seal between threaded connections. By using pipe tape properly, you can prevent any potential leaks and make your showering experience enjoyable and hassle-free. In this section, we will guide you through the process of wrapping the threads properly and tightening the connection securely.
Wrap the Threads Properly
The first step in using pipe tape to prevent leaks is to wrap the threads of the shower head and the shower arm with the tape. To ensure a proper, leak-free seal, follow these steps:
- Start by cleaning the threads of both the shower head and the shower arm using a clean, dry cloth. This will remove any dirt or debris that could interfere with the tape’s effectiveness.
- Take the pipe tape and hold it at the end of the shower arm’s threaded portion. Wrap the tape around the threads in a clockwise direction. Be sure to apply slight tension to the tape as you wrap it, allowing it to conform to the shape of the threads.
- Continue wrapping the tape around the threads, overlapping each layer by about half. Aim for at least three to four layers of tape to ensure a tight seal.
- Once you have wrapped the threads, tear the tape off cleanly and press it firmly against the threads to secure it in place.
Tighten the Connection Securely
After wrapping the threads properly, it’s time to tighten the connection securely. This step is crucial to prevent any leaks and ensure a stable shower head installation. Follow these tips to achieve a tight connection:
- Gently hand-tighten the shower head onto the shower arm until it is snugly in place.
- Using an adjustable wrench or pliers, carefully tighten the connection by turning it in a clockwise direction. Be cautious not to overtighten, as this can damage the shower head or the shower arm.
- Once you feel resistance, give the connection an additional quarter turn to ensure a secure fit.
- Check for any signs of leakage by turning on the water and observing the connection. If you notice any leaks, gently tighten the connection a bit more until the leaks stop.
By following these steps and using pipe tape properly, you can install your handheld shower head with confidence, knowing that you have taken the necessary precautions to prevent leaks. So go ahead, enjoy your refreshing showers without worrying about water seeping out of the connection!
Regularly Clean And Maintain Your Handheld Shower Head
Regularly Clean and Maintain Your Handheld Shower Head
Regular cleaning and maintenance of your handheld shower head is essential to ensure optimal performance and extend its lifespan. Over time, mineral build-up and blockages can occur, affecting water flow and quality. By following these simple steps, you can keep your handheld shower head sparkling clean and functioning at its best.
Remove Mineral Build-up
To remove mineral build-up from your handheld shower head, you’ll need a few basic supplies:
- Vinegar
- Water
- A plastic bag or a bucket
- An old toothbrush
Follow these steps to remove mineral build-up:
- Fill the plastic bag or bucket with equal parts vinegar and water.
- Submerge the handheld shower head in the mixture, making sure it is fully covered.
- Allow the shower head to soak for about 30 minutes.
- After soaking, use the old toothbrush to scrub away any remaining residue.
- Rinse the shower head thoroughly with water.
Check for Blockages
Blockages can hinder the water flow in your handheld shower head. To check for blockages, follow these steps:
- Remove the handheld shower head from its holder.
- Inspect the water holes in the shower head for any dirt or debris.
- If you notice any blockages, use a pin or toothpick to gently remove the dirt or debris from the water holes.
- Once cleared, rinse the shower head thoroughly with water to ensure all blockages are removed.
Replace the Filter as Needed
Handheld shower heads often come with filters that help purify the water and remove impurities. Over time, these filters can become clogged and less effective.
To replace the filter:
- Refer to the manufacturer’s instructions to locate the filter.
- Remove the old filter from the shower head.
- Insert the new filter according to the manufacturer’s instructions.
- Ensure the filter is securely in place and tightly sealed.
By regularly cleaning and maintaining your handheld shower head, you can enjoy a refreshing and uninterrupted showering experience. Implementing these simple steps will help keep your shower head in excellent condition, ensuring a steady flow of water and a rejuvenating shower every time.
Frequently Asked Questions
Can I Add A Handheld Shower Head To My Existing Shower Head?
Yes, you can easily add a handheld shower head to your existing shower head. It provides added flexibility and convenience for adjusting the water flow and directing it to specific areas. Simply detach the existing shower head, attach an adjustable shower arm, and connect the handheld shower head.
How Do You Install A Shower Head With A Hose?
To install a shower head with a hose, follow these steps: 1. Remove the old shower head by twisting it counterclockwise. 2. Apply plumber’s tape on the threads of the shower arm. 3. Attach the hose to the shower arm by twisting it clockwise.
4. Connect the other end of the hose to the shower head. 5. Tighten all connections by hand, ensuring they are snug.
Where Is The Best Place To Put A Handheld Shower Head?
The best place to install a handheld shower head is at a convenient height for the user, typically around chest or shoulder level. This allows for easy use and maneuverability while showering.
Can You Install A Shower Head Yourself?
Yes, you can install a shower head yourself. It is a straightforward process that you can do without professional help. Simply follow the instructions provided with the shower head and use basic tools to complete the installation.
Conclusion
Installing a handheld shower head is a simple and effective way to enhance your daily shower experience. By following the steps outlined in this guide, you can easily upgrade your bathroom without the need for professional help. From choosing the right handheld shower head to securing a leak-proof installation, this process can be completed in no time.
So why wait? Start enjoying the benefits of a handheld shower head today!