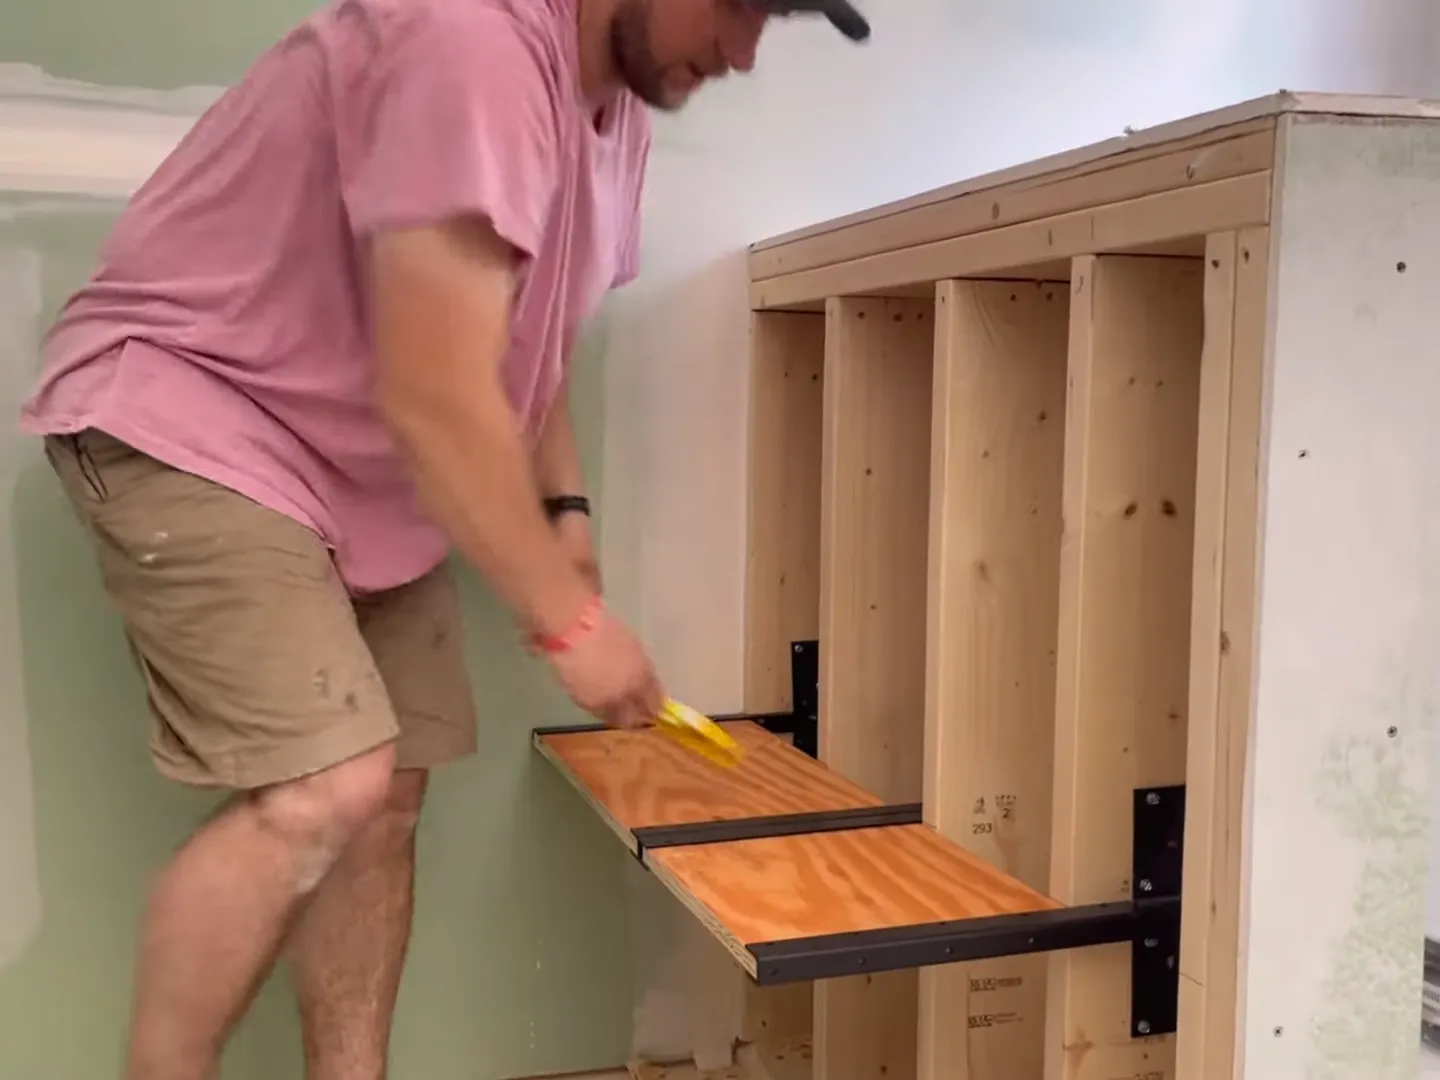
To install a floating granite shower seat, follow these steps: measure the area, prepare the surface, attach the mounting brackets, secure the granite seat, and seal any gaps. Installing a floating granite shower seat can add comfort and elegance to your bathroom.
With its sleek design and durability, a floating granite seat can enhance the overall appearance and functionality of your shower. However, proper installation is crucial to ensure its stability and longevity. In this guide, we will provide you with easy-to-follow steps to install a floating granite shower seat.
By following these steps, you can transform your shower experience and create a stylish and functional space in your bathroom. Read on to learn more about the installation process and bring your bathroom upgrade to life.
Preparing The Shower Area
Preparing the shower area is the crucial first step when installing a floating granite shower seat. This ensures that the seat is securely placed and properly fits into the space. In this section, we will guide you through the process of assessing the bathroom space, choosing the right location for the seat, and measuring the ideal dimensions for the seat.
Assessing the Bathroom Space
Before starting the installation, it’s important to assess the bathroom space to determine if it’s suitable for a floating granite shower seat. Take note of the size and layout of the shower area, as well as any existing fixtures such as showerheads and grab bars. Assessing the bathroom space will help you determine if there is enough room for the seat and ensure that it doesn’t interfere with other bathroom fixtures.
Choosing the Right Location for the Seat
Once you have assessed the bathroom space, the next step is to choose the right location for the floating granite shower seat. Consider factors such as accessibility and comfort when determining the location. The seat should be placed within reach of shower controls and grab bars if needed. Additionally, make sure the seat is positioned in a way that allows for proper drainage and doesn’t obstruct the shower area.
Measuring the Ideal Dimensions for the Seat
Accurate measurements are essential for ensuring that the floating granite shower seat fits perfectly in the designated space. Begin by measuring the width and depth of the shower area where you plan to install the seat. It’s important to leave enough clearance space for comfortable seating. Measure the height of the seat as well, taking into consideration the user’s preference and any specific needs they may have.
Once you have acquired the measurements, refer to the product specifications provided by the manufacturer to determine the exact dimensions required for the floating granite shower seat. This will help ensure that the seat fits seamlessly into the shower area and provides optimal comfort.
Gathering The Necessary Tools And Materials
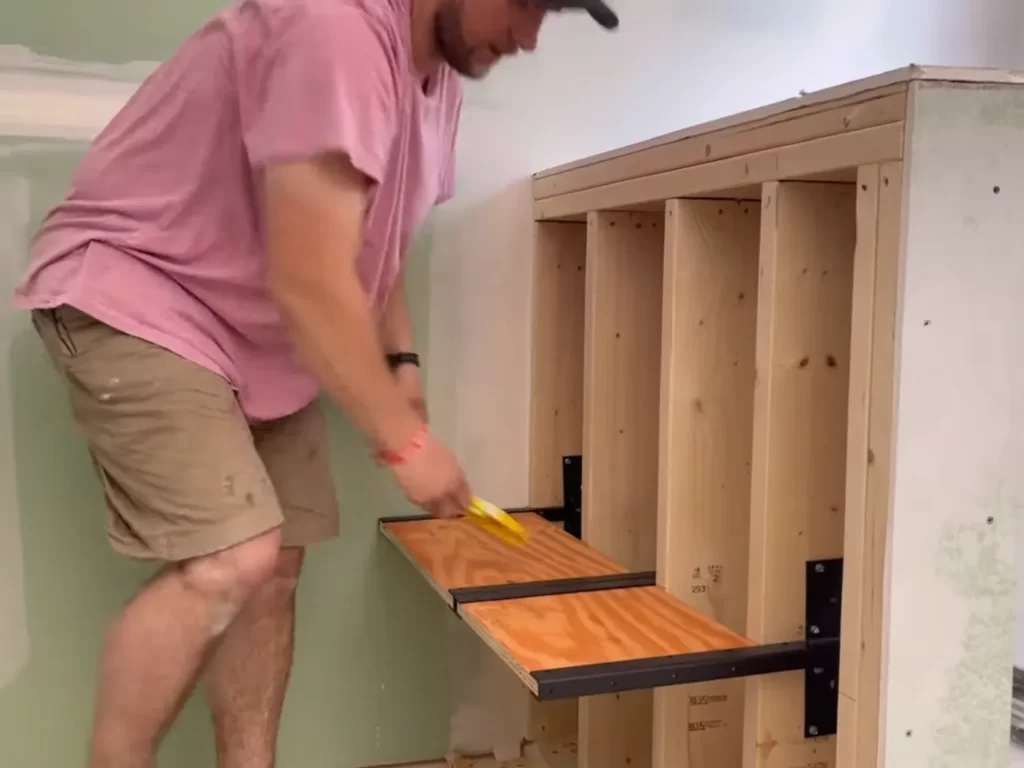
Before you start installing a floating granite shower seat, it is crucial to gather all the essential tools and materials you will need for the project. Having everything ready beforehand will make the installation process smoother and more efficient. Below, we have provided a comprehensive list of the tools and materials you will need to complete the installation successfully.
Essential Tools
These are the tools that are necessary for the installation of a floating granite shower seat:
- Measuring tape
- Pencil or marker
- Level
- Power drill
- Drill bits
- Screwdriver
- Adjustable wrench
- Hammer
- Chisel
- Tile saw
- Grout float
- Grout sponge
Required Materials for Installation
These are the materials you will need to install a floating granite shower seat:
- Floating granite shower seat
- Wallboard or cement board
- Construction adhesive
- Screws
- Tile
- Grout
- Tile spacers
- Waterproof membrane
- Sealer
Installing The Support Structure
When it comes to installing a floating granite shower seat, one of the most crucial steps is setting up the support structure. The support structure ensures that the seat is securely anchored to the bathroom wall, providing stability and durability. In this section, we will guide you through the process of installing the support structure, which includes determining the support system, marking the areas for support, installing the wall brackets, and ensuring proper alignment and leveling.
Determining the Support System
To determine the support system for your floating granite shower seat, you need to consider factors such as the weight capacity of the seat, the size and layout of your shower, and any specific installation requirements provided by the manufacturer. Generally, a combination of wall brackets and support legs is used to create a sturdy support structure.
Marking the Areas for Support
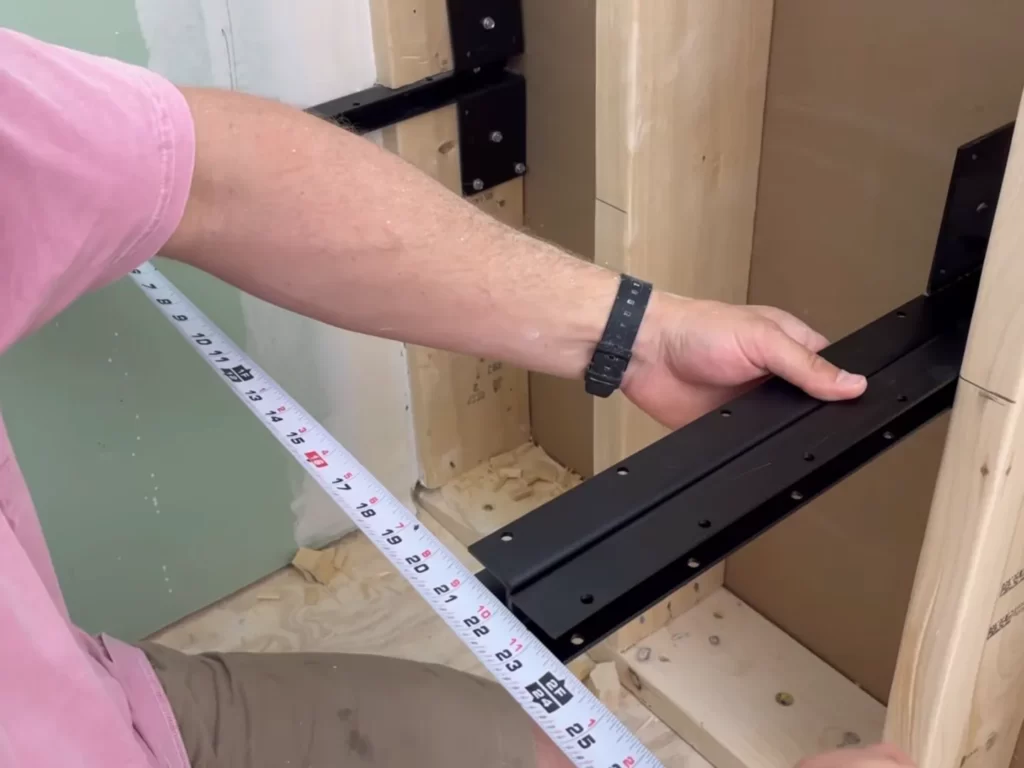
Once you have determined the support system, the next step is to mark the areas on the wall where the support brackets will be installed. Using a tape measure and a level, carefully measure and mark the desired height and position of the brackets. Make sure to take into account the overall height and comfort of the seat when marking the areas for support.
Installing the Wall Brackets
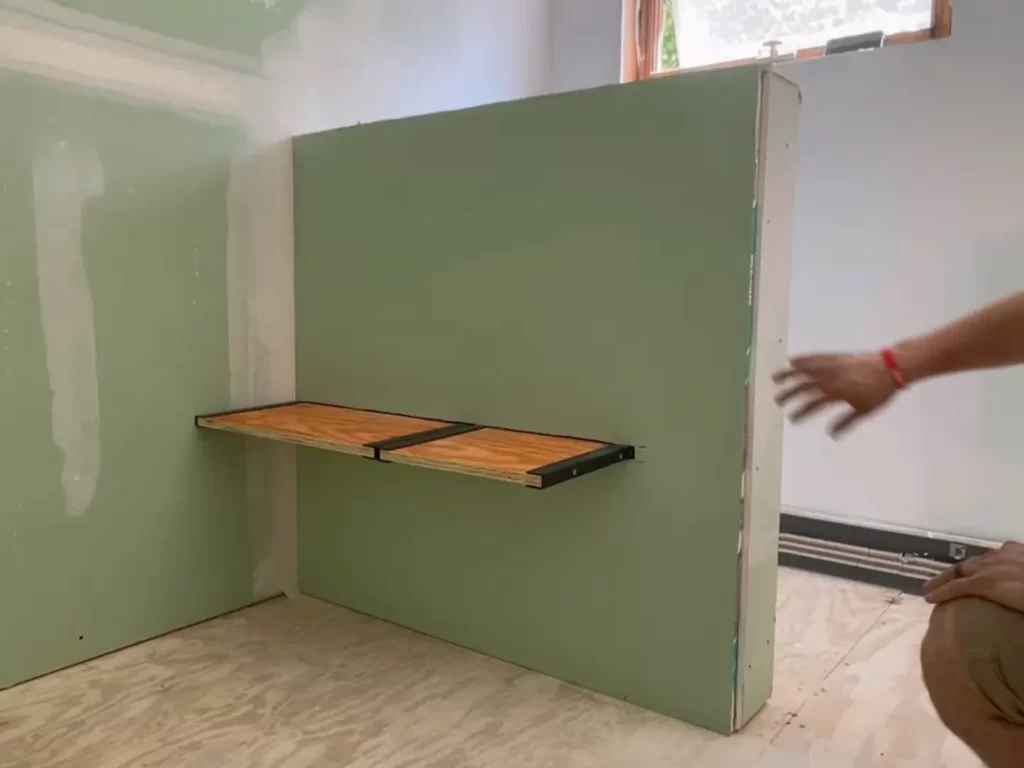
After marking the areas for support, it’s time to install the wall brackets. Start by drilling pilot holes at the marked positions using the appropriate drill bit. Then, attach the brackets securely to the wall using screws, ensuring that they are level and align with the marked positions. It’s important to follow the manufacturer’s instructions and use the recommended hardware for installation to ensure the brackets can support the weight of the granite seat.
Ensuring Proper Alignment and Leveling
Once the wall brackets are installed, it’s crucial to check for proper alignment and leveling. Use a level to ensure that the brackets are straight and in line with each other. Additionally, place a level on top of the brackets to verify that they are level horizontally. Adjust the brackets as necessary to achieve proper alignment and leveling.
With the support structure properly installed, you have laid a solid foundation for your floating granite shower seat. In the next section, we will guide you through the exciting process of installing the granite seat onto the support structure.
Securing The Granite Seat
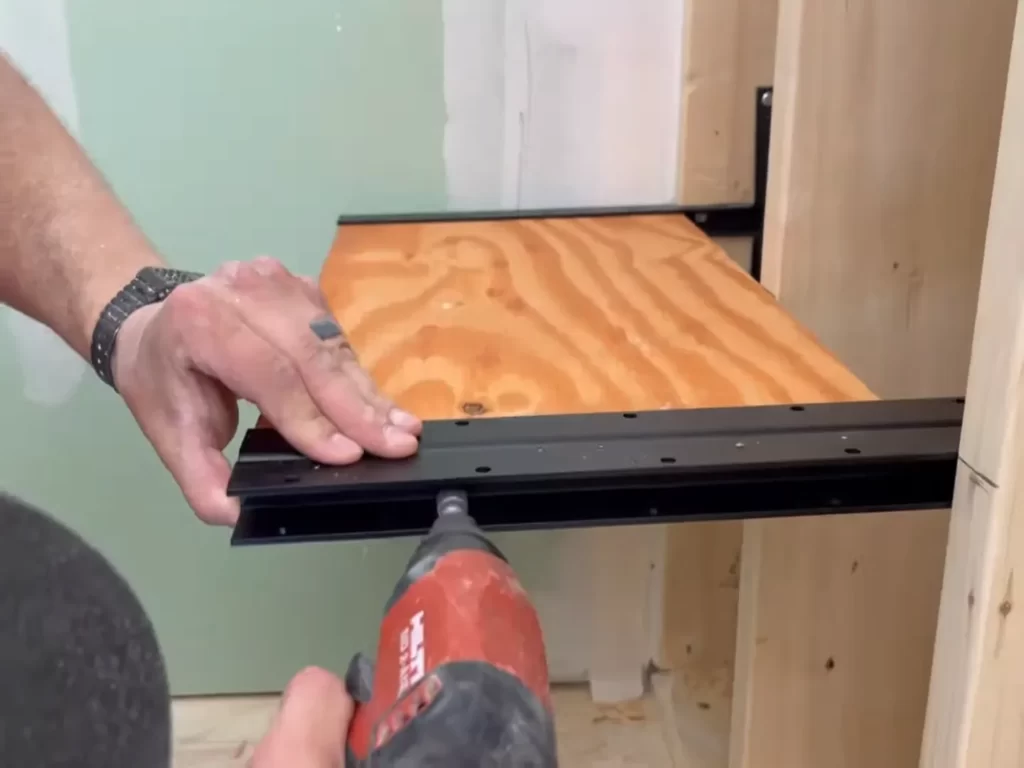
Securing the granite seat is a crucial step in the installation process, as it ensures the longevity and stability of your floating granite shower seat. This section will guide you through the steps to securely install the granite seat, covering everything from selecting the right granite slab to testing its stability.
Selecting the Granite Slab
When selecting the granite slab for your shower seat, it’s important to consider both its aesthetic appeal and durability. Look for a slab that matches your bathroom style and complements the overall design. Additionally, choose a granite slab that is sturdy enough to support the weight of the seat and withstand the moisture in the shower area.
Preparing the Granite Slab
Prior to installing the granite seat, it’s essential to properly prepare the slab. Start by cleaning the surface of the granite with a mild soap and warm water to remove any dust, dirt, or debris. Rinse thoroughly and dry the slab completely using a lint-free cloth.
Applying the Adhesive
Next, it’s time to apply the adhesive that will securely attach the granite seat to the shower wall. Using a waterproof adhesive suitable for granite, carefully follow the manufacturer’s instructions for application. Apply the adhesive evenly and ensure that it covers the entire surface that will come into contact with the wall.
Placing the Granite Seat
Place the prepared granite seat onto the adhesive, aligning it with the desired position on the shower wall. Apply gentle pressure to ensure that the seat is securely attached to the wall. Use a level to check that the seat is perfectly horizontal, making any adjustments if needed.
Testing the Stability
Once the granite seat is in place, it’s essential to test its stability before using it. Gently apply pressure to different areas of the seat to check for any movement or instability. A stable seat should not wobble or move when pressure is applied. If you notice any instability, carefully remove the seat and reapply the adhesive, ensuring proper coverage and adherence to the wall.
Finishing Touches And Maintenance
After installing your floating granite shower seat, it’s important to focus on the finishing touches and maintenance to ensure its longevity and keep it looking its best. This section will guide you through three essential steps: sealing the granite surface, applying grout (if required), and cleaning and maintenance tips.
Sealing the Granite Surface
To protect your granite shower seat from stains and moisture damage, it’s crucial to seal the surface. Sealing creates a protective barrier that prevents liquids from penetrating the stone. Follow these steps to properly seal your granite shower seat:
- Ensure that the surface is clean and dry.
- Choose a high-quality granite sealer suitable for use in wet areas.
- Apply the sealer evenly with a clean cloth, following the manufacturer’s instructions.
- Allow the sealer to penetrate the granite for the recommended time.
- Wipe off any excess sealer using a clean, dry cloth.
By regularly sealing your granite shower seat, you’ll maintain its natural beauty and protect it from potential damage.
Applying Grout (If Required)
If gaps exist between the granite tiles on your shower seat, grouting can be necessary to fill those gaps and provide a finished look. Follow these steps to apply grout:
- Select a grout color that complements your granite shower seat.
- Mix the grout according to the manufacturer’s instructions, ensuring a smooth consistency.
- Using a grout float, apply the grout to the gaps between the tiles, pressing it firmly into the joints.
- Wipe off any excess grout using a damp sponge.
- Allow the grout to dry for the recommended time.
Applying grout will not only enhance the aesthetic appeal of your shower seat but also provide added stability to the installation.
Cleaning and Maintenance Tips
To maintain the pristine appearance of your floating granite shower seat, follow these tips for regular cleaning and maintenance:
- Wipe the surface daily with a soft, damp cloth to remove any soap scum or residue.
- Avoid using abrasive cleaners or harsh chemicals that can damage the granite surface.
- For difficult stains, use a non-abrasive granite cleaner and a soft brush.
- Dry the shower seat thoroughly after each use to prevent water spots.
- Periodically reseal the granite to maintain its protective coating.
By implementing these cleaning and maintenance practices, you can enjoy a beautiful, functional, and long-lasting floating granite shower seat.
Frequently Asked Questions
How Much Weight Does A Floating Shower Bench Hold?
A floating shower bench can typically hold up to 300-500 pounds of weight.
How Do You Support A Floating Bench?
To support a floating bench, you can use metal brackets or hidden mounting hardware that attach securely to the wall. Ensure the brackets or hardware are installed correctly and capable of holding the weight of the bench.
How Are Shower Seats Installed?
Shower seats are installed by following these steps: 1. Find a suitable location in the shower area. 2. Measure and mark the position for attaching the seat. 3. Use a drill to create holes for mounting. 4. Securely install the seat using screws.
5. Ensure it is stable and can support weight before use.
Can You Add A Shower Bench To An Existing Shower?
Yes, you can add a shower bench to an existing shower. It provides seating and convenience. Simply choose the desired bench, ensure it fits securely, and follow installation instructions. Enjoy a comfortable shower experience with the added functionality of a bench.
Conclusion
Installing a floating granite shower seat can be a straightforward and rewarding home improvement project. With the right tools and materials, proper measurements, and following a step-by-step guide, you can create a luxurious and functional addition to your shower. By choosing a floating seat, you ensure a sturdy and secure installation that adds both elegance and practicality to your bathroom.
So, why wait? Start transforming your shower into a spa-like oasis today!
