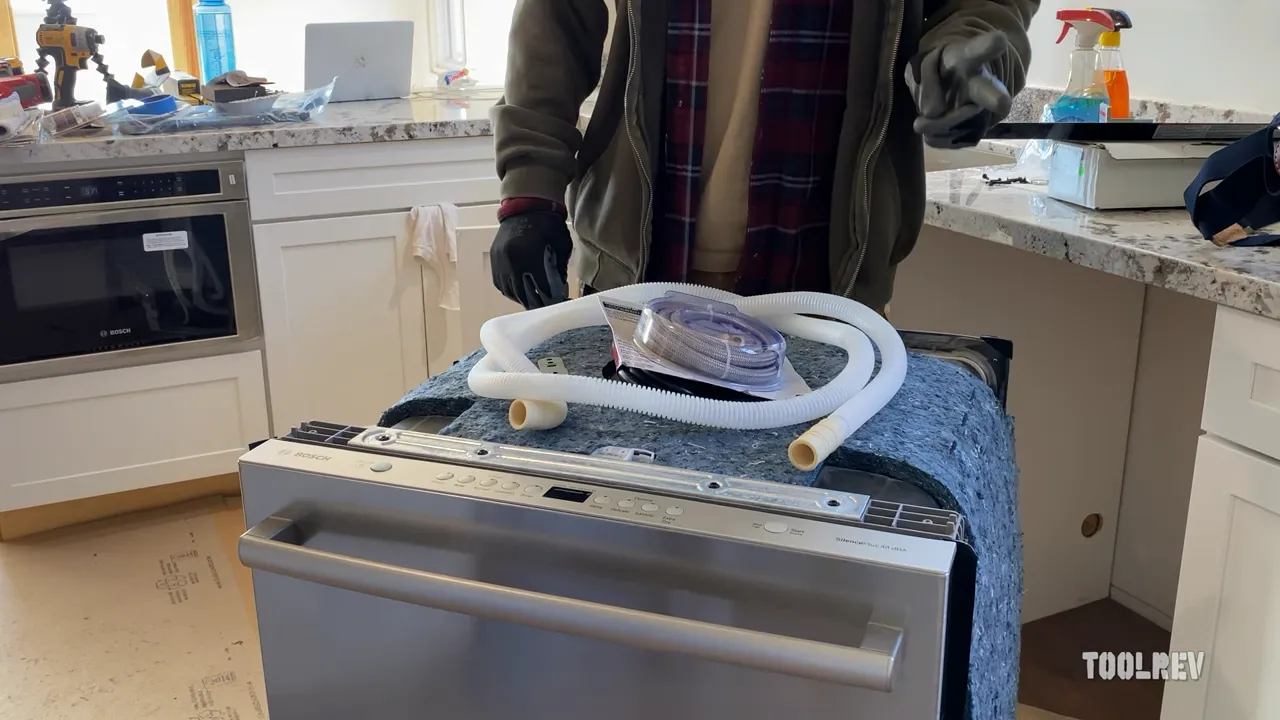
To install a dishwasher end panel, measure the height and width of the dishwasher, then cut the panel to fit using a circular saw or table saw. Paint or stain the panel to match the surrounding cabinetry, and attach it to the side of the dishwasher using adhesive or screws.
Understanding The Importance Of Dishwasher End Panels
When it comes to renovating or upgrading your kitchen, paying attention to the smallest details can make a big difference. One such detail that often goes unnoticed is the dishwasher end panel. While it may seem like a minor component, dishwasher end panels serve an essential purpose while enhancing the overall aesthetics of your kitchen.
What is a dishwasher end panel?
A dishwasher end panel is a finishing piece that is placed on the side of your dishwasher, covering the exposed side of the unit. It is typically made of the same material as your kitchen cabinets, ensuring a seamless integration with the rest of your cabinetry. The end panel is designed to create a clean and polished look, enhancing the overall appearance of your kitchen.
Why do you need a dishwasher end panel?
Having a dishwasher end panel installed may seem like a minor detail, but it is more than just a cosmetic addition. Here are a few reasons why a dishwasher end panel is essential:
- Protection: A dishwasher end panel provides much-needed protection to the exposed side of your dishwasher. It helps to shield the unit from accidental bumps, scratches, and other damage, ensuring its longevity and preserving its functionality.
- Seamless Integration: By installing a dishwasher end panel, you create a cohesive and uniform appearance in your kitchen. It blends in seamlessly with your cabinetry, creating a polished and professional look.
- Customization: Dishwasher end panels offer a great opportunity to customize the look of your kitchen. You can choose from a variety of materials, colors, and finishes to match your personal style and existing cabinetry.
How does a dishwasher end panel enhance the overall aesthetics of your kitchen?
Installing a dishwasher end panel has a significant impact on the overall aesthetics of your kitchen. Here’s how it enhances the visual appeal:
- Consistency: A dishwasher end panel ensures consistency in your kitchen, maintaining a uniform appearance. It offers a seamless transition from cabinet to dishwasher, creating a cohesive look.
- Elegance: The clean lines and polished finish of a dishwasher end panel add a touch of elegance to your kitchen. It adds a refined and sophisticated feel, elevating the overall aesthetic appeal of the space.
- Hide Unsightly Exposed Areas: Without a dishwasher end panel, the side of your dishwasher can be an eyesore, with visible pipes, wires, and unfinished edges. A dishwasher end panel conceals these unsightly areas, creating a clean and polished look.
So, when planning your kitchen renovation or upgrading your dishwasher, don’t overlook the importance of installing a dishwasher end panel. It not only protects your dishwasher but also enhances the overall aesthetics of your kitchen, giving it a polished and professional look.
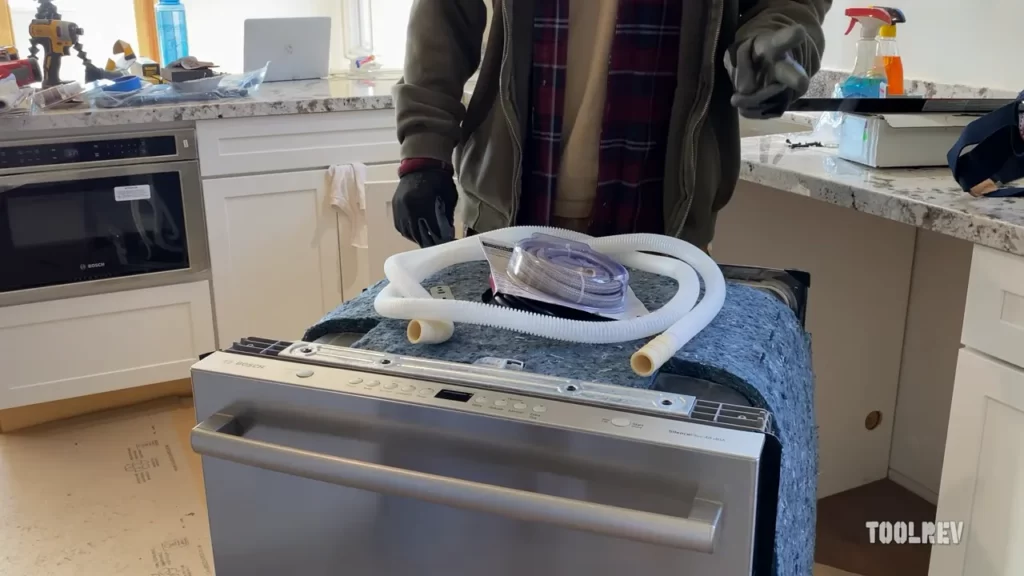
Preparing For The Dishwasher End Panel Installation
Gathering the necessary tools and materials
Before you begin the installation process for your dishwasher end panel, it’s important to gather all the necessary tools and materials. By having everything readily available, you can ensure a smoother and more efficient installation.
Here is a list of tools and materials you will need:
- Measuring tape
- Power drill
- Screws
- Screwdriver
- Plywood or other appropriate end panel material
- Sandpaper
- Paint or stain (optional)
- Paintbrush or foam roller (if you choose to paint the end panel)
Measuring the dimensions of the dishwasher end panel
Before purchasing or cutting the end panel material, you need to measure the dimensions of the space where the dishwasher end panel will be installed. This will ensure that the panel fits perfectly and looks seamless.
Follow these steps to measure the dimensions:
- Using a measuring tape, measure the height of the opening from the floor to the countertop. Record this measurement.
- Measure the width of the opening from one side to the other. Record this measurement as well.
By accurately measuring the dimensions, you can proceed with confidence to the next step of selecting the appropriate end panel material.
Selecting the appropriate end panel material
When it comes to choosing the right material for your dishwasher end panel, you want to consider both functionality and aesthetics. The material should be durable enough to withstand daily use and blend seamlessly with your kitchen’s design.
Here are some popular options for dishwasher end panel materials:
| Material | Pros | Cons |
|---|---|---|
| Plywood | Durable and cost-effective | May require painting or staining |
| Laminate | Wide range of colors and patterns | Prone to scratching |
| Stainless steel | Sleek and modern look | Expensive |
| Custom cabinet panel | Seamless integration with existing cabinetry | Higher cost and may require professional installation |
Consider your budget, desired style, and maintenance preferences when selecting the appropriate end panel material for your dishwasher. Once you have made your choice, you can move on to the exciting step of installing the dishwasher end panel.
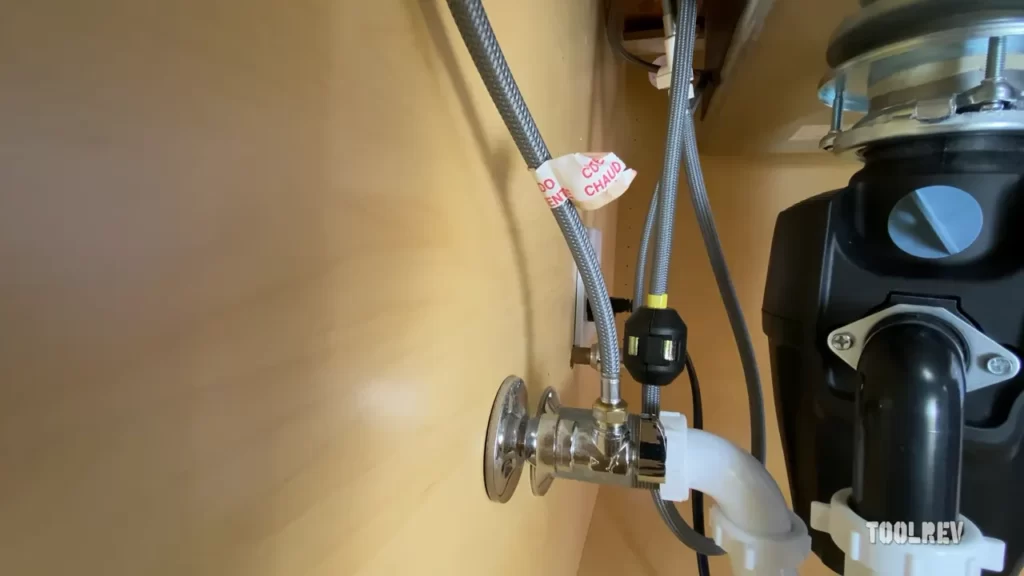
Step 1: Removing The Old End Panel
Removing the old end panel from your dishwasher is the first step towards installing a new one. This process involves careful detachment of the panel from both the dishwasher and the cabinetry. Follow these steps to ensure a smooth removal:
Removing any screws or fasteners holding the old end panel in place
In order to detach the old end panel, you first need to locate and remove any screws or fasteners that are holding it in place. These may vary depending on the model and make of your dishwasher. Here’s how you can do it:
- Carefully inspect the sides of the dishwasher to identify any screws or fasteners securing the end panel.
- Using a screwdriver or an appropriate tool, unscrew and remove these fasteners one by one.
Carefully detaching the panel from the dishwasher and cabinetry
Once all the screws or fasteners have been removed, it’s time to detach the old end panel from both the dishwasher and the surrounding cabinetry. This should be done with caution to avoid any damage to the dishwasher or the other components. Here’s what you need to do:
- Gently pull the old end panel away from the dishwasher, ensuring you’re applying equal pressure on all sides.
- Keep an eye out for any clips or brackets that may be securing the panel to the cabinetry. If present, carefully disengage them to fully detach the panel.
- Once the old end panel is completely detached, set it aside for disposal or any other further use as desired.
By following these steps, you can easily remove the old end panel of your dishwasher, paving the way for a successful installation of the new one. Stay tuned for the next steps to complete the installation process!
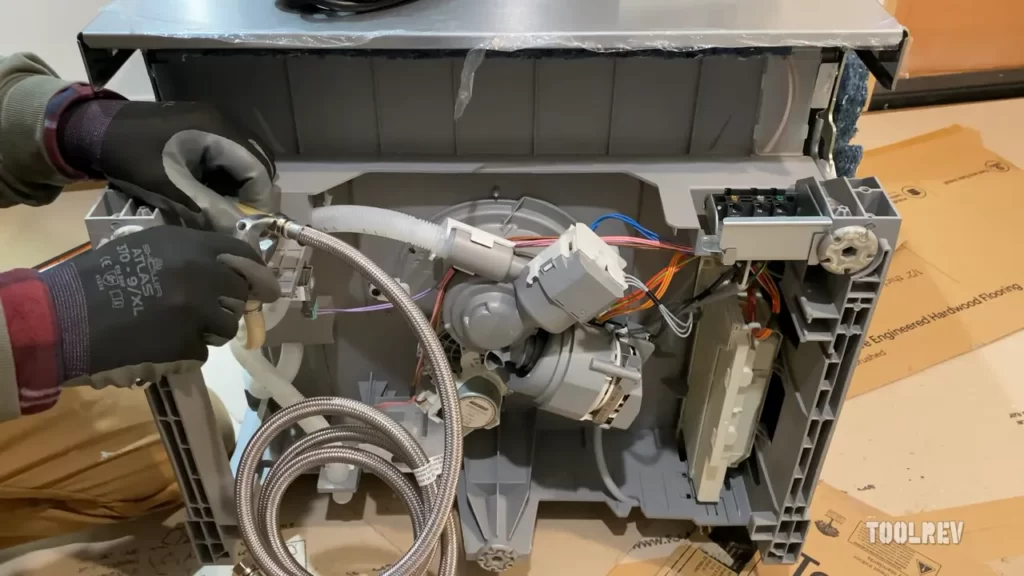
Step 2: Preparing The Area For The New End Panel
Before installing the new end panel for your dishwasher, it is important to properly prepare the surrounding area to ensure a smooth and secure installation. This step will help you create a clean and functional space that not only looks great but also ensures the longevity and stability of your dishwasher. Follow the steps below to prepare the area for the new end panel:
Cleaning the surrounding area for a smooth installation
The first and most crucial step in preparing the area for the new end panel is to clean the surrounding space. Any dust, dirt, or debris can interfere with the installation and compromise the efficiency of your dishwasher. Follow these simple steps to make sure your installation area is squeaky clean:
- Remove any items or objects that may obstruct the installation process, such as cleaning supplies, containers, or small appliances, from the countertop adjacent to the dishwasher.
- Wipe down the countertop and surrounding area with a mild detergent or cleaning solution using a clean cloth or sponge.
- Pay special attention to any sticky or greasy spots on the countertop and remove them using a gentle scrubbing motion.
- Take a damp cloth and wipe down the sides, top, and front of the dishwasher to remove any dirt or food residue that may have accumulated over time.
- Ensure that the floor beneath the dishwasher is also clean by sweeping or vacuuming any dust or debris.
Ensuring the dishwasher is properly secured in its place
Once the area is clean, it is important to ensure that your dishwasher is securely placed and properly aligned. This step is crucial for the stability and functionality of your dishwasher. Follow these steps to ensure the dishwasher is securely in place:
- Check that the leveling legs on the dishwasher are adjusted correctly to ensure that it is level and stable.
- Use a level tool to ensure that the dishwasher is perfectly aligned horizontally and vertically.
- If needed, adjust the front leveling legs to achieve the desired alignment.
- Make sure the dishwasher is snugly attached to the adjacent cabinets or the countertop by tightening any mounting screws or brackets.
- Ensure that any plumbing connections are securely tightened and leak-free.
By cleaning the area and ensuring proper security, you are now ready to move on to the next step of installing your dishwasher end panel. These preparatory steps not only ensure a flawless installation but also contribute to the overall cleanliness and efficiency of your kitchen space.
Step 3: Customizing The New End Panel
Once you have the perfect end panel for your dishwasher, it’s time to customize it to seamlessly blend with your existing cabinetry. This step involves cutting the panel to the correct dimensions using a saw or an appropriate tool, and then sanding, painting or staining it to match the color and finish of your kitchen cabinets.
Cutting the End Panel to the Correct Dimensions
The first step in customizing your new end panel is cutting it to fit perfectly into the available space. Using a saw or an appropriate tool, carefully trim the panel according to the dimensions needed for your dishwasher installation. Measure the height and width of the space where the panel will be installed, and mark these measurements on the panel using a pencil or a measuring tape.
Once you have marked the dimensions, carefully cut along the lines using a saw. Take your time to ensure clean and precise cuts, as this will contribute to the overall aesthetic of your dishwasher installation. Remember to wear appropriate safety gear, such as goggles and gloves, while using power tools.
Sanding, Painting, or Staining the Panel to Match the Existing Cabinetry
After cutting the panel to the correct dimensions, the next step is to make it blend seamlessly with your existing cabinetry. Start by sanding the edges and surfaces of the panel to create a smooth and even finish. This will remove any rough edges or imperfections caused by the cutting process.
Once the panel is smooth, you have a few options for finishing it. If your kitchen cabinets have a painted finish, you can paint the end panel to match the color and texture of the cabinets. Make sure to choose a high-quality paint that is compatible with the material of the panel.
If your kitchen cabinets have a stained finish, you can opt for staining the panel to match the existing cabinetry. Select a stain that closely matches the color and tone of your cabinets, and apply it evenly to the panel using a brush or a cloth. Always follow the manufacturer’s instructions for best results and allow sufficient drying time before installing the panel.
In some cases, you may need to apply multiple coats of paint or stain to achieve the desired finish. Be patient and take your time to create a cohesive look that seamlessly integrates the new end panel with the surrounding cabinetry.
Remember, when customizing the new end panel, attention to detail is key. By carefully cutting the panel to the correct dimensions and matching the color and finish to your existing cabinetry, you can ensure a professional and polished look for your dishwasher installation.
Step 4: Attaching The New End Panel
Now that you have positioned the dishwasher correctly against the cabinetry, it’s time to attach the new end panel to complete the installation. This step is crucial as it not only provides a finished look to your dishwasher but also helps protect the cabinetry and adds stability to the unit.
Positioning the end panel correctly against the cabinetry
Before securing the end panel, ensure it is aligned properly with the adjacent cabinetry. This will help create a seamless appearance and ensure the panel is flush with the surface of the dishwasher and the surrounding cabinets. Take the following steps to position the end panel correctly:
- Hold the end panel against the side of the dishwasher, aligning it with the top and bottom edges.
- Check for any gaps or misalignment by visually inspecting the alignment of the panel with the adjacent cabinetry.
- Adjust the position as needed to ensure a perfect fit.
Using screws or nails to secure the panel in place
Once you have positioned the end panel correctly, the next step is to secure it in place using screws or nails. This will ensure the panel remains firmly attached to the dishwasher and does not move or come loose over time. Follow these simple steps to attach the end panel:
- Using a screwdriver or a nail gun, insert screws or nails through the pre-existing holes in the dishwasher’s side frame and into the end panel.
- Ensure the screws or nails are driven in firmly but not too tightly, as overtightening may cause damage to the panel or the dishwasher.
- Repeat this process for each hole along the side of the dishwasher until the panel is securely fastened.
By correctly positioning and securing the end panel, you not only enhance the aesthetics of your kitchen but also reinforce the stability and durability of your dishwasher. Take your time during this step to ensure an excellent end result and enjoy the satisfaction of a job well done!
Step 5: Finishing Touches And Final Adjustments
Once you have successfully installed the dishwasher end panel and ensured a secure fit, it’s time to move on to the final step – the finishing touches and adjustments. This step is crucial for achieving a seamless integration with your surrounding cabinetry. In this section, we will discuss how to check for any gaps or unevenness in the installation and make necessary adjustments for a professional and polished finish.
Checking for any gaps or unevenness in the installation
Before making any adjustments, carefully examine the dishwasher end panel to ensure there are no gaps or unevenness in its placement. Even the slightest misalignment can be noticeable and undermine the overall aesthetic appeal. Here’s how to check for any issues:
- Stand a few feet away from the dishwasher and visually inspect the installation from various angles to identify any gaps or unevenness.
- Run your hand along the edges of the panel to feel for any irregularities.
- Check the gaps between the dishwasher end panel and the adjacent cabinetry to ensure they are consistent and uniform.
If you notice any gaps or unevenness, proceed to the next step for making the necessary adjustments.
Making necessary adjustments to ensure a seamless integration with the surrounding cabinetry
To achieve a flawless integration with the surrounding cabinetry, it may be necessary to make certain adjustments. Here are some common adjustments you might need to make:
| Adjustment | How to Perform |
|---|---|
| Leveling the panel | Use a level to determine if the dishwasher end panel is perfectly leveled. Adjust the screws or brackets as needed to achieve a horizontal alignment. |
| Aligning the panel with adjacent cabinetry | If the panel is not flush with the neighboring cabinetry, adjust the positioning by loosening the screws and gently shifting the panel until it aligns seamlessly with the surrounding surfaces. |
| Ensuring consistent gaps | If the gaps between the panel and the cabinetry are uneven, adjust the position of the panel accordingly. Use spacers if necessary to ensure consistent gaps on all sides of the panel. |
Remember to double-check your adjustments after each step to ensure everything is aligned properly.
By taking the time to check for gaps or unevenness and making necessary adjustments, you can ensure that your dishwasher end panel seamlessly integrates with the surrounding cabinetry. This attention to detail will not only enhance the aesthetic appeal but also contribute to a neat, polished look in your kitchen.
Maintenance And Care Tips For Dishwasher End Panels
Proper maintenance and care can ensure the longevity and beauty of your dishwasher end panels. These panels not only provide a finished look to your dishwasher installation but also protect sensitive areas from water and other spills. In this section, we will discuss some essential tips to keep your dishwasher end panels in top shape.
Proper cleaning techniques to maintain the panel’s appearance
Regular cleaning is crucial to maintain the appearance of your dishwasher end panels. Here are some tips to help you clean them effectively:
- Use mild detergent: When cleaning the end panels, make sure to use a mild detergent solution. Avoid abrasive cleaners or harsh chemicals, as they can damage the panel’s surface.
- Soft cloth or sponge: Gently wipe the panel using a soft cloth or sponge. Avoid using abrasive materials that can scratch or dull the surface.
- Remove stains promptly: If you notice any stains or spills on the panel, it is essential to clean them promptly. Leaving the stains for an extended period can make them harder to remove.
- Dry thoroughly: After cleaning, make sure to dry the panel thoroughly to prevent moisture from seeping into the wood or causing water spots.
How to prevent damage to the end panel from water or other spills
Water and other spills can cause damage to your dishwasher end panels if not addressed properly. Here are some preventive measures you can take to protect them:
- Use waterproof sealant: Applying a waterproof sealant to the end panel’s surface can create a protective barrier against water and spills. This will prevent moisture from seeping into the wood and causing damage.
- Wipe spills immediately: If you accidentally spill water or other liquids on the end panel, it is crucial to wipe them immediately. This will prevent the liquid from seeping into the wood and causing warping or discoloration.
- Place a protective mat: Consider placing a waterproof mat or liner near the dishwasher to catch any spills or drips. This will help protect the end panel and surrounding area from potential damage.
By following these maintenance and care tips, you can ensure that your dishwasher end panels remain in excellent condition for years to come. Remember to clean the panels regularly using mild detergent and to address any spills or stains promptly. Taking preventive measures such as using waterproof sealant and placing a protective mat can also help safeguard the panels from potential water or spill damage.
Frequently Asked Questions
Do You Need A Dishwasher End Panel?
Yes, a dishwasher end panel is necessary as it helps provide a finished look to your kitchen. It covers the sides of the dishwasher, creating a seamless appearance with the surrounding cabinetry.
How Do You Attach Cabinet End Panels?
Attach cabinet end panels by following these steps: 1. Position the panel against the cabinet side. 2. Secure the panel using screws or nails. 3. Ensure the panel is flush with the cabinet edges. 4. Use a level to check for alignment.
5. Repeat the process for all desired cabinet end panels.
Can I Put A Panel On My Dishwasher?
Yes, you can put a panel on your dishwasher.
How Do You Install Custom Dishwasher Panels?
To install custom dishwasher panels, follow these steps: 1. Determine the panel size and style that matches your dishwasher. 2. Remove the existing front panel by unscrewing or releasing the attachment clips. 3. Position the new panel onto the dishwasher, ensuring it fits securely.
4. Use the provided screws or clips to attach the custom panel. 5. Securely tighten all screws and ensure the panel is properly aligned.
Conclusion
Installing an end panel for your dishwasher is a simple and effective way to enhance the overall appearance of your kitchen. By following the step-by-step instructions outlined in this blog post, you can easily accomplish this task without the need for professional assistance.
Whether you are a seasoned DIY enthusiast or a beginner, this guide provides all the information you need. With just a few tools and a little patience, you can transform your kitchen into a functional and aesthetically pleasing space. Don’t wait any longer – get started on installing your dishwasher end panel today!
