To install a Delta Shower Faucet, turn off the main water supply, remove the old faucet, attach the new faucet, and turn on the water supply. Installing a Delta Shower Faucet is a simple process that can be completed with just a few steps.
By following these steps, you can easily replace your old faucet with a new, functional Delta Shower Faucet. Whether you are renovating your bathroom or simply upgrading your fixtures, installing a Delta Shower Faucet is a great way to enhance your shower experience.
With their sleek design and durable construction, Delta Shower Faucets are a popular choice among homeowners. We will guide you through the process of installing a Delta Shower Faucet, ensuring that you can complete the installation with ease and confidence.
Frequently Asked Questions
How Do You Install A Delta Shower Faucet Cartridge?
To install a Delta shower faucet cartridge, follow these steps: 1. Turn off the water supply and remove the handle. 2. Take out the old cartridge using pliers or a cartridge removal tool. 3. Insert the new cartridge, making sure it aligns properly.
4. Reattach the handle and turn the water supply back on. 5. Test for any leaks and ensure proper functioning of the faucet.
How Do I Know What Model Delta Shower Faucet I Have?
To identify the model of your Delta shower faucet, check under the sink or behind the shower wall for a label with the model number. Alternatively, refer to the product manual or contact Delta’s customer support for assistance.
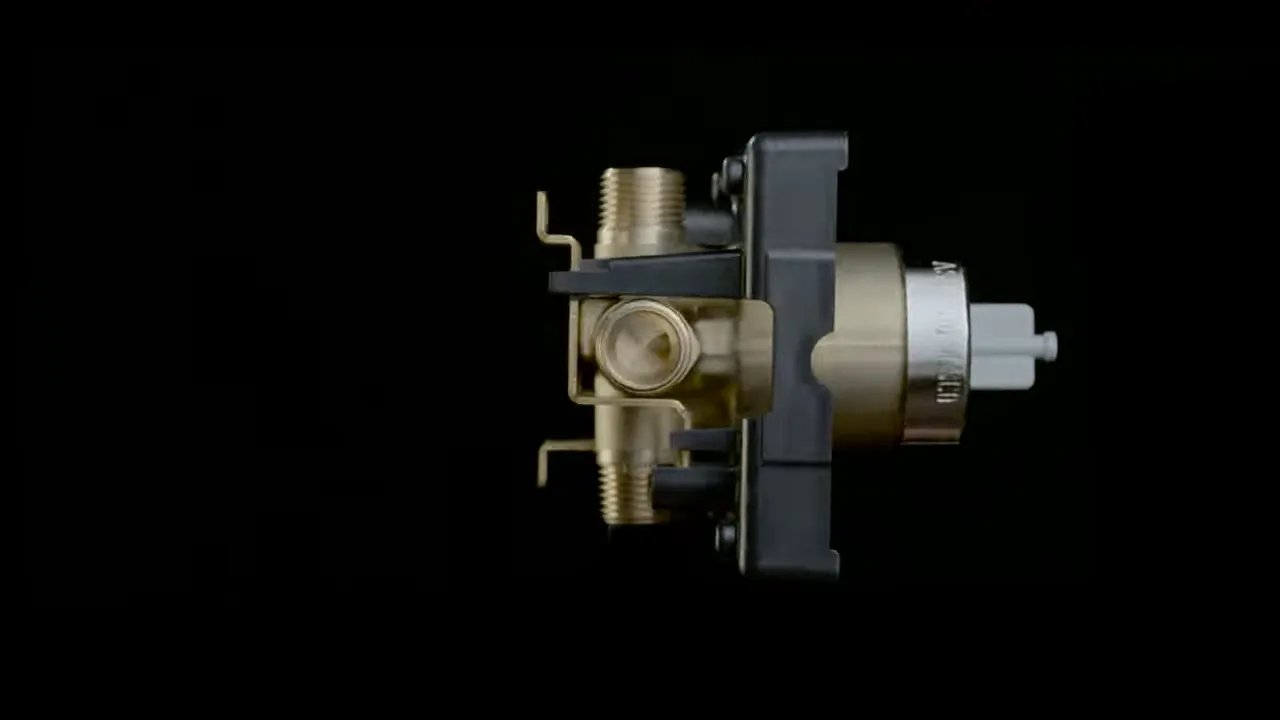
Do All Delta Shower Faucets Use The Same Valve?
No, Delta shower faucets do not all use the same valve. Delta offers a variety of valve options to meet different installation requirements and water flow preferences. It is important to select the right valve for your specific faucet model to ensure compatibility and optimal performance.
How Do You Replace A Delta Shower Head And Faucet?
To replace a Delta shower head and faucet, follow these steps: 1. Turn off the water supply. 2. Use pliers to remove the old shower head and faucet. 3. Apply plumber’s tape on the threads of the new shower head and faucet.
4. Screw on the new shower head and faucet. 5. Turn on the water supply and check for any leaks.
Conclusion
Installing a Delta shower faucet is a straightforward process that can be done with just a few tools and some patience. By following the steps outlined in this blog post, you can have a functioning shower faucet that delivers the perfect water temperature and pressure for your daily showering needs.
Remember to turn off the water supply, remove the old faucet, and carefully install the new Delta shower faucet according to the manufacturer’s instructions. With a little bit of effort, you can enjoy a refreshing and hassle-free shower experience every day.