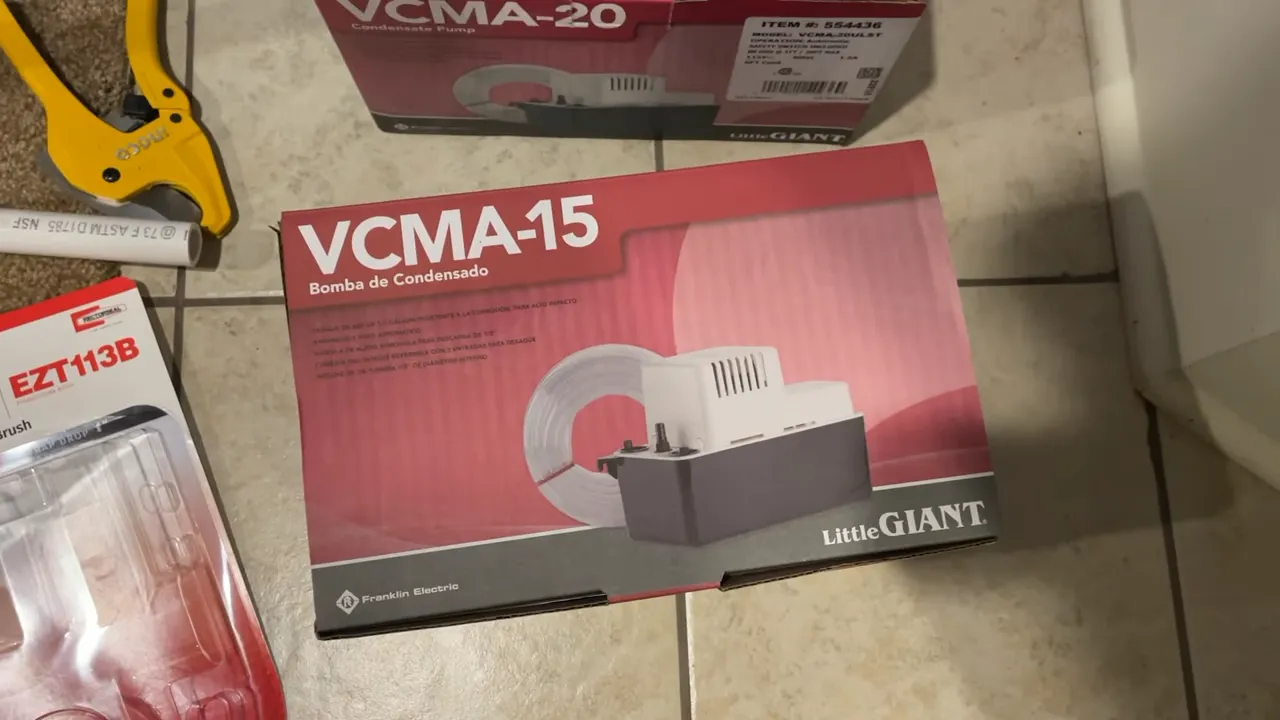
To install a condensate pump, disconnect the power, remove the old pump, attach the new pump, and connect the drain line and power supply. Now, let’s delve deeper into the installation process of a condensate pump.
A condensate pump plays a crucial role in removing water that accumulates in air conditioning units, furnaces, and dehumidifiers. It ensures that excess moisture doesn’t lead to water damage and mold formation. Understanding how to install a condensate pump correctly is important for homeowners and HVAC professionals alike.
In this comprehensive guide, we will walk you through the step-by-step process of installing a condensate pump. From disconnecting the power to connecting the drain line and power supply, we will cover all the essential steps to get your pump up and running efficiently. So, let’s get started and ensure your HVAC system operates smoothly without any water-related issues.
The Importance Of A Condensate Pump In Hvac Systems
A condensate pump plays a crucial role in maintaining the optimal functioning of your HVAC system. This often-overlooked component is responsible for removing the excess moisture that accumulates during the cooling process. By preventing condensate backup, maintaining proper humidity levels, extending the lifespan of HVAC equipment, and improving overall indoor air quality, the condensate pump is an essential part of any HVAC system.
Prevent condensate backup
Condensate backup can occur when the moisture produced by your HVAC system cannot drain properly. This can lead to a variety of issues, such as water damage, mold growth, and decreased system efficiency. With a condensate pump, you can prevent these problems by efficiently removing the excess condensate and directing it away from your HVAC system. This not only ensures the continued performance of your HVAC system but also protects your home from potential water damage.
Maintain proper humidity levels
Proper humidity levels are crucial for ensuring comfortable indoor air quality and preventing issues such as mold growth and respiratory problems. A condensate pump helps in maintaining these levels by effectively removing excess moisture from the air. By removing the condensate, the pump helps regulate humidity levels, creating a healthier and more comfortable living environment.
Extend the lifespan of HVAC equipment
Excess condensate can be detrimental to your HVAC equipment. If left unchecked, it can cause corrosion, rusting, and damage to components. This can lead to frequent breakdowns and a shorter lifespan for your HVAC system. By using a condensate pump to remove the excess condensate, you can protect your equipment from these potential damages and extend its overall lifespan. This not only saves you money on costly repairs but also ensures the longevity of your HVAC investment.
Improve overall indoor air quality
Poor indoor air quality can have a significant impact on your health and well-being. Excess moisture in the air can contribute to the growth of mold, mildew, and other allergens, leading to respiratory issues and allergies. A condensate pump helps improve indoor air quality by effectively removing the moisture that can promote the growth of these contaminants. By maintaining a dry and healthy living environment, the condensate pump plays a vital role in ensuring the overall well-being of you and your family.
Step 1: Gathering The Necessary Tools And Equipment
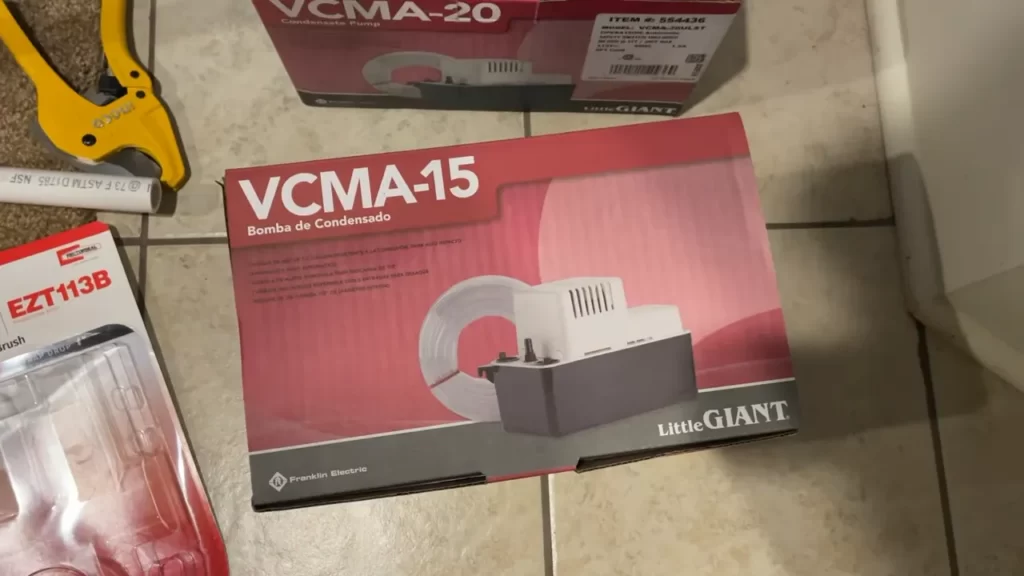
Before getting started with the installation of a condensate pump, it is important to gather all the required tools and equipment. This will ensure a smooth and efficient installation process. In this step, we will discuss the tools and equipment you will need for the installation.
Tools needed:
Here are the essential tools you will need:
- Screwdriver set
- Pliers
- Pipe cutter
- Pipe wrench
- Drill and drill bits
- Tape measure
- Level
These tools will help you with various tasks such as cutting and adjusting pipes, securing fittings, and ensuring a level installation.
Equipment needed:
In addition to the tools, you will also need the following equipment:
- Condensate pump
- PVC piping and fittings
- Power cord
- Hose clamp
- Condensate drain pan
The condensate pump is the main component of the installation, responsible for pumping out the accumulated condensation. The PVC piping and fittings are used to connect the pump to the existing drainage system. A power cord is required to provide electricity to the pump, while a hose clamp ensures a secure connection between the pump and the drain line. Lastly, a condensate drain pan is necessary to collect any excess condensation and prevent leaks or water damage.
Now that you have gathered all the necessary tools and equipment, you are ready to proceed to the next step of the installation process.
Step 2: Choosing The Correct Location For The Condensate Pump
Choosing the right location for your condensate pump is crucial for its efficient operation. There are a few key factors to consider when determining the best spot for installation.
Consider Proximity to HVAC Unit
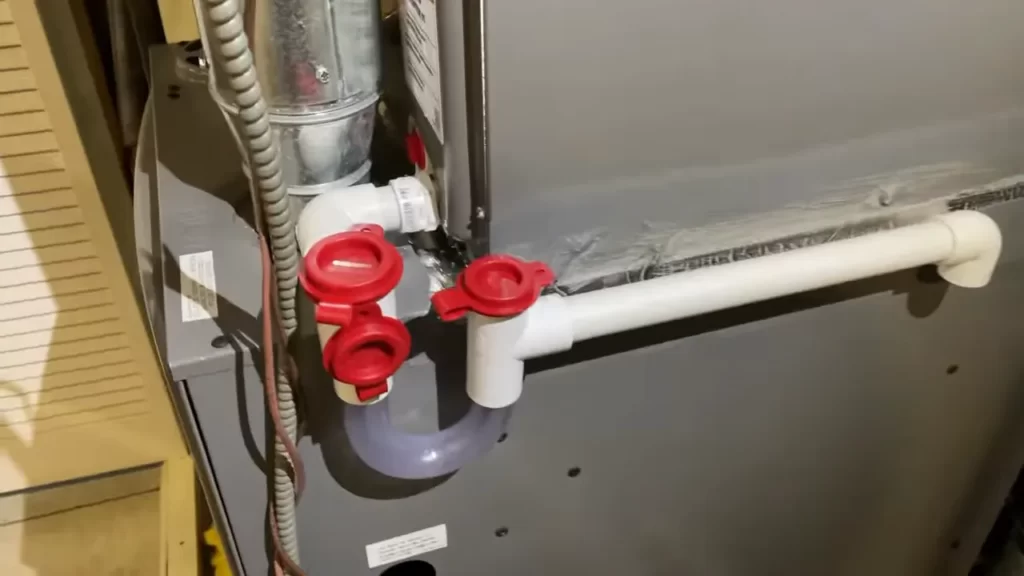
First and foremost, the condensate pump should be placed in close proximity to the HVAC unit. This is important to minimize the length of the tubing required to drain the condensate. Ideally, the pump should be installed within a few feet of the unit to ensure optimal performance.
Ensure Access to Power Source
An electrical power source is essential for the condensate pump to function properly. When choosing the location, make sure there is an electrical outlet nearby to connect the pump. This will allow for easy access and prevent the need for long extension cords that can be hazardous.
Determine the Best Drainage Option
The condensate pump needs a proper drainage system to discharge the accumulated water. There are two primary drainage options: gravity drainage and lift drainage. Gravity drainage operates on the principle of water flowing downwards, while lift drainage involves pumping the water upwards to a higher point of discharge.
When considering the drainage option, evaluate the unique requirements of your HVAC system. Gravity drainage is suitable if you have a floor drain or a nearby location with a downward slope. On the other hand, if a suitable drainage point is higher than the condensate pump, lift drainage is the preferred choice.
It is worth noting that lift drainage requires the use of additional tubing and a check valve to prevent backflow. Ensure that these components are factored into your planning to set up the best drainage option for your specific installation.
Step 3: Installing The Condensate Pump
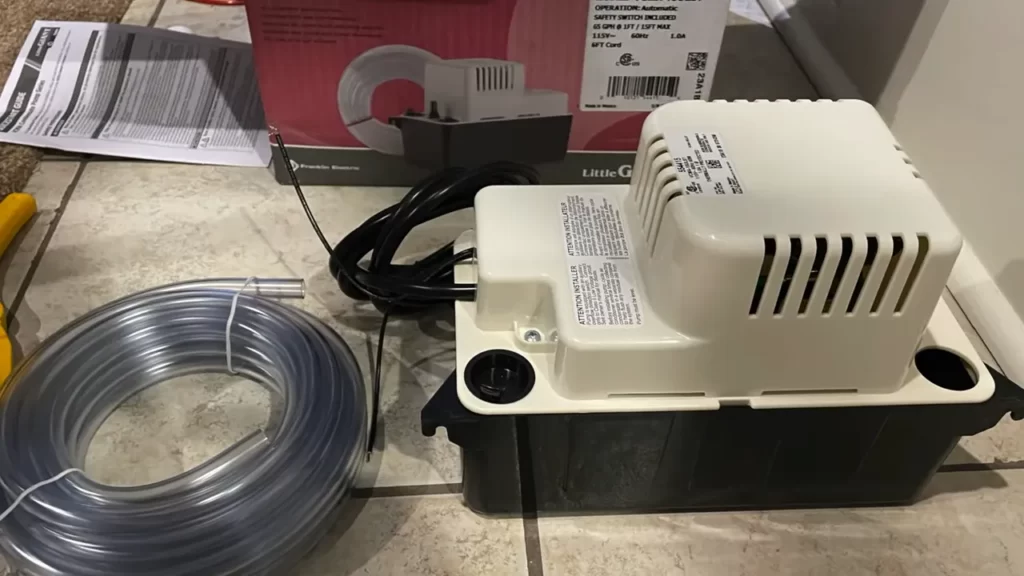
Now that you have gathered all the necessary tools and materials, it’s time to start installing the condensate pump. This crucial step ensures that the pump is securely positioned and properly connected, allowing it to effectively remove excess water from your HVAC system. Follow these simple instructions to ensure a successful installation.
Shut off power to the HVAC unit
Before you begin any installation work, it is vital to prioritize your safety by shutting off the power to the HVAC unit. Locate the circuit breaker or switch that controls the power supply to your unit and turn it off. This precautionary measure will prevent any accidental electric shock while you handle the pump and its electrical components.
Position the pump in the chosen location
Next, find a suitable location near the HVAC unit to position the condensate pump. It should be placed on a sturdy and level surface, with enough clearance for proper maintenance and access. Make sure to consider factors such as ease of installation, accessibility for future servicing, and proximity to the condensate drain line. Once you have chosen the optimal spot, proceed to the next step.
Connect the PVC piping to the pump
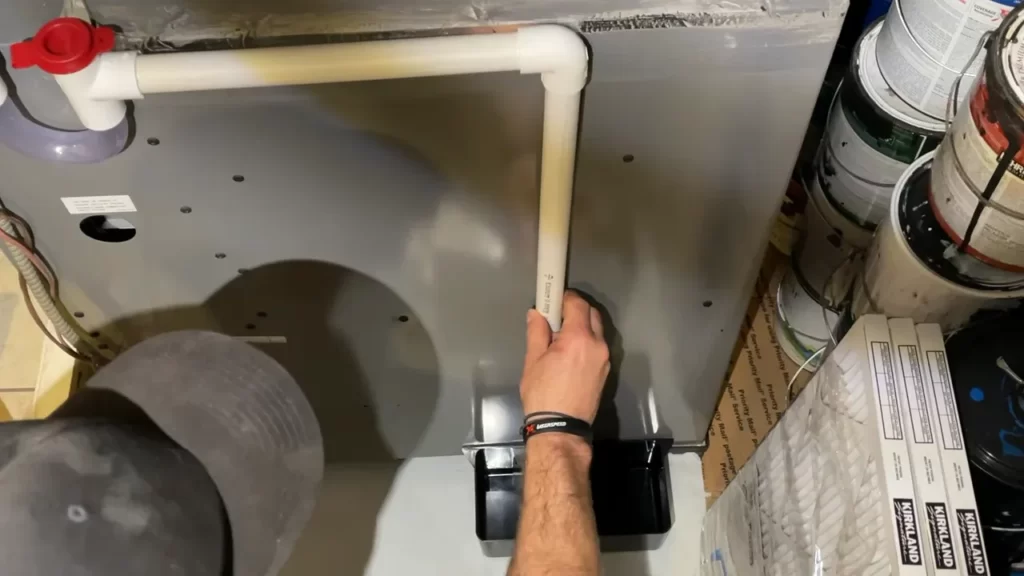
Using a measuring tape, carefully measure and cut the PVC piping according to the required length. Ensure that the cut edges are clean and smooth. Attach one end of the PVC pipe to the outlet port of the condensate pump, using a PVC primer and adhesive to create a secure seal. Connect the other end of the PVC pipe to the appropriate opening in the HVAC unit, typically located on the air handler. This connection allows the water to flow from the HVAC unit into the condensate pump.
Install the condensate drain pan
To further prevent water damage, it is essential to install a condensate drain pan underneath the HVAC unit. This pan collects any excess water that may overflow from the condensate pump or leak from the system. Carefully position the drain pan directly beneath the unit, ensuring it is level and secure. This additional layer of protection will help minimize any potential water damage.
Connect the power cord to the pump
Now, it’s time to connect the power cord to the condensate pump. Locate the power cord provided with the pump and plug it into a nearby electrical outlet. Ensure that the voltage requirement of the pump matches the power supply. If needed, use an extension cord that can handle the required voltage. This step enables the condensate pump to function and effectively remove water from the HVAC system.
Test the pump’s functionality
With all the connections made, it’s crucial to test the functionality of the newly installed condensate pump. Pour a small amount of water into the condensate drain line or utilize the built-in test switch, if available. Observe the pump for any leaks, unusual noises, or malfunctioning parts. If the pump operates smoothly and effectively removes the water, then congratulations! You have successfully installed and tested your condensate pump.
Remember, proper installation and timely maintenance of your condensate pump are essential for maintaining the efficiency and longevity of your HVAC system. By adhering to these installation guidelines, you can ensure that your condensate pump functions optimally and helps keep your indoor environment comfortable and free from excess moisture.
Step 4: Proper Maintenance Of The Condensate Pump
Maintaining your condensate pump is crucial to ensure its efficiency and prevent any issues that may arise in the future. By following these maintenance steps, you can maximize the lifespan of your condensate pump and keep it running smoothly.
Regularly inspect and clean the pump
Regular inspections and cleaning help prevent debris build-up, which can obstruct the functioning of the condensate pump. Here’s how you can inspect and clean your pump:
- Turn off the power supply to the pump.
- Remove the pump’s cover and check for any visible blockages or debris.
- Use a soft brush or cloth to gently clean the pump’s components, including the impeller and check valve.
- Inspect the pump’s float switch to ensure it moves freely and is not obstructed.
- Clean the condensate drain line connected to the pump to remove any accumulated dirt or algae.
- Once cleaning is complete, securely reattach the pump’s cover.
- Turn on the power supply to the pump and check if it is working properly.
Ensure proper drainage
Proper drainage is essential for the condensate pump to operate efficiently. Follow these tips to ensure optimal drainage:
- Check if the condensate drain line is correctly installed and free from any kinks or bends that may obstruct the flow.
- Verify that the condensate drain line has a downward slope to allow gravity to aid in the drainage process.
- Regularly check the drain line for any clogs and clear them promptly if detected.
- Ensure that the drain line is securely connected to the pump to prevent leaks.
Check for leaks and blockages
Regularly checking for leaks and blockages is crucial to maintain the proper functioning of the condensate pump. Here’s how you can do that:
- Inspect the pump’s housing and connections for any signs of leaks. If you notice any leaks, address them promptly to prevent further damage.
- Check the float switch for any obstructions that may hinder its movement. Clear any blockages to ensure the float switch operates correctly.
- Inspect the check valve for any blockages or debris. Clear them if necessary to maintain the proper flow of condensate.
Replace worn-out parts if necessary
Over time, certain parts of the condensate pump may wear out and affect its performance. If you notice any of the following signs, it’s essential to replace the worn-out parts:
- Unusual noises coming from the pump
- Inconsistent drainage or improper functionality
- Leakages that cannot be repaired
- Mechanical parts that are visibly worn-out or damaged
Consult the manufacturer’s guidelines or seek professional assistance to identify and replace the worn-out parts correctly.
By regularly inspecting, cleaning, and maintaining your condensate pump, you can ensure its optimal performance and prolong its lifespan. Following these maintenance tips will help you avoid potential issues and keep your system running smoothly.
Step 5: Troubleshooting Common Issues With Condensate Pumps
Step 5: Troubleshooting Common Issues with Condensate Pumps
Even the most well-installed condensate pumps can experience issues from time to time. When troubleshooting common problems with your condensate pump, it’s important to tackle each issue proactively to ensure optimal performance and prevent potential damage. In this step, we’ll discuss three common issues that may arise with condensate pumps: pump not turning on, loud or unusual noises coming from the pump, and insufficient water drainage. By understanding these issues and implementing the right solutions, you can keep your condensate pump running smoothly.
Pump not turning on
If your condensate pump is not turning on, there are a few possible causes and solutions you can try:
- Check the power source: Make sure the pump is securely connected to a working power source. Ensure that the power switch is in the “on” position.
- Inspect the float switch: The float switch detects the water level in the pump’s reservoir. If it gets stuck or fails to activate, the pump won’t turn on. Check the float switch and ensure it moves freely. Clean or replace it if necessary.
- Test the pump’s motor: If the power source and float switch are functioning correctly, but the pump still won’t turn on, it may indicate a problem with the motor. Consider consulting a professional to diagnose and repair the motor.
Loud or unusual noises coming from the pump
If you notice loud or unusual noises coming from your condensate pump, it could be a sign of an underlying issue. Here’s what you can do:
- Check for loose components: Vibrations from the pump’s operation may cause certain components to become loose over time. Inspect all connections and tighten any loose screws or fittings.
- Clean the pump and drainage lines: Debris and dirt buildup can cause noises and disrupt the pump’s performance. Regularly clean the pump and ensure the drainage lines are clear from any obstructions.
- Lubricate moving parts: Over time, the moving parts of the condensate pump may require lubrication to reduce friction and noise. Follow the manufacturer’s guidelines for appropriate lubrication techniques.
Insufficient water drainage
If your condensate pump is not draining water properly, try the following troubleshooting steps:
- Check the drainage line: Verify that the drainage line is not clogged or obstructed. Clear any debris or buildup that may be hindering the water flow.
- Inspect the pump’s reservoir: It’s possible that the pump’s reservoir is not positioned correctly, preventing proper water drainage. Ensure the reservoir is level and securely in place.
- Replace the pump’s check valve: The check valve prevents backflow of water from the drainage line. If it’s faulty or worn out, it may obstruct water drainage. Replace the check valve if necessary.
Tackling common issues with your condensate pump is essential for its optimal performance and longevity. By troubleshooting problems like a pump not turning on, loud or unusual noises, and insufficient water drainage, you can ensure your condensate pump continues to operate effectively. Remember to always refer to the manufacturer’s guidelines and consult a professional if necessary to address any complex issues. With proper maintenance, your condensate pump will efficiently remove unwanted water and keep your HVAC system running smoothly.
Frequently Asked Questions
Where Should Condensate Pump Drain To?
The condensate pump drain should ideally be connected to a proper drainage system or a designated location specified by the manufacturer to prevent water damage and ensure efficient operation.
How Much Does It Cost To Install A Condensate Pump?
The cost of installing a condensate pump varies depending on factors such as the pump model, labor fees, and any additional materials needed for installation. It is recommended to get quotes from professionals in your area for an accurate estimate.
Can I Run My Ac Without A Condensate Pump?
Yes, you can run your AC without a condensate pump, but it is not recommended. The condensate pump helps remove moisture from the air, preventing water buildup. Without it, the excess water may cause damage to your AC unit or surrounding areas.
It’s best to consult a professional for proper installation and maintenance.
Can I Run Furnace Without Condensate Pump?
Yes, you can run a furnace without a condensate pump. However, the condensate pump helps remove water that is produced during the heating process. Without the pump, you will need another way to drain the water to prevent damage or overflow.
It is recommended to consult with a professional HVAC technician for guidance.
Conclusion
Installing a condensate pump may seem like a daunting task, but with the right guidance and a little patience, it can be a straightforward process. By following the step-by-step instructions provided in this blog post, you can successfully install a condensate pump and ensure efficient drainage of excess moisture from your HVAC system.
Remember to gather all the necessary tools and take safety precautions throughout the installation process. With your newly installed condensate pump, you can enjoy a well-functioning HVAC system and a comfortable indoor environment.
