To install a ceiling shower head, begin by turning off the water supply. Then, remove the existing shower head, attach the ceiling arm to the water pipe, and seal it with plumber’s tape.
Finally, attach the ceiling shower head to the arm and turn the water supply back on.
Selecting The Right Ceiling Shower Head For Your Bathroom
Consider the Size and Style of the Ceiling Shower Head
When it comes to selecting the right ceiling shower head for your bathroom, considering the size and style is of utmost importance. The size of the shower head will determine the amount of water flow and coverage, ensuring a comfortable bathing experience. Moreover, the style of the ceiling shower head can enhance the overall aesthetics of your bathroom, adding a touch of elegance. Whether you prefer a modern and sleek design or a more traditional look, there are plenty of options to choose from.
Here are a few factors to keep in mind when selecting the size and style of your ceiling shower head:
- Water Pressure: Determine the water pressure in your bathroom to ensure that the ceiling shower head you choose is compatible. Some shower heads require higher water pressure for optimal performance.
- Bathroom Size: Consider the size of your bathroom to determine the appropriate size of the shower head. A larger bathroom may require a bigger shower head to cover the space adequately.
- Lifestyle Preferences: Take into account your personal preferences and bathing habits. If you enjoy a powerful rainfall-like experience, a larger shower head with multiple spray settings may be ideal. On the other hand, if you prefer a gentler and more relaxing shower, a smaller shower head with a single spray pattern might be more suitable.
Choose a Suitable Mounting Bracket for Installation
Once you have selected the perfect ceiling shower head for your bathroom, it’s essential to choose a suitable mounting bracket for installation. The mounting bracket is responsible for securely holding the shower head in place, ensuring a stable and reliable installation.
- Type of Mounting Bracket: There are different types of mounting brackets available, including adjustable brackets, fixed brackets, and swivel brackets. Consider your specific needs and preferences to choose the right type.
- Durability: Look for a mounting bracket made from high-quality materials such as stainless steel or brass to ensure durability and longevity.
- Installation Method: Consider the installation method of the mounting bracket. Some brackets require drilling or screwing, while others may have adhesive options for those who prefer a non-permanent installation.
By carefully considering the size and style of your ceiling shower head and selecting a suitable mounting bracket, you can ensure a seamless and enjoyable showering experience in your bathroom. With the right choices, you can transform your mundane daily routine into a luxurious and spa-like escape.
Tools Needed For Ceiling Shower Head Installation
Installing a ceiling shower head can add a touch of luxury and elegance to your bathroom. However, before you embark on this DIY project, you’ll need to gather all the necessary tools. Having the right tools at hand will ensure a smooth installation process and help you avoid any unnecessary frustration. Here are the essential tools you’ll need:
Wrench
A wrench is an indispensable tool for any plumbing installation, including ceiling shower heads. When installing or removing a shower head, a wrench will come in handy for tightening or loosening the connections. Ensure you choose a wrench that is of the appropriate size for your shower head fittings to ensure a secure and leak-free installation.
Screwdriver
A trusty screwdriver is another must-have tool for installing a ceiling shower head. You’ll use it to remove any existing shower head or arm that may be in place. Additionally, a screwdriver can be used to adjust the shower head in the desired position once it is installed. Consider using a flathead or Phillips screwdriver, depending on the type of screws you encounter during the installation process.
Teflon Tape
Teflon tape, also known as plumber’s tape, is a crucial tool for ensuring a watertight seal between the shower head arm and the wall pipe. Applying this tape to the threaded connections helps prevent water leaks and enhances the longevity of your installation. When wrapping the Teflon tape around the fittings, make sure to do so in a clockwise direction and snugly secure it into place. The tape should create a tight seal without any overlapping or bulging.

Materials Required For Ceiling Shower Head Installation
Installing a ceiling shower head can elevate your showering experience and add a touch of luxury to your bathroom. To successfully install a ceiling shower head, you’ll need to gather a few essential materials. In this section, we’ll go over the key items you’ll need for a seamless installation process.
Ceiling Shower Head
The first and most obvious item you’ll need is the ceiling shower head itself. When choosing a ceiling shower head, consider factors such as water pressure, spray pattern, and size to ensure it meets your preferences. Look for a shower head that offers the features and design that will enhance your daily showers.
Mounting Bracket
A sturdy mounting bracket is crucial for securely attaching the ceiling shower head to your bathroom ceiling. It provides the necessary support to keep the shower head in place and prevent any potential accidents. Look for a mounting bracket that is durable and matches the style of your shower head.
Extension Arm (if necessary)
In some cases, you may need an extension arm to lower the ceiling shower head to a suitable height. This is particularly important if you have a high ceiling or if you prefer a shower head placement that is lower than the standard height. Make sure to choose an extension arm that is compatible with your shower head and provides the desired extension length.
Plumbers Tape
Plumbers tape, also known as thread seal tape, is an essential material for any plumbing installation. It helps create a reliable seal between threaded connections, preventing leaks and ensuring a watertight installation. Wrap a few turns of plumbers tape around the shower head connections to ensure a proper seal and prevent any water leakage.
Pipe Joint Compound
Another material that can assist in achieving a leak-free installation is pipe joint compound. Apply a thin layer of pipe joint compound to the threaded connections before attaching the shower head and extension arm (if applicable). This compound helps create a tight seal and prevents any potential leaks.
By gathering these key materials, you’ll be well-equipped to install a ceiling shower head and enjoy the luxurious showering experience it provides. Remember to follow the manufacturer’s instructions and take the necessary precautions to ensure a safe and successful installation.
Step 1: Shut Off The Water Supply And Remove The Existing Shower Head
Locate the Water Shut-Off Valve
Before installing a ceiling shower head, it’s crucial to locate the water shut-off valve. This valve is responsible for controlling the flow of water to your shower. Typically, it can be found near your shower or in the basement.
To locate the water shut-off valve, start by checking behind the shower wall. Look for a small access panel or an open space where the valve might be located. If you’re unable to find it there, try checking the basement or utility room near the water meter.
Once you locate the water shut-off valve, ensure it is turned off completely before moving on to the next step. This will help prevent any unexpected water flow during the installation process.
Turn Off the Water Supply
After locating the water shut-off valve, it’s time to turn off the water supply. This step is crucial for your safety and to avoid any water damage.
To turn off the water supply, rotate the valve in a clockwise direction until it is fully closed. You should feel some resistance, indicating that the water flow has been shut off. In some cases, you may need to use a wrench to close the valve tightly.
Remember, turning off the water supply ensures that no water will be flowing through the pipes when you remove the existing shower head.
Use a Wrench to Remove the Existing Shower Head
Now that you have successfully turned off the water supply, it’s time to remove the existing shower head. This step requires the use of a wrench.
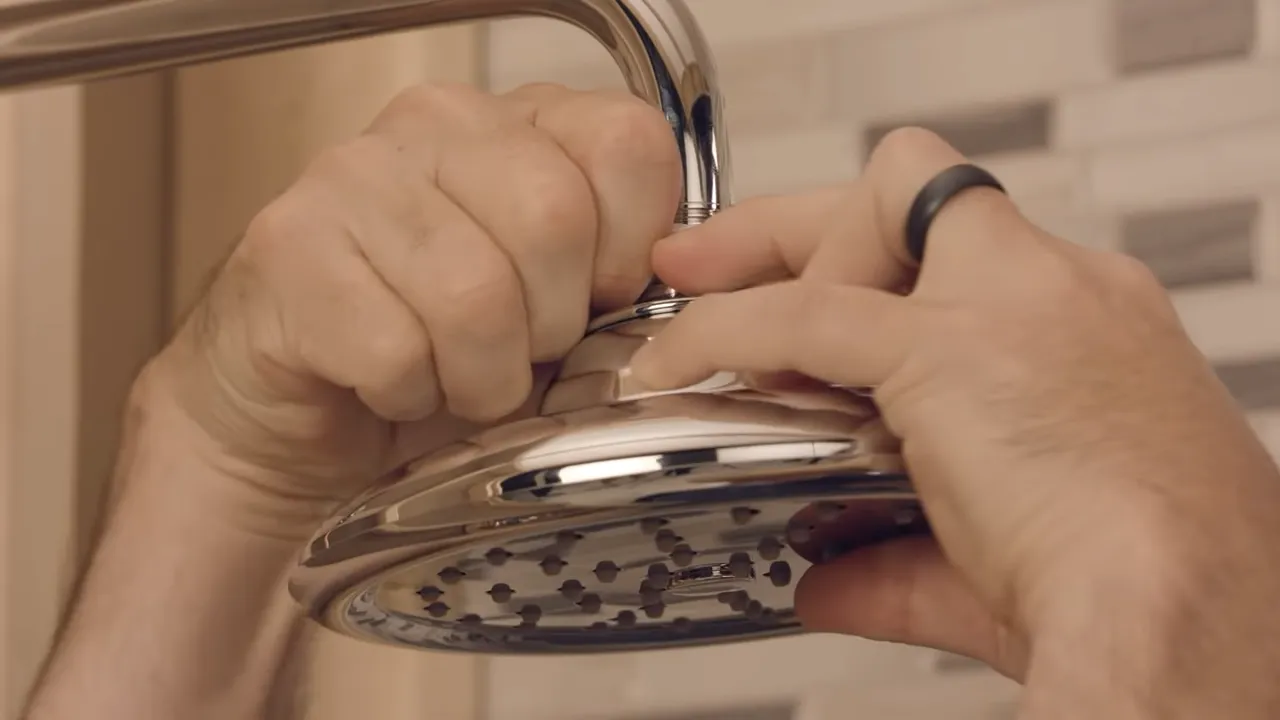
Gently place the wrench around the base of the shower head, making sure it is securely fastened. Slowly rotate the wrench counterclockwise to loosen the shower head. Be careful not to apply too much force, as it may damage the plumbing.
Once the shower head is loose, you can use your hands to unscrew it completely. Twist it gently until it comes off, being mindful of any residual water that may drain from the pipes.
With the existing shower head removed, you’re now ready to proceed with the next steps of installing your new ceiling shower head.

Step 2: Prepare The Ceiling Shower Head For Installation
Once you have gathered all the necessary tools and materials, you are ready to prepare the ceiling shower head for installation. This step is crucial to ensure a leak-free and properly functioning shower head. In this section, we will guide you through the process of assembling the ceiling shower head components and applying plumber’s tape to the threads of the shower arm.
Assemble the Ceiling Shower Head Components
Before you can begin the installation process, it is important to assemble the ceiling shower head components. These components typically include the shower head itself, an extension arm, and any additional attachments or accessories.
To assemble the ceiling shower head components:
- Start by taking the extension arm and attaching it to the shower arm coming out of the ceiling. Ensure that it is securely fastened.
- Next, attach the shower head to the end of the extension arm. Make sure it is tightened snugly and aligned properly.
- If there are any additional attachments or accessories, such as a rain shower head or handheld shower wand, follow the manufacturer’s instructions to attach them securely.
By assembling the ceiling shower head components correctly, you can ensure that the shower head functions efficiently and delivers an optimal showering experience.
Apply Plumbers Tape to the Threads of the Shower Arm
Once the ceiling shower head components are assembled, it’s time to apply plumber’s tape to the threads of the shower arm. The purpose of plumber’s tape is to create a tight seal and prevent leaks at the connection point.
To apply plumber’s tape:
- Ensure that the threads of the shower arm are clean and dry.
- Take the plumber’s tape and wrap it clockwise around the threads of the shower arm. Make sure to cover all the threads with a few layers of tape.
- Press the tape firmly onto the threads to ensure it adheres properly.
Applying plumber’s tape is a simple yet effective step that can save you from future headaches caused by leaks. It provides a reliable seal and helps create a watertight connection between the shower arm and the ceiling shower head.
Now that you have assembled the ceiling shower head components and applied plumber’s tape to the threads of the shower arm, you are ready to move on to the next step of the installation process. In the next section, we will guide you through the installation of the ceiling shower head into the ceiling.

Step 3: Install The Mounting Bracket And Extension Arm (If Applicable)
Now that you’ve marked the location for the ceiling shower head, it’s time to move on to the next step – installing the mounting bracket and extension arm if needed. This step is crucial as it ensures that your ceiling shower head stays securely in place and functions properly.
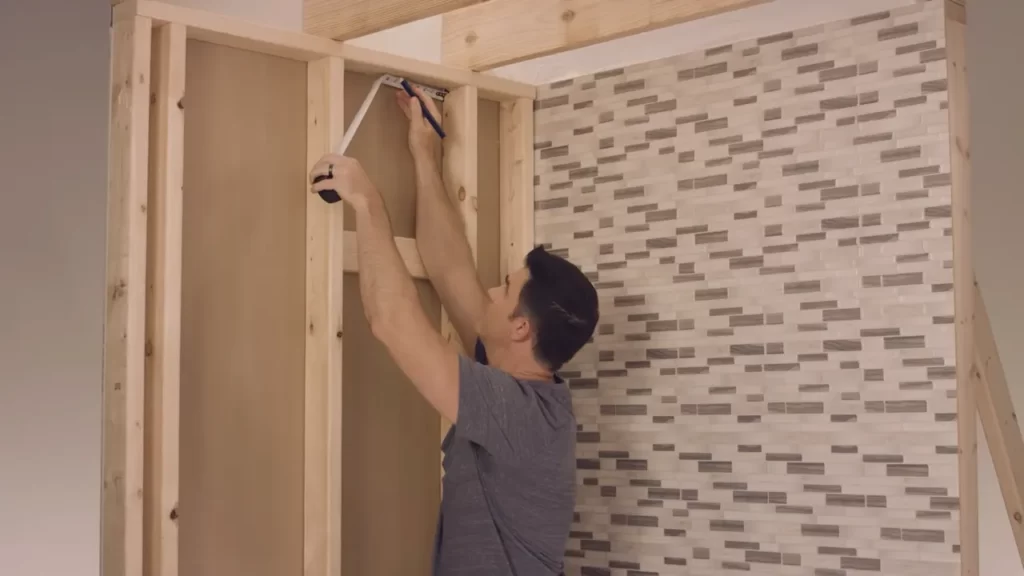
Mark the Location for the Mounting Bracket
Begin by using a pencil to mark the location where you want to install the mounting bracket. Make sure it is centered and at the desired height for the best shower experience.
To ensure accurate measurements, it is recommended to use a level or straight edge to mark a horizontal line for the mounting bracket. This will help you achieve a straight and level installation for your ceiling shower head.
Secure the Mounting Bracket to the Ceiling
Next, secure the mounting bracket to the marked location on the ceiling. Use a drill to create pilot holes for the screws, ensuring that they line up with the holes on the mounting bracket. Insert the screws and tighten them using a screwdriver, making sure the bracket is firmly attached to the ceiling.
If your ceiling is made of a material that does not require drilling, such as a drop ceiling, you can use adhesive or other suitable mounting methods as recommended by the manufacturer.
Attach the Extension Arm if Needed
If you need an extension arm to position your ceiling shower head at the desired height, now is the time to attach it. Most extension arms simply screw onto the mounting bracket.
Before attaching the extension arm, ensure that the connection areas are clean and free from any debris or dirt. Apply plumbers tape to the threads of the extension arm to create a watertight seal.

Once the plumbers tape is in place, screw the extension arm onto the mounting bracket. Use a wrench to tighten it securely, but be careful not to overtighten and risk damaging the connection.
Once the extension arm is attached, you can proceed to install the shower head onto the extension arm and enjoy your new ceiling shower experience.
By following these steps, you will be able to successfully install the mounting bracket and extension arm, if applicable, for your ceiling shower head. With everything securely in place, you can now move on to the next step of your installation process.
Step 4: Connect The Ceiling Shower Head To The Water Supply
Apply Pipe Joint Compound to the Threads of the Ceiling Shower Head
Before connecting the ceiling shower head to the water supply, it is essential to apply pipe joint compound to the threads. This compound serves as a sealant and helps prevent any potential leaks. Applying the compound is a straightforward process that ensures a secure connection.
To apply pipe joint compound to the threads of the ceiling shower head, follow these steps:
- Start by unscrewing the ceiling shower head from the shower arm.
- Using a small brush or your finger, apply a thin layer of pipe joint compound onto the threads of the shower head.
- Make sure to cover all the threads evenly, ensuring there are no gaps or excess compound.
- Once the compound is applied, carefully screw the shower head back onto the shower arm, making sure it is securely tightened.
By applying pipe joint compound to the threads, you can effectively prevent any potential leaks and ensure a reliable connection between the ceiling shower head and the water supply.
Connect the Ceiling Shower Head to the Shower Arm
Now that the pipe joint compound is applied, it’s time to connect the ceiling shower head to the shower arm. This step requires a careful and accurate installation to ensure a proper fit.
Follow these steps to connect the ceiling shower head to the shower arm:
- Take the shower arm and gently thread it into the ceiling shower head.
- Ensure that the threads of the shower arm align properly with the threads of the shower head.
- Tighten the connection by turning the shower arm clockwise until it is firmly secured to the shower head.
It is essential to tighten the connection properly to prevent any water leaks. However, be careful not to overtighten, as this can cause damage to the shower head or the shower arm.
Once the ceiling shower head is securely connected to the shower arm, you can move on to the next step of the installation process.
Step 5: Test The Installation And Make Adjustments
Now that you’ve successfully installed your new ceiling shower head, it’s time to put it to the test. This step is crucial in ensuring that everything is working correctly and that you achieve the shower experience you desire. Here, we’ll walk you through the important tasks to complete during this final step.
Turn On the Water Supply
Before examining the shower head’s performance, it’s essential to turn on the water supply. Head over to the main water valve and twist it counterclockwise to open it fully. This action will allow water to flow seamlessly to your bathroom’s plumbing system and, ultimately, the newly installed ceiling shower head. Take a moment to listen for any strange noises or irregularities in the water flow, as this may indicate an issue that needs to be addressed.
Check for Leaks
With the water supply now open, closely inspect the connection points between the ceiling shower head and the plumbing pipes. Look for any signs of leaks, such as water dripping or pooling around the joints. Remember, a leaky connection can lead to water damage, so it’s crucial to address any issues immediately. If you notice any leaks, try tightening the connections using an adjustable wrench. Be careful not to overtighten, as this may damage the plumbing.
If the leak persists after tightening, disassemble the affected connection and inspect the rubber gaskets or O-rings. These small components ensure a watertight seal and may need replacement if they are worn or damaged. Once the issue is resolved, turn off the water supply, reconnect the pipes, and repeat the previous steps to check for leaks again.
Adjust the Ceiling Shower Head Angle as Desired
Now that the water is flowing smoothly and there are no leaks, it’s time to focus on achieving your ideal shower experience. The ceiling shower head’s angle plays a significant role in directing the water flow and providing optimal coverage. To adjust the angle, start by standing directly under the shower head and assessing the direction of the water flow.
- If the water flow is not hitting your body correctly, try gently tilting the shower head in the desired direction. Use your hands to make small adjustments until the water flow feels comfortable.
- If the shower head doesn’t have the desired reach, you may need to adjust the length of the shower arm. Unscrew the shower arm from the ceiling and choose a longer or shorter extension tube based on your needs. Screw the new extension tube into the ceiling, ensuring a secure and watertight connection.
Remember to test the shower head’s performance after each adjustment and fine-tune as necessary until you achieve the perfect shower experience.
Tips For Proper Maintenance And Cleaning
Regularly Clean the Ceiling Shower Head
Maintaining the cleanliness of your ceiling shower head is essential for optimal performance and longevity. Over time, mineral deposits, soap scum, and bacteria can accumulate, causing a decrease in water flow and even unpleasant odors. To prevent this, make it a habit to clean your shower head regularly.
Here are some quick tips on how to clean your ceiling shower head effectively:
- Start by removing the shower head from the ceiling, if possible. This will make the cleaning process much easier. Simply twist or unscrew the shower head counterclockwise and detach it from its fixture.
- Once removed, you can soak the shower head in a mixture of warm water and mild soap. This will help break down any soap scum and other residues.
- For stubborn mineral deposits, you can use a descaling solution or vinegar. Fill a bowl or container with equal parts water and vinegar, then submerge the shower head for about 15-20 minutes. Afterward, use a soft brush to scrub away any remaining buildup.
- Rinse the shower head thoroughly with clean water to remove any cleaning agents.
- Before reattaching the shower head, be sure to wipe it dry with a clean cloth to prevent water spots.
Check for Any Rust or Mineral Buildup
Rust and mineral buildup can not only affect the appearance of your ceiling shower head but also compromise its performance. Regularly inspect the shower head for any signs of rust or mineral deposits.
Here’s how you can check for rust or mineral buildup:
- Visually inspect the shower head for any discoloration or reddish-brown stains, which are typical indications of rust.
- If you notice any buildup, remove the shower head and clean it using the steps mentioned earlier.
- For stubborn rust stains, you can use a mixture of baking soda and water to create a paste. Apply the paste to the affected areas, let it sit for a few minutes, and then scrub gently with a soft brush.
- Rinse off the paste thoroughly and dry the shower head before reinstalling it.
Replace any Damaged or Broken Parts
It’s essential to inspect your ceiling shower head regularly for any signs of damage or broken parts. Damaged or broken components can lead to leaks, poor water pressure, or even water wastage.
Here are a few things to consider when inspecting your shower head:
| Signs of Damage | Action to Take |
|---|---|
| Leaking from the base or joints | Check for loose connections. If necessary, tighten them or replace faulty parts. |
| Cracks or holes | Replace the entire shower head to ensure optimal performance. |
| Broken spray nozzles | Depending on the type of shower head, you may need to purchase replacement nozzles or consider replacing the entire unit. |
Remember, the key to maintaining your ceiling shower head is regular cleaning, checking for rust or mineral buildup, and addressing any damage promptly. By following these tips, you can enjoy a clean and efficient shower experience for years to come.
Enhancing Your Shower Experience With A Ceiling Shower Head
When it comes to upgrading your bathroom, installing a ceiling shower head can be a game-changer. Not only does it add a touch of luxury and elegance to your space, but it also offers a unique and rejuvenating shower experience. From the moment you step into the shower, you’ll be greeted by a gentle rain-like flow of water that cascades down from above, enveloping your body in a soothing and invigorating sensation.
Benefits of Using a Ceiling Shower Head
Using a ceiling shower head comes with a multitude of benefits that can transform your daily shower routine into a spa-like experience. Here are some key advantages:
- Generous Water Coverage: Unlike traditional wall-mounted shower heads, ceiling shower heads are designed to provide maximum water coverage. With a wide and even spray pattern, they ensure that every part of your body is enveloped in a gentle downpour of water.
- Ambiance and Aesthetics: Installing a ceiling shower head instantly elevates the aesthetic appeal of your bathroom. Not only does it create a sleek and modern appearance, but it also adds a touch of sophistication to the overall ambiance of the space.
- Flexible Showering Styles: Ceiling shower heads offer a variety of showering styles to suit your preferences. From powerful rain showers to gentle mist settings, you can easily adjust the water flow and intensity to create your ideal shower experience.
- Enhanced Relaxation: The gentle and soothing sensation of water raining down from above can help relieve stress and tension. It provides a therapeutic effect, leaving you feeling rejuvenated and refreshed after each shower.
- Easy Installation: Despite its luxurious appeal, installing a ceiling shower head is a straightforward process. With the right tools and instructions, it can be done easily, allowing you to enjoy the benefits of your new shower head in no time.
Exploring Additional Features and Options
When choosing a ceiling shower head, it’s essential to explore the various additional features and options available. Consider the following factors to customize your shower experience:
- Water Pressure: Look for a ceiling shower head that offers adjustable water pressure settings. This allows you to tailor the water flow to your preferred level, whether you enjoy a powerful massage-like stream or a gentle rainfall.
- Material and Finish: Select a shower head made from high-quality materials that are resistant to rust and corrosion. Additionally, consider the finish that complements your bathroom decor, such as chrome, brushed nickel, or matte black.
- Size and Shape: Choose a ceiling shower head size and shape that fits your shower space and personal style. Options range from square and rectangular to round and oval, allowing you to find the perfect design for your bathroom.
- LED Lighting: For an added touch of ambiance, opt for a ceiling shower head with built-in LED lighting. These lights can change color or offer different lighting effects, transforming your shower into a relaxing oasis.
- Add-Ons: Consider additional add-ons, such as handheld showerheads or body jets, to enhance your shower experience even further. These features provide versatility and customization options, allowing you to enjoy a spa-like experience in the comfort of your own bathroom.
By exploring these additional features and options, you can customize your ceiling shower head to create a shower experience that perfectly suits your preferences and needs.
Frequently Asked Questions
Can You Put A Shower Head In The Ceiling?
Yes, you can install a shower head in the ceiling. It provides a unique and luxurious showering experience.
How Much Does It Cost To Install A Shower Head On A Ceiling?
Installing a shower head on a ceiling typically costs between $150 to $300. The cost may vary based on the type of shower head and complexity of installation.
How Do You Replace An Overhead Shower Head?
To replace an overhead shower head, follow these steps: 1. Turn off the water supply. 2. Unscrew the existing shower head using an adjustable wrench. 3. Apply plumber’s tape to the threads of the new shower head. 4. Screw on the new shower head, ensuring it is tight.
5. Turn on the water supply to test for any leaks.
How High Should A Ceiling Rain Shower Head Be Installed?
The ceiling rain shower head should be installed at a height that allows for comfortable showering. A common recommendation is 6-12 inches above the tallest person’s height. This ensures adequate coverage and avoids hitting the head.
Conclusion
Installing a ceiling shower head may seem daunting, but with the right tools and guidance, it can be a breeze. By following the step-by-step instructions in this blog post, you can transform your showering experience. From choosing the right location to connecting the plumbing, every aspect has been covered.
So, don’t hesitate to embark on this DIY project and enjoy the luxurious shower you’ve always wanted. Upgrade your bathroom today!