To install a bathtub surround, start by measuring the area, removing the old surround, applying adhesive, and securing the new surround in place. The installation process requires careful measurements, proper adhesive application, and secure fixing to ensure a tight, water-resistant fit.
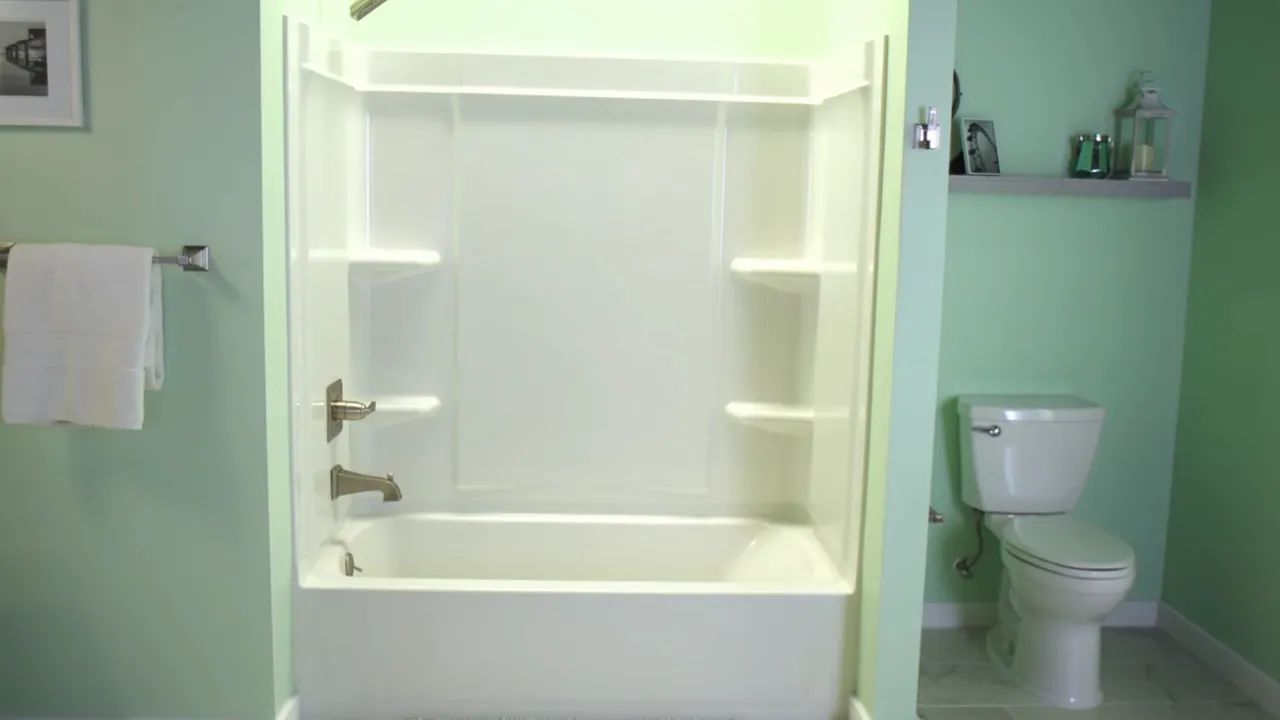
Once installed, the bathtub surround will enhance the aesthetic appeal and functionality of the bathroom, providing a beautiful and practical solution for protecting the walls around the tub. Whether you are renovating a bathroom or installing a new bathtub, a surround is an essential component to consider for a stylish and durable finish.
With the right tools and materials, you can successfully install a bathtub surround and enjoy a sleek and waterproof addition to your bathroom.
Preparing For Installation
Before starting the installation of a bathtub surround, it is important to prepare yourself and gather the necessary tools and materials. This will ensure a smooth installation process and help you avoid any unforeseen challenges along the way. In this section, we will discuss how to assess the current condition of your bathtub, gather the necessary tools and materials, as well as remove the existing bathtub surround.
Assessing the current bathtub condition
The first step in preparing for the installation of a bathtub surround is to assess the current condition of your bathtub. This will give you a better understanding of any repairs or adjustments that may be needed before installation. Here are a few key points to consider during this assessment:
- Check for any cracks, chips, or damage on the bathtub surface. These should be repaired prior to installing the surround to ensure a proper seal.
- Inspect the caulking around the edges of the bathtub. If it is old or damaged, it will need to be removed and replaced with fresh caulking.
- Ensure that the bathtub is securely fastened to the floor and walls. Any loose or unstable areas should be reinforced to provide a stable foundation for the surround.
- Take measurements of the bathtub dimensions to ensure the new surround will fit properly.
Gathering necessary tools and materials
Once you have assessed the current condition of your bathtub, it’s time to gather the necessary tools and materials for the installation. Having everything you need in advance will save you time and ensure a smooth workflow. Here’s a list of essential tools and materials:
| Tools | Materials |
|---|---|
| Screwdriver | Bathtub surround kit |
| Utility knife | Caulk gun |
| Tape measure | Caulking |
| Adjustable wrench | Adhesive |
| Hacksaw | Level |
Make sure to have these tools and materials readily available before starting the installation process.
Removing the existing bathtub surround
Before installing the new bathtub surround, it is necessary to remove the existing one. Follow these steps to ensure a proper removal:
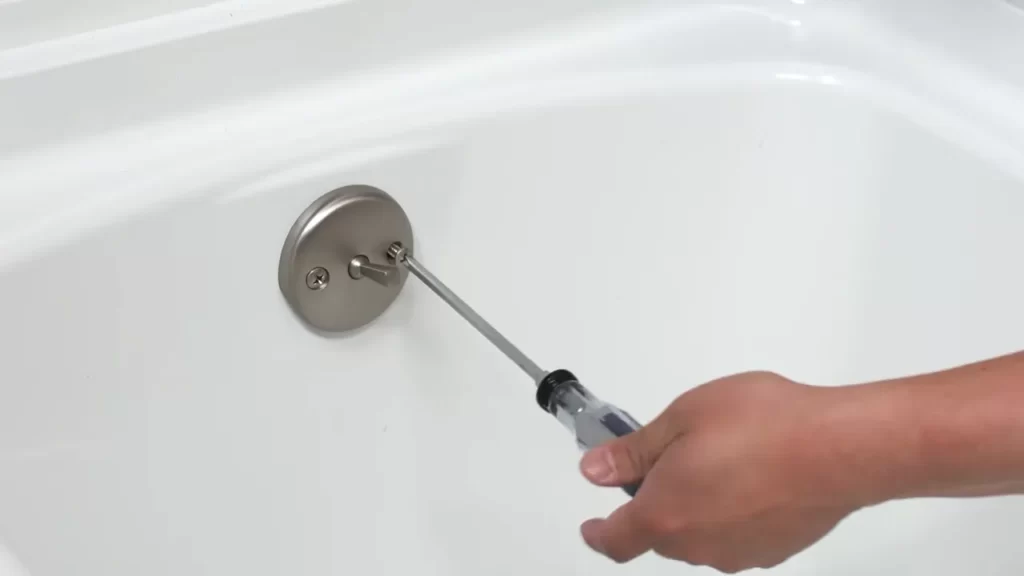
- Disconnect the plumbing connections, including the drain and water supply lines.
- Remove any fixtures or accessories attached to the surround, such as shelves or soap dishes.
- Using a utility knife, cut through any caulking or adhesive attaching the surround to the walls and bathtub.
- Once the caulk is cut, gently pry the surround away from the walls and bathtub using a screwdriver or pry bar.
- Inspect the walls and bathtub surface for any remnants of the old surround or adhesive, and clean them thoroughly.
By following these steps, you will be well-prepared for the installation of your new bathtub surround. Assessing the current condition of your bathtub, gathering the necessary tools and materials, and removing the existing surround are crucial steps to ensure a successful installation process.

Measuring And Cutting The New Surround
Installing a bathtub surround can be a great way to revamp the look of your bathroom and give it a fresh, new feel. However, before you can start the installation process, it’s important to properly measure and cut the new surround to ensure a perfect fit. Taking accurate measurements of the bathtub area, choosing the right type of bathtub surround material, and cutting the surround panels to the correct size are key steps in this process. Follow these steps below for a successful installation.
Taking accurate measurements of the bathtub area
Before you begin the installation process, it’s crucial to take accurate measurements of the bathtub area. This will ensure that you purchase the correct size of the bathtub surround and avoid any unnecessary cutting or modifications. Start by measuring the width and height of the existing bathtub walls. Be sure to measure from the edge of the tub to the height you want the surround to reach.
Choosing the right type of bathtub surround material
Once you have the measurements, it’s time to choose the right type of bathtub surround material. There are several options available, including acrylic, fiberglass, and PVC. Consider factors such as durability, cost, and ease of installation.
Acrylic: Acrylic surrounds are a popular choice due to their durability and versatility. They come in various colors and patterns, allowing you to customize the look of your bathroom.
Fiberglass: Fiberglass surrounds are lightweight and easy to install. They are also resistant to mold and mildew, making them a practical choice for wet environments like the bathroom.
PVC: PVC surrounds are affordable and low-maintenance. They are waterproof and resistant to scratches and stains, making them a durable option.
Cutting the surround panels to the correct size
Now that you have your measurements and chosen your material, it’s time to cut the surround panels to the correct size. Follow the manufacturer’s guidelines for cutting the material to ensure a precise fit. Use a tape measure and a pencil to mark the measurements on the panels, and then use a circular saw or a jigsaw to make the cuts.
Remember to take into account any holes or cutouts needed for fixtures such as faucets and showerheads. Measure and mark these areas carefully before cutting the panels to avoid any mistakes.
Once you have cut all the panels to the correct size, dry-fit them against the bathtub walls to ensure a proper fit before proceeding with the installation. Make any necessary adjustments or additional cuts as needed.
By taking accurate measurements, choosing the right material, and cutting the surround panels to the correct size, you’ll be well on your way to a successful bathtub surround installation. This process may require some patience and precision, but the end result will be a beautiful, upgraded bathroom that you can enjoy for years to come.
Installing The Surround Panels
When it comes to upgrading your bathroom, installing a bathtub surround can instantly transform the space. Not only does it add an elegant touch, but it also provides a protective barrier against moisture and water damage. In this guide, we will walk you through the steps of installing the surround panels, ensuring a seamless and professional finish.
Applying adhesive to the back of the surround panels
The first step in installing the bathtub surround panels is to apply adhesive to the back of the panels. This adhesive will create a strong bond between the panels and the bathtub wall, ensuring they stay in place for years to come.
To apply the adhesive, start by preparing your work area. Clean the bathtub wall thoroughly, removing any dirt or debris that may prevent proper adhesion. Once the surface is clean and dry, apply the adhesive evenly to the back of the panel using a caulking gun. Be sure to follow the manufacturer’s instructions regarding the type and amount of adhesive to use.
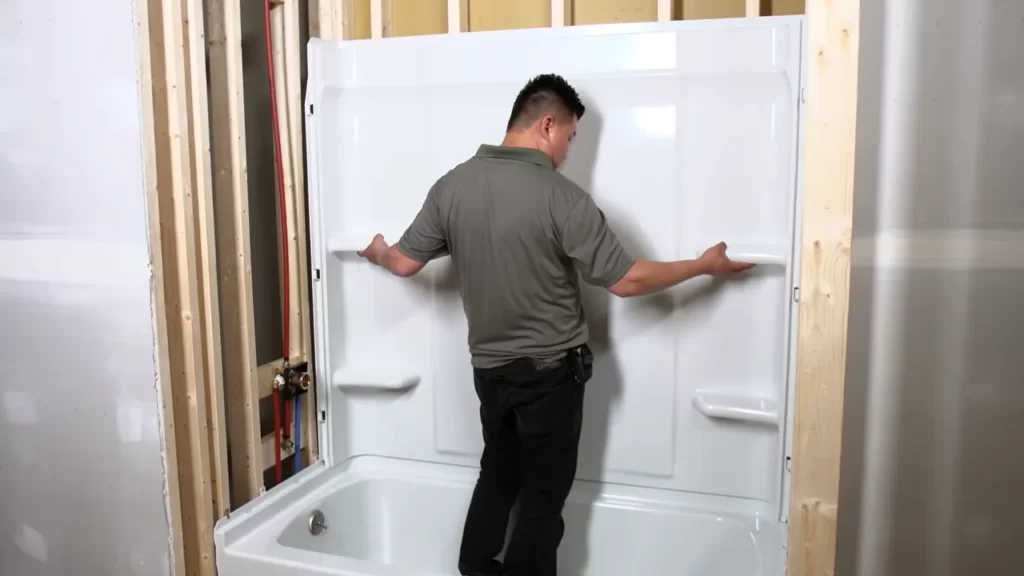
Once the adhesive is applied, carefully position the panel against the bathtub wall, making sure it aligns with the surrounding panels or edges.
Affixing the panels to the bathtub wall
After applying adhesive to the back of the surround panels, it’s time to affix them to the bathtub wall. This step requires precision and attention to detail to ensure a seamless installation.
To affix the panels, gently press them against the wall, starting from the bottom and working your way up. Use a level to ensure the panels are installed straight and plumb. Adjust the position of the panels as necessary to achieve proper alignment.
Ensuring proper alignment and leveling of the panels
Proper alignment and leveling are crucial in installing bathtub surround panels. Misalignment can result in an unprofessional appearance and compromise the integrity of the installation.
Use a level to check the vertical alignment of each panel, adjusting them as needed. Additionally, ensure that the panels are level horizontally, using a measuring tool if necessary. Take your time during this step to achieve a precise and level installation.
Furthermore, it’s important to ensure that each H3 heading adheres to HTML syntax. This will ensure that the headings are correctly interpreted by search engines and improve the overall SEO of your blog post.
In conclusion, installing a bathtub surround can be a rewarding DIY project with the right guidance. By following these steps and paying attention to the details, you can achieve a professional-looking installation that will enhance the aesthetic appeal and functionality of your bathroom.
Securing And Sealing The Surround
When it comes to installing a bathtub surround, securing and sealing it properly is crucial to ensure its stability and prevent water leakage. In this section, we will discuss the steps involved in securing and sealing the surround for a watertight and durable installation.
Installing Support Brackets and Screws for Added Stability
To enhance the stability of the bathtub surround, it is essential to install support brackets and screws. Here’s a step-by-step guide:
- Start by measuring and marking the placement of the support brackets on the wall, ensuring they align with the corresponding areas on the surround.
- Using a drill, create pilot holes at the marked locations to facilitate the installation of screws.
- Position the support brackets on the wall, aligning them with the pilot holes.
- Secure the support brackets in place by driving screws through the pilot holes, ensuring a snug fit.
- Repeat the process for each support bracket, evenly distributing them along the surround to provide optimal stability.
Sealing the Edges and Corners of the Surround
Properly sealing the edges and corners of the bathtub surround is crucial to prevent water penetration and damage to the underlying structure. Follow these simple steps to achieve an effective seal:
- Begin by cleaning and drying the surfaces where the sealant will be applied.
- Apply a bead of high-quality silicone caulk along the edges and corners of the surround, ensuring complete coverage.
- Smooth out the caulk with a caulk smoothing tool or a damp cloth to remove any excess and achieve a neat finish.
- Allow the caulk to dry completely as per the manufacturer’s instructions before using the bathtub.
Conducting a Watertight Test to Check for Leaks
After securing and sealing the bathtub surround, it is essential to verify its watertightness to prevent any future leaks. Conducting a watertight test is a simple yet crucial step. Here’s how:
- Fill the bathtub with water at a level above the surround.
- Observe the surround closely for any signs of water leakage.
- If any leaks are detected, identify their source and reseal the affected areas promptly.
- Repeat the watertight test until no leaks are present.
By following these steps, you can secure and seal your bathtub surround effectively, providing durability and preventing potential water damage. Remember to perform regular maintenance checks to ensure the continued integrity of your installation.

Finishing Touches And Cleanup
Once you have successfully installed your bathtub surround, it’s time to add those final touches to ensure a professional and polished look. This includes trimming excess material from the surround panels, applying finishing touches to the edges of the surround, and cleaning up the work area to remove any debris. By following these steps, your newly installed bathtub surround will not only provide a functional upgrade but also enhance the overall aesthetic appeal of your bathroom.
Trimming excess material from the surround panels
Before applying the finishing touches, take a moment to trim any excess material from the surround panels. This will ensure that the edges are clean and neat, giving your bathtub surround a seamless and cohesive appearance. Using a utility knife or a specifically designed trim tool, carefully trim away any protruding edges or excess material. Be sure to follow the manufacturer’s instructions and guidelines for trimming to avoid damaging the surround panels. Once trimmed, proceed to the next step.
Applying finishing touches to the edges of the surround
Now that you have a properly trimmed bathtub surround, it’s time to apply the finishing touches to the edges. This final step will give your installation a professional and polished look. Begin by carefully inspecting the edges of the surround and ensuring they are flush against the wall and tub. If any gaps or uneven areas are present, use a silicone caulk in a color that matches the surround to fill them in. Apply the caulk in a smooth and even manner, using a caulk gun for precise application. Wipe away any excess caulk with a damp cloth, leaving behind clean edges and a seamless finish.
Cleaning up the work area and removing any debris
With the finishing touches complete, it’s time to clean up the work area and remove any debris. Start by gathering all discarded packaging materials and disposing of them properly. Use a broom or a vacuum cleaner to remove any dust, sawdust, or debris that may have accumulated during the installation process. Pay close attention to the corners and hard-to-reach areas to ensure a thorough cleaning. Once the work area is clean, step back and admire your newly installed bathtub surround, ready to provide years of functionality and aesthetic appeal to your bathroom.
Maintaining And Caring For The Bathtub Surround
Once you have successfully installed a bathtub surround, it is essential to properly maintain and care for it to ensure it stays in excellent condition for years to come. In this section, we will discuss some valuable tips for keeping the surround clean and free from damage, as well as regular maintenance techniques to prolong its life. We will also address common issues that may arise and provide troubleshooting solutions. By following these guidelines, you will be able to enjoy your beautiful bathtub surround for a long time.
Tips for keeping the surround clean and free from damage
To keep your bathtub surround looking fresh and new, regular cleaning is essential. Here are some effective tips:
- Use mild, non-abrasive cleaners specifically designed for bathtubs and surrounds. Harsh chemicals can damage the surface.
- Apply the cleaner to a soft sponge or cloth, then gently scrub the surround to remove dirt and grime. Rinse thoroughly with water.
- Avoid using abrasive scrub brushes or scrubbing pads, as they can cause scratches.
- Prevent the buildup of soap scum by wiping the surround dry after each use.
- Regularly check for any signs of mold or mildew. If spotted, use a mold and mildew remover according to the manufacturer’s instructions.
Regular maintenance to prolong the life of the surround
Performing regular maintenance on your bathtub surround will help extend its lifespan. Here are some maintenance techniques to consider:
- Inspect the caulking around the edges of the surround for any cracks or gaps. If necessary, remove and replace the caulking to maintain a watertight seal.
- Check the hardware, such as screws or brackets, to ensure they are secure. Tighten any loose hardware as needed.
- Apply a protective sealant to the surface of the surround annually or as recommended by the manufacturer. This will help prevent stains and damage from daily use.
- Consider using a bathtub mat or non-slip adhesive strips to minimize the risk of slipping and protect the surface.
Addressing common issues and troubleshooting solutions
Occasionally, you may encounter common issues with your bathtub surround. Here are some troubleshooting solutions:
| Issue | Solution |
|---|---|
| Surface stains | Apply a mixture of baking soda and water to the stained area, then gently scrub with a soft cloth. Rinse thoroughly. |
| Scratches | Use a fine-grit sandpaper to lightly buff out minor scratches. For deeper scratches, consult the manufacturer or consider professional repair services. |
| Cracked or damaged surround | Contact the manufacturer or a professional installer for repair or replacement options. |
By following these tips for cleaning and maintaining your bathtub surround, you can ensure its longevity and keep your bathroom looking pristine. Regular upkeep and addressing any issues promptly will minimize the need for costly repairs or replacements down the line. Invest in the care of your bathtub surround, and it will continue to provide you with years of comfort and beauty.
Frequently Asked Questions
Can You Put A Tub Surround On An Existing Tub?
Yes, it is possible to put a tub surround on an existing tub.
Are Tub Surrounds Easy To Install?
Yes, tub surrounds are easy to install.
What Do You Put Behind A Tub Surround?
A tub surround typically requires a solid substrate, like cement board or green board, to provide a stable and waterproof surface. This is important to prevent moisture damage and create a strong base for the tub surround installation.
Do You Need Drywall Behind A Tub Surround?
Yes, you need to have drywall behind a tub surround. Drywall provides a stable and secure surface to attach the tub surround, ensuring it stays in place and functions properly. It also helps to protect the underlying wall from moisture damage.
Conclusion
Installing a bathtub surround can be a simple and cost-effective way to update your bathroom. By following the step-by-step guide provided in this blog post, you can successfully install a bathtub surround on your own. Remember to measure and plan beforehand, prepare the area properly, and carefully follow the manufacturer’s instructions.
With a little time and effort, you can transform your bathroom into a more modern and stylish space. Say goodbye to outdated tiles and hello to a beautiful bathtub surround!