
To install a bathtub shower combo, follow these steps: Measure the space, prepare the area, assemble the unit, connect the plumbing, and seal the joints. A bathtub shower combo is a versatile solution for those looking to save space in their bathroom while still having the convenience of both a shower and a bathtub.
Whether you’re renovating your bathroom or starting from scratch, installing a bathtub shower combo can be a straightforward process if you follow the right steps. We’ll guide you through the installation process and provide some tips to ensure a successful DIY project.
From measuring the space and preparing the area to connecting the plumbing and sealing the joints, we’ll cover all the crucial steps to help you complete your bathtub shower combo installation with ease. So, let’s dive in and get started!
Planning And Preparation
Installing a bathtub shower combo can be a great way to maximize space and add convenience to your bathroom. However, before diving into the installation process, it’s important to properly plan and prepare. This will help ensure a smooth and successful installation. In this section, we will discuss three crucial steps to take during the planning and preparation phase.
Assessing the Bathroom Space
Before installing a bathtub shower combo, it’s essential to assess the available space in your bathroom. This will help you determine if the area can accommodate the dimensions of the combo unit. Start by measuring the length, width, and height of the designated installation area using a tape measure. Make note of any obstacles such as plumbing or electrical fixtures that may require adjustments or relocation.
Gathering the Necessary Tools and Materials
Once you have assessed the bathroom space, gather all the necessary tools and materials for the installation. This will save you time and frustration later on. Here is a list of the basic tools and materials you will need:
| Tools | Materials |
|---|---|
| Measuring tape | Bathtub shower combo unit |
| Adjustable wrench | Plumbing hardware |
| Hacksaw | Pipe sealant |
| Screwdriver | Plumbing tape |
| Level | Adhesive |
Measuring and Marking the Area for Installation
Next, measure and mark the specific area where the bathtub shower combo will be installed. Begin by using a level to ensure the area is even and free from any slopes or uneven surfaces. Use a pencil or marker to mark the boundaries of the installation area on the floor or walls. This will serve as a guide during the installation process, helping you stay on track and avoid making any mistakes.
By carefully assessing the bathroom space, gathering the necessary tools and materials, and measuring and marking the area for installation, you’ll be well-prepared to begin the installation process. Stay tuned for the next section, where we will guide you through the actual installation steps.
Removing The Old Shower Or Bathtub
In order to install a bathtub shower combo, the first step is to remove the old shower or bathtub. This process involves several important steps, including turning off the water supply, removing the shower fixtures and hardware, disconnecting the drain pipe and overflow assembly, and breaking apart and removing the old shower or bathtub. By following these steps, you can efficiently remove the old shower or bathtub and prepare the space for the installation of the new bathtub shower combo.
Turning off the Water Supply
The first step in removing the old shower or bathtub is to turn off the water supply. This is crucial to avoid any potential water leaks or accidents during the removal process. Locate the water shut-off valve near the shower or bathtub, usually located in the basement or utility room, and turn it clockwise until it is completely closed. This will ensure that no water flows into the area while you remove the old fixtures.
Removing the Shower Fixtures and Hardware
Once the water supply is turned off, the next step is to remove the shower fixtures and hardware. Start by carefully inspecting the fixtures and hardware to identify any screws or bolts that need to be removed. Use the appropriate tools, such as a screwdriver or wrench, to loosen and remove them. Be cautious not to damage the surrounding tiles or walls while removing the fixtures. Once all the screws and bolts are removed, gently pry off the fixtures and hardware from the wall. Set them aside for proper disposal or future use if they are still in good condition.
Disconnecting the Drain Pipe and Overflow Assembly
After removing the shower fixtures and hardware, it is essential to disconnect the drain pipe and overflow assembly. Start by placing a bucket underneath the drain to catch any water or debris. This will prevent any mess or water damage during the disconnection process. Using a wrench, loosen and remove the nuts connecting the drain pipe and overflow assembly to the bathtub. Once the nuts are removed, carefully pull out the drain pipe and overflow assembly from the bathtub. Dispose of the old drain pipe and overflow assembly properly.
Breaking Apart and Removing the Old Shower or Bathtub
With the shower fixtures, hardware, drain pipe, and overflow assembly removed, the final step is to break apart and remove the old shower or bathtub. Depending on the type of material used for the shower or bathtub, different methods may be required. If it is a ceramic or porcelain bathtub, you may need to use a sledgehammer to break it into manageable pieces. For fiberglass or acrylic showers, a utility knife or reciprocating saw can be used to cut through the material. Remember to wear protective gear, such as safety glasses and gloves, during this step to prevent any injuries.
Once the old shower or bathtub is broken apart, carefully remove the pieces and dispose of them appropriately. It is important to follow the guidelines provided by your local waste management facility for proper disposal of construction debris.
Now that you have successfully removed the old shower or bathtub, you are ready to proceed with the installation of your new bathtub shower combo. Stay tuned for the next section of this blog post, where we will discuss the steps involved in installing the new bathtub shower combo.
Installing The Bathtub Shower Combo
Installing the Bathtub Shower Combo
When it comes to creating a functional and stylish bathroom, installing a bathtub shower combo is a popular choice. This versatile fixture allows you to enjoy the relaxation of a bathtub and the convenience of a shower in one unit. However, the installation process can seem daunting if you’re not familiar with the steps involved. In this guide, we’ll walk you through the process of installing a bathtub shower combo, from preparing the area to testing for leaks and proper drainage. So let’s dive in and get started!
Preparing the Area for Installation
Before you begin the installation process, it’s essential to prepare the area to ensure a smooth and successful installation. Here are the steps to follow:
- Measure the space: Start by measuring the area where you plan to install the bathtub shower combo. This will help you choose the right size and ensure a proper fit.
- Remove the old fixture: If you’re replacing an existing bathtub or shower, you’ll need to remove it first. This may involve disconnecting plumbing fixtures, removing tiles or surround, and unscrewing any screws or nails.
- Clean the space: Once the old fixture is removed, thoroughly clean the area to remove any dirt, debris, or old caulking. This will ensure a clean surface for installation.
- Inspect the plumbing: Take a close look at the plumbing connections and make sure everything is in good condition. If you notice any leaks or damage, it’s best to fix them before proceeding with the installation.
- Prepare the subfloor: Check the subfloor for any issues, such as rot or unevenness. If necessary, repair or replace the subfloor to provide a sturdy and level base for the bathtub shower combo.
Positioning and Leveling the Bathtub
Once the area is prepared, it’s time to position and level the bathtub. Follow these steps to ensure a proper installation:
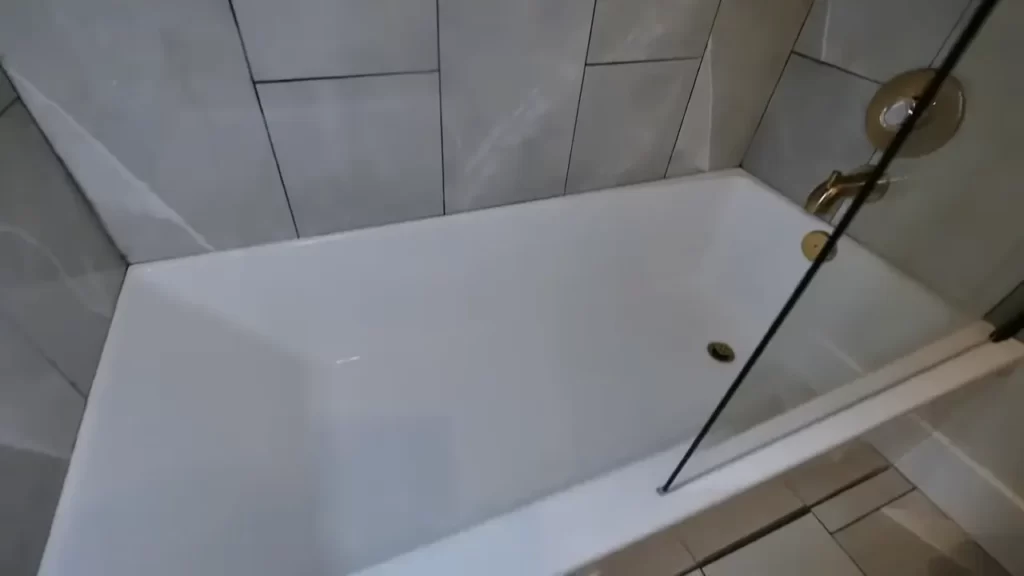
- Position the bathtub: Carefully place the bathtub in the desired location, making sure it aligns with the plumbing connections.
- Use a level: Place a level on top of the bathtub to check for any unevenness. Adjust the position as needed, ensuring that the tub is level in all directions.
- Secure the bathtub: Once the bathtub is properly positioned and leveled, secure it to the studs using screws or brackets. This will prevent any movement or shifting after installation.
Securing the Bathtub to the Studs
Securing the bathtub to the studs is an important step to ensure stability and support. Follow these steps to securely fasten the bathtub:
- Locate the studs: Use a stud finder to locate the studs behind the walls. Mark their positions with a pencil.
- Install support brackets: Attach support brackets to the studs where the bathtub edges will rest. These brackets will provide additional support to prevent sagging or shifting.
- Place the bathtub: Carefully place the bathtub on top of the support brackets, ensuring that it rests securely against the wall.
- Screw into the studs: Using a drill, screw the bathtub flange into the studs at regular intervals. This will firmly attach the bathtub to the wall, providing stability.
Installing the Plumbing Fixtures and Hardware
With the bathtub securely in place, it’s time to install the plumbing fixtures and hardware. Follow these steps to properly install these components:
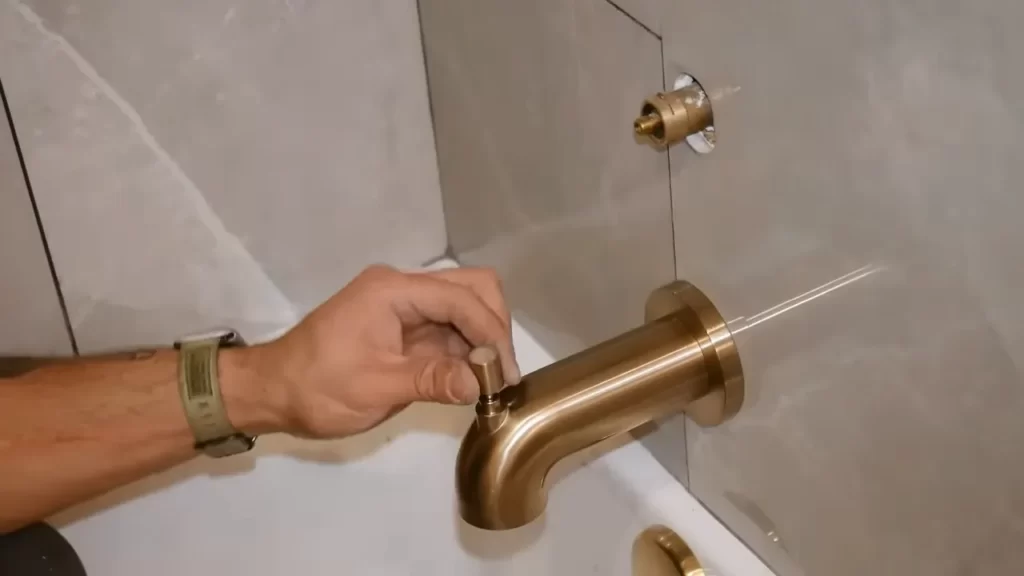
- Attach the faucet: Install the faucet according to the manufacturer’s instructions. Make sure to connect the hot and cold water supply lines correctly.
- Install the showerhead: Attach the showerhead to the designated outlet on the bathtub or to a shower arm extension, if desired.
- Connect the handles and knobs: Install the handles and knobs as per the manufacturer’s guidelines, ensuring they are securely fastened.
Connecting the Drain Pipe and Overflow Assembly
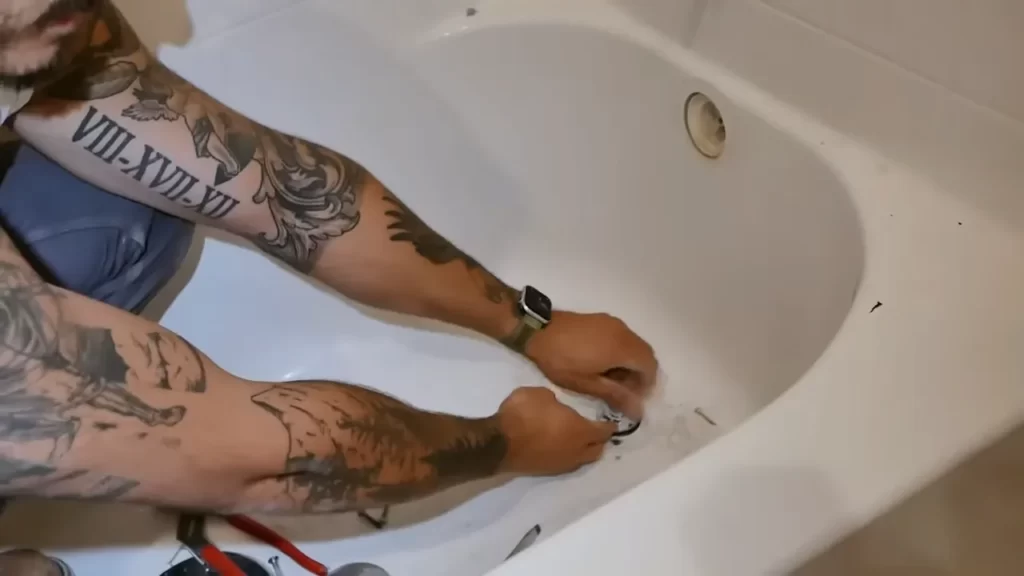
Properly connecting the drain pipe and overflow assembly is crucial for ensuring proper drainage. Follow these steps to connect these components:
- Connect the drain: Install the drain pipe according to local plumbing codes and the manufacturer’s instructions. Make sure to use a P-trap to prevent sewer gases from entering your bathroom.
- Attach the overflow assembly: Connect the overflow assembly to the designated opening in the bathtub. Secure it tightly to prevent leaks.
Testing for Leaks and Proper Drainage
Once all the necessary components are installed, it’s time to test for leaks and proper drainage. Follow these steps to ensure everything is in good working order:
- Turn on the water supply: Slowly turn on the water supply to check for any leaks around the faucet, handles, and connections.
- Fill the bathtub: Fill the bathtub with water to check for proper drainage. Make sure the water drains quickly without any signs of clogging or backup.
- Inspect for leaks: Carefully inspect all connections, joints, and seals for any signs of leaks. If you notice any leaks, tighten the connections or replace faulty seals as needed.
By following these step-by-step instructions, you’ll be able to successfully install a bathtub shower combo in your bathroom. Just remember to take your time, double-check each step, and ensure proper alignment and secure installation. With a little patience and effort, you’ll soon be enjoying the best of both worlds – a relaxing bathtub and a convenient shower – in one stylish unit.
Finishing Touches
Now that you have successfully installed your bathtub shower combo, it’s time to add those finishing touches that will complete the look and functionality of your new fixture. In this section, we will go over some important steps to take to ensure that your bathtub shower combo is properly sealed, the shower fixtures and hardware are securely attached, any additional accessories are installed, and the unit is clean and ready for use.
Sealing and Caulking the Edges
To prevent water leakage and potential damage to your bathroom walls, it’s crucial to properly seal and caulk the edges of your bathtub shower combo. Here is how you can do it:
- Clean the edges of the bathtub and the shower walls thoroughly to remove any dirt or debris.
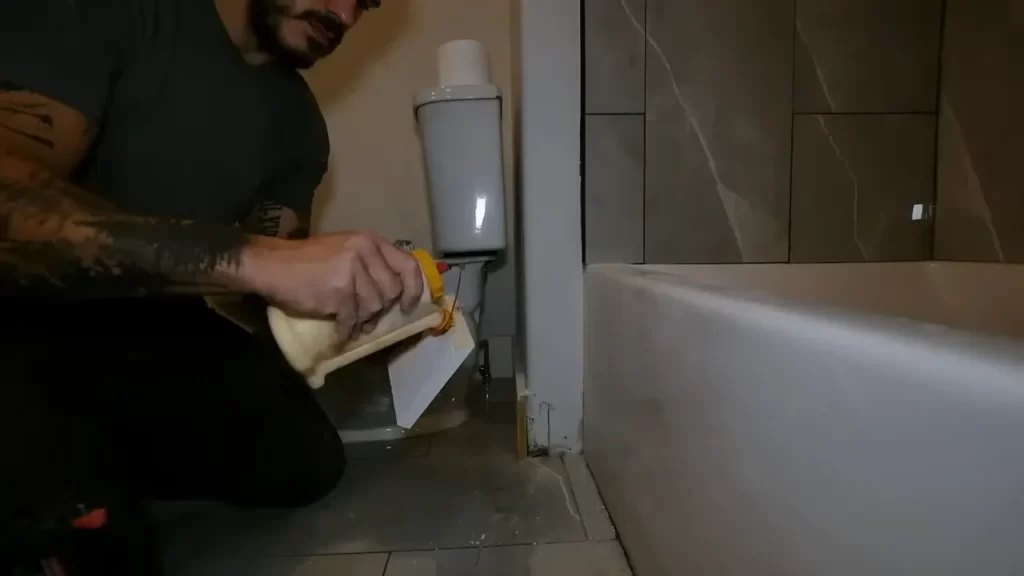
- Apply a bead of silicone caulk along the edge where the bathtub and the shower walls meet, ensuring a continuous and uniform seal.
- Smooth the caulk with a caulk smoothing tool or your finger to create a neat and professional-looking finish.
- Allow the caulk to dry completely before using the shower to ensure a watertight seal.
Reattaching the Shower Fixtures and Hardware
Now that the sealing and caulking is done, it’s time to reattach the shower fixtures and hardware. Follow these steps:
- Refer to the manufacturer’s instructions to determine the correct placement and installation method for each fixture and hardware piece.
- Using a wrench or pliers, securely attach the showerhead, handles, and any other hardware to their designated spots.
- Make sure all connections are tight and there are no leaks.
- Test the fixtures by turning on the water and checking for any signs of leakage. Make any necessary adjustments or re-tighten connections if needed.
Installing any Additional Accessories
If you are planning to enhance your bathing experience by adding some accessories to your bathtub shower combo, follow these steps:
- Identify the desired accessories, such as shelves, towel racks, or soap dispensers.
- Refer to the manufacturer’s instructions to determine the appropriate placement and installation method for each accessory.
- Using the provided hardware or mounting brackets, securely attach the accessories to the designated spots on the walls or the bathtub itself.
- Double-check the stability of each accessory and make any necessary adjustments to ensure they are securely in place.
Cleaning and Preparing the Bathtub Shower Combo for Use
Before you can start enjoying your newly installed bathtub shower combo, it’s important to clean and prepare it for use:
- Remove any dirt, dust, or construction debris from the bathtub and the shower walls using a mild cleanser and a soft sponge or cloth.
- Rinse the surfaces thoroughly with clean water to remove any residue of the cleaning product.
- Dry the bathtub shower combo with a clean towel to ensure there is no moisture left.
- Inspect the entire unit for any signs of damage or defects and address them accordingly.
- Finally, fill the bathtub with water and test the shower to ensure everything is functioning properly before using it for the first time.
Congratulations! You’ve now completed the installation of your bathtub shower combo and added those essential finishing touches. Take a step back, admire your handiwork, and get ready to enjoy the comfort and convenience of your new bathing space!
Troubleshooting And Maintenance Tips
Proper installation and regular maintenance are crucial to keep your bathtub shower combo functioning efficiently and looking great for years to come. In this section, we will discuss common installation issues and solutions, as well as some tips for regular maintenance and keeping your bathtub and shower clean.
Common Installation Issues and Solutions
Even with careful planning and execution, installation issues can sometimes arise. It’s essential to identify and address these issues promptly to ensure that your bathtub shower combo operates as it should. Here are some common installation problems and their solutions:
| Issue | Solution |
|---|---|
| The bathtub is not level | Use a level to check the bathtub’s positioning. Adjust the feet or support structure to achieve proper leveling. |
| Leakage around the edges | Apply a bead of waterproof caulk around the perimeter of the tub where it meets the walls to create a watertight seal. |
| Low water pressure | Check for any clogs or obstructions in the water supply lines and clean or replace them if necessary. Adjust the water pressure regulator as needed. |
| Showerhead or faucet leakage | Inspect the connections and tighten any loose parts. Replace faulty washers or gaskets to fix leaks. |
Regular Maintenance to Preserve the Bathtub Shower Combo
Maintaining your bathtub shower combo regularly is essential to prevent damage and keep it in optimum condition. Here are some maintenance tasks you should perform on a regular basis:
- Inspect the caulking around the tub every six months. Replace any damaged or deteriorated caulk to maintain a watertight seal.
- Clean the bathtub and shower surfaces using a non-abrasive cleaner and a soft cloth or sponge. Avoid using harsh chemicals or abrasive scrubs that may scratch the surfaces.
- Check and clean the drain regularly to remove any hair or debris that may cause clogs.
- Keep the air vents clear of dust and debris to ensure proper ventilation and prevent mold and mildew growth.
Tips for Keeping the Bathtub and Shower Clean
In addition to regular maintenance, you can take a few extra steps to keep your bathtub and shower clean and hygienic.
- After each use, rinse the tub and shower with warm water to remove any soap residue or grime.
- Avoid leaving wet bath mats or towels in the tub or shower area for extended periods, as this can promote mold and mildew growth.
- Use a squeegee or towel to wipe down the walls and glass doors after showering to prevent water spots and mineral buildup.
- Consider using a daily shower cleaner or homemade solution to inhibit the growth of mold and mildew.
By following these troubleshooting and maintenance tips, you can ensure the longevity and optimal performance of your bathtub shower combo. Regular upkeep and cleanliness will not only enhance your bathing experience but also preserve the aesthetic appeal of your bathroom.
Frequently Asked Questions
How Much Does It Cost To Install A Shower Tub Combo?
The cost of installing a shower tub combo can vary depending on factors like materials used and labor charges. On average, homeowners can expect to spend around $2,500 to $6,000 for installation. However, it is recommended to get quotes from professionals for an accurate estimate.
Is A Shower Tub Combo A Good Idea?
Yes, a shower tub combo is a good idea. It offers the convenience of both a shower and a bathtub in one space-saving unit. It provides flexibility for those who enjoy both bathing and showering. You can easily switch between the two options based on your preferences.
How To Install A Tub And Shower Surround?
To install a tub and shower surround, first make sure the area is clean and dry. Next, apply adhesive to the back of the panels and press them firmly onto the wall. Secure the panels with screws or nails. Finally, seal the seams and edges with caulk.
How Do You Connect A Bathtub To A Shower?
To connect a bathtub to a shower, you can add a showerhead and a diverter valve. Install the showerhead onto the bathtub faucet and connect the diverter valve to switch between shower and bath. This allows for a convenient and versatile bathing experience.
Conclusion
To sum up, installing a bathtub shower combo is a straightforward process that can be accomplished with some patience and basic tools. By following the step-by-step instructions outlined in this blog post, you can save money on hiring a professional and create a functional and visually appealing bathroom feature.
Remember to gather all the necessary materials, carefully prepare the area, and take precise measurements to ensure a successful installation. Make sure to secure all the connections and test for leaks before enjoying your new bathtub shower combo. Happy DIY-ing!