
Installing a bathtub on a concrete floor involves leveling the floor and securing the bathtub in place using adhesive or anchoring. The process requires prepping the area, positioning the bathtub, and connecting the plumbing.
By following these steps, you can successfully install a bathtub on a concrete floor. Whether you’re remodeling a bathroom or constructing a new one, knowing how to install a bathtub on a concrete floor is essential. This guide will walk you through the process, from leveling the floor to connecting the plumbing, ensuring a reliable and sturdy installation.
So, let’s get started with the steps to successfully install a bathtub on a concrete floor.
Preparing The Concrete Surface
Giving proper attention to preparing the concrete surface before installing a bathtub is essential for ensuring a sturdy and long-lasting installation. This step involves cleaning the concrete floor, evaluating its condition, and repairing any cracks or imperfections. By following these measures, you can create a stable foundation and minimize the risk of future damage. Let’s delve into each of these steps in detail.
Cleaning the Concrete Floor
The first step in preparing the concrete surface is to thoroughly clean it. Clearing away any dust, debris, or loose particles will create a clean and smooth surface, allowing for proper adhesion of the bathtub and its surrounding materials. To clean the concrete floor, follow these steps:
- Remove any loose objects or furniture from the area.
- Vacuum or sweep: Begin by removing loose dirt and debris using a vacuum cleaner or broom. Pay extra attention to corners and edges.
- Scrub: Use a mild detergent mixed with warm water to scrub the concrete floor. This will help remove any stubborn stains or dirt. Rinse the floor thoroughly and allow it to dry.
- Repair any damage: Take note of any cracks or imperfections in the concrete floor. These will be addressed in the next step.
Evaluating the Condition of the Floor
Before proceeding with the installation, it is crucial to evaluate the condition of the concrete floor. Identifying any existing issues will allow you to take the necessary steps to ensure a secure installation. Follow these guidelines to evaluate the condition of the floor:
- Inspect for cracks: Examine the entire surface of the concrete floor and look for any visible cracks. Note their location, length, and depth.
- Check for sinking or unevenness: Walk across the floor and identify any areas that feel uneven or sunken. These may need to be leveled before proceeding.
Repairing any Cracks or Imperfections
Once you have evaluated the condition of the concrete floor and identified any cracks or imperfections, it is crucial to repair them. Ignoring these issues can result in further damage and compromise the stability of your bathtub installation. Follow these steps to repair cracks and imperfections:
- Clean the affected area: Remove any loose particles or debris from the cracked or damaged areas.
- Fill the cracks: Use a high-quality, waterproof concrete crack filler to fill in the cracks. Follow the product’s instructions for application and drying time.
- Level uneven areas: If you identified any sinking or unevenness in the concrete floor, level those areas using a self-leveling compound. This will create a smooth and even surface for the bathtub installation.
- Allow time for drying: After completing the necessary repairs, allow the crack filler and self-leveling compound to dry completely before moving forward with the bathtub installation.
By thoroughly cleaning the concrete surface, evaluating its condition, and addressing any cracks or imperfections, you are taking the necessary steps to prepare a stable and durable foundation for your bathtub installation. Adhering to these guidelines will help ensure a successful and secure installation that will stand the test of time.
Creating The Bathtub Installation Area
Installing a bathtub on a concrete floor requires careful planning and attention to detail to ensure a sturdy and secure installation. Before getting started, it’s important to create the proper installation area to accommodate the bathtub. This involves measuring and marking the placement of the bathtub, creating a level and stable base, and installing support blocking. By following these steps, you can successfully install a bathtub on a concrete floor like a pro.
Measuring and marking the placement of the bathtub
To begin, measure the dimensions of your bathtub to determine its exact placement in the installation area. Use a measuring tape to measure the length and width of the bathtub, ensuring you take into account any additional space needed for fixtures or clearance. Once you have the measurements, mark the outline of the bathtub on the concrete floor using a chalk line or painter’s tape. This will serve as your guide when creating the base and positioning the bathtub.
Creating a level and stable base for the bathtub
Creating a level and stable base is crucial for a successful bathtub installation. Start by ensuring the concrete floor is clean and free of any debris. Next, place a level on the floor to check for any uneven areas. Use a grinder or leveling compound to smooth out any high spots and fill in any low areas. Once the floor is level, you can proceed with creating the base. This can be done using a mortar mix, which should be spread evenly within the marked outline of the bathtub. Use a trowel to make the surface smooth and level, ensuring the thickness of the mortar is sufficient to support the weight of the bathtub.
Installing support blocking for the bathtub
Support blocking is important to provide additional stability to the bathtub and prevent it from shifting or sagging over time. Start by determining the location of the drain and overflow openings on the underside of the bathtub. Mark these locations on the concrete floor. Then, cut pressure-treated lumber or plywood into strips that are the same width as the bathtub. Place these strips along the marked locations and attach them securely to the concrete floor using construction adhesive or masonry screws. Make sure to install enough support blocking to provide adequate support along the entire length of the bathtub.
With the support blocking in place, your bathtub installation area is now ready for the actual bathtub installation. Remember to refer to the manufacturer’s instructions for specific installation requirements and recommended products.
Installing The Bathtub
Now that you have prepared the area and set the foundation, it’s time to move on to the actual installation of the bathtub. This crucial step involves several key tasks to ensure stability and functionality. In this section, we will guide you through placing the bathtub on the prepared area, leveling it, connecting the drain system, and securing it to the wall studs or framing.
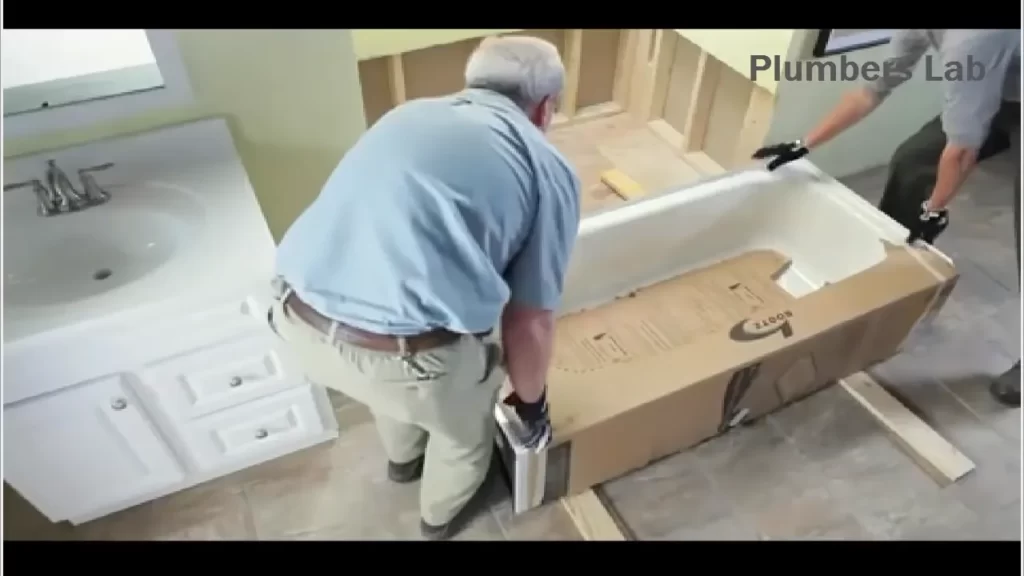
Placing the bathtub on the prepared area
Once you have cleared the concrete floor and made sure it is clean and dry, it’s time to position the bathtub onto the prepared area. To do this, carefully lift the bathtub and place it into the desired position. Make sure to align the drain hole with the drainpipe stub-out. Use a level to ensure that the bathtub is sitting straight and level on the floor. Adjust the position as needed until it is perfectly aligned.
Leveling the bathtub
To ensure proper drainage and prevent any issues in the future, it is essential to level the bathtub. Begin by placing a level on the rim of the tub. Check both the front-to-back and side-to-side leveling. If any adjustments are needed, use shims to raise or lower specific areas until the tub is perfectly level.
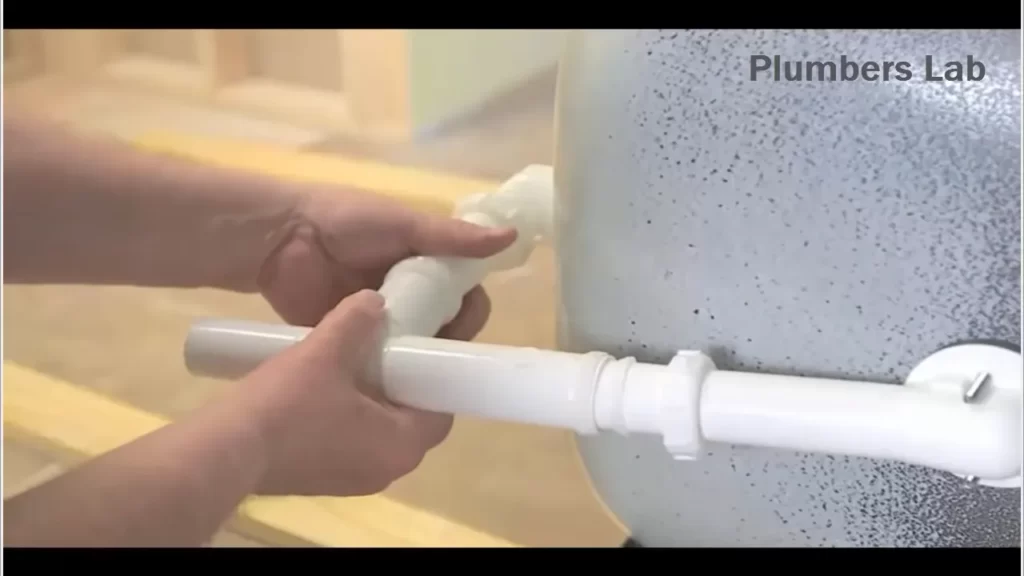
Connecting the drain system
With the bathtub securely in place and level, it’s time to connect the drain system. Start by attaching the drain shoe to the drain hole on the bottom of the tub. Make sure to tighten it firmly. Then, connect the P-trap to the drain shoe and secure it using a slip nut. Finally, connect the other end of the P-trap to the drainpipe stub-out and tighten the slip nut. Double-check all connections to ensure they are secure and leak-free.
Securing the bathtub to the wall studs or framing
To ensure stability and prevent any movement, it is important to secure the bathtub to the wall studs or framing. Begin by locating the studs or framing behind the tub. Once you have identified the suitable attachment points, use a drill to create pilot holes. Then, use screws or bolts to fasten the flange of the bathtub to the wall studs or framing. Make sure to tighten the screws or bolts securely but be cautious not to overtighten and damage the tub or the surrounding area.
By following these steps, you can confidently install a bathtub on a concrete floor. Remember to take your time and double-check each step to ensure a secure and reliable installation. Now that your bathtub is in place, you can enjoy the relaxing and soothing experience it brings to your bathroom.
Frequently Asked Questions
Can You Install A Bathtub Without Access Underneath?
Yes, it’s possible to install a bathtub without access underneath. However, it may be more challenging and require additional steps to ensure proper installation and maintenance. It’s recommended to consult with a professional to assess your specific situation and provide the best solution.
How To Build A Basement Bathroom Without Breaking Concrete?
To build a basement bathroom without breaking concrete, consider installing a macerating toilet system. This system uses a grinder to break down waste, allowing it to be pumped through smaller pipes without the need to break concrete. It’s efficient and cost-effective.
Should I Put Cement Under My Bathtub?
No, it is not necessary to put cement under your bathtub.
How Do You Secure A Bathtub To The Floor?
To secure a bathtub to the floor, follow these steps: 1. Position the tub in the desired location. 2. Mark the outline of the tub on the floor. 3. Apply construction adhesive or silicone caulking to the bottom of the tub.
4. Press the tub firmly onto the floor. 5. Use screws or brackets to secure the tub to the floor for added stability.
Conclusion
Installing a bathtub on a concrete floor may seem daunting, but with the right guidance, it can be a smooth process. By following the step-by-step instructions outlined you can ensure a successful bathtub installation. From preparing the concrete surface to securing the tub in place, each stage has been carefully explained.
Remember to always prioritize safety, use the necessary tools, and seek professional help if needed. With these tips, you can enjoy a well-installed bathtub on your concrete floor for years to come.