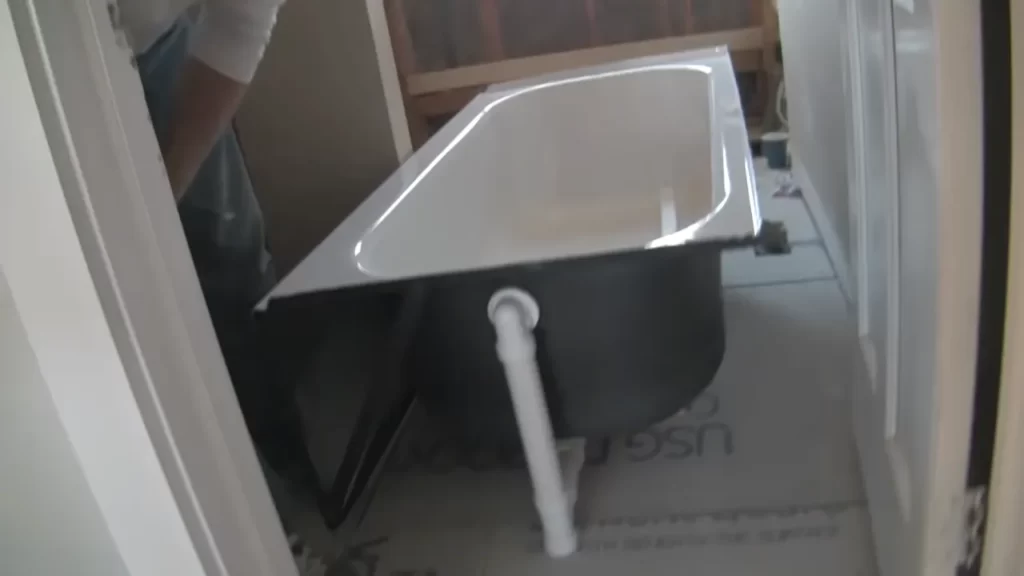
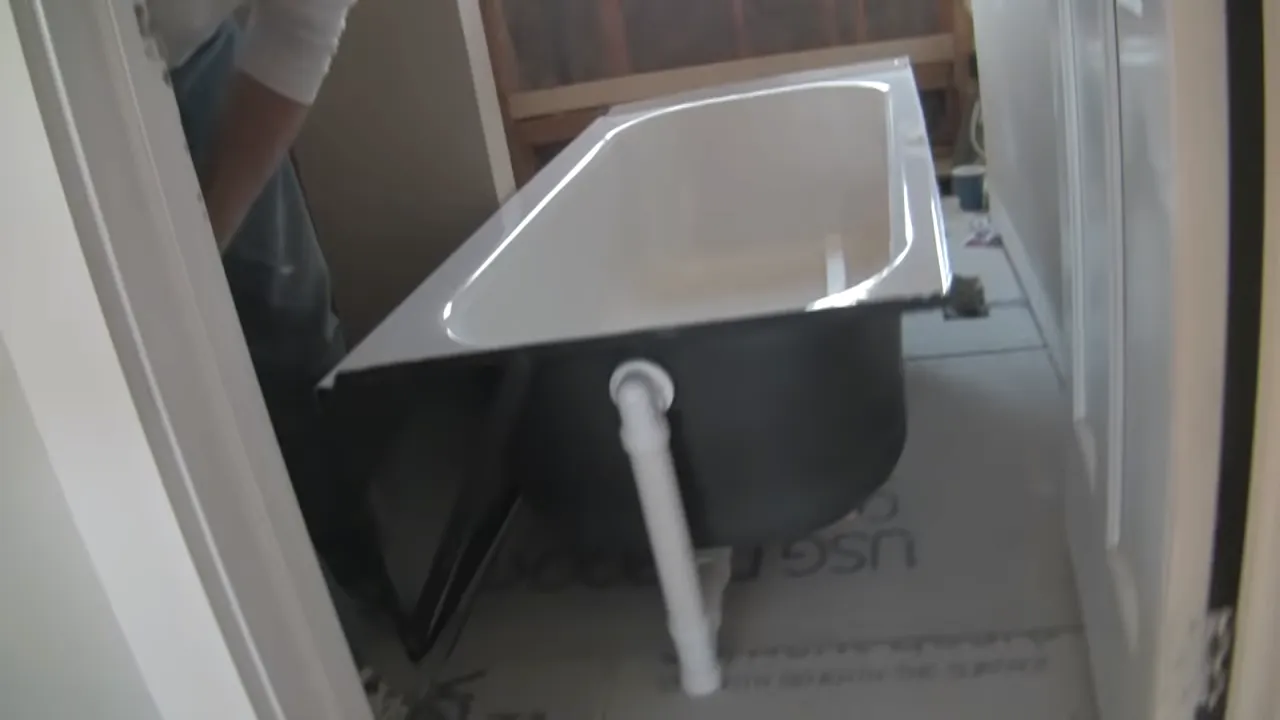
To install a bathtub drain, remove the old drain assembly, apply plumber’s putty to the new drain assembly, insert it into the drain hole, and tighten the retaining nut. Finally, attach the overflow plate and test the drain for leaks.
Welcome to our comprehensive guide on how to install a bathtub drain! Whether you’re renovating your bathroom or simply replacing a faulty drain, this step-by-step tutorial will walk you through the process. Installing a bathtub drain may seem like a daunting task, but with the right tools and a little patience, you can complete this project in no time.
Following these instructions will ensure a seamless installation and prevent any future leaks or drainage issues. So, let’s get started and transform your bathtub into a functional and reliable fixture!
Preparing For Installation
Before you dive into the installation process, it’s essential to prepare properly. This step ensures that everything goes smoothly and minimizes any headaches down the line. In this section, we’ll cover the necessary steps to prep your bathtub drain installation.
Selecting the Right Bathtub Drain
First and foremost, you need to choose the right bathtub drain for your installation. Consider the type of bathtub you have and its dimensions. Each bathtub requires a specific drain size and configuration. Make sure you research and select a drain that is compatible with your bathtub model. If you’re unsure, consult the manufacturer’s specifications or seek professional advice.
Gathering the Necessary Tools and Materials
Next, gather all the tools and materials you’ll need for the installation. Being prepared with the right equipment will save you time and frustration. Here’s a list of items you may require:
| Tools | Materials |
|---|---|
|
|
Removing the Old Bathtub Drain (if applicable)
If you’re replacing an existing bathtub drain, you’ll need to remove the old one first. This step requires careful attention to avoid damaging the surrounding plumbing. Use an adjustable wrench or pliers to loosen and unscrew the old drain. Once it’s loosened, you can carefully pull it out. Make sure to keep any screws or components that may be necessary for the new drain installation.
Measuring and Marking the Drain Placement
Properly measuring and marking the drain placement is crucial to ensure a precise fit. Measure the diameter and position of the drain hole on your bathtub’s base. Use a measuring tape or ruler to accurately mark the center of the drain hole. This marking will serve as a reference point during installation and help align the new drain perfectly.
Ensuring Proper Ventilation and Plumbing Access
Adequate ventilation and plumbing access are vital for the longevity and functionality of your bathtub drain. Check if your bathroom has proper ventilation to allow for air circulation and prevent mold or mildew growth. Additionally, ensure that there is convenient access to the plumbing beneath the bathtub. This accessibility will make future repairs or maintenance easier and less time-consuming.
Installing The Bathtub Drain
When it comes to installing a bathtub, one of the key steps is installing the bathtub drain. This is a crucial component that will ensure proper drainage and prevent any leaks. In this section, we will guide you through each step of installing the bathtub drain, from applying pipe sealant and tape to testing the drain and checking for leaks.
Applying Pipe Sealant and Tape
The first step in installing the bathtub drain is applying pipe sealant and tape. This will help create a watertight seal and prevent any leaks. Start by cleaning the threads of the drain pipe with a rag to ensure a clean surface. Next, apply a thin layer of pipe sealant to the threaded end of the drain pipe. Make sure to evenly coat the entire threaded area. Once the sealant is applied, take a roll of pipe tape and wrap it clockwise around the threads. The tape should cover all the threads, ensuring a tight seal.
Installing the Overflow and Drain Assembly
After applying the pipe sealant and tape, it’s time to install the overflow and drain assembly. Start by inserting the overflow pipe through the overflow hole in the bathtub. Secure it in place using a screwdriver or wrench. Next, place the drain shoe over the drain pipe and align it with the bathtub drain hole. Tighten the drain shoe using a wrench or pliers, ensuring a snug fit. Once the overflow and drain assembly are securely in place, use a level to check if they are properly aligned.
Connecting the Drain to the P-Trap
With the overflow and drain assembly installed, it’s time to connect the drain to the P-trap. Start by attaching the P-trap to the drain pipe using a wrench. Make sure to tighten the connections, but avoid over-tightening as it may cause damage. Once the P-trap is securely attached to the drain pipe, connect the other end of the P-trap to the main drain line. Again, use a wrench to tighten the connections, ensuring a secure fit. Check for any leaks at the connections and make adjustments if needed.
Securing the Drain with a Lock Nut or Strainer
After connecting the drain to the P-trap, it’s time to secure the drain using a lock nut or strainer. This will help keep the drain in place and prevent any movement. Place the lock nut or strainer over the drain pipe and tighten it using a wrench. Make sure it is snugly secured but avoid over-tightening to prevent damage. Once the lock nut or strainer is in place, give it a gentle tug to ensure it is securely fastened.
Testing the Drain and Checking for Leaks
With the drain securely installed, it’s time to test it and check for any leaks. Fill the bathtub with water and let it drain completely. Observe the drain and its connections for any signs of leakage. Pay close attention to the connections at the P-trap and the lock nut or strainer. If you notice any leaks, tighten the connections as needed or apply additional pipe tape or sealant. Once you have confirmed that the drain is leak-free, your bathtub drain installation is complete!

Proper Maintenance And Troubleshooting
Maintaining and troubleshooting your bathtub drain is an essential part of keeping your bathroom plumbing in optimal condition. By regularly cleaning and maintaining the drain, you can prevent common problems like clogs and slow drainage. In this article, we’ll discuss some practical tips to help you keep your bathtub drain functioning smoothly for years to come.
1. Cleaning and Maintaining the Bathtub Drain
Regular cleaning of your bathtub drain is crucial to prevent the buildup of soap scum, debris, and hair that can lead to clogs. Here are some simple steps to keep your drain clean:
- Start by removing the drain cover and using a pair of tweezers or a drain snake to remove any visible hair or debris.
- Next, create a mixture of equal parts baking soda and vinegar and pour it down the drain. Leave it for about 15 minutes to allow the fizzing action to break down any stubborn buildup.
- After 15 minutes, pour hot water down the drain to flush away any remaining residue. Repeat this process once a month to maintain a clean drain.
2. Identifying and Fixing Common Drain Problems
Even with regular maintenance, you may still encounter common drain problems. Here are some issues you may come across and how to fix them:
| Problem | Solution |
|---|---|
| Clogged drain | Use a plunger to try and dislodge the clog. If that doesn’t work, carefully remove the trap and manually remove the blockage. If the clog persists, consider using a drain snake. |
| Leaking drain | Inspect the drain for any visible cracks or damaged seals. Replace the damaged parts to fix the leak. If the leak continues, consult a professional plumber. |
| Slow drainage | Use a mixture of baking soda, vinegar, and hot water to break down any residue causing the slow drainage. If the problem persists, try using a drain snake or call a professional. |
3. Troubleshooting Slow Draining or Clogged Drains
If you notice that water is draining slowly or your drain is completely clogged, there are a few troubleshooting steps you can take:
- Start by using a plunger to create suction and dislodge the clog.
- If the plunger doesn’t work, try using a drain snake to remove the blockage manually.
- If you’re still experiencing issues, consider using a chemical drain cleaner. However, be cautious with these products as they can be harmful to your pipes and the environment.
4. Understanding When to Call a Professional
While some minor drain issues can be resolved with DIY methods, there are certain situations where it’s best to call a professional plumber. Consider reaching out to a professional in the following scenarios:
- If you’re unable to resolve the issue using simple troubleshooting techniques.
- If the problem persists or keeps recurring even after attempts to fix it.
- If you notice a foul odor coming from the drain.
- If you’re dealing with a complex plumbing system or a bathroom remodel that requires professional expertise.
By following these maintenance and troubleshooting tips, you can keep your bathtub drain running smoothly and prevent costly plumbing repairs in the future. Remember, regular maintenance is key to ensuring a functional and efficient drain.
Frequently Asked Questions
How Do You Install A New Drain In A Bathtub?
To install a new drain in a bathtub, follow these steps: 1. Remove the old drain by unscrewing it. 2. Clean the area around the drain hole. 3. Apply plumber’s putty around the new drain’s flange. 4. Insert the new drain into the drain hole and tighten it using a drain wrench.
5. Test the drain by filling the bathtub with water. Ensure there are no leaks.
Do You Use Plumbers Putty On Tub Drain?
Yes, plumbers putty is commonly used on tub drains to create a watertight seal. It helps prevent leaks and ensures proper functioning of the drain.
Is It Easy To Replace Bathtub Drain?
Yes, replacing a bathtub drain is easy.
How Do You Plug A Bathtub Drain Without A Stopper?
To plug a bathtub drain without a stopper, you can use alternative methods like using a rag or cloth to cover the drain or using a rubber suction cup to create a seal. Another option is to use a homemade drain plug using a plastic bottle and plastic bag.
Conclusion
Installing a bathtub drain may seem daunting, but with the right steps, it can be a manageable project. By following our guide, you can ensure a smooth installation process and avoid any unnecessary plumbing issues. Remember to gather all the necessary tools and materials before getting started.
With a bit of patience and careful attention, you’ll have a functional and efficient bathtub drain in no time. Happy DIY-ing!
