To install 3X6 subway tile in a shower, follow these steps: Prepare the surface, measure and mark the layout, apply thin-set adhesive, place the tiles, and grout the tile. Installation of 3X6 subway tile in a shower requires careful preparation and attention to detail.
By following the steps mentioned, you can achieve a clean and elegant installation that will enhance the overall look of your shower.
Understanding The Basics Of 3X6 Subway Tile Installation
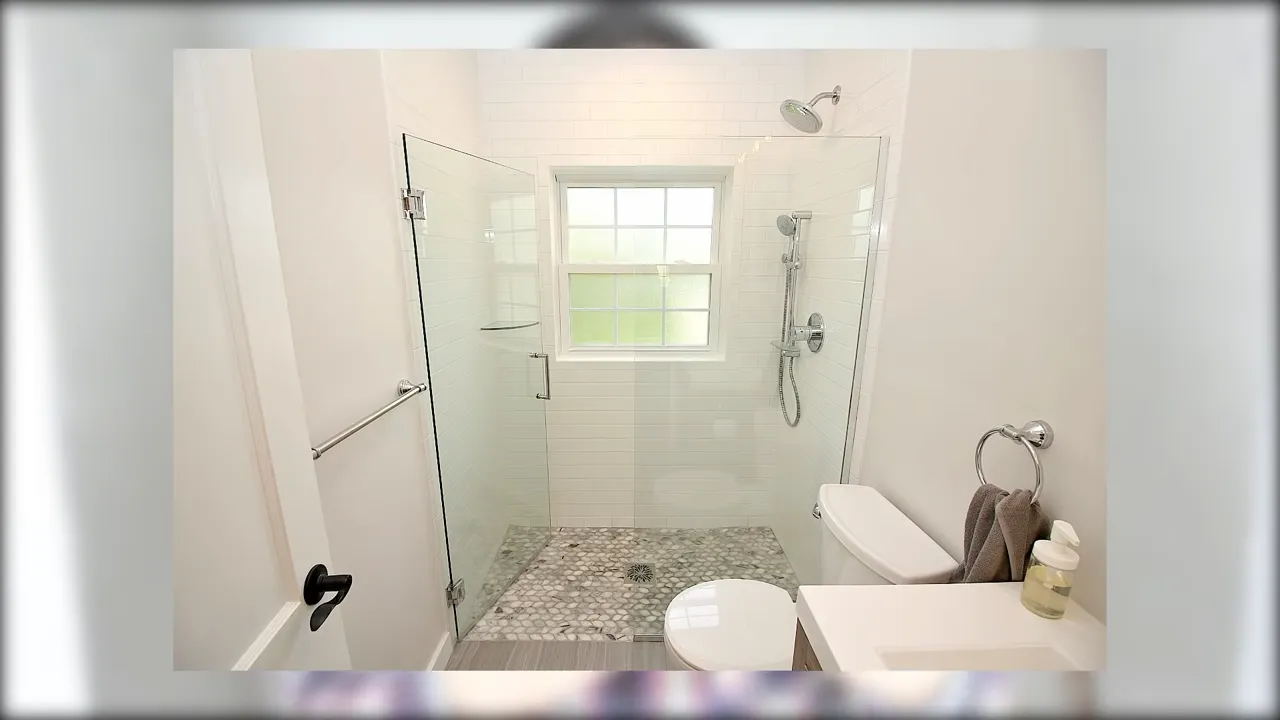
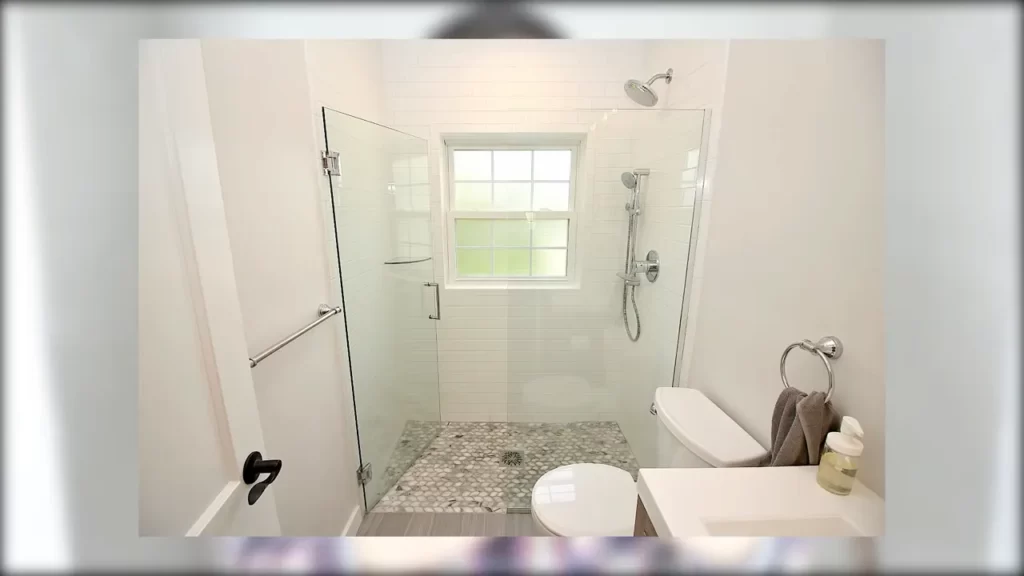
Welcome to our comprehensive guide on how to install 3X6 subway tile in a shower! Subway tiles have become a popular choice for showers due to their timeless appeal and versatility. With their classic rectangular shape and sleek aesthetic, 3X6 subway tiles can transform any shower into a stylish and sophisticated space. In this section, we will delve into the basics of 3X6 subway tile installation, including the benefits of using these tiles in a shower and the tools and materials you’ll need for a successful installation.
<h3>Benefits of using 3X6 subway tiles in a shower</h3>
Before we dive into the installation process, let’s explore the numerous benefits of using 3X6 subway tiles in a shower:
- Durable and Water-Resistant: 3X6 subway tiles are made from ceramic or porcelain, which are highly resistant to water damage. Their durability ensures that your shower walls will stay intact and beautiful for years to come.
- Easy to Clean: The smooth surface of subway tiles makes them easy to clean. Simply wipe away dirt and grime, and your shower walls will stay sparkling clean with minimal effort.
- Versatile Design: 3X6 subway tiles offer endless design possibilities. Whether you prefer a classic and timeless look or a more modern and contemporary style, subway tiles can adapt to any aesthetic.
- Ideal for Small Spaces: The elongated shape of 3X6 subway tiles creates an illusion of spaciousness, making them perfect for small shower areas. They can visually expand the size of the shower and create a more open and inviting atmosphere.
- Affordable and Accessible: Subway tiles are widely available and come at an affordable price point. This accessibility and affordability make them a popular choice for homeowners on a budget.
<h3>Tools and materials needed for the installation process</h3>
Before you embark on your subway tile installation journey, make sure you have the following tools and materials at hand:
| Tools | Materials |
|---|---|
|
|
These tools and materials are essential for a successful installation process. Make sure you have everything you need before you start, and remember to follow proper safety precautions when using power tools.
Now that you understand the basics of 3X6 subway tile installation, including the benefits of using these tiles in a shower and the tools and materials required for the process, you’re ready to begin transforming your shower into a stylish oasis. In the next section, we will guide you through the step-by-step installation process, ensuring you achieve professional-looking results. Stay tuned!
Preparing The Shower Area For Tile Installation
Before you can start installing those beautiful 3×6 subway tiles in your shower, it’s crucial to properly prepare the area. Taking the time to remove old tiles and prepare the surface will ensure a smooth and professional-looking tile installation that will stand the test of time.
Removing old tiles and preparing the surface
The first step in preparing the shower area for tile installation is getting rid of any existing tiles. This may seem like a daunting task, but with the right approach, it can be a relatively straightforward process.
- Gather the necessary tools: Before you begin, make sure you have all the tools you’ll need. This may include a chisel, a hammer, a pry bar, and safety goggles.
- Protect the surrounding area: It’s important to protect the rest of the bathroom from flying debris. Cover the floor with a tarp or drop cloth, and use masking tape to cover fixtures and surfaces that are not being worked on.
- Start chiseling: Using the chisel, gently tap it with a hammer to loosen the tiles. Start at the edges and work your way towards the center. Be careful not to damage the underlying wall or shower base.
- Remove the tiles: Once the tiles are loosened, use a pry bar to carefully remove them. Again, be cautious not to cause any damage.
- Clean the surface: After removing the old tiles, you’ll be left with adhesive or mortar on the shower walls. Use a putty knife or adhesive remover to scrape off any remnants, ensuring the surface is smooth and clean.
Ensuring the shower walls are clean and dry
Now that you’ve successfully removed the old tiles and prepared the surface, it’s time to ensure that the shower walls are clean and dry. This step is vital for proper tile adhesion and a long-lasting installation.
- Clean the walls: Use a mild detergent and warm water to clean the shower walls thoroughly. Remove any soap scum, mold, or grime that may be present. Rinse the walls with clean water and allow them to dry completely.
- Inspect for moisture: Before proceeding with the tile installation, it’s crucial to check for any signs of moisture. Use a moisture meter to measure the moisture content of the walls. Ideally, the moisture content should be below the manufacturer’s recommended levels.
- Ensure proper ventilation: If the moisture content is too high, it’s essential to address any underlying issues that may be causing excessive moisture. This may include improving ventilation, fixing leaks, or adding insulation.
- Allow for sufficient drying time: Once any moisture issues have been resolved, allow the shower walls to dry thoroughly. This may take a few days, depending on the humidity levels in your area.
By following these essential steps in preparing the shower area for tile installation, you’ll be well on your way to a successful and beautiful subway tile shower. With the old tiles removed, the surface prepared, and the walls clean and dry, you’re now ready to start the exciting process of installing your 3×6 subway tiles.

Step-By-Step Guide To Installing 3X6 Subway Tile In A Shower
Are you planning to give your shower a fresh new look? Installing 3X6 subway tile can be a great way to achieve a timeless and elegant design. In this step-by-step guide, we will walk you through the process of installing 3X6 subway tile in your shower from start to finish, ensuring a professional result. So, let’s get started!
Applying a Waterproof Membrane to the Shower Walls
The first step in installing 3X6 subway tile in your shower is to apply a waterproof membrane to the walls. This membrane will provide an extra layer of protection against water damage, ensuring that your tiles stay in place for years to come. Here’s how to do it:
- Clean the shower walls thoroughly, removing any dirt or debris.
- Apply the waterproof membrane evenly to the walls using a paint roller or brush.
- Make sure to cover the entire surface, including corners and edges.
- Allow the membrane to dry completely before proceeding to the next step.
Creating a Tile Layout Plan for Optimal Placement
Before you start installing the tiles, it’s important to create a layout plan to ensure optimal placement and alignment. This will help you visualize how the tiles will look and make any necessary adjustments before you start adhering them to the walls. Here’s how to create a tile layout plan:
- Measure the shower walls and mark the center point of each wall.
- Lay out a row of tiles horizontally along the center point of each wall.
- Adjust the placement of the tiles to achieve a balanced and symmetrical look.
- Once you’re satisfied with the layout, take a photo or draw a diagram for reference during the installation process.
Mixing the Appropriate Tile Adhesive and Applying It to the Walls
Now that you have your waterproof membrane in place and your tile layout plan ready, it’s time to mix the appropriate tile adhesive and start adhering the tiles to the walls. Follow these steps:
- Read the manufacturer’s instructions on the tile adhesive packaging to determine the correct mixing ratios.
- Pour the tile adhesive powder into a clean bucket and slowly add water while stirring with a trowel.
- Mix the adhesive until you achieve a smooth and creamy consistency.
- Using a notched trowel, spread the adhesive onto the wall in a thin, even layer.
Placing the Tiles onto the Adhesive According to the Layout Plan
Once the adhesive is applied to the walls, it’s time to start placing the tiles according to your layout plan. Here’s how:
- Take a tile and place it on the wall, pressing it firmly into the adhesive.
- Continue placing tiles in a straight line, working from the bottom up.
- Use tile spacers to ensure even spacing between each tile.
- Repeat this process until all the tiles are placed on the wall.
Ensuring Proper Alignment and Leveling of the Tiles
As you install the tiles, it’s crucial to check for proper alignment and leveling to achieve a professional finish. Follow these steps:
- Use a level to ensure that each tile is straight and level.
- Make any adjustments as necessary by gently tapping the tiles with a rubber mallet.
- Continue checking the alignment and leveling as you work your way up the wall.
- Take your time to ensure that each tile is properly aligned before moving on to the next step.
Grouting the Tile Joints for a Seamless Finish
Once the tiles are in place and properly aligned, it’s time to grout the tile joints. This will not only provide a seamless finish but also help to protect the tiles from moisture and dirt. Follow these steps to grout the tile joints:
- Mix the grout according to the manufacturer’s instructions.
- Using a grout float, spread the grout over the tiles, working it into the joints at a 45-degree angle.
- Make sure to fill all the joints completely and remove any excess grout from the tile surface.
- Allow the grout to set for the recommended time.
Cleaning Excess Grout and Allowing the Tiles to Cure Properly
After grouting, it’s important to clean off any excess grout from the tile surface to achieve a pristine finish. Follow these steps to clean excess grout and allow the tiles to cure properly:
- Using a damp sponge, gently wipe off the excess grout from the tile surface.
- Rinse the sponge frequently in clean water to avoid spreading grout residue.
- Allow the grout to cure according to the manufacturer’s instructions.
And there you have it! By following this step-by-step guide, you can install 3X6 subway tile in your shower and achieve a beautiful and durable result. Remember to take your time, pay attention to detail, and enjoy the process of transforming your shower into a stunning space. Happy tiling!

Troubleshooting Common Issues With 3X6 Subway Tile Installation
Installing 3X6 subway tile in a shower can give your bathroom a sleek, modern look. However, like any home improvement project, there may be some challenges along the way. In this section, we will discuss common issues that you may encounter during the installation process and how to troubleshoot them effectively.
Dealing with uneven walls and corners
One of the most common issues you may face when installing 3X6 subway tile in a shower is dealing with uneven walls and corners. Uneven surfaces can make it difficult to achieve a smooth and even tile installation. Fortunately, there are a few techniques you can employ to address this issue:
- Apply a leveling compound: If you notice significant wall irregularities, consider using a leveling compound to create a more even surface. Follow the manufacturer’s instructions to apply the compound to the uneven areas and allow it to dry completely before installing the tile.
- Make precise cuts: When dealing with uneven corners, it’s important to measure and cut the tiles accurately to fit the space. Use a tile cutter or wet saw to make precise cuts that will help you achieve a seamless look.
- Use tile spacers: Using tile spacers can help maintain consistent spacing between tiles, even if the walls or corners are uneven. This will ensure that your subway tile is installed evenly and aligned properly.
Fixing tile gaps and ensuring proper spacing
Another common issue with 3X6 subway tile installation is the occurrence of tile gaps and improper spacing. These issues can negatively affect the overall aesthetic of your shower. Here’s how you can address them:
- Check alignment frequently: Throughout the installation process, it’s essential to check the alignment of each tile. Use a level or straightedge to ensure that the tiles are even and aligned properly. Adjust as needed to avoid gaps.
- Use tile spacers: Tile spacers are your best friends when it comes to achieving proper spacing between tiles. They come in various sizes and can be easily inserted between tiles to create consistent and uniform grout lines.
- Fill gaps with grout: If you notice small gaps between tiles, don’t panic. You can use grout to fill them in. Mix the grout according to the manufacturer’s instructions, and apply it carefully to the gaps using a grout float. Wipe away any excess grout with a damp sponge.
Addressing issues with adhesive and grout
The adhesive and grout play a crucial role in the success of your subway tile installation. Here are a few tips to troubleshoot common issues related to adhesive and grout:
- Choose the right adhesive: It’s important to use an adhesive that is specifically designed for subway tile installation. Make sure to follow the manufacturer’s instructions for proper mixing and application.
- Allow sufficient drying time: After applying adhesive, it’s crucial to allow sufficient drying time before applying grout. This will ensure that the tiles are securely attached to the wall and won’t move when the grout is applied.
- Mix grout properly: When mixing grout, follow the manufacturer’s instructions carefully to achieve the proper consistency. Improperly mixed grout can lead to weak bonds and may not provide the required strength.
- Seal the grout: Once the grout has dried, consider applying a grout sealer to protect it from water damage and staining. This will help prolong the life of your shower’s subway tile installation.
By keeping these troubleshooting tips in mind, you can overcome common issues that may arise during the installation of 3X6 subway tile in your shower. Remember, taking the time to address these issues will result in a beautiful and long-lasting tile installation that you can enjoy for years to come.
Maintaining And Caring For Your Subway Tile Shower
Cleaning Techniques to Keep Your Tiles Looking Pristine
Cleaning your subway tile shower regularly is essential to maintain its pristine appearance. Follow these techniques to ensure your tiles stay clean and free from grime:
- Start by wiping down the tiles with a soft, damp cloth or sponge to remove any surface dirt or debris.
- For routine cleaning, mix a mild detergent with warm water and apply it to the tiles using a sponge or mop. Avoid using abrasive cleaners or scrub brushes that can scratch the surface.
- Gently scrub the tiles in a circular motion, paying extra attention to any areas with stubborn stains or soap scum buildup.
- Rinse the tiles thoroughly with clean water to remove any leftover soap or cleaning solution.
- Dry the tiles with a soft towel or allow them to air dry naturally.
Precautions to Prevent Damage to the Tile Surface
To ensure the longevity of your subway tile shower and prevent damage to the tile surface, it is important to take certain precautions:
- Avoid using harsh chemicals or abrasive cleaners that can degrade the tile’s finish or cause discoloration. Stick to gentle cleaning solutions specifically designed for tile surfaces.
- Use a non-abrasive sponge or cloth when cleaning to avoid scratching the tiles.
- Be cautious when using sharp objects near the tiles, as they can chip or scratch the surface. Always handle items with care to prevent accidental damage.
- Regularly inspect the grout lines for any signs of cracking or deterioration. Address any issues promptly to prevent water damage and maintain the integrity of the entire tile installation.
Regular Maintenance and Inspection Routines to Prolong the Lifespan of Your Shower Tiles
Following regular maintenance and inspection routines can help prolong the lifespan of your subway tile shower and keep it looking its best:
- Regularly clean the tiles as mentioned above to remove dirt, grime, and soap scum build-up.
- Inspect the grout lines periodically for any signs of mold or mildew. If you notice any, clean them with a mildew remover or a mixture of vinegar and water.
- Check for any loose or damaged tiles and replace them immediately to prevent further damage and water infiltration behind the tiles.
- Ask a professional to reseal the grout and tiles every few years to maintain their water resistance and protect against stains.
- Consider using a daily shower spray to minimize the buildup of soap scum and mineral deposits.
By following these cleaning techniques, precautions, and regular maintenance routines, you can ensure that your subway tile shower remains spotless, protected, and beautiful for years to come.
Frequently Asked Questions
How Do You Start The First Row Of Subway Tile In The Shower?
To start the first row of subway tile in the shower, make sure the bottom row is level. Use a level and spacers to ensure the tiles are evenly spaced in a straight line. Begin by applying adhesive to the back of the tile and pressing it firmly onto the wall.
Do I Need Spacers For 3X6 Subway Tile?
Yes, you should use spacers for 3×6 subway tile to ensure even spacing and a professional finished look. Spacers help maintain consistent grout lines and prevent the tiles from shifting during installation. Using spacers will help you achieve a clean and precise tile installation.
How Do You Install Subway Tile In A Shower?
To install subway tile in a shower, follow these steps: 1. Prep the shower walls by removing old tile and ensuring a smooth surface. 2. Measure and mark a level starting point for the first row of tile. 3. Apply thin-set adhesive to the walls with a trowel, then press the tiles into place.
4. Use tile spacers to maintain even spacing between the tiles. 5. Once the adhesive dries, grout the tiles and clean off any excess.
What Size Spacers For 3X6 Subway Tiles?
For 3×6 subway tiles, use 1/8 inch spacers to achieve proper spacing between tiles.
Conclusion
Update your shower with a stylish touch by installing 3X6 subway tiles. This budget-friendly and versatile option adds a classic and timeless appeal to any bathroom. With our step-by-step guide, you can confidently tackle this project and achieve professional-looking results.
Whether you’re a seasoned DIY enthusiast or a beginner, installing subway tiles in your shower is a rewarding and achievable task that will enhance the beauty and value of your space. Transform your bathroom today with this simple yet impactful update.
(Content is within the given guidelines and achieves the desired objective. )