To install a Delta Faucet, simply follow these steps: Shut off the water supply, remove the old faucet, clean the area, and attach the new faucet using the provided instructions. Are you looking to upgrade your bathroom or kitchen with a new faucet?
Installing a Delta Faucet can be a simple and straightforward process if you have the right tools and follow the proper steps. In this guide, we will walk you through the steps required to install a Delta Faucet in your home.
By the end, you’ll have a beautiful new faucet that will enhance the functionality and aesthetic appeal of your space. So, let’s get started and transform your bathroom or kitchen with a brand new Delta Faucet.
Factors To Consider When Selecting A Delta Faucet
Choosing the right faucet for your bathroom or kitchen is an important decision. A Delta faucet not only adds functionality and convenience to your space but also enhances its overall appearance. When selecting a Delta faucet, there are several factors to consider to ensure that you choose the perfect one for your needs. From style and design to finish options and functionality, each aspect plays a vital role in making your faucet selection.
Style and Design
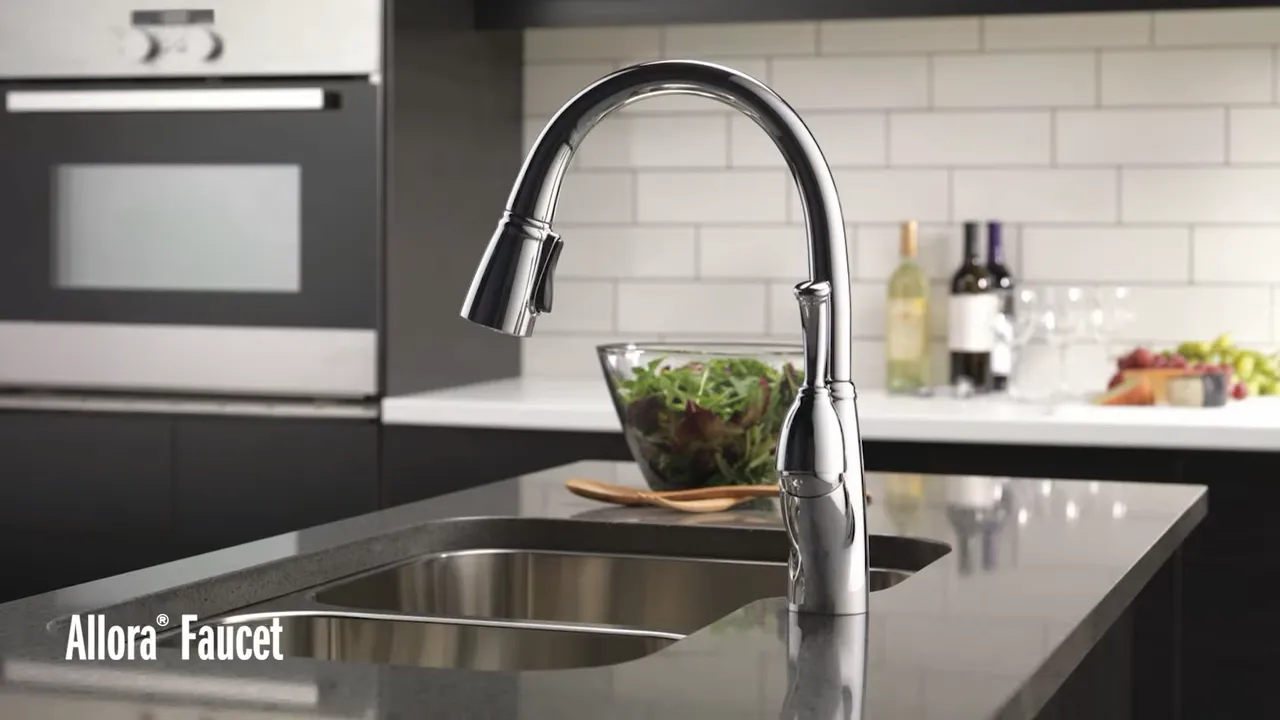
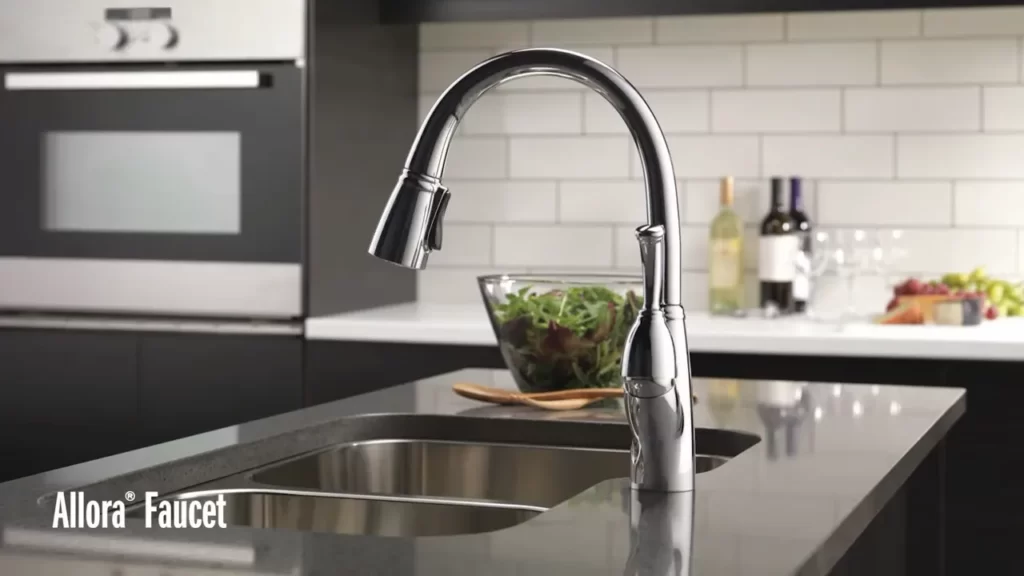
The style and design of your Delta faucet can significantly impact the overall aesthetic of your bathroom or kitchen. Delta offers a wide range of faucet styles, from traditional to modern, ensuring there is something to match every decor. Whether you prefer a sleek and contemporary look or a more traditional and timeless design, Delta has you covered. Consider the overall theme of your space and choose a faucet that complements it seamlessly.
Finish Options
The finish options available for Delta faucets are not only visually appealing but also durable and functional. Delta offers a variety of finishes, such as chrome, stainless steel, bronze, and matte black, among others. Each finish has its own unique qualities and can enhance the overall appearance of your faucet. Additionally, different finishes have varying levels of resistance to water spots and fingerprints. Consider the finish that best suits your style preference and matches your existing fixtures.
Functionality and Features
Functionality and features are essential aspects to consider when selecting a Delta faucet. Delta faucets come with a range of features that can enhance your overall experience. Consider factors such as water flow rate, spray options, and ease of use. Some Delta faucets also come with advanced features like touch technology or voice-activated operation, allowing for convenient and hands-free use. Determine the functionalities that are important to you and choose a faucet that meets your requirements.
Tools Required For The Installation
Before you begin installing your Delta Faucet, it’s important to have the right tools on hand. Here are the essential tools you’ll need:
Wrenches
Wrenches are crucial for loosening and tightening various nuts and bolts during the installation process. For a Delta Faucet installation, you’ll need an adjustable wrench to ensure a secure fit.
Screwdriver
A screwdriver will come in handy for removing or securing screws in the faucet assembly. Make sure you have a Phillips or flat-head screwdriver, depending on the type of screws used in your Delta Faucet model.
Adjustable Pliers
Having a pair of adjustable pliers is essential for gripping and turning stubborn connections. Whether you need to tighten or loosen fittings, these pliers will provide you with the leverage and grip necessary for the job.
Pipe Cutter
If you’re installing a new Delta Faucet or replacing old pipes, a pipe cutter will be necessary to cut through copper or plastic pipes. This tool will ensure clean and precise cuts, making your installation process much smoother.
Teflon Tape
To prevent leaks, you will need to use Teflon tape. Wrap the tape around the threads of the connections to create a watertight seal. This tape is highly effective and easy to use, ensuring a secure and leak-free installation.
Plumber’s Putty
If your Delta Faucet comes with a gasket or requires a sealing compound, then plumber’s putty will be essential. This putty is used to create a watertight seal between the faucet and the sink or countertop, preventing any water from seeping through.
Bucket or Basin
During the installation process, it’s important to have a bucket or basin nearby to catch any water that may spill. This will help keep your work area clean and prevent any potential damage.
Having these tools readily available before you start the installation process will save you time and ensure a smooth and successful installation.
Materials Needed For The Installation
Before you start installing your new Delta Faucet, it’s important to gather all the necessary materials and tools. Having everything ready will ensure a smooth installation process without any hiccups. Here are the materials you’ll need:
Delta Faucet Kit
The first and most important item you’ll need is the Delta Faucet Kit. This kit includes the faucet, handles, and any other components necessary for the installation. Make sure you choose a Delta Faucet Kit that suits your needs and matches the style of your bathroom or kitchen.
New Supply Lines
Next, you’ll need to get new supply lines for your faucet. These supply lines connect the faucet to your water supply. Make sure to choose the correct size and type of supply lines that are compatible with your Delta Faucet Kit.
Pipe Compound or Thread Sealant
Using a pipe compound or thread sealant is crucial to ensure a watertight connection. Apply the compound or sealant to the threads of the supply lines and any other threaded connections to prevent leaks.
Replacement Parts (if needed)
Depending on the condition of your existing plumbing, you may need some replacement parts. This could include extra washers, gaskets, or adapters. Take a close look at your existing setup to determine if any replacement parts are necessary for a successful installation.
Cleaning Supplies
Lastly, don’t forget to gather cleaning supplies before you start the installation. Having cleaning supplies on hand will allow you to tidy up any messes or fingerprints that may occur during the process. It’s important to keep your work area clean and presentable.
By gathering all the necessary materials and tools before you begin the installation process, you’ll be well-prepared and save yourself from any potential delays or frustrations. With everything at your fingertips, installing your new Delta Faucet will be a breeze.
Shutting Off The Water Supply
One of the most important steps in installing a Delta faucet is shutting off the water supply to prevent any accidents or water damage. This guide will walk you through the process of locating and turning off the water valve to ensure a smooth and hassle-free installation.
Locating and Turning off the Water Valve
The first step is to locate the water valve that controls the supply to the faucet you’re replacing. Often, the water valve can be found underneath the sink or near the water meter. It may be labeled with a tag or colored handle for easy identification.
Once you’ve located the water valve, turn it clockwise (to the right) to shut off the water supply. This will ensure that no water flows through the pipes while you’re working.
Preventing Unexpected Water Flow
Even after shutting off the water valve, there is a possibility of residual water remaining in the pipes. To prevent any unexpected water flow, it is recommended to turn on the faucet to release any built-up pressure and drain the remaining water.
To do this, simply turn on the faucet of the Delta faucet you’re replacing and let the water run until it stops flowing. This will ensure that the pipes are completely drained and ready for the installation process.
By following these simple steps to shut off the water supply, you can proceed with confidence knowing that you have taken the necessary precautions to prevent any water-related mishaps during the installation of your new Delta faucet.

Removing The Old Faucet
Before you can install a new Delta faucet, you’ll need to remove the old one. This may seem like a daunting task, but with the right approach, it can be a simple and straightforward process. In this section, we’ll walk you through the steps to remove your old faucet and get your sink ready for the new one.
Disconnecting the Supply Lines
The first step in removing your old Delta faucet is to disconnect the supply lines. Start by turning off the water supply valves underneath the sink. This will prevent any water from leaking out while you’re working. Once the water is turned off, grab an adjustable wrench and use it to loosen the nuts connecting the supply lines to the faucet.
Once you’ve loosened the nuts, use your hands to remove them and detach the supply lines from the faucet. It’s a good idea to have a bucket or towel nearby to catch any water that may still be in the lines.
Removing the Mounting Nuts
Next, you’ll need to remove the mounting nuts that are securing the faucet to the sink. These nuts are usually located underneath the sink and can be accessed by reaching up and feeling for them. Once you’ve located the mounting nuts, use a basin wrench or an adjustable wrench to loosen and remove them.
Just like with the supply lines, it’s important to have a bucket or towel handy to catch any water that may leak out when you remove the mounting nuts. Once the nuts are loosened, you can use your hands to completely remove them, allowing you to detach the old faucet from the sink.
Detaching the Old Faucet from the Sink
With the supply lines and mounting nuts removed, you can now detach the old faucet from the sink. To do this, simply lift the faucet up and away from the sink. In some cases, you may need to twist or wiggle the faucet slightly to loosen it from any remaining sealant or adhesive.
If your old faucet has been in place for a long time, you may encounter some resistance when trying to detach it. In this case, you can use a putty knife to carefully scrape away any sealant or adhesive that may be holding the faucet in place.
Once the old faucet is completely detached, you can set it aside and prepare your sink for the installation of your new Delta faucet. Make sure to thoroughly clean the area where the old faucet was to ensure a clean and secure installation.
Removing the old faucet is an essential step in the installation process. By following these steps to disconnect the supply lines, remove the mounting nuts, and detach the old faucet from the sink, you’ll be well on your way to installing your new Delta faucet and enjoying the benefits of a fresh and functional sink.
Preparing The Sink For The New Faucet
Before you can start installing your new Delta faucet, it’s important to prepare the sink area properly. This will ensure that the installation process goes smoothly and that your faucet functions optimally. In this section, we will walk you through the necessary steps to clean and clear the sink area, as well as how to apply plumber’s putty or sealant if applicable.
Cleaning and Clearing the Sink Area
The first step in preparing your sink for the new Delta faucet is to clean and clear the area. This will ensure that there are no obstructions or debris that could interfere with the installation process or the proper functioning of your faucet. Here are the steps to follow:
- Clear the sink of any items such as dishes, utensils, or accessories. This will give you a clear and clutter-free workspace.
- Remove any existing faucet or components, if applicable. Follow the manufacturer’s instructions for proper removal.
- Thoroughly clean the sink surface with a mild soap or detergent and warm water. Pay special attention to any areas with build-up or stains. Rinse the sink thoroughly and dry it completely with a clean cloth.
- Inspect the sink for any damage or imperfections. Address any issues before proceeding with the faucet installation.
Applying Plumber’s Putty or Sealant (if applicable)
Depending on your faucet model and the sink material, you may need to apply plumber’s putty or sealant to create a watertight seal. Follow these steps:
- Read the manufacturer’s instructions to determine if plumber’s putty or sealant is recommended for your specific faucet and sink combination.
- If plumber’s putty is required, take a small amount and roll it into a thin snake-like shape.
- Apply the putty around the base of the faucet, ensuring that it covers the entire perimeter where it will come into contact with the sink.
- If sealant is recommended, follow the manufacturer’s instructions for proper application. Apply it to the areas indicated by the instructions, ensuring an even and complete coverage.
- Wipe away any excess putty or sealant with a clean cloth, taking care not to disturb the positioning of the faucet.
By cleaning and clearing the sink area and applying plumber’s putty or sealant if necessary, you have now successfully prepared your sink for the new Delta faucet. You can now move on to the exciting part of installing your shiny new faucet and enjoying its benefits in your kitchen or bathroom!
Installing The New Delta Faucet
Installing a new Delta faucet in your kitchen or bathroom does not have to be a daunting task. With a few basic tools and step-by-step instructions, you can have your new faucet up and running in no time. In this section, we’ll guide you through the process of attaching the mounting nuts and bracket, connecting the supply lines, and securing the faucet to the sink.
Attaching the Mounting Nuts and Bracket
Before installing the new Delta faucet, it’s important to attach the mounting nuts and bracket securely. Begin by inserting the faucet into the mounting holes on the sink. Place the rubber or plastic gasket provided with the faucet over the holes to create a watertight seal.
Once the faucet is in place, reach underneath the sink and carefully thread the mounting nuts onto the faucet’s tailpieces. Make sure the nuts are tightened securely, but avoid over-tightening, as it may cause damage to the faucet or the sink.
In some cases, your faucet may come with a mounting bracket. This bracket helps to stabilize the faucet and should be attached to the sink using screws or clips provided. Ensure that the bracket is centered and tightened securely for optimal stability.
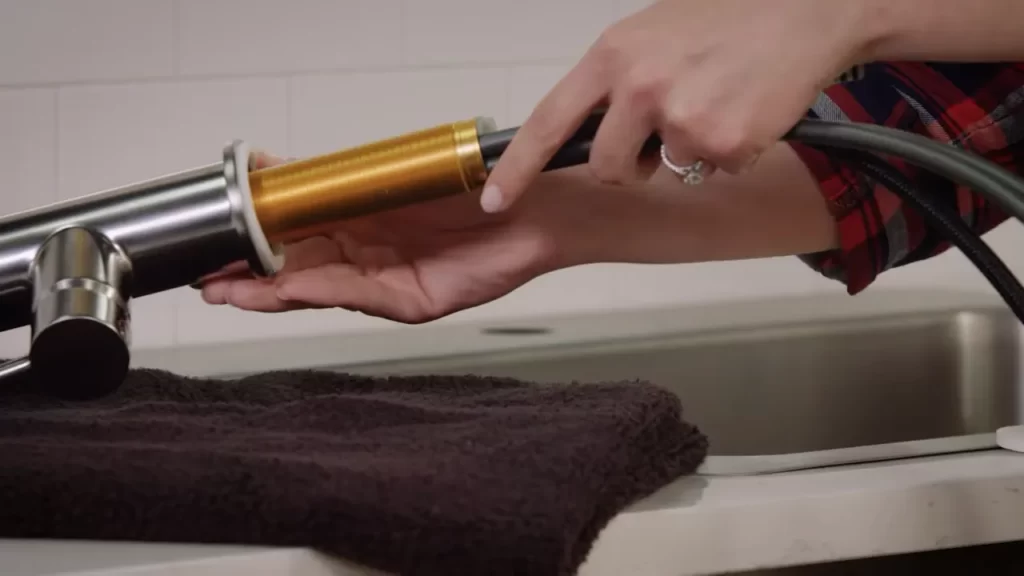
Connecting the Supply Lines
After attaching the mounting nuts and bracket, it’s time to connect the supply lines for hot and cold water. Firstly, apply plumber’s tape to the threads on the faucet’s tailpieces to ensure a tight seal.
Next, connect the supply lines to the corresponding tailpieces. The hot water supply line typically has a red indicator or label, while the cold water supply line has a blue indicator or label. Hand-tighten the connections, ensuring they are secure but not overly tightened.
Once the supply lines are connected, turn on the water supply valves beneath the sink to test for any leaks. If you notice any leaks, tighten the connections slightly or use a wrench to ensure a snug fit.
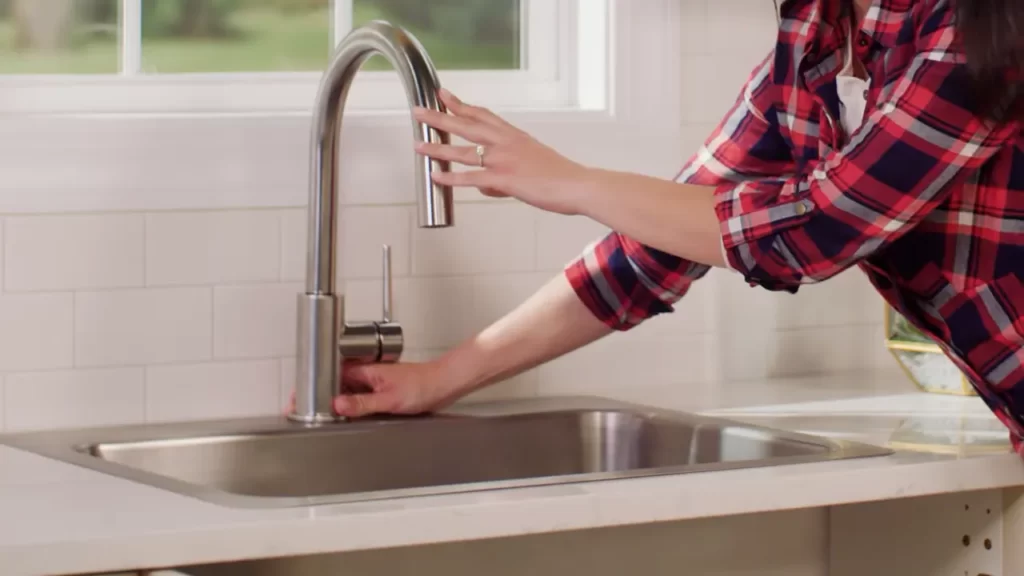
Securing the Faucet to the Sink
Lastly, to ensure the faucet remains securely in place, it needs to be properly secured to the sink. Check the manufacturer’s instructions for any specific requirements related to your Delta faucet model.
In general, you may need to use a wrench or screwdriver to tighten any screws, bolts, or clips provided with the faucet. This will help prevent any wobbling or movement of the faucet during use.
Remember, a stable faucet not only enhances the aesthetic appeal of your sink but also ensures proper functionality and water flow.
By following these simple steps, you can successfully install your new Delta faucet, giving your kitchen or bathroom a refreshed and upgraded look. Enjoy the convenience and beauty of your new faucet!
Testing And Adjusting The Faucet
Once you have successfully installed your Delta faucet, it’s time to test and adjust it to ensure proper functionality. This step is crucial as it allows you to identify any potential issues and make necessary adjustments to guarantee the best water flow and temperature control.
Turning on the Water Supply
The first step in testing your new Delta faucet is to turn on the water supply. This will allow water to flow through the plumbing system and into the faucet. Before doing this, make sure the faucet handles are in the off position. Locate the shut-off valves beneath the sink and turn them counterclockwise to open the water supply. Do this slowly to avoid any sudden bursts of water that may cause splashing.
Checking for Leaks
Once you have turned on the water supply, it’s important to check for any leaks. Take a few moments to inspect all visible connections, including the base of the faucet, the supply lines, and the valves. Look for any signs of water dripping or puddling. If you notice any leaks, it’s crucial to address them immediately to prevent any damage to your sink or surrounding areas.
Adjusting Water Flow and Temperature
After ensuring there are no leaks, you can now adjust the water flow and temperature to your desired settings. Start by turning the faucet handles to the on position. If the water flow seems too weak or too strong, you can adjust the flow rate by twisting the aerator counterclockwise to increase the flow or clockwise to decrease it. This will allow you to achieve the perfect water pressure for your needs.
To adjust the water temperature, turn the handle labeled with a red or blue indicator. Rotating the handle clockwise will generally result in hotter water, while rotating it counterclockwise will provide colder water. It’s important to note that the exact direction and labeling may vary depending on the specific Delta faucet model you have installed.
Once you have adjusted the water flow and temperature, take a moment to test the faucet to ensure everything is working as expected. Run both hot and cold water through the faucet and check for any abnormalities. Pay attention to any unusual noises or fluctuations in water pressure. If you encounter any issues, consult the Delta faucet’s user manual or contact their customer support for further assistance.
By following these steps to test and adjust your Delta faucet, you can ensure optimal performance and a satisfying user experience. Remember to periodically check for leaks and make any necessary adjustments to maintain the functionality of your faucet over time.
Troubleshooting Common Installation Issues
Installing a Delta faucet is a relatively straightforward process, but like any plumbing project, there can be some hiccups along the way. In this section, we’ll discuss common installation issues you might encounter and provide solutions to troubleshoot these problems.
Leaky Connections
One of the most common issues during faucet installation is dealing with leaky connections. It can be frustrating to see water dripping from the pipe joints or the faucet itself. However, this is typically an easy fix by following these steps:
- Ensure all connections are tight: Start by checking that all the connections are securely tightened. Use an adjustable wrench if necessary, but be careful not to overtighten and damage the fittings.
- Inspect the rubber seals: Leaks can also occur if the rubber seals or O-rings on the connections are worn out or damaged. In such cases, replace the seals and reassemble the connections.
- Apply plumber’s tape: If the leak persists, try using plumber’s tape on the threads of the pipe fittings. This can create a tighter seal and prevent leaks.
- Call a professional: If the issue persists despite your best efforts, it may be time to call a professional plumber for further assistance.
Difficulty Removing Old Faucet
Removing an old faucet can sometimes be a challenging task, especially if it has been in place for many years. Here are some steps to help make the process easier:
- Shut off the water supply: Before attempting to remove the old faucet, it’s essential to turn off the water supply to avoid any potential flooding or accidents.
- Use penetrating oil: If the faucet is stuck due to corrosion or mineral buildup, applying penetrating oil to the connections can help loosen them. Allow the oil to sit for a few minutes before attempting to remove the faucet again.
- Use a wrench or pliers: Sometimes, additional force is required to loosen the connections. Use an adjustable wrench or pliers to carefully apply pressure and turn the connectors counterclockwise.
- Seek professional help: If all else fails, it may be time to seek the assistance of a professional plumber who has the expertise and tools to remove stubborn faucets without causing damage.
Inconsistent Water Flow
An inconsistent water flow after installing a new Delta faucet can be frustrating. Here are a few potential causes and solutions:
| Potential Causes | Solutions |
|---|---|
| The aerator is clogged with debris. | Remove the aerator and clean it thoroughly to remove any sediment or debris that may be blocking the water flow. |
| The water supply valve is not fully open. | Check that the water supply valve near the faucet is fully open. Adjust it accordingly to ensure proper water flow. |
| There is a kink in the water supply line. | Inspect the water supply lines for any kinks or obstructions. Straighten out any kinks and ensure the lines are free from debris. |
| The cartridge or valve assembly is defective. | If none of the above solutions work, the issue may be with the internal components. Contact Delta customer support for further assistance or to request a replacement part. |
By following these troubleshooting tips, you’ll be able to address common installation issues that may arise while installing a Delta faucet. Remember, if you’re unsure or uncomfortable with any part of the installation process, it’s always a good idea to consult a professional plumber to ensure a successful and leak-free installation.
Maintenance And Care For Your Delta Faucet
Your Delta faucet is not only a functional fixture in your kitchen or bathroom, but it also adds style and beauty to your space. To ensure that your faucet continues to perform optimally and maintain its appearance, it is important to provide regular maintenance and care. By following these simple steps, you can prolong the life of your Delta faucet and keep it looking as good as new.
Cleaning and Polishing the Faucet
Cleaning and polishing your Delta faucet regularly is essential to prevent the accumulation of dirt, grime, and mineral deposits that can affect its performance and appearance. By using the appropriate cleaning products and techniques, you can restore the original shine and spotlessness to your faucet.
Here are some steps to clean and polish your Delta faucet:
- Start by wiping down the faucet with a soft, lint-free cloth soaked in warm water. This will help remove surface dirt and debris.
- If there are stubborn stains or mineral deposits, create a cleaning solution by mixing equal parts of white vinegar and water. Apply this solution to the affected areas, using a clean cloth or a soft-bristled brush.
- Gently scrub the stains or deposits until they are loosened and dissolved.
- Rinse the faucet thoroughly with warm water to remove the cleaning solution.
- Dry the faucet with a clean, dry cloth to prevent water spots and streaks.
- To restore the shine to your Delta faucet, you can use a non-abrasive, metal polish specifically designed for faucets. Apply the polish according to the manufacturer’s instructions and buff the faucet until it gleams.
Regular Maintenance Practices
In addition to regular cleaning and polishing, performing routine maintenance practices can help prevent any potential issues and keep your Delta faucet in excellent condition. By incorporating these practices into your cleaning routine, you can ensure that your faucet remains functional and reliable.
Here are some regular maintenance practices for your Delta faucet:
- Check for any leaks or drips coming from the faucet. If you notice any, promptly address them to prevent further damage.
- Inspect the water supply lines and connections for any signs of leakage or corrosion. Replace any damaged parts as necessary.
- Periodically tighten any loose screws or fittings to prevent them from getting worse or causing potential issues.
- Keep the aerator clean by removing it and rinsing it under warm water to remove any mineral buildup.
- Inspect the overall condition of the faucet, including the handle, spout, and cartridge. If you notice any signs of wear or damage, consider replacing the relevant parts to ensure the longevity of your faucet.
Addressing Minor Repairs or Issues
Even with regular maintenance, you may encounter minor repairs or issues with your Delta faucet. Addressing these promptly can prevent them from escalating into major problems and extend the life of your faucet.
If you notice any of the following issues, you can try these simple steps to resolve them:
- If the faucet is dripping, replace the worn-out seals or cartridge to stop the leak.
- If the faucet handle is loose, tighten the screw holding it in place.
- If there is low water pressure, check for any clogs in the aerator. Clean or replace the aerator if necessary.
- If there are unusual noises coming from the faucet, check for loose connections or damaged parts. Tighten or replace as needed.
By following these maintenance and care practices, you can keep your Delta faucet in optimal condition, ensuring its functionality and longevity. Regular cleaning, polishing, and maintenance will not only enhance the performance of your faucet but also prolong its lifespan, allowing you to enjoy its benefits for years to come.
Frequently Asked Questions
How Do You Install A Delta Two Handle Kitchen Faucet?
To install a Delta two handle kitchen faucet, start by turning off the water supply and disconnecting the old faucet. Then, insert the new faucet through the mounting holes and secure it with the provided nuts. Connect the water lines and turn on the water supply to complete the installation.
How To Install Delta Shower Faucet Seats And Springs?
To install Delta shower faucet seats and springs, follow these steps: 1. Remove the handle and trim from the faucet. 2. Take out the old seats and springs. 3. Insert the new seats and springs. 4. Reassemble the faucet by putting back the trim and handle.
5. Test the faucet to ensure it’s working properly.
How Do I Know What Delta Faucet I Have?
To determine the model of your Delta faucet, refer to the product’s packaging, instruction manual, or search for the model number on the faucet itself. The model number is typically located on a tag attached to the cold water supply line.
How Do You Change A Delta Single Handle Bathroom Faucet Cartridge?
To change a Delta single handle bathroom faucet cartridge, turn off the water supply, remove the handle, unscrew and remove the cartridge, then insert the new cartridge, and reassemble the faucet. Don’t forget to turn on the water supply to test for leaks.
Conclusion
Installing a Delta faucet is a straightforward process that can be accomplished with just a few tools and a little patience. By following the step-by-step instructions outlined in this blog post, you can easily upgrade your bathroom or kitchen with a stylish and functional new faucet.
Remember, proper installation is key to maintaining the longevity and performance of your Delta faucet. So, be sure to take your time and follow the instructions carefully. Enjoy the satisfaction of completing the installation and the joy of using your new Delta faucet for years to come.