
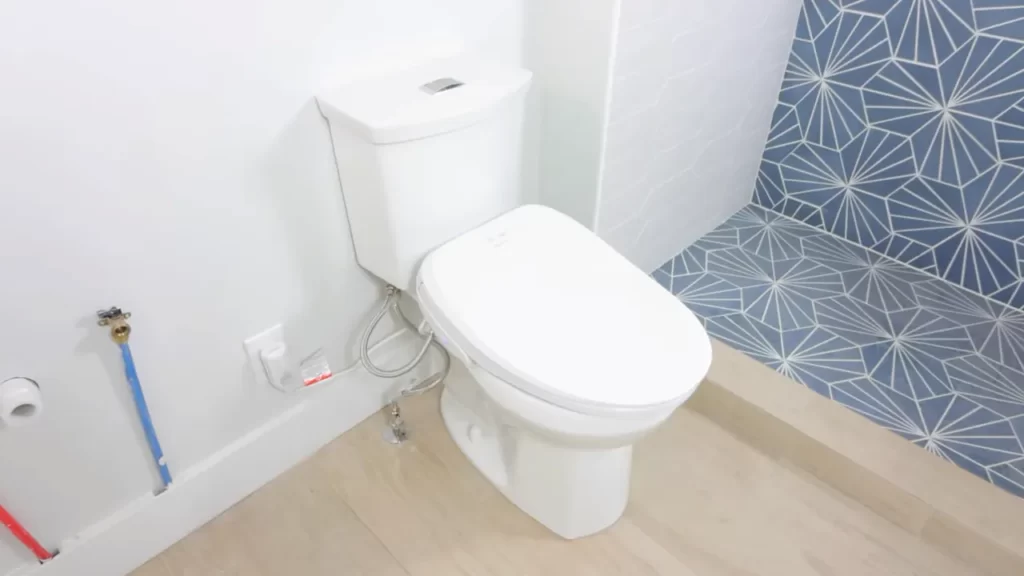
To install a toilet bidet, first turn off the water supply, disconnect the toilet tank, attach the bidet hose to the water supply valve, and then reconnect the toilet tank. With the bidet in place, turn on the water supply, check for leaks, and adjust the water pressure as needed.
Installing a bidet is a simple process that can enhance your bathroom experience and improve personal hygiene. Whether you’re looking to decrease your reliance on toilet paper or seeking a more thorough clean, a bidet can be a valuable addition to your bathroom.
We’ll guide you through the step-by-step process of installing a toilet bidet.
Choosing The Right Bidet
Installing a bidet can be a great addition to your bathroom, providing a hygienic and convenient cleansing experience. With various types of bidets available on the market, selecting the right one for your needs can seem overwhelming. However, by considering a few key factors, you can confidently choose the bidet that suits your requirements and preferences.
Types of bidets available
Before you make a decision, it’s important to understand the different types of bidets available and their features. Here are the main types to consider:
- Non-electric bidets: These bidets are powered by water pressure and do not require electricity. They typically feature a control panel with knobs or levers to adjust water pressure and temperature. Non-electric bidets are relatively easy to install and are a cost-effective option for those on a budget.
- Electric bidets: Electric bidets offer a wider range of features and functionality. They require an electrical connection and often come with a remote control for easy customization. Some electric bidets offer features such as heated seats, adjustable water temperature, water pressure settings, and even built-in air dryers. While electric bidets are more expensive, they provide a luxurious and personalized experience.
- Attachable bidets: Attachable bidets, also known as handheld bidets or bidet sprayers, can be attached to your existing toilet seat. These bidets feature a hose or wand that allows you to control the direction and intensity of the water spray. Attachable bidets are a cost-effective option and can be easily installed without the need for professional help.
- Integrated bidet toilets: Integrated bidet toilets combine the functions of a toilet and a bidet into one unit. These toilets feature built-in bidet nozzles and controls. Integrated bidet toilets offer the ultimate convenience, as you don’t need to install a separate bidet unit. However, they can be more expensive and may require professional installation.
Factors to consider when selecting a bidet
When choosing a bidet, it’s important to consider the following factors:
- Compatibility: Ensure that the bidet you choose is compatible with your existing toilet. Check the measurements and specifications to make sure it will fit securely and function properly.
- Features: Determine which features are important to you. Do you want adjustable water pressure and temperature? Would you like a heated seat or air drying function? Consider your preferences and prioritize the features that will enhance your bidet experience.
- Installation: Evaluate the installation process and determine whether you can install the bidet yourself or if you’ll need professional help. Consider the time and effort required for installation and choose accordingly.
- Budget: Set a budget for your bidet purchase. While cost is not the only factor to consider, it’s important to find a bidet that fits your budget without compromising on quality and functionality.
- Reviews and ratings: Research and read reviews from customers who have used the bidet you’re considering. Pay attention to their experiences and satisfaction levels to ensure you make an informed decision.
By understanding the different types of bidets available and considering the factors mentioned above, you can confidently choose the right bidet for your bathroom. Enjoy the enhanced comfort and cleanliness that a bidet provides, and upgrade your daily hygiene routine.
Installation Preparation
Before you begin installing a toilet bidet, it’s important to gather the necessary tools and materials and prepare the area for installation. This will ensure a smooth and hassle-free process. In this section, we will guide you through the steps required for installation preparation.
1. Gather necessary tools and materials
To install a toilet bidet, you will need the following tools and materials:
- Adjustable wrench
- Phillips-head screwdriver
- Bucket or towel
- Plumber’s tape
- Toilet bidet kit
Ensure that you have all these items ready before you proceed with the installation process. Having everything within reach will save you time and frustration.
2. Shut off the water supply to the toilet
Before removing the existing toilet seat, it’s crucial to shut off the water supply to the toilet. This will prevent any water leakage or accidents during the installation process.
To shut off the water supply, locate the shut-off valve behind the toilet. Turn it clockwise until it is fully closed. This will stop the water flow to the toilet.
3. Remove the existing toilet seat
Now that the water supply is shut off, you can proceed to remove the existing toilet seat. Follow these steps:
- Locate the bolts attaching the seat to the toilet bowl.
- Use a Phillips-head screwdriver or adjustable wrench to unscrew the nuts on the bolts.
- Once the nuts are removed, pull the seat upwards to detach it from the toilet bowl.
- Place the removed seat aside in a safe location.
Remember to keep all the hardware and components in a secure place, as you may need them later for installation.
With the necessary tools gathered and the existing toilet seat removed, you’re now ready to move on to the next steps of installing a toilet bidet. Stay tuned for the upcoming sections!
Installing The Bidet Attachment
Adding a bidet attachment to your toilet can greatly enhance your bathroom experience. From improved hygiene to reduced toilet paper usage, bidet attachments offer a range of benefits. If you’re ready to install a bidet attachment yourself, follow these simple steps to get started.
Attach the mounting plate to the toilet bowl
The first step in installing a bidet attachment is to attach the mounting plate to your toilet bowl. This plate serves as the base for the bidet attachment and holds it securely in place. To do this, locate the mounting holes on the back of your toilet bowl. These are typically found near the water tank.
Next, take the mounting plate and align it with the holes. Ensure that the plate is level and centered. Once you’re satisfied with the positioning, grab the screws provided with your bidet attachment and insert them through the holes in the mounting plate. Use a screwdriver to securely fasten the screws, ensuring that the plate is tightly attached to the toilet bowl.
Connect the bidet hose to the water supply
With the mounting plate in place, it’s time to connect the bidet hose to the water supply. Locate the water valve, usually located behind the toilet near the floor. Turn off the water supply by turning the valve clockwise.
Take the bidet hose and screw one end onto the water valve. Make sure it’s fastened securely to prevent any leakages. Next, grab the other end of the hose and connect it to the bidet attachment. Look for the designated hose connection point on the attachment, which is typically found on the underside.
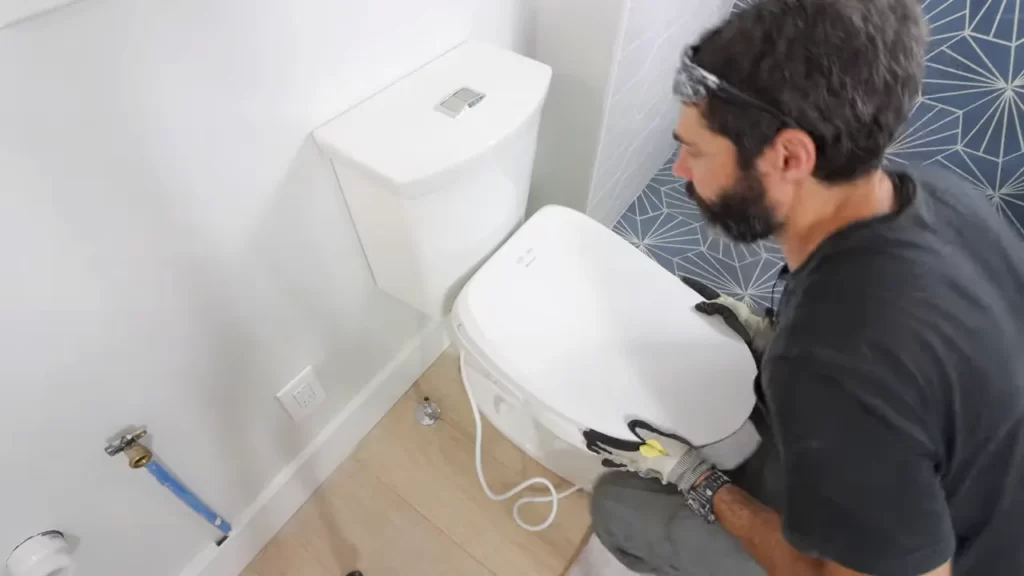
Secure the bidet attachment to the mounting plate
With the bidet hose connected, it’s time to secure the bidet attachment to the mounting plate. Carefully align the attachment with the mounting plate and insert it into place. Ensure that the attachment is firmly in position by applying gentle pressure.
Once the bidet attachment is properly aligned, take the screws provided and insert them through the holes on the sides of the attachment. Use a screwdriver to tighten the screws, ensuring that the attachment is securely fastened to the mounting plate. Be careful not to overtighten, as this could damage the bidet attachment or mounting plate.
After securely attaching the bidet, turn on the water supply by turning the valve counterclockwise. Make sure to check for any leaks and adjust the bidet settings according to your preferences. Congratulations, you’ve successfully installed a bidet attachment!
Installing a bidet attachment is a simple and rewarding DIY project. By following these easy steps, you can enjoy the benefits of a bidet in your own home. From improved cleanliness to reduced environmental impact, a bidet attachment is a worthwhile addition to any bathroom.
Connecting The Bidet To The Water Supply
Once you have successfully installed the bidet seat and positioned it correctly on the toilet, the next step is to connect the bidet to the water supply. This ensures that you have a continuous flow of clean water for your bidet functions. Follow these simple steps to connect the bidet hose to the water supply valve:
Determine the appropriate water supply connection
The first step towards connecting your bidet to the water supply is to determine the appropriate water supply connection. This will depend on the type of bidet you have and the plumbing options available in your bathroom. Generally, bidets can be connected to either the water supply valve located under the toilet tank or the water supply valve located behind the toilet.
If your bidet comes with a T-adapter, you can connect it to the water supply valve under the toilet tank. However, if your bidet does not come with a T-adapter or if you prefer a different connection method, you can connect the bidet hose directly to the water supply valve behind the toilet. Make sure to refer to the manufacturer’s instructions for the recommended installation method.
Connect the bidet hose to the water supply valve
Once you have determined the appropriate water supply connection, it’s time to connect the bidet hose to the water supply valve. Start by turning off the water supply valve to avoid any water leakage during the installation process. Then, follow these steps:
- Wrap some plumbers tape around the threads of the water supply valve. This helps create a watertight seal.
- Screw one end of the bidet hose onto the water supply valve, ensuring it is tightly secured.
- If your bidet comes with a T-adapter, connect the remaining end of the bidet hose to the T-adapter. Again, make sure it is tightly secured.
- If your bidet does not come with a T-adapter, connect the remaining end of the bidet hose directly to the bidet seat. Ensure a tight connection to avoid any leaks.
Test for any leaks
After connecting the bidet hose to the water supply valve, it’s crucial to test for any leaks before using the bidet. To do this:
- Turn on the water supply valve.
- Check for any leaks around the connections. Pay close attention to the threaded areas.
- If you notice any leaks, tighten the connections as needed.
- Once you have confirmed there are no leaks, you can proceed to use your bidet with confidence.
Remember to periodically check the connections for any signs of leakage and address them promptly to maintain optimal bidet functionality.
Adjusting The Bidet Settings
Adjusting the Bidet Settings:
Familiarize yourself with the bidet controls
Before you start adjusting the settings, it’s important to familiarize yourself with the bidet controls. These controls may vary depending on the bidet model you have installed, but generally, you will find them conveniently located within arm’s reach. Take a moment to identify the different buttons and knobs, which will be crucial in customizing your bidet experience.
Adjust the water pressure and temperature settings
One of the key advantages of a bidet is the ability to adjust the water pressure and temperature according to your preference. Look for the buttons or knobs specifically designated for water pressure and temperature control. In most bidets, you can easily increase or decrease the water pressure by pressing the corresponding buttons. To adjust the temperature, turn the knob either clockwise or counterclockwise until you reach the desired warmth. You can experiment with different pressure and temperature settings to find the most comfortable option for you.
Customize the spray direction and intensity
Another important aspect of bidet settings is customizing the spray direction and intensity. This ensures that you receive the most effective and comfortable cleansing experience. Look for the buttons or knobs that allow you to adjust the spray direction and intensity. Typically, bidets offer various spray modes such as oscillating, pulsating, or massage. You can try out different modes to determine which one suits your needs best. Additionally, you may find buttons that can adjust the spray position, ensuring it reaches the desired areas precisely.
As you adjust the bidet settings to your liking, keep in mind that personal preferences may vary. It’s crucial to test each adjustment carefully to avoid discomfort or unexpected surprises. Take your time to find the perfect combination of water pressure, temperature, spray direction, and intensity that suits your individual needs. By customizing these settings, you’ll be able to experience the full benefits of a bidet and enjoy a refreshing and hygienic cleansing experience.
Reassembling The Toilet
Replace the toilet seat
Once you have successfully installed the bidet attachment, the next step is to replace the toilet seat. To do this, follow these simple steps:
- Remove the old toilet seat: Start by lifting the caps covering the seat bolts on the back of the toilet. Loosen the bolts with a wrench and remove them, then lift off the old seat.
- Position the new seat: Place the new seat onto the toilet, aligning the holes on the seat with the holes on the toilet bowl. Make sure it is centered and sits flush.
- Attach the new seat: Insert the bolts through the seat and the toilet bowl holes. Hand-tighten the nuts onto the bolts underneath the toilet until they are snug. Use a wrench to tighten them a little further, but be careful not to overtighten and crack the bowl.
- Secure the seat: Lastly, snap the seat and cover onto the hinges if your seat has a removable cover. Give it a gentle tug to ensure it is secure and does not wobble.
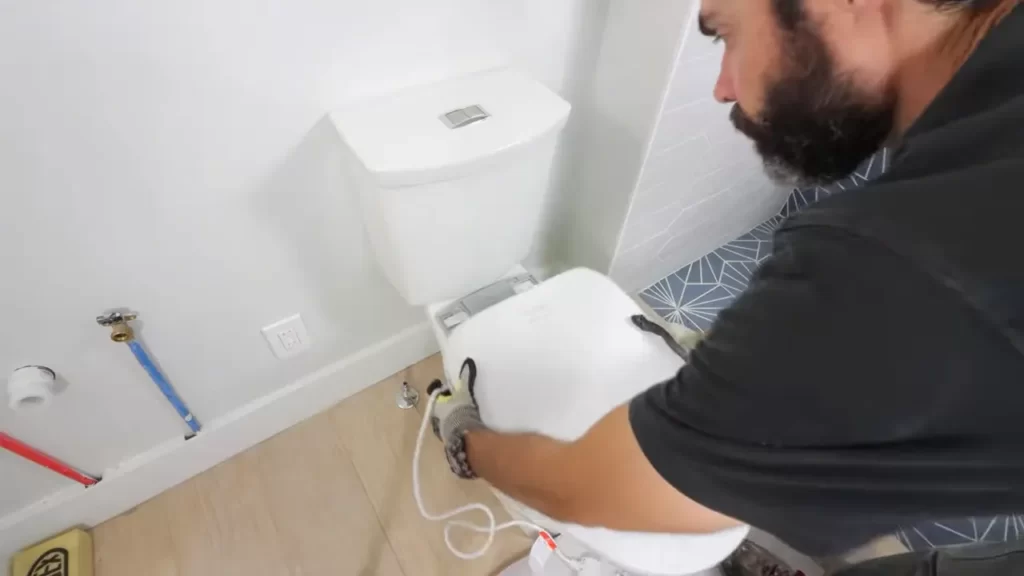
Reconnect the water supply to the toilet
Now that the toilet seat is in place, it’s time to reconnect the water supply to the toilet. Follow these steps:
- Turn off the water supply valve: Locate the water supply valve behind or near the toilet, and turn it clockwise to close it completely. This will prevent any water flow to the toilet while reconnecting the supply.
- Connect the water supply hose: Take the flexible water supply hose and connect one end to the bottom of the toilet fill valve, which is usually located on the left side of the toilet tank. Ensure it is tightened with a wrench, but avoid overtightening to prevent damage.
- Turn on the water supply valve: Once the hose is securely attached, turn the water supply valve counterclockwise to open it and allow water to flow into the toilet tank.
Check for any leaks and ensure everything is functioning properly
After reassembling the toilet and reconnecting the water supply, it is crucial to check for any leaks and make sure everything is functioning properly. Follow these steps:
- Inspect all connections: Carefully examine the connections of the bidet attachment, toilet seat, and water supply hose to ensure there are no visible leaks or loose fittings.
- Test the bidet function: Turn on the bidet and check if the water flow is consistent and in the desired direction. Adjust the settings as needed to your preferred pressure and temperature.
- Flush the toilet: Lastly, flush the toilet a few times to confirm that the water is refilling properly and there are no issues with the flushing mechanism.
By following these steps and double-checking everything, you can ensure a successful installation of your toilet bidet and enjoy its benefits in no time.
Maintenance And Cleaning
Maintenance and cleaning are essential aspects of ensuring the optimal performance and longevity of your toilet bidet. Regularly cleaning the bidet attachment, checking for any sediment buildup in the bidet hose, and considering descaling the bidet are important steps to maintain the cleanliness and functionality of your bidet. In this section, we will walk you through each of these maintenance tasks in detail.
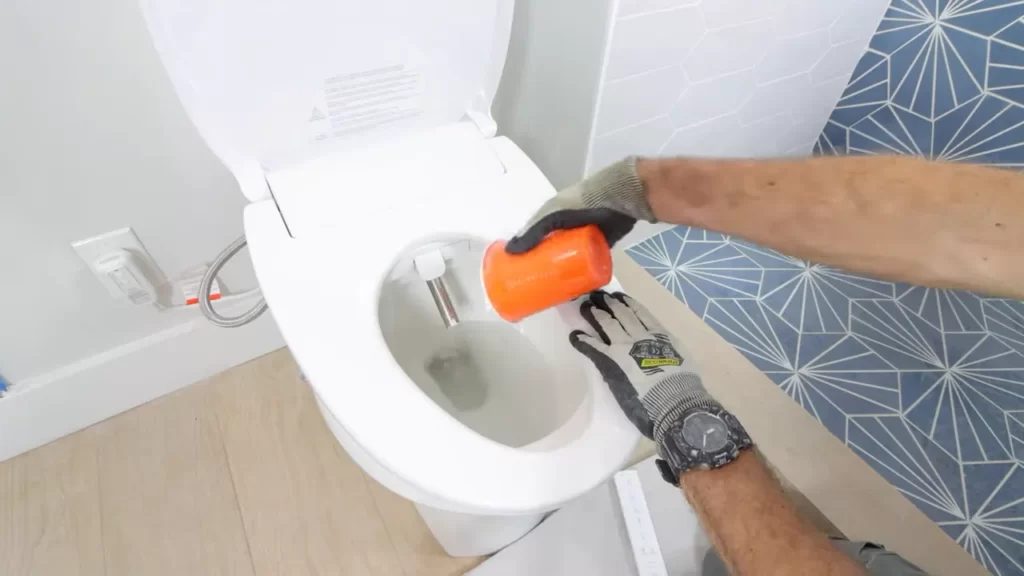
Regularly clean the bidet attachment
Keeping the bidet attachment clean is crucial to ensure proper hygiene and functionality. Over time, dirt, bacteria, and mineral deposits can accumulate on the surface of the bidet attachment, affecting its performance. Follow these simple steps to effectively clean your bidet attachment:
- Start by disconnecting the bidet attachment from the water supply and unscrewing it from the toilet seat.
- Use a mild detergent or antibacterial solution and a soft sponge or cloth to clean the external surfaces of the bidet attachment.
- Rinse the bidet attachment thoroughly with clean water to remove any residue.
- Dry the bidet attachment with a clean towel or let it air dry completely before reattaching it to the toilet seat.
Check for any sediment buildup in the bidet hose
Over time, sediments from hard water can accumulate in the bidet hose, potentially leading to clogs and reduced water flow. To prevent these issues, it’s important to inspect and clean the bidet hose regularly. Here’s how you can do it:
- Turn off the water supply to the bidet attachment and detach the hose from the bidet and the water valve.
- Inspect the inside of the hose for any visible debris or mineral deposits. If you notice any buildup, use a brush or a cloth soaked in a descaling solution to scrub the inner surface of the hose.
- Thoroughly rinse the hose with clean water to remove any loosened debris or descaling solution.
- Reattach the hose to both the bidet and the water valve, ensuring a secure connection.
Consider descaling the bidet to maintain optimal performance
Descaling your bidet is an additional step you can take to maintain its optimal performance and water flow. Hard water minerals can cause limescale buildup inside the bidet, affecting its functionality. Follow these steps to descale your bidet:
- Refer to the manufacturer’s instructions to determine the recommended descaling method and solution for your bidet model.
- Prepare the descaling solution as instructed, ensuring you use the appropriate ratio of water to descaling agent.
- Apply the descaling solution to all accessible parts of the bidet, including the nozzles, hose, and control buttons.
- Leave the descaling solution on the bidet for the recommended amount of time to allow it to dissolve limescale.
- Rinse the bidet thoroughly with clean water to remove any residue from the descaling solution.
- Test the bidet to ensure it is functioning properly before regular use.
Maintenance and cleaning are essential for the longevity and efficient performance of your toilet bidet. By regularly cleaning the bidet attachment, checking for any sediment buildup in the bidet hose, and considering descaling, you can ensure optimal hygiene and functionality. Follow these simple steps to maintain a clean and properly functioning bidet.
Frequently Asked Questions
Can You Install A Bidet On Any Toilet?
Yes, bidets can be installed on most toilets.
Do You Need Special Plumbing For A Bidet Toilet?
No, special plumbing is not required for a bidet toilet. It can be connected to the existing water supply and sewage system.
What Plumbing Is Needed For A Bidet?
Bidets typically require hot and cold water connections, as well as a drain pipe. Professional installation is recommended to ensure proper plumbing connections are made for optimal functionality.
How Do You Install A Bidet In A Closed Toilet?
To install a bidet in a closed toilet, follow these steps: 1. Turn off the water supply to the toilet. 2. Remove the toilet seat and attach the bidet seat. 3. Connect the bidet hose to the water supply valve. 4.
Connect the bidet seat to the electrical outlet (if applicable). 5. Test the bidet for proper functioning and adjust the settings as needed.
Conclusion
Installing a toilet bidet is a simple and worthwhile addition to any bathroom. By following the step-by-step guide outlined in this blog post, you can enjoy the benefits of a bidet’s hygienic and eco-friendly features. Remember to gather the necessary tools and materials, familiarize yourself with the instructions, and take your time during the installation process.
With a bidet in place, you’ll elevate your bathroom experience and contribute to a more sustainable lifestyle. Happy bidet installation!