
To install quick connect fittings, first, ensure that the pipe is clean and free of debris. Then, push the fitting onto the pipe until it clicks into place.
When it comes to connecting pipes efficiently and securely, quick connect fittings are the ideal solution. These fittings provide a convenient way to join pipes without the need for complicated tools or soldering. We will learn how to install quick connect fittings, step-by-step.
By following these instructions, you will be able to successfully install quick connect fittings and enjoy their benefits in no time. Let’s get started!
Understanding The Basics Of Quick Connect Fittings
Quick connect fittings are an essential component in many plumbing and gas systems. They provide a hassle-free way to connect and disconnect pipes or tubes without the need for traditional joining methods, such as soldering or threading. Whether you are a DIY enthusiast or a professional plumber, understanding the basics of quick connect fittings is crucial for ensuring a secure and efficient installation.
Definition and Purpose of Quick Connect Fittings
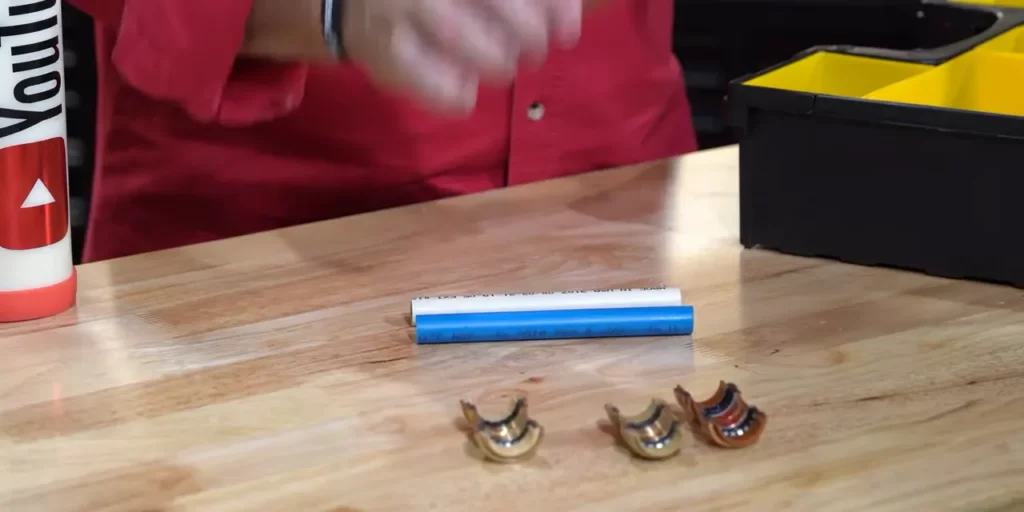
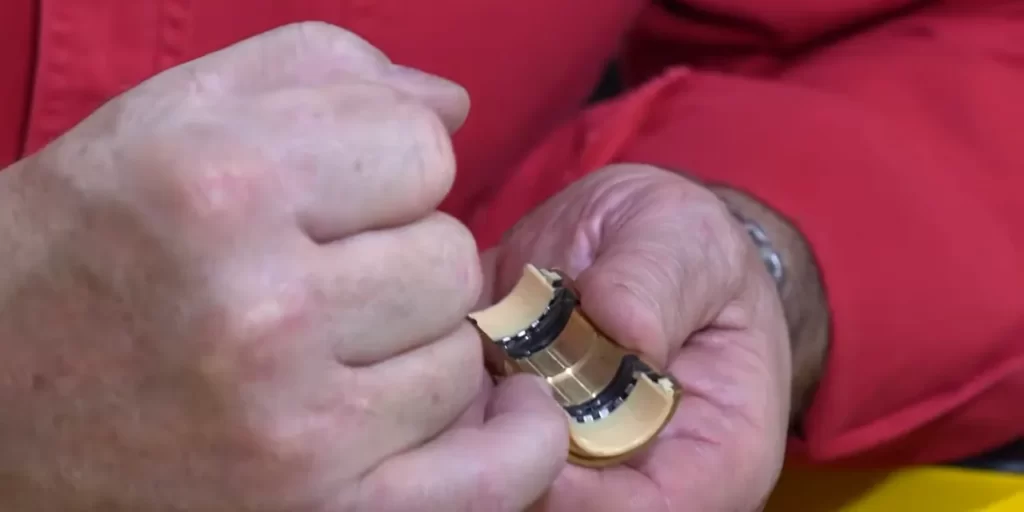
Quick connect fittings, also known as push-to-connect fittings, are designed to facilitate smooth and effortless connections between pipes or tubes. These fittings consist of three main components: a fitting body, a collet, and an O-ring. When the pipe or tube is inserted into the fitting body, the collet is activated by simply pushing it in. This action compresses the O-ring against the pipe or tube, creating a tight and reliable seal.
Benefits of Using Quick Connect Fittings
There are several advantages to using quick connect fittings in plumbing and gas systems. These fittings offer:
- Time-saving installation: Unlike traditional methods that require complex procedures, quick connect fittings allow for speedy connections. This helps to reduce installation time and improve overall efficiency.
- Easy disassembly: If you need to make changes or repairs to your system, quick connect fittings can be easily disconnected without the need for special tools or equipment.
- Secure connections: The collet and O-ring mechanism of quick connect fittings ensure a tight and leak-free connection. This helps to prevent costly water or gas wastage.
Common Applications of Quick Connect Fittings
Quick connect fittings find widespread applications in various industries and systems. Some common uses include:
| Industry | Applications |
|---|---|
| Plumbing |
|
| Gas |
|
| Pneumatics |
|
These are just a few examples, as the versatility and convenience of quick connect fittings make them suitable for a wide range of applications.
Now that you understand the basics of quick connect fittings, you can confidently install them in your plumbing or gas system. Remember to choose fittings that are compatible with the specific pipes or tubes you are using, and always follow the manufacturer’s instructions for a safe and successful installation.
Gathering The Necessary Tools And Materials
Before you start installing quick connect fittings, it’s important to ensure that you have all the necessary tools and materials. This will help you streamline the installation process and minimize any potential delays or disruptions. In this section, we’ll discuss the tools required for the installation process and the quality and size considerations for fittings and tubing.
List of tools required for the installation process
Installing quick connect fittings requires a set of specific tools to ensure a successful and hassle-free installation. Here’s a handy list of tools you’ll need:
- Adjustable wrench
- Pipe cutter or hacksaw
- Tubing cutter or PVC pipe cutter
- Deburring tool or sandpaper
- Measuring tape
- Pipe reamer
- Teflon tape or pipe thread sealant
- Marker or pencil
Quality and size considerations for fittings and tubing
When it comes to quick connect fittings, it’s important to consider both quality and size to ensure a proper fit and reliable performance. Here are a few key factors to keep in mind:
- Quality: Opt for fittings made from high-quality materials such as brass or stainless steel. These materials are durable and resistant to corrosion, ensuring longevity.
- Size: It’s important to select fittings and tubing of the correct size to ensure a secure and leak-free connection. Take accurate measurements to determine the appropriate size for your specific application.
Remember, choosing the right quality and size for your fittings and tubing is crucial to the overall effectiveness of your quick connect system. By paying attention to these considerations, you can ensure a successful installation and enjoy the benefits of a reliable and efficient connection.
Preparing The Site For Installation
Identifying the Location for Installation
Identifying the perfect location for installing quick connect fittings is crucial for ensuring a smooth and efficient installation process. Before you begin, make sure to consider the specific requirements of your project and the area where the fittings will be installed. Assess the accessibility, functionality, and potential environmental factors that may affect the performance of the fittings. By identifying the most suitable location, you can avoid any future complications and optimize the overall functionality of the fittings.
Ensuring Proper Measurements and Clearances
Once you have identified the location, the next step is to ensure proper measurements and clearances. This is essential for the fittings to fit seamlessly into the designated area and function effectively. Start by measuring the dimensions of the installation site accurately. Take into account any existing structures or obstacles that may affect the installation process. To ensure adequate clearances, refer to the manufacturer’s instructions or industry standards. Follow their recommendations to prevent any potential issues, such as leaks or pressure loss, and to ensure the fittings perform optimally.
Example Table for Measurements
| Measurement | Required Dimension |
|---|---|
| Height | 8 feet |
| Width | 4 feet |
| Depth | 2 feet |
Ensuring Each H3 Heading Adheres to HTML Syntax
To ensure each H3 heading adheres to HTML syntax, it is important to use the appropriate HTML tags. In WordPress, you can simply use the following format:
“`
Heading Text
“`
Replace “Heading Text” with the desired heading for each section. By using the correct HTML syntax, you can maintain a well-structured and easily readable blog post.
Remember, proper preparation is essential for a successful installation of quick connect fittings. By identifying the installation location, ensuring proper measurements and clearances, and adhering to HTML syntax for each section, you can set the foundation for a smooth and efficient installation process.
Removing Old Fittings (If Applicable)
Before you can install new quick connect fittings, it’s important to remove any existing fittings that are in place. This step is crucial to creating a secure, leak-free connection. Here, we will outline the necessary steps and techniques for safely removing old fittings.
Steps to safely remove existing fittings
Removing old fittings might seem like a challenging task, especially if they have been in place for a long time. However, by following a few simple steps, you can ensure a smooth process:
- Turn off the water supply: Before you begin, it’s crucial to shut off the water supply to avoid any potential leaks or accidents. Locate the main shut-off valve and close it.
- Release any remaining pressure: Even after turning off the water supply, there might still be some pressure left in the system. To release it, open a faucet or valve downstream from the fitting you’re removing.
- Inspect the fitting: Take a moment to assess the type of fitting in place. Different fittings require different removal techniques, so knowing what you’re working with will help you use the most effective approach.
- Loosen the fitting: Use an appropriate wrench or pliers to loosen the fitting. Depending on the type of fitting, you may need an adjustable wrench, pipe wrench, or a specialized tool designed for that specific fitting.
- Unscrew and remove the fitting: Once the fitting is loosened, unscrew it completely and carefully remove it from the pipe or hose. Be cautious not to damage the surrounding area.
Techniques and tools for removing stubborn fittings
Sometimes, fittings can be stubborn and refuse to budge, even with the use of regular tools. In such cases, it might be helpful to employ these techniques and specialized tools:
- Heat and expansion: If the fitting is stuck due to corrosion or rust, applying heat can help expand the metal and loosen the grip. Use a heat gun or propane torch to heat the fitting before attempting to remove it.
- Penetrating oil: For fittings that are seized due to rust or other factors, applying a penetrating oil like WD-40 can help break down the rust and make it easier to remove the fitting.
- Teflon tape: In some cases, fittings might have been sealed with Teflon tape, which can make them more challenging to remove. Gently heat the fitting to soften the tape and make it easier to loosen.
- Specialized tools: If all else fails, there are specialized tools available that can aid in removing stubborn fittings. These tools, such as extractor sets or stud removers, are designed to grip and remove fittings that regular tools cannot handle.
By utilizing these techniques and tools, you can tackle even the toughest fittings and ensure a successful removal process. Remember to exercise caution and take your time to avoid any damage to the surrounding area or the fitting itself. Once the old fitting is removed, you can proceed with installing your new quick connect fitting for a secure and leak-free connection.
Selecting And Assembling The Right Quick Connect Fittings
When it comes to installing quick connect fittings, selecting the right fittings and assembling them correctly is crucial for a successful installation. In this section, we will discuss the different types of quick connect fittings available, how to match fitting sizes with tubing dimensions, and how to prepare the fittings for installation.
Types of Quick Connect Fittings Available
There are several types of quick connect fittings available, each designed for specific applications. Here are some common types:
- Push-to-Connect Fittings: These fittings allow you to simply push the tubing into the fitting to create a secure connection.
- Compression Fittings: Compression fittings use a threaded nut to compress the tubing against a ferrule, creating a tight seal.
- Barbed Fittings: Barbed fittings have ridges or barbs that grip the tubing, providing a secure connection.
Depending on your specific needs and the type of tubing you are using, you’ll need to choose the right type of quick connect fitting.
Matching Fitting Sizes with Tubing Dimensions
It’s essential to match the fitting sizes with the tubing dimensions to ensure a proper fit and a leak-free connection. Here are some important factors to consider:
- Tubing Size: Measure the outer diameter of your tubing to determine the appropriate fitting size.
- Fitting Size: Quick connect fittings come in various sizes, such as 1/4″, 3/8″, or 1/2″ for different applications. Make sure to choose a fitting that matches the size of your tubing.
- Fitting Compatibility: Ensure that the fitting you select is compatible with the type of tubing you are using, such as plastic, copper, or stainless steel.
By carefully matching the fitting sizes with the tubing dimensions, you can ensure a proper and secure connection.
Preparing Fittings for Installation
Before installing the quick connect fittings, proper preparation is necessary to ensure a successful installation. Here are the steps to follow:
- Clean the Tubing: Inspect the tubing for any dirt, debris, or rough edges. Use a tubing cutter or a deburring tool to cut the tubing cleanly and eliminate any burrs.
- Inspect the Fittings: Check the quick connect fittings for any damage or defects. Ensure that the O-rings or seals are in good condition.
- Apply Lubrication: Apply a small amount of lubricant or water-based soap on the O-rings or seals to facilitate easy insertion into the fitting.
Preparing the fittings for installation will ensure a smooth and hassle-free connection process.
Installing The Quick Connect Fittings
Installing the Quick Connect Fittings is a crucial step in ensuring a secure and leak-free plumbing system. These fittings are designed to provide a quick and easy way to connect and disconnect pipes without the need for any specialized tools or techniques. In this guide, we will walk you through the step-by-step instructions for installing fittings, ensuring proper alignment and connection techniques, and ensuring a secure and leak-free installation.
Step-by-step instructions for installing fittings:
- Prepare the pipe: Before installing the fittings, make sure that the pipe is clean and free from any debris or dirt. Use a pipe cutter or a hacksaw to cut the pipe to the desired length.
- Inspect the fitting: Check the quick connect fitting for any visible damage or defects. Ensure that the O-rings or rubber seals are in good condition and properly seated in their designated grooves.
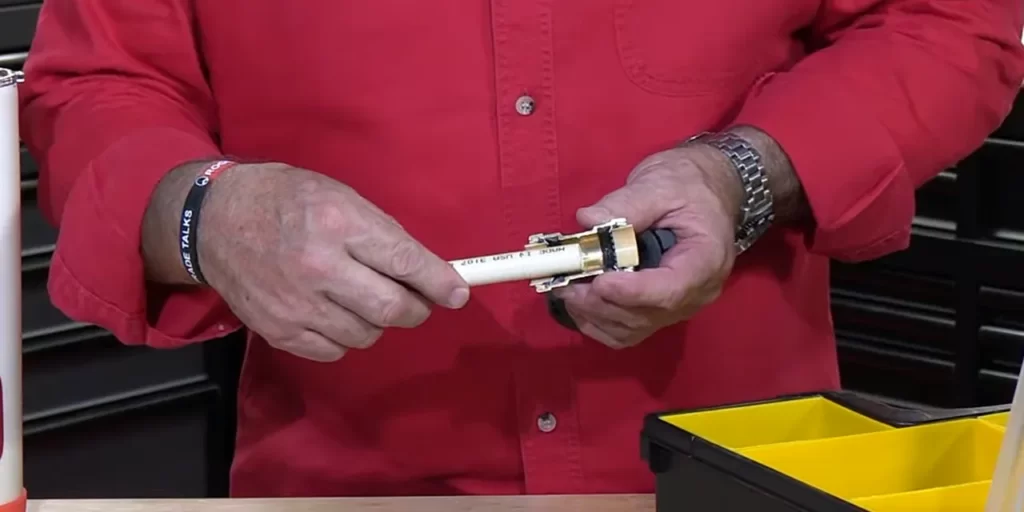
- Push the pipe into the fitting: Firmly push the end of the pipe into the fitting until it reaches the “stop” mark. Make sure that the pipe is inserted straight into the fitting to ensure a proper and secure connection.
- Verify the connection: Pull the pipe back gently to confirm that it is securely locked into place. A properly installed fitting should hold the pipe firmly without any movement.
Proper alignment and connection techniques:
Proper alignment and connection techniques are crucial for a successful installation of quick connect fittings. Follow these guidelines to ensure a secure and leak-free connection:
- Avoid over-tightening: While it is important to secure the fittings properly, avoid over-tightening as it can damage the O-rings or seals and result in leaks. Use only the recommended torque or hand-tighten the fitting until it is snug.
- Align the pipes: Before connecting the fittings, ensure that the pipes are properly aligned. Misalignment can cause leaks and reduce the overall efficiency of the plumbing system.
- Use the correct size fitting: Make sure to use the correct size fitting for your pipes. Using fittings that are too small or too large can result in leaks and compromised connections.
- Check for leaks: After installing the fittings, thoroughly inspect the connection for any signs of leaks. Use a mixture of dish soap and water to create a soapy solution and apply it to the connection. If you notice any bubbles forming, it indicates a leak that needs to be addressed.
Ensuring a secure and leak-free installation:
To ensure a secure and leak-free installation, consider the following tips:
- Get familiar with the fittings: Before installation, take some time to understand the different components of the quick connect fittings and how they work. This will help you install them correctly and identify any potential issues.
- Follow the manufacturer’s instructions: Each manufacturer may have specific instructions and guidelines for installing their quick connect fittings. Make sure to read and follow them carefully to ensure a proper installation.
- Periodically check the fittings: Regularly inspect the quick connect fittings for any signs of wear or damage. Replace any worn-out or damaged fittings to maintain a secure and leak-free plumbing system.
By following the step-by-step instructions, proper alignment and connection techniques, and by ensuring a secure and leak-free installation, you can enjoy the benefits of quick connect fittings in your plumbing system.
Testing And Inspecting The Installation
After successfully installing quick connect fittings, it’s crucial to test and inspect the installation to ensure it is free from any leaks or issues. This ensures the fittings are properly connected and will function efficiently without any problems. In this section, we will look at the methods for testing the installed fittings and how to identify and resolve any leaks or issues that may arise.
Methods for Testing the Installed Fittings
There are several effective methods you can use to test the installed fittings and confirm their functionality. These methods include:
- Visual Inspection: Begin by visually inspecting the fittings and connections for any signs of leaks or damage. Look for any visible cracks, loose connections, or signs of moisture. It’s important to conduct this inspection before testing the fittings to ensure there are no obvious issues that may compromise their performance.
- Pressure Test: To perform a pressure test, you will need a pressure gauge and a source of compressed air or water. Carefully connect the pressure gauge to the fitting and gradually increase the pressure to the recommended level. Monitor the gauge closely and check for any drops in pressure, which may indicate a leak. Keep in mind that you should always refer to the manufacturer’s guidelines for the appropriate pressure levels and duration of the test.
- Soapy Water Test: Another effective way to detect leaks is by applying a soapy water solution to the fittings and connections. Start by mixing a small amount of dishwashing liquid with water in a spray bottle. Spray the solution onto the fittings and observe closely. If there is a leak, you will notice bubbles forming around the area of the leak.
Identifying and Resolving Any Leaks or Issues
In the event that you detect a leak or any other issue during the testing process, it’s important to identify and address it promptly. Follow these steps to identify and resolve any leaks or issues:
- Locate the Leak: If you notice bubbles forming during the soapy water test or a drop in pressure during the pressure test, carefully inspect the fittings and connections to locate the source of the leak. Pay close attention to the areas where the bubbles are forming or where you see moisture.
- Tighten Connections: In most cases, a leak can be resolved by simply tightening the fitting connections. Use an adjustable wrench or pliers to gently tighten the fitting until it is snug. However, be cautious not to overtighten, as this can damage the fitting or the connecting pipes.
- Replace Damaged Fittings: If tightening the connections does not resolve the leak, it may be necessary to replace the damaged fitting. Consult the manufacturer’s instructions or seek professional help to ensure you select the correct replacement fitting for your specific application.
By thoroughly testing and inspecting the installation of quick connect fittings, you can ensure their effectiveness and reliability. This will save you time, money, and prevent potential damage in the long run. By addressing any leaks or issues promptly, you can enjoy a high-performing system that operates seamlessly.
Maintenance And Care For Quick Connect Fittings
Proper maintenance and care for quick connect fittings are essential to ensure their long-term functionality and efficiency. By following regular cleaning and inspection procedures and troubleshooting common problems, you can maintain the optimal performance of these fittings. Let’s explore these aspects in detail:
Regular Cleaning and Inspection Procedures
Regular cleaning and inspection procedures play a crucial role in maintaining the functionality of quick connect fittings. By following these steps, you can ensure that your fittings remain in top condition:
- Inspect for dirt and debris: Regularly check the fittings for any dirt, debris, or other foreign particles that could hinder their performance. If you notice any accumulation, use a clean cloth or brush to gently remove it.
- Clean with mild detergent: Prepare a solution of warm water and a mild detergent. Using a soft brush or cloth, gently clean the fittings, paying attention to areas where dirt is likely to accumulate. Rinse with clean water to remove any residue.
- Ensure proper drying: After cleaning, ensure that the fittings are completely dry before reconnecting them. Moisture can lead to corrosion and reduce the lifespan of the fittings.
- Lubricate moving parts: Apply a small amount of lubricant, such as silicone grease, to the moving parts of the quick connect fittings. This helps to reduce friction and ensures smooth operation.
Troubleshooting Common Problems
Despite regular maintenance, quick connect fittings may encounter common problems. Here are some troubleshooting tips to help you address these issues:
| Problem | Solution |
|---|---|
| Fitting leaks | Tighten the fittings further or replace faulty O-rings to ensure a proper seal. If the problem persists, consider consulting a professional. |
| Difficulty in connecting/disconnecting | Check for any signs of damage or misalignment. Ensure that the fittings are properly aligned and engage/disengage smoothly. If necessary, lubricate the fittings to ease the process. |
| Reduced water flow | Inspect the fittings for clogs or blockages. Clean or replace any obstructed components. Also, verify that the water pressure is sufficient. |
| Corrosion or rust | If you notice any signs of corrosion or rust, remove the affected fittings and clean them thoroughly. Consider using a rust inhibitor or replacing heavily damaged parts. |
By following these regular maintenance and troubleshooting practices, you can extend the lifespan of your quick connect fittings and ensure their optimal performance.
Safety Precautions When Working With Quick Connect Fittings
The safety of both workers and equipment is of utmost importance when it comes to working with quick connect fittings. These fittings provide a convenient and efficient way to connect different components, whether it is in plumbing, air conditioning, or other applications. However, it is essential to follow proper safety guidelines to prevent accidents and ensure the longevity of the fittings.
Importance of Following Safety Guidelines
Adhering to safety guidelines is not only a legal requirement but also crucial for the well-being of everyone involved in the installation process. By following safety guidelines, you can:
- Minimize the risk of leakages and failures
- Prevent injuries and accidents
- Extend the lifespan of the quick connect fittings
- Ensure optimal performance and efficiency
Considering the importance of safety, it is vital to familiarize yourself with the following protective equipment and practices when working with quick connect fittings.
Protective Equipment and Practices to Consider
Prioritize safety by using the appropriate protective equipment and incorporating recommended practices during the installation process. Here are some essential factors to consider:
1. Safety Gear
Ensure that you have the necessary safety gear before starting the installation. This may include:
- Safety glasses or goggles to protect your eyes from potential debris or flying particles
- Gloves to shield your hands from sharp edges and potential injury
- Ear protection if working in noisy environments
- Appropriate footwear to prevent slips and falls
2. Proper Ventilation
In certain applications, it is crucial to work in well-ventilated areas. This helps prevent the buildup of hazardous gases or fumes that may be present during the installation process.
3. Secure Work Area
Before starting any installation, take the time to secure the work area. This includes:
- Clearing the area of any obstructions or clutter that may increase the risk of accidents
- Using proper lighting to improve visibility during the installation process
- Providing adequate space for maneuvering and working comfortably
4. Proper Installation Techniques
Follow the recommended installation techniques to ensure a secure and leak-free connection. Some best practices include:
- Inspecting the quick connect fittings for any damage or defects before use
- Using appropriate tools for installation, such as wrenches or pliers, to ensure proper tightening
- Applying the correct amount of thread sealant or tape to the fittings
- Ensuring that the fittings are correctly aligned and seated
By following these safety precautions and recommendations, you can help create a safer working environment and ensure the successful installation of quick connect fittings. Remember, safety should always be a top priority in any installation process.
Frequently Asked Questions
As you embark on your journey to install quick connect fittings, you may have some questions swirling in your mind. In this section, we have compiled a list of common questions about quick connect fittings and installation to help you navigate through the process seamlessly. Read on to find answers to these frequently asked questions:
Common Questions About Quick Connect Fittings and Installation
1. What are quick connect fittings?
Quick connect fittings are innovative solutions that allow for quick and easy installation in plumbing, compressed air, and fluid transfer systems. These fittings feature a push-to-connect mechanism, eliminating the need for tools or extra components. They offer a reliable and leak-free connection, making them popular in a wide range of industries.
2. How do I install quick connect fittings?
Installing quick connect fittings is a simple process that can be completed effortlessly. Here is a step-by-step guide to help you:
- Prepare the area: Start by turning off the water supply or depressurizing the system to ensure a safe installation process.
- Cut the tubing: Cut the tubing to the desired length, ensuring a clean and straight cut.
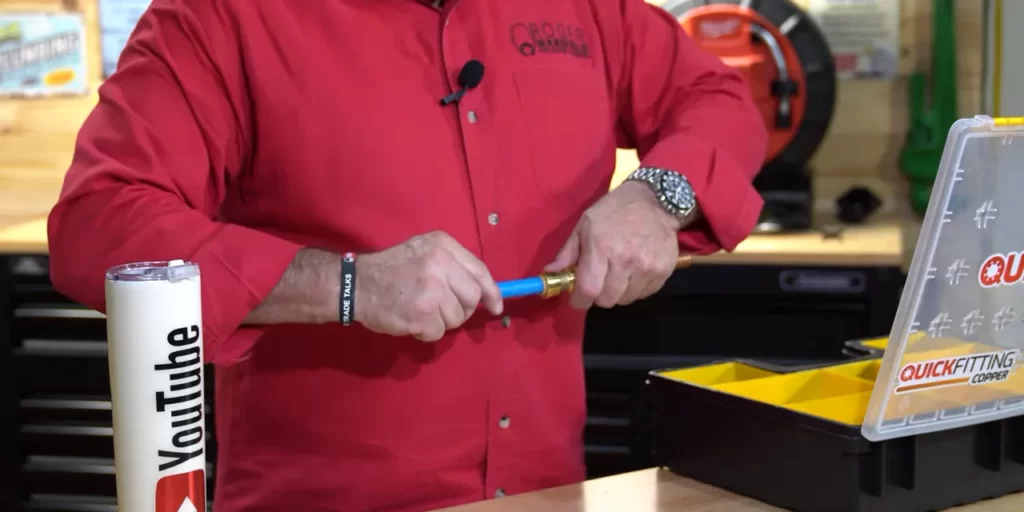
- Insert the tubing: Insert the tubing into the quick connect fitting until it bottoms out. Ensure that the tubing is fully inserted to ensure a secure connection.
- Test the connection: Once the connection is made, turn on the water supply or pressurize the system to test for any leaks. If needed, you can make adjustments or reconnect the fitting.
3. Are quick connect fittings reusable?
Yes, most quick connect fittings are designed to be reusable. They can be released easily by pressing down on the release collar, allowing you to disconnect and reposition the tubing as needed. However, it is important to note that repeatedly connecting and disconnecting quick connect fittings may diminish their longevity, so it is advisable to use them within their intended lifespan.
4. Can quick connect fittings be used with different types of tubing?
Quick connect fittings are versatile and compatible with a variety of tubing materials, including copper, PEX, PVC, and polyurethane. This versatility makes them a convenient option for various applications.
5. How do I remove quick connect fittings?
To remove a quick connect fitting, follow these steps:
- Depressurize the system: Turn off the water supply or depressurize the system before attempting to remove the fitting.
- Press down on the release collar: Locate the release collar on the fitting and firmly press it down towards the fitting body.
- Remove the tubing: While pressing down on the release collar, gently pull the tubing out of the fitting.
6. Can quick connect fittings be used for hot water applications?
Yes, many quick connect fittings are designed to withstand high-temperature environments, making them suitable for both hot and cold water applications. However, it is always recommended to check the specifications and temperature ratings of the specific fitting you are using.
7. Are quick connect fittings prone to leaks?
When installed correctly, quick connect fittings provide a reliable and leak-free connection. However, improper installation or using incompatible tubing materials can lead to leaks. It is essential to follow the manufacturer’s instructions and ensure that the tubing is inserted fully and securely into the fitting.
8. Are quick connect fittings suitable for DIY projects?
Absolutely! Quick connect fittings are designed to be user-friendly and require no special tools. Their simplicity and ease of use make them perfect for DIY enthusiasts and homeowners looking to tackle plumbing projects.
9. Where can I purchase quick connect fittings?
Quick connect fittings are readily available at various hardware stores, home improvement centers, and online retailers. Additionally, you can purchase them from plumbing supply stores and specialized industrial suppliers.
Now that you have answers to these common questions, you can confidently proceed with installing quick connect fittings for your project. Remember to double-check the manufacturer’s instructions for any specific details or considerations concerning your fittings. Happy installation!
Frequently Asked Questions
How Do You Connect Quick-Connect Water Fittings?
To connect quick-connect water fittings, follow these steps: 1. Ensure the water supply is turned off. 2. Push the fitting onto the pipe until it clicks into place. 3. To disconnect, push the release button and pull the fitting off the pipe.
4. Check for leaks and make necessary adjustments. 5. Finally, turn on the water supply.
Do Quick Connect Fittings Leak?
Quick Connect fittings are designed to be leak-free. Their advanced design and technology ensure a tight seal, preventing any leakage. These fittings are reliable and efficient solutions for various plumbing and pneumatic applications, offering peace of mind and hassle-free operation.
How Do You Use Quick Disconnect Fitting?
To use a quick disconnect fitting, follow these steps: 1. Identify the fitting size and type. 2. Ensure both sides of the fitting are compatible. 3. Pull back the collar on the fitting. 4. Push the pipe or hose into the fitting until it’s fully seated.
5. Give it a firm tug to ensure proper connection. Remember to consult the specific instructions for your fitting to ensure proper usage.
Are Push To Connect Fittings Reliable?
Yes, push to connect fittings are reliable. They provide a secure and leak-free connection without the need for additional tools or equipment. These fittings are easy to install and can be used in various applications, making them a reliable choice for plumbing and pneumatic systems.
Conclusion
In a nutshell, installing quick connect fittings is a simple and efficient way to enhance the functionality and versatility of your plumbing system. By following the step-by-step process outlined in this guide, you can easily achieve leak-free connections and save both time and money in the long run.
With the right tools and a little know-how, you’ll be well on your way to enjoying the convenience and ease of quick connect fittings. So, why wait? Start upgrading your plumbing system today!